DIY Bathroom From Start to Finish
Five months. That’s how long it took us to complete our main bathroom. It took working on it every weekend and most work day nights. Between jobs and the kids, it made us feel exhausted but also that we could accomplish pretty much anything. If we could figure out all the steps to complete our bathroom, then you can too! Below I’ll list each step of the process to get you motivated to start yours too.
Disclaimer: this entire bathroom is DIY EXCEPT the electrical work. No one wants electrical work done wrong- not asking for a house fire over here.
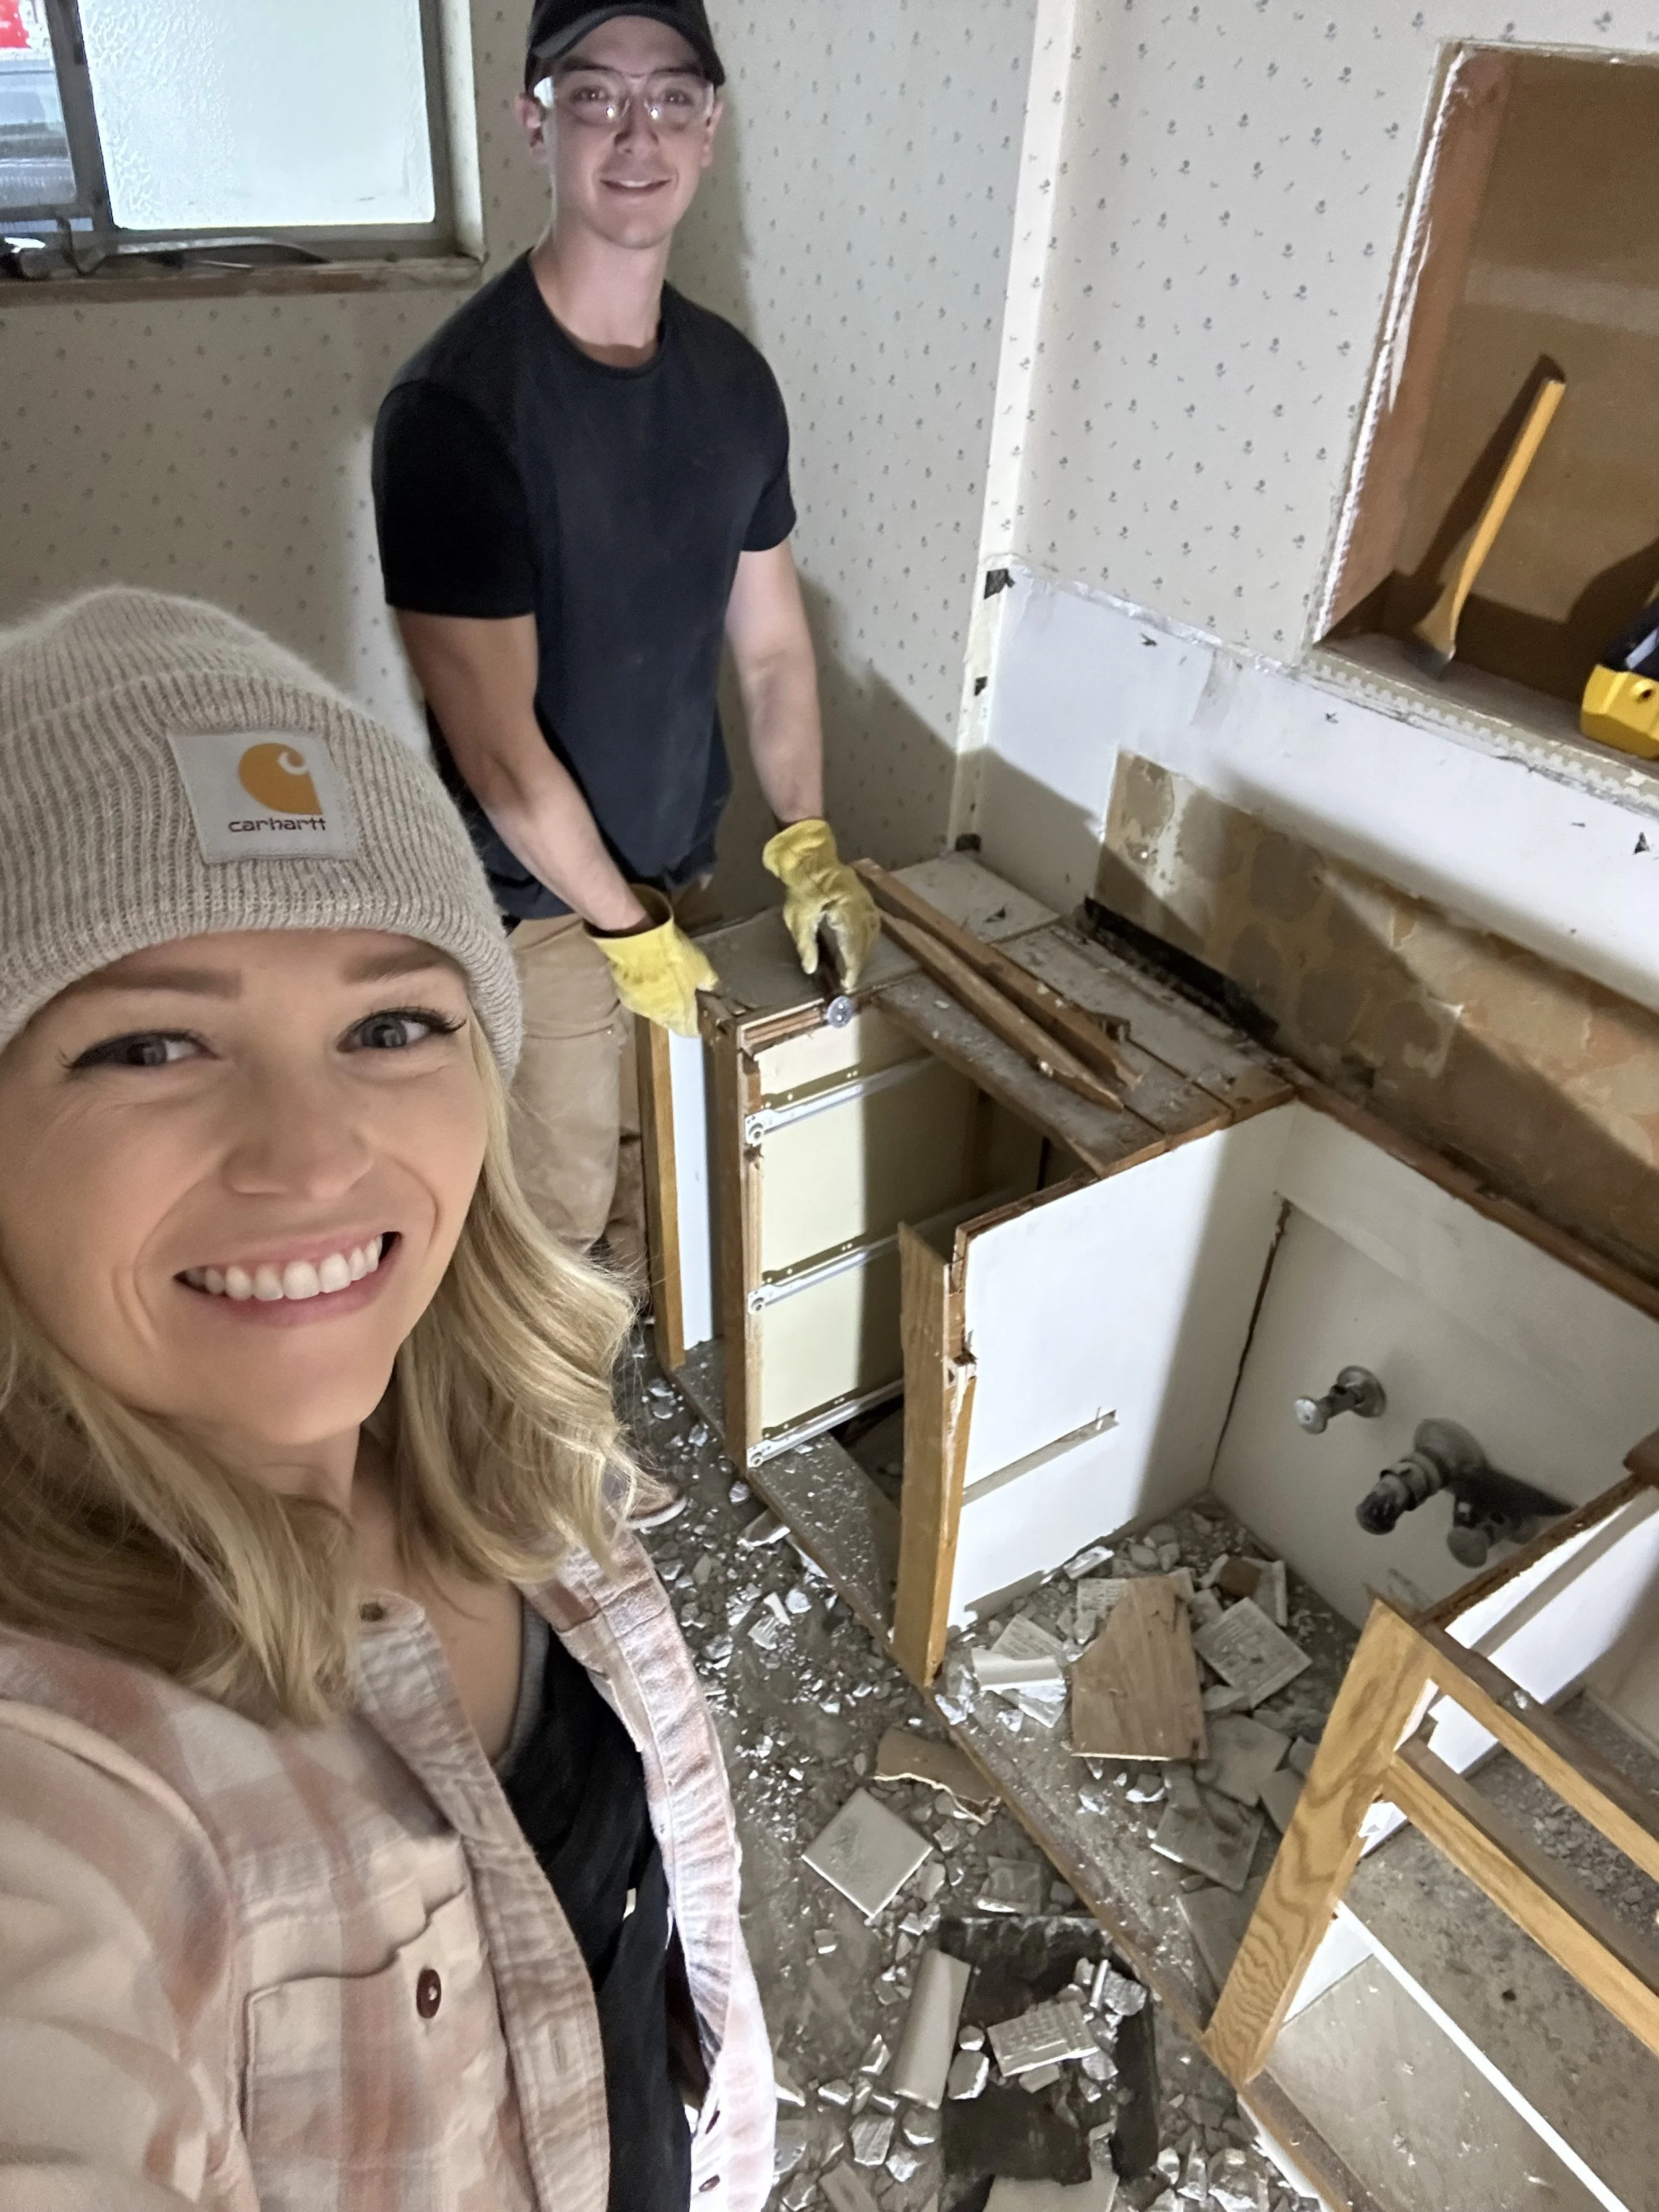
Demo
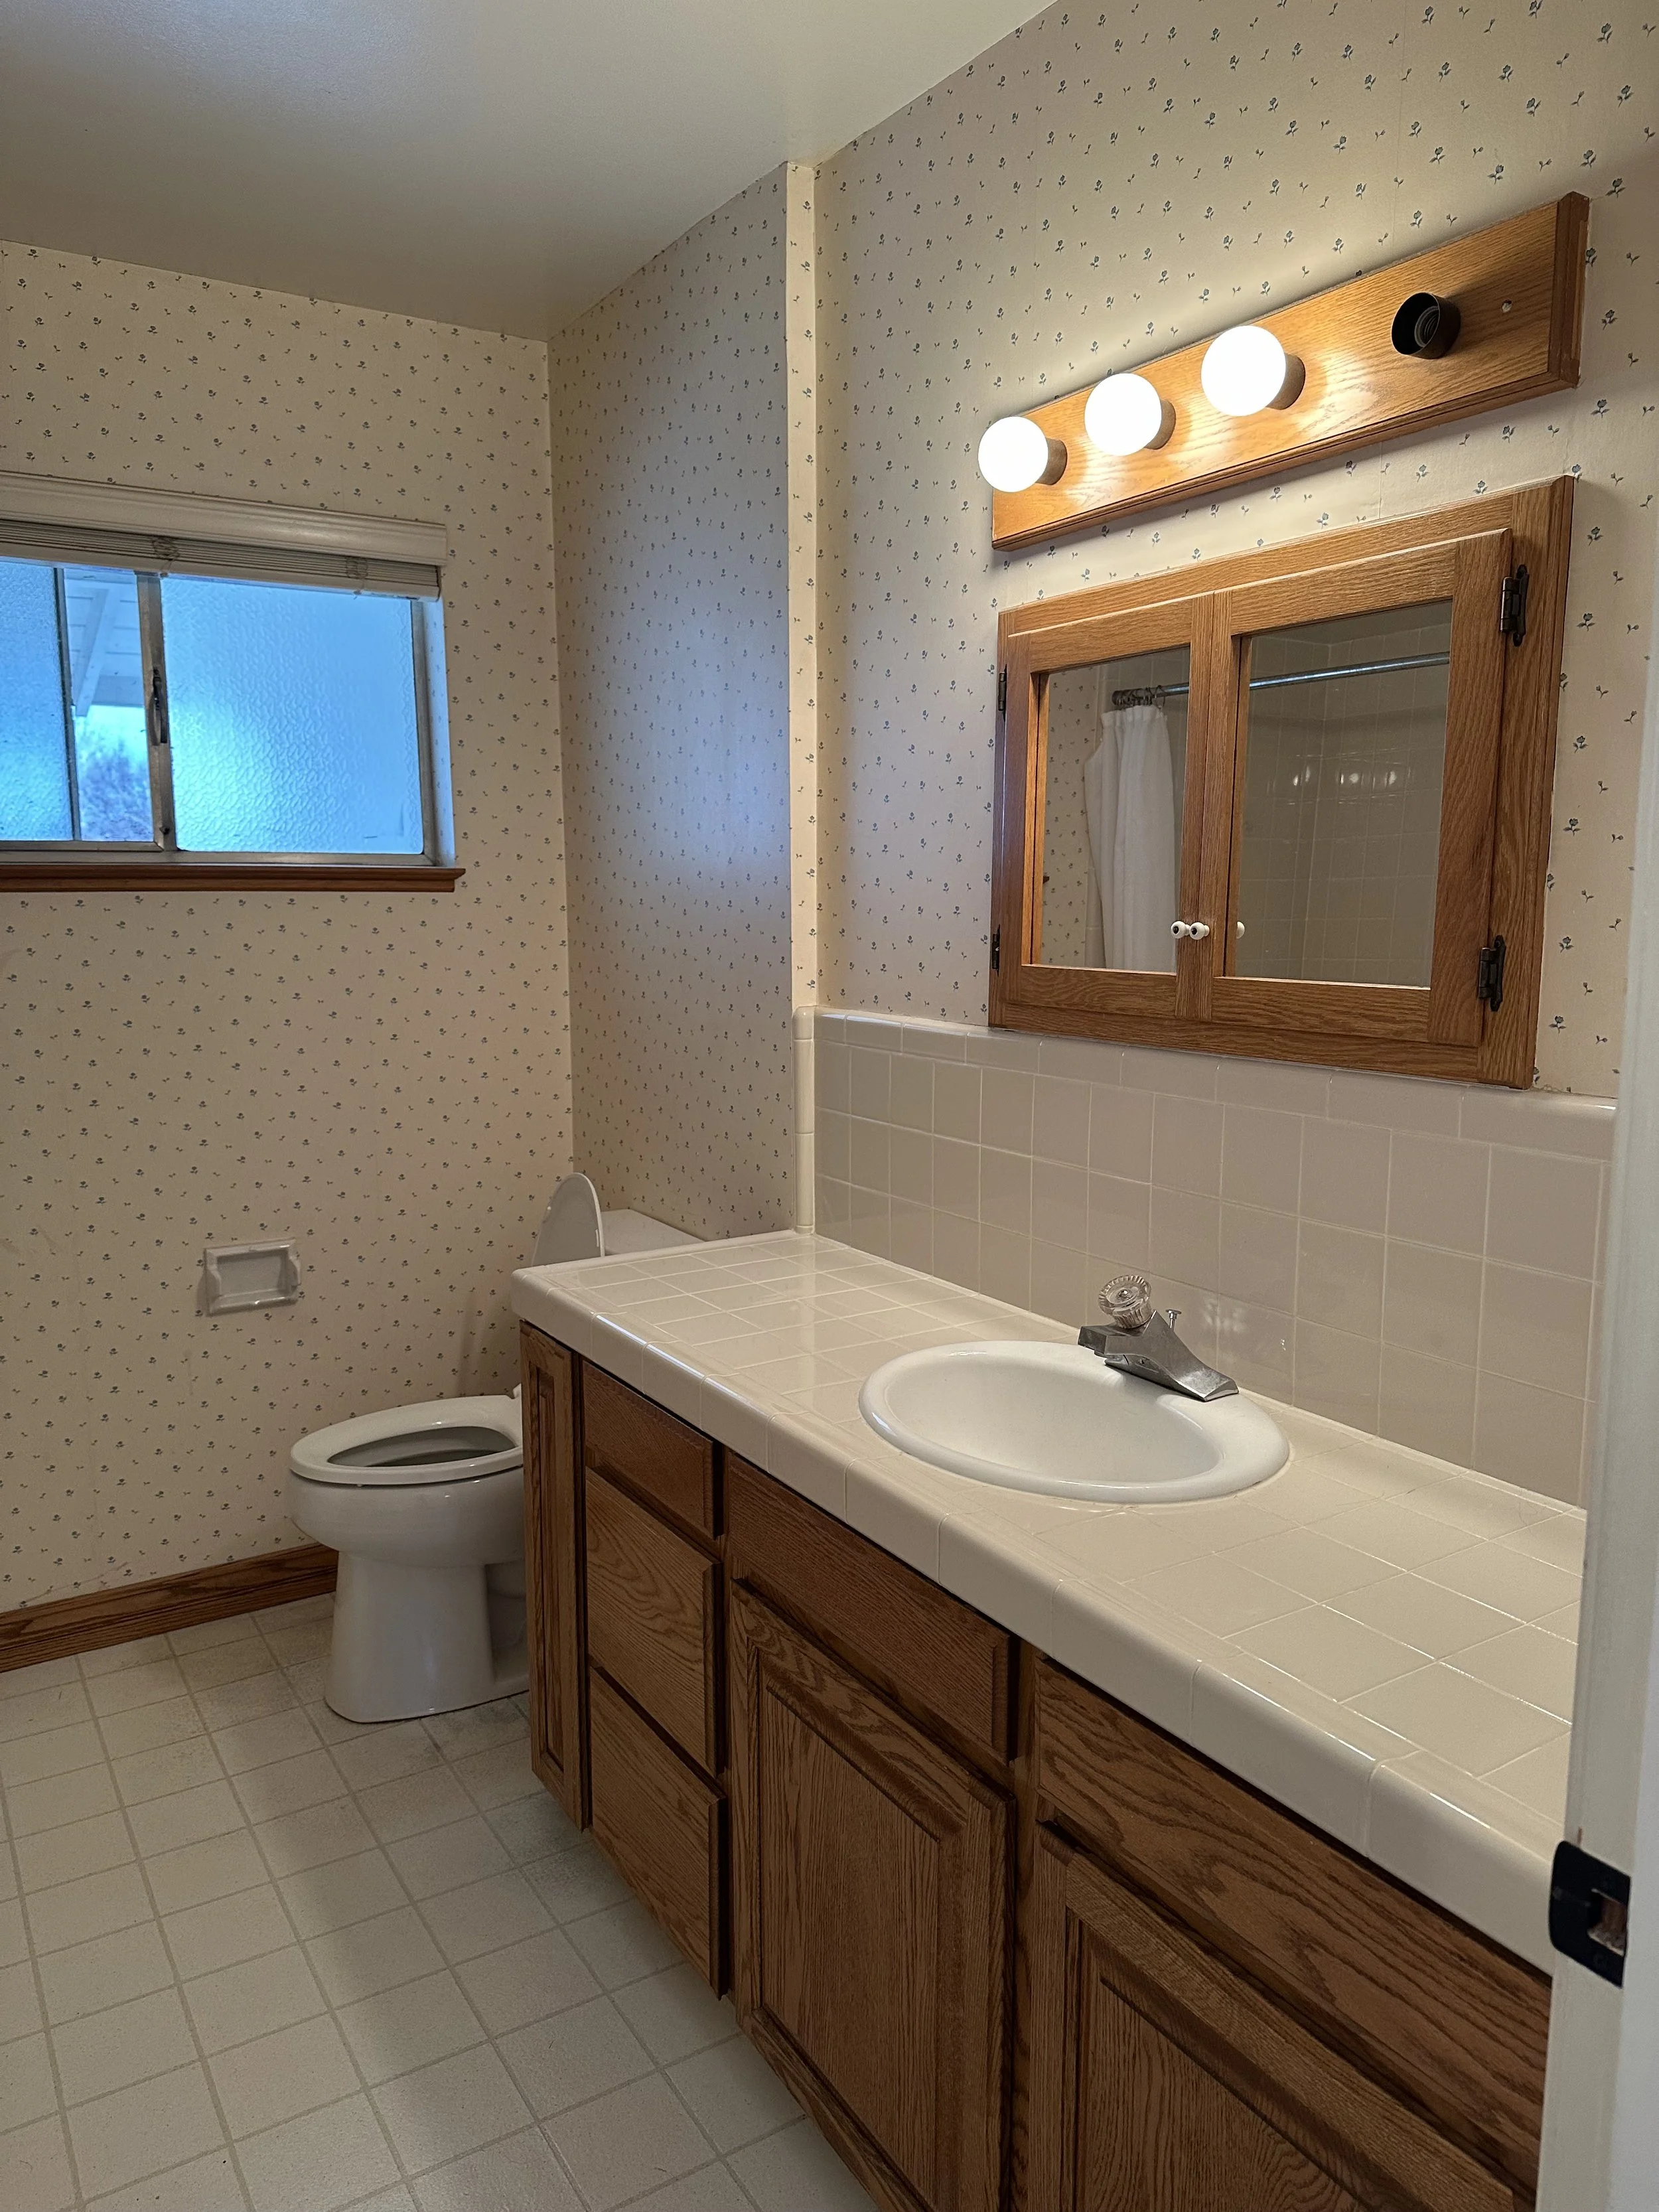
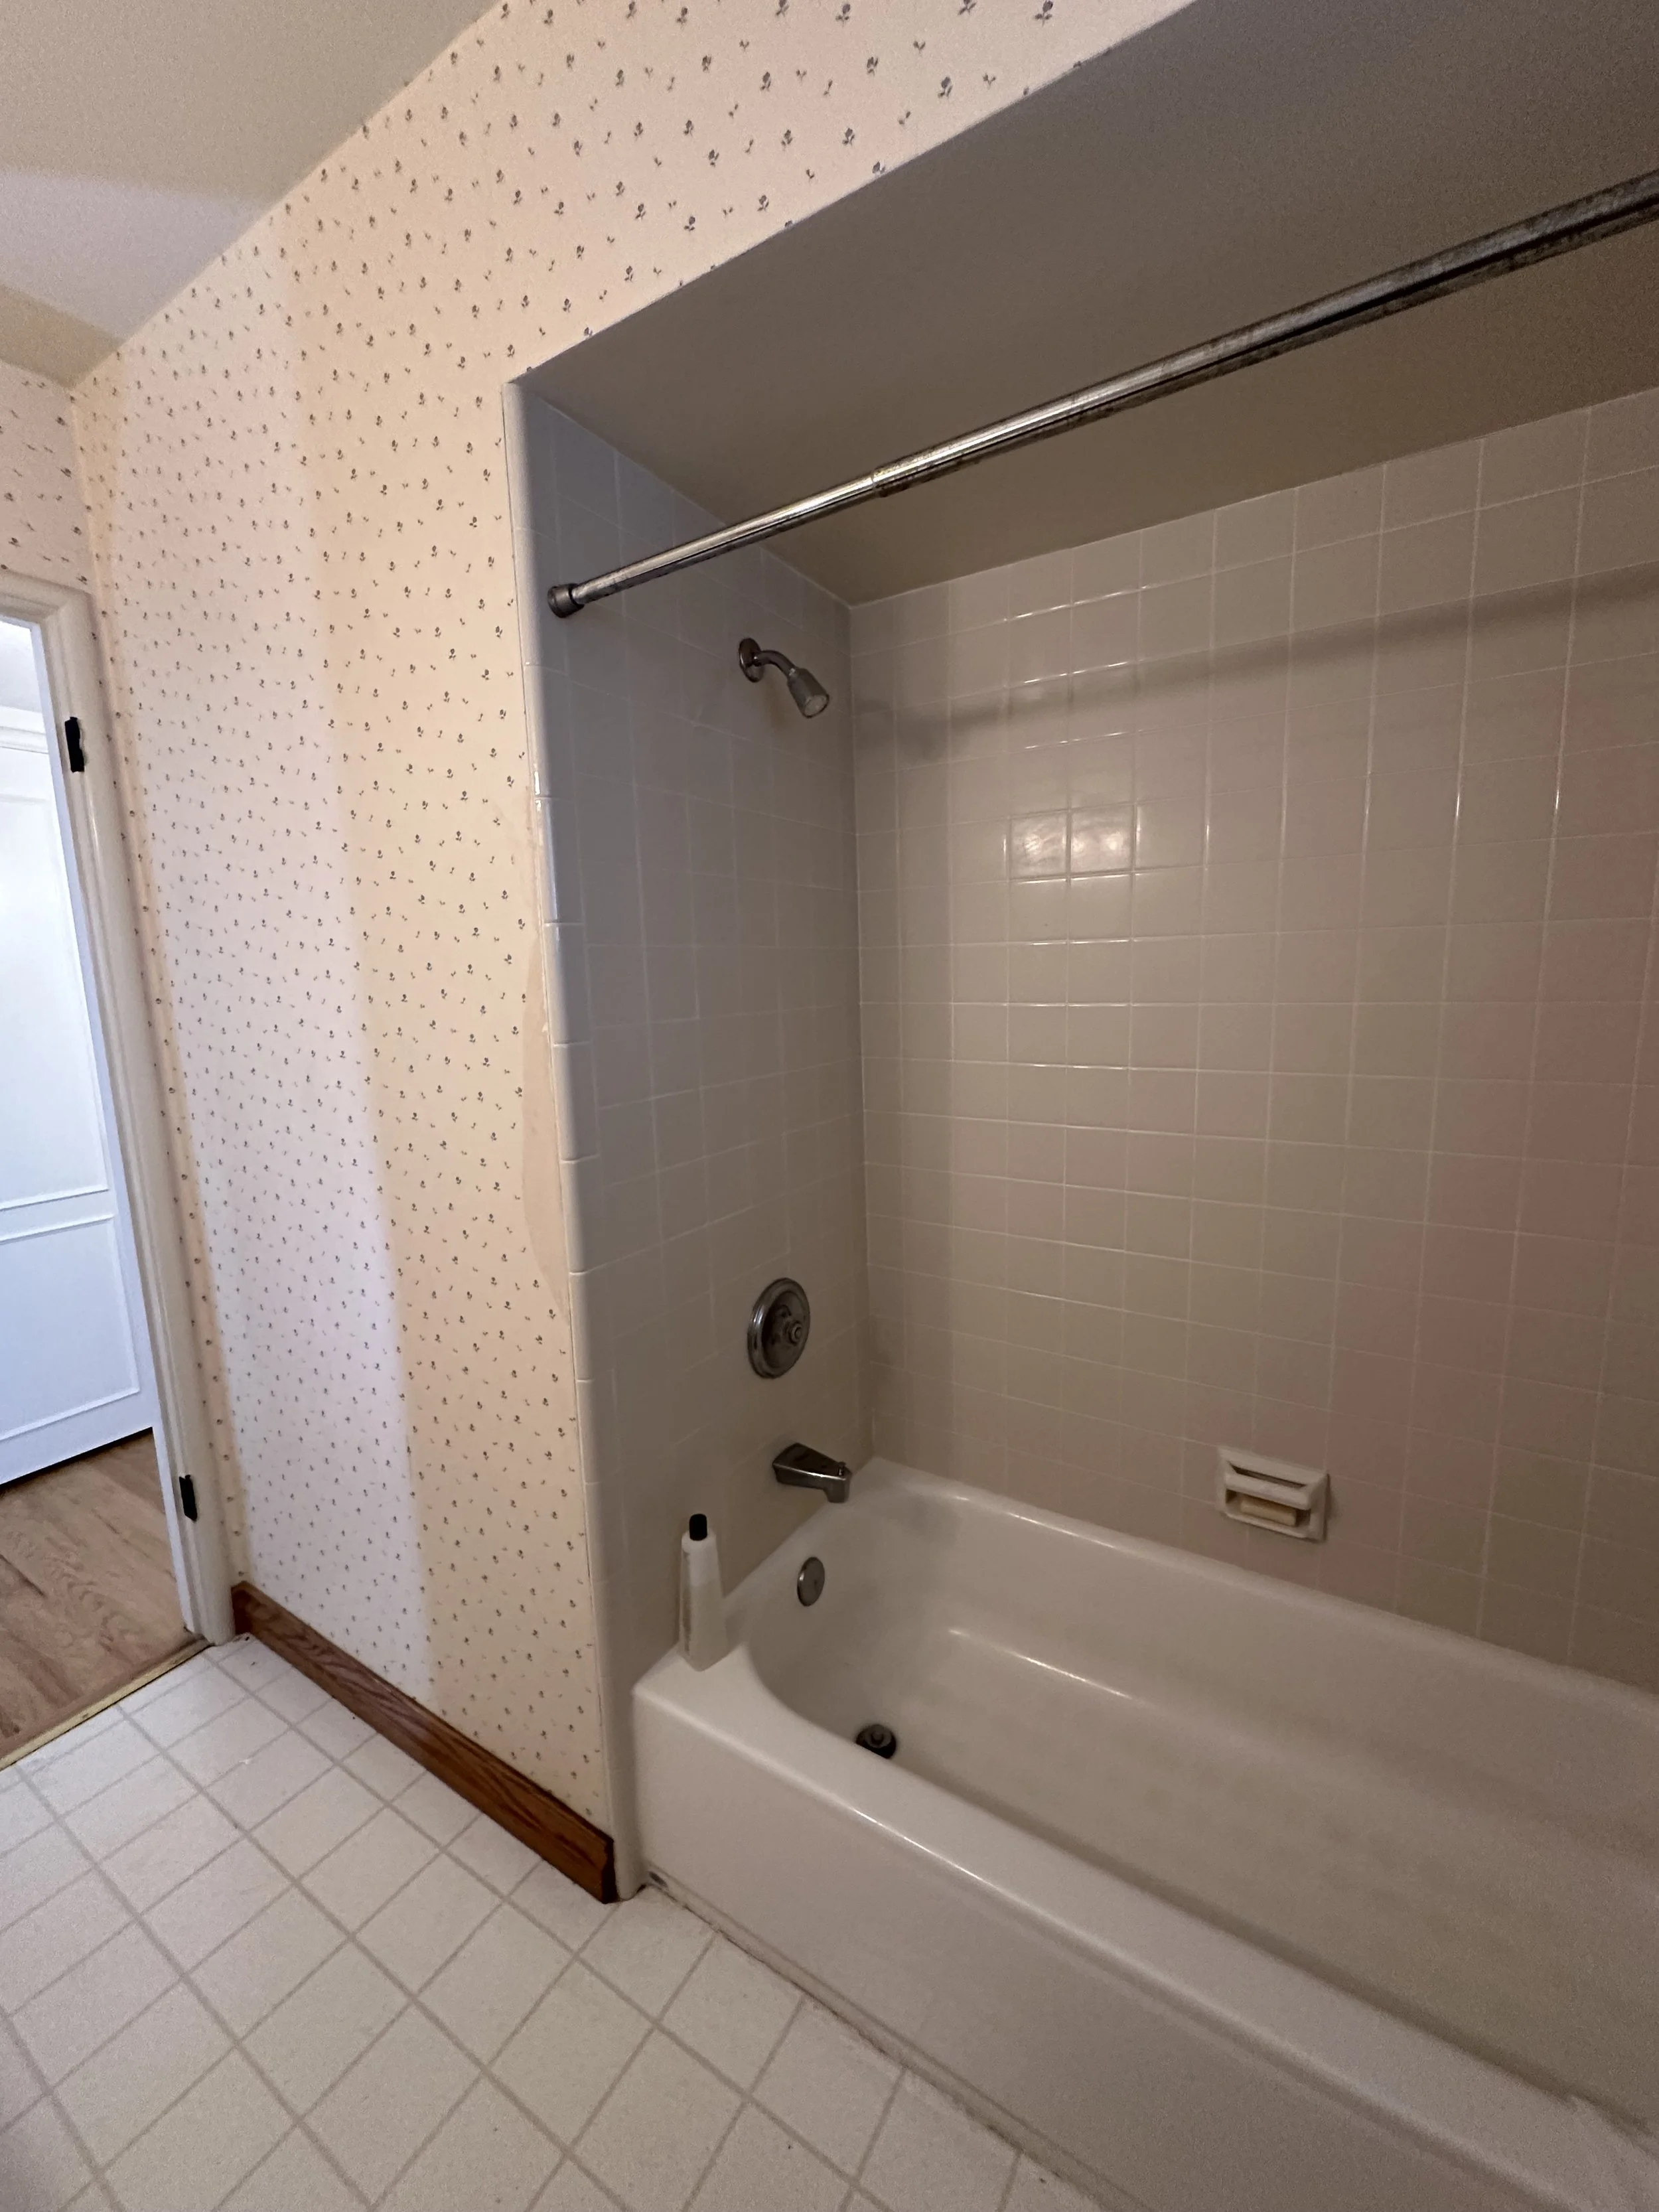
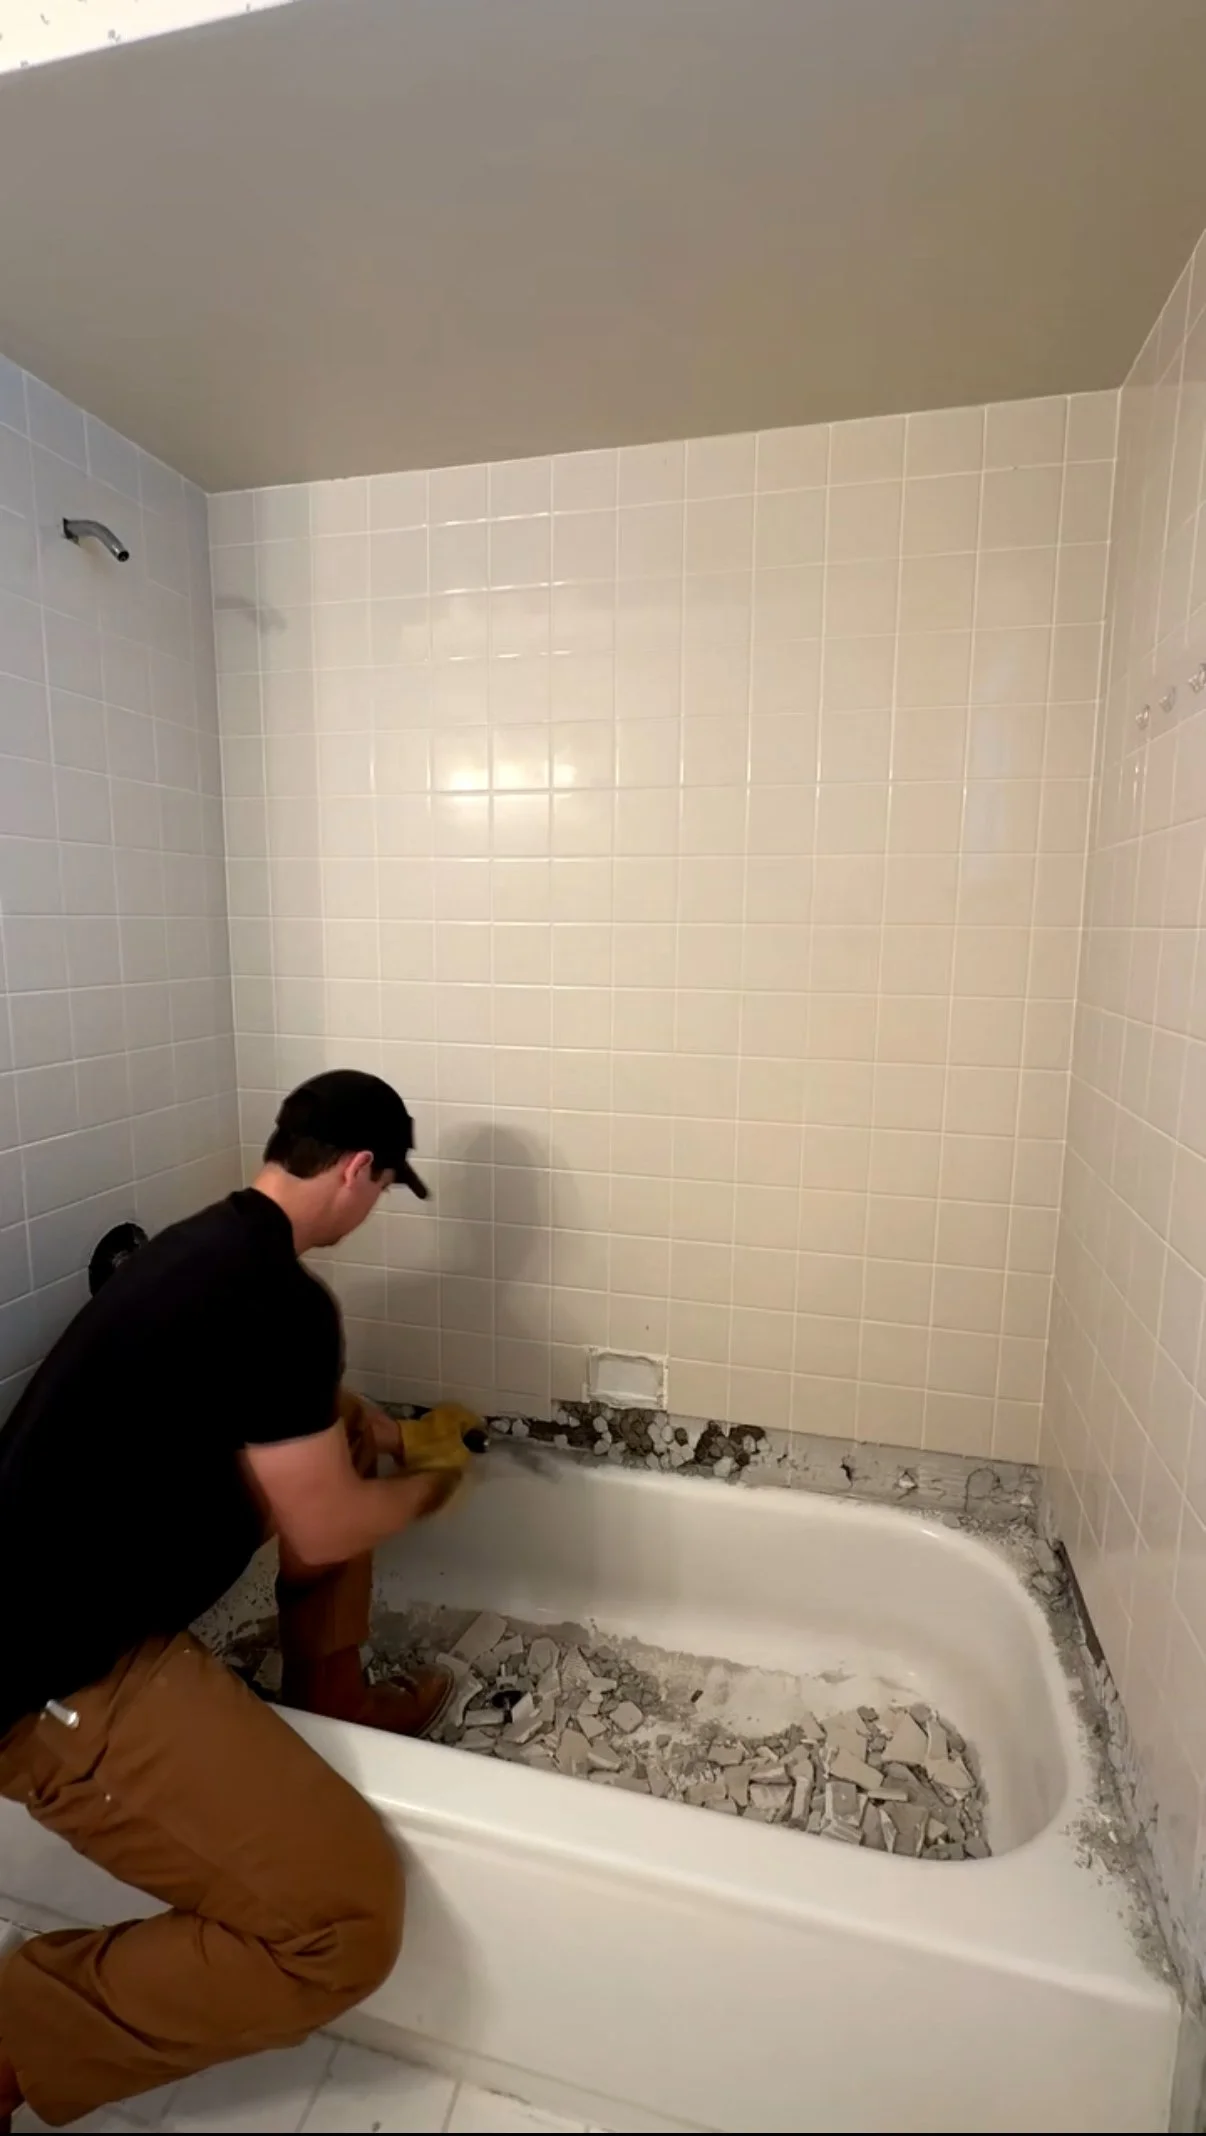
The first and easiest step to the entire process. This is the part where you pretty much have free reign. I’m talking throwing the hammer to the wall and it wont matter. Everything that was in this outdated ‘70s bathroom needed to GO. We got our truck ready for the dump and then it was go time. Naturally, we started with the tub section. We used a multi-use oscillating tool to break up the first row of tiles. We had no idea whether the tile would crumble or peel off in sections. Before taking on the rest of the tile out, it was wise of us to remove the tub for full access. Thankfully, we easily pried them off the wall in large panels but they were incredibly HEAVY.

After getting the big job out of the way, it was on to the vanity. We broke it up into pieces for easier transfer. The countertop was removed in big chunks similarly to the shower tile. Once the vanity and toilet were out of there, we could lastly, remove the floors. This was a MESS. A disgusting mess. The entire linoleum flooring crumbled into pieces. Almost as if it crumbled into dust. It was terrible and disgusting. But we managed!
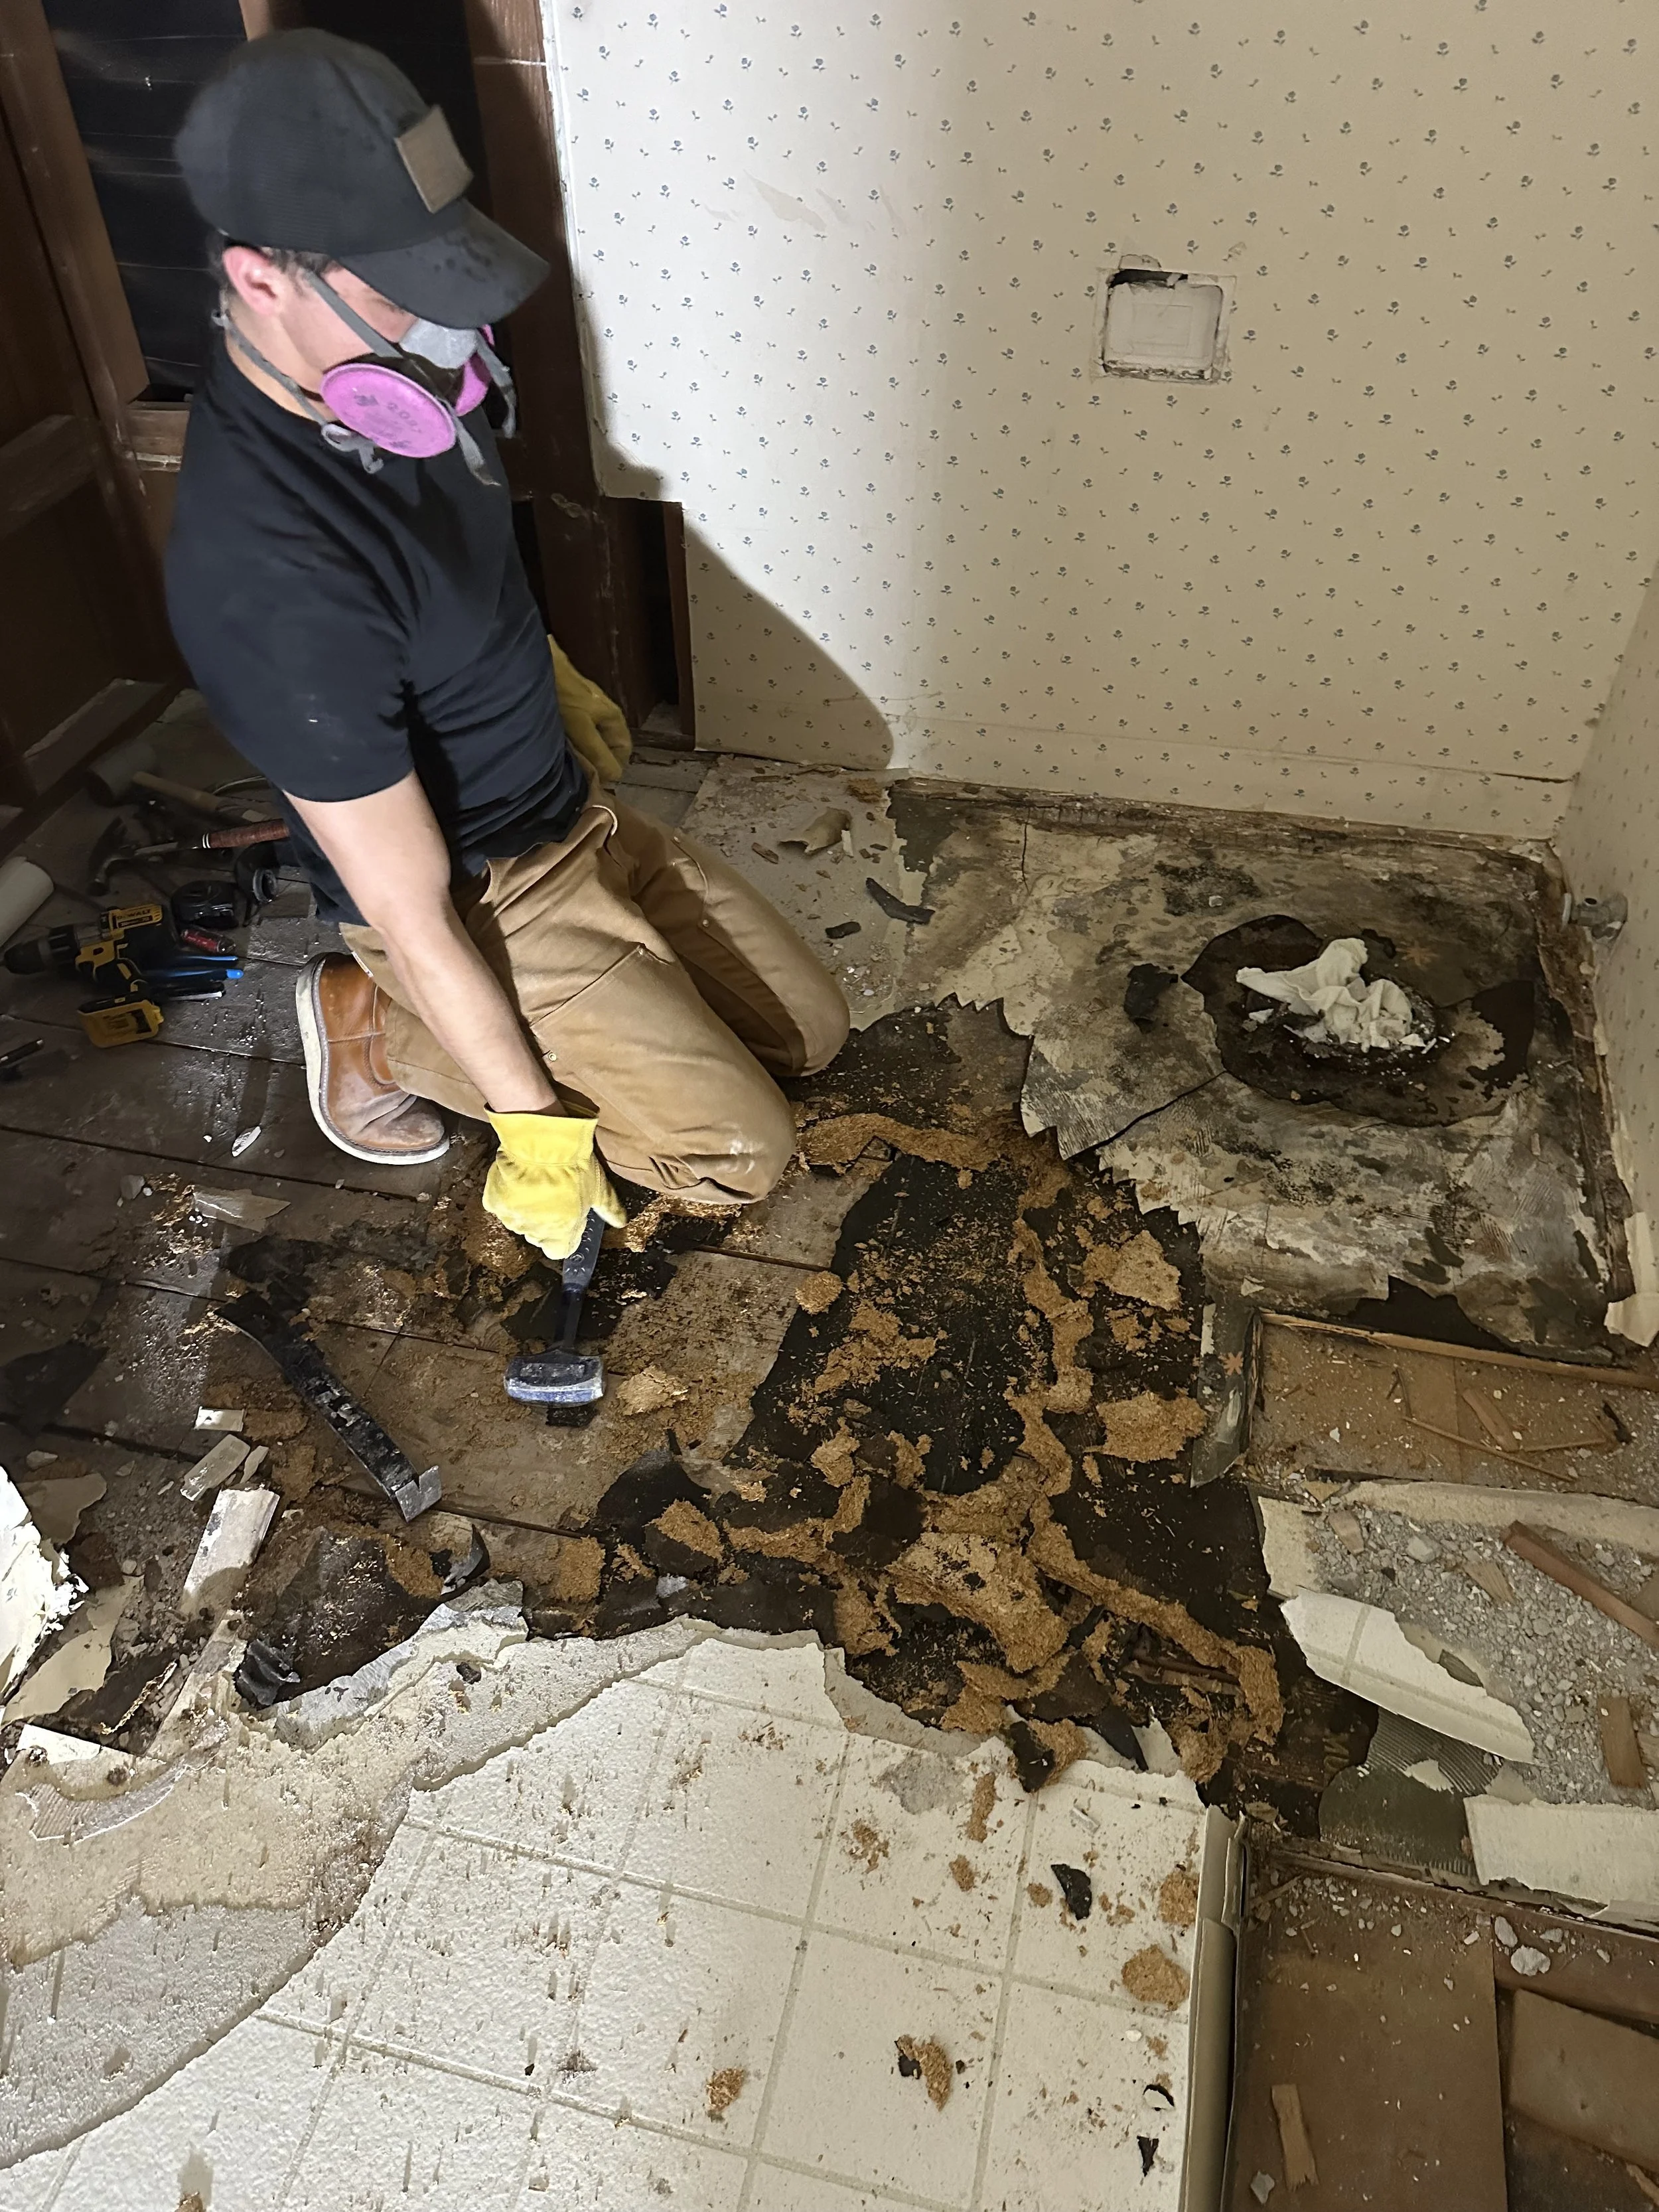
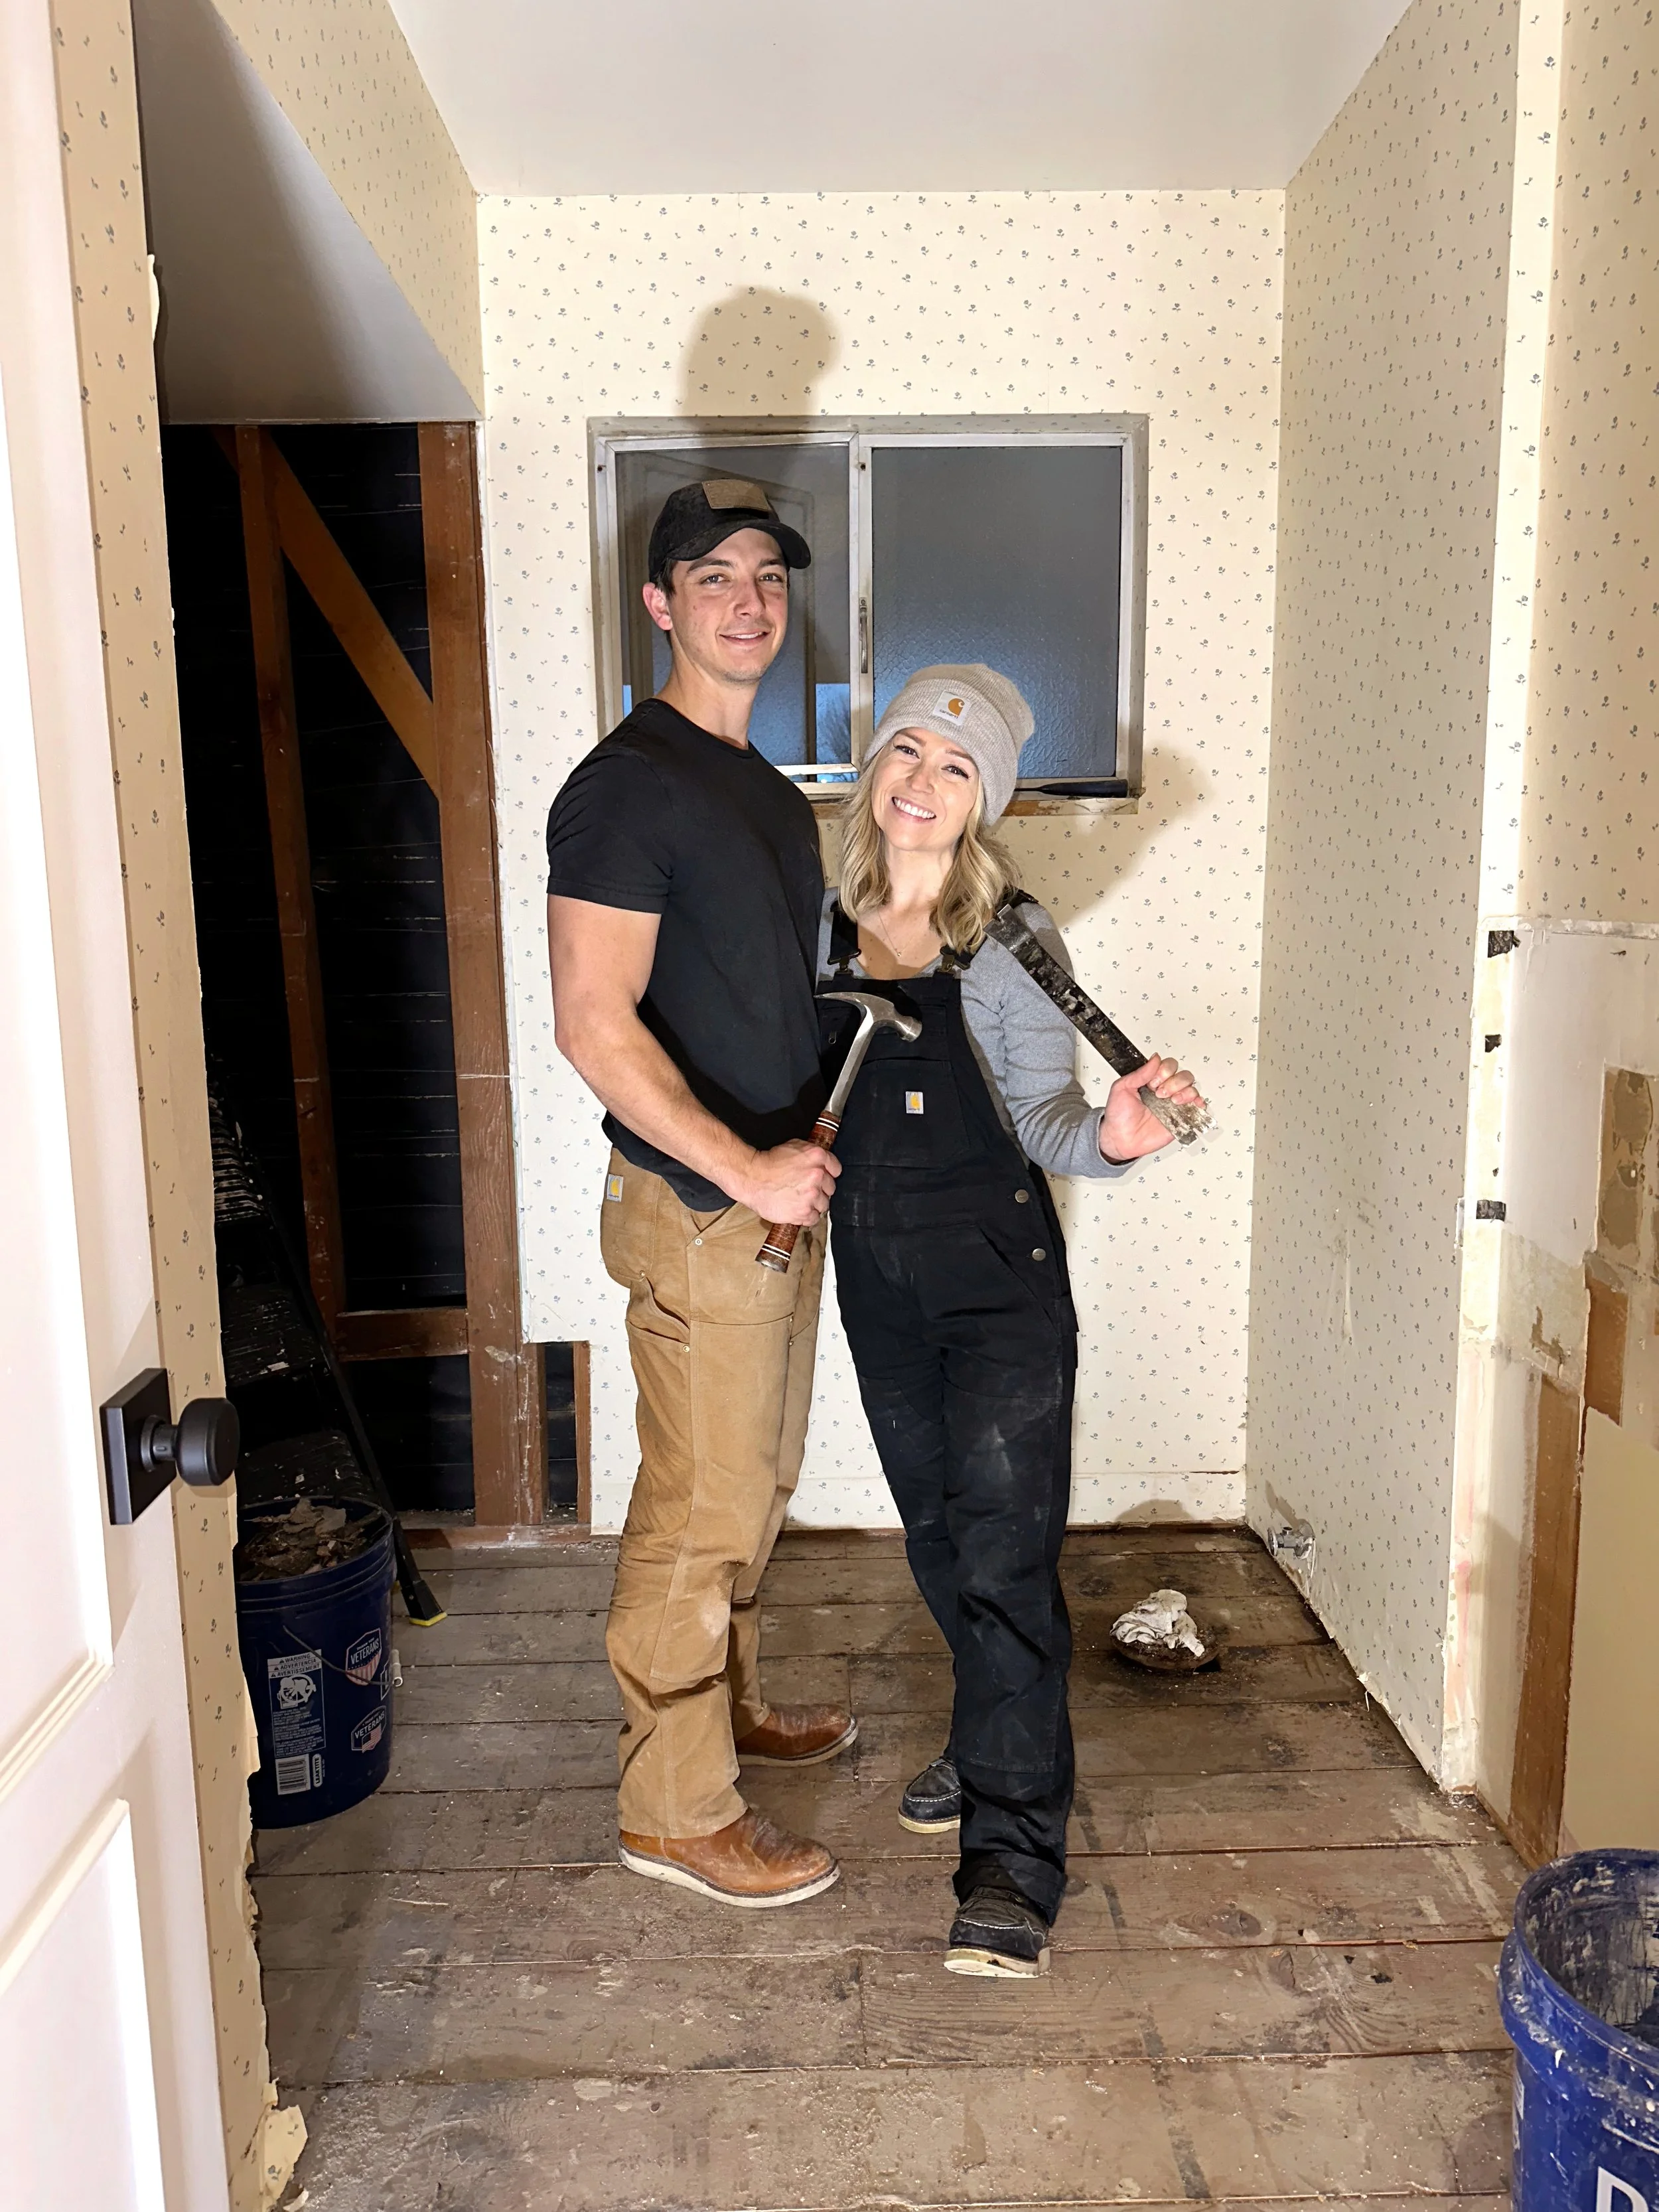
We finished demo in about nine hours with still having to remove the soffit above the shower and all the wallpaper (that was for another day). We definitely felt accomplished after a long day’s work. It was a nice feeling looking at a bathroom that had been cleared and was ready for some design fun!
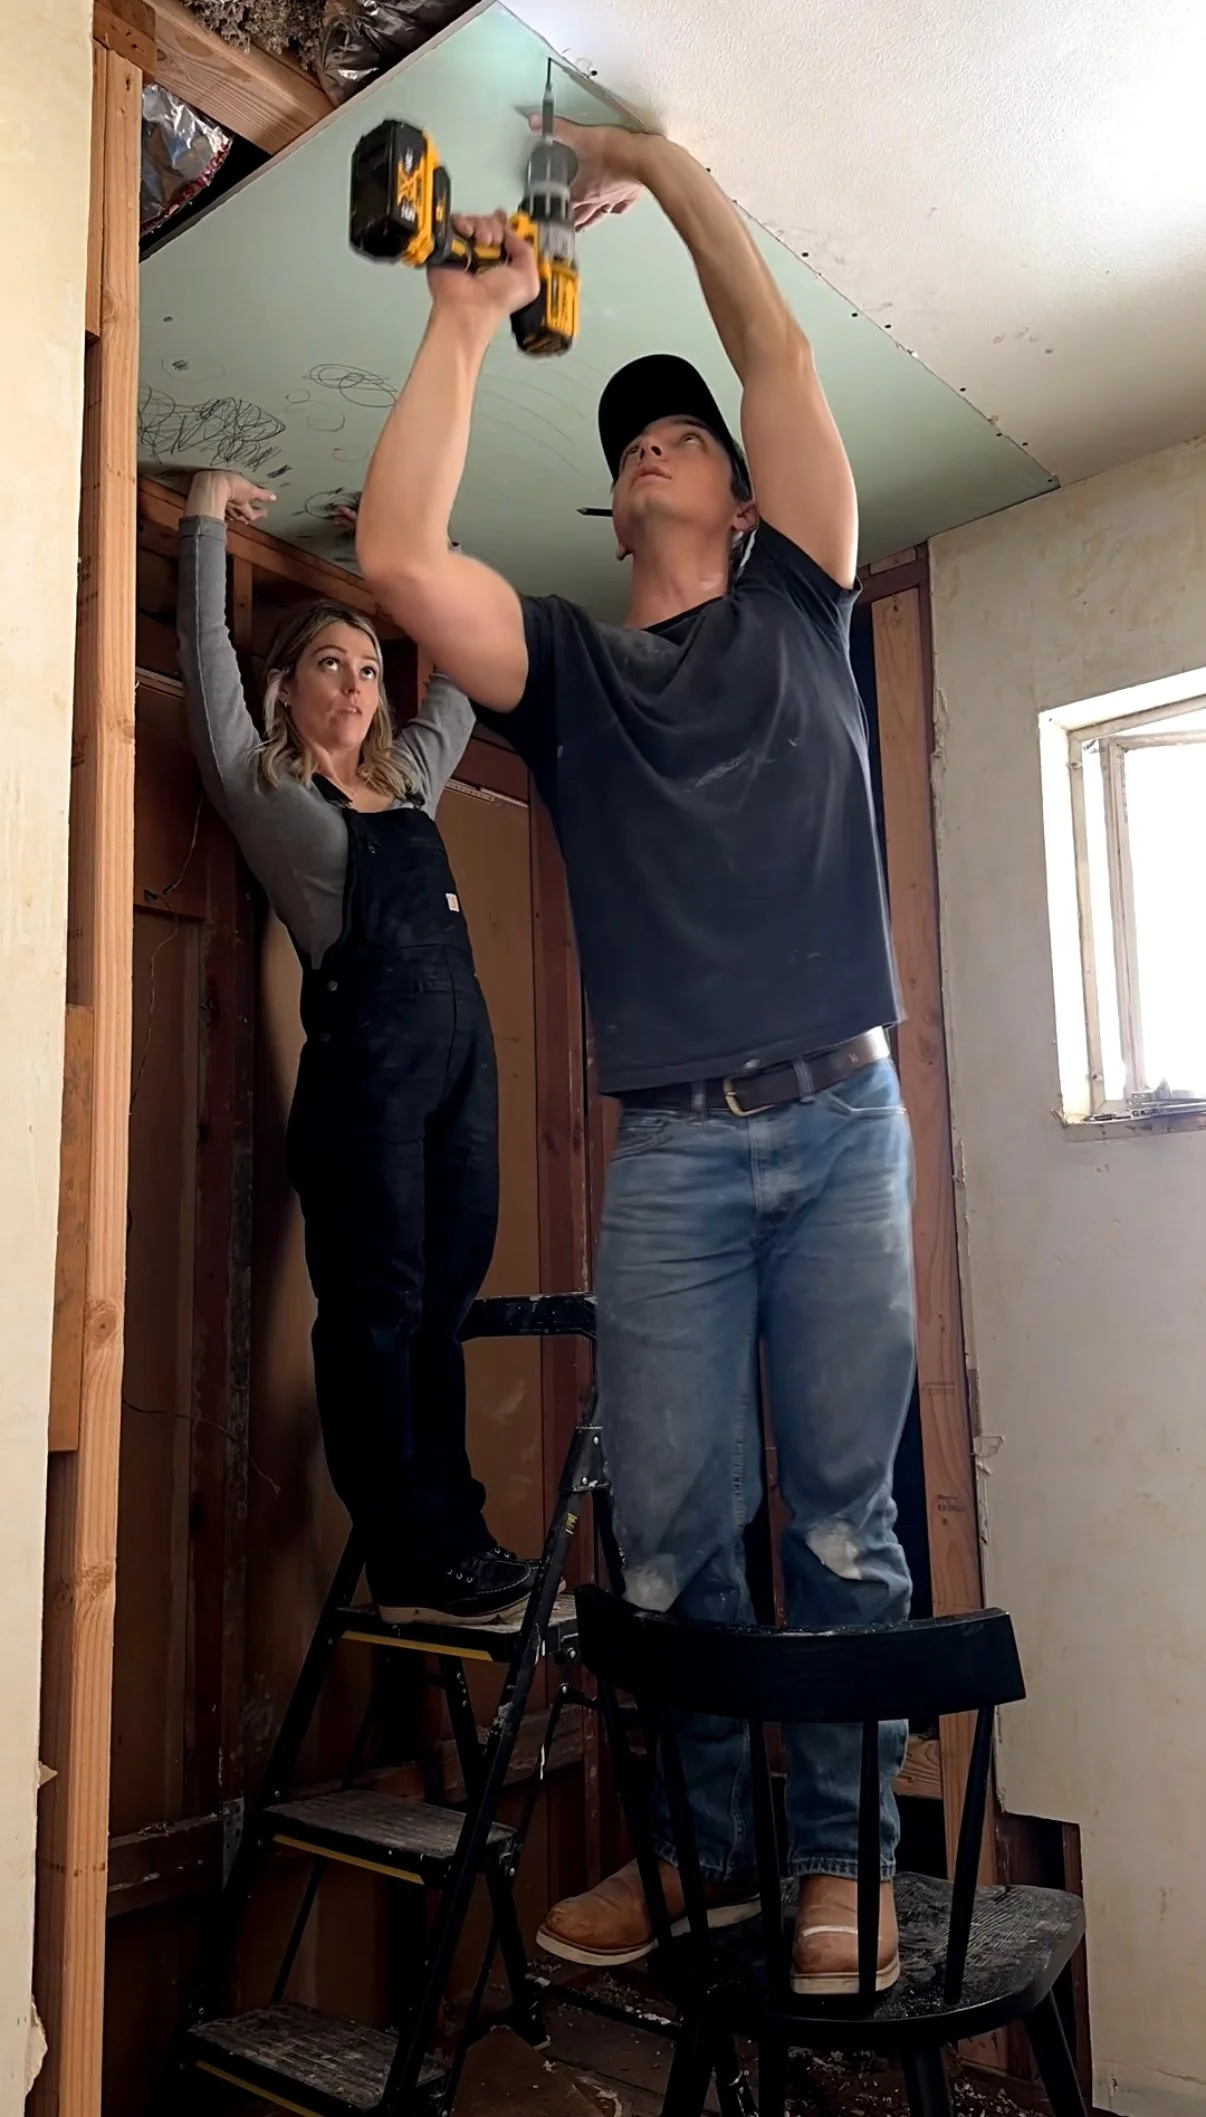
Secure Subfloor + Replace Drywall
This is probably the most uninteresting part of the project but completely necessary. If you don’t prepare and don’y have a good foundation, things go wrong and can create an even bigger mess. After the soffit was removed, there was a huge gaping hole in our ceiling. Immediately, we installed special grade drywall for above the shower.
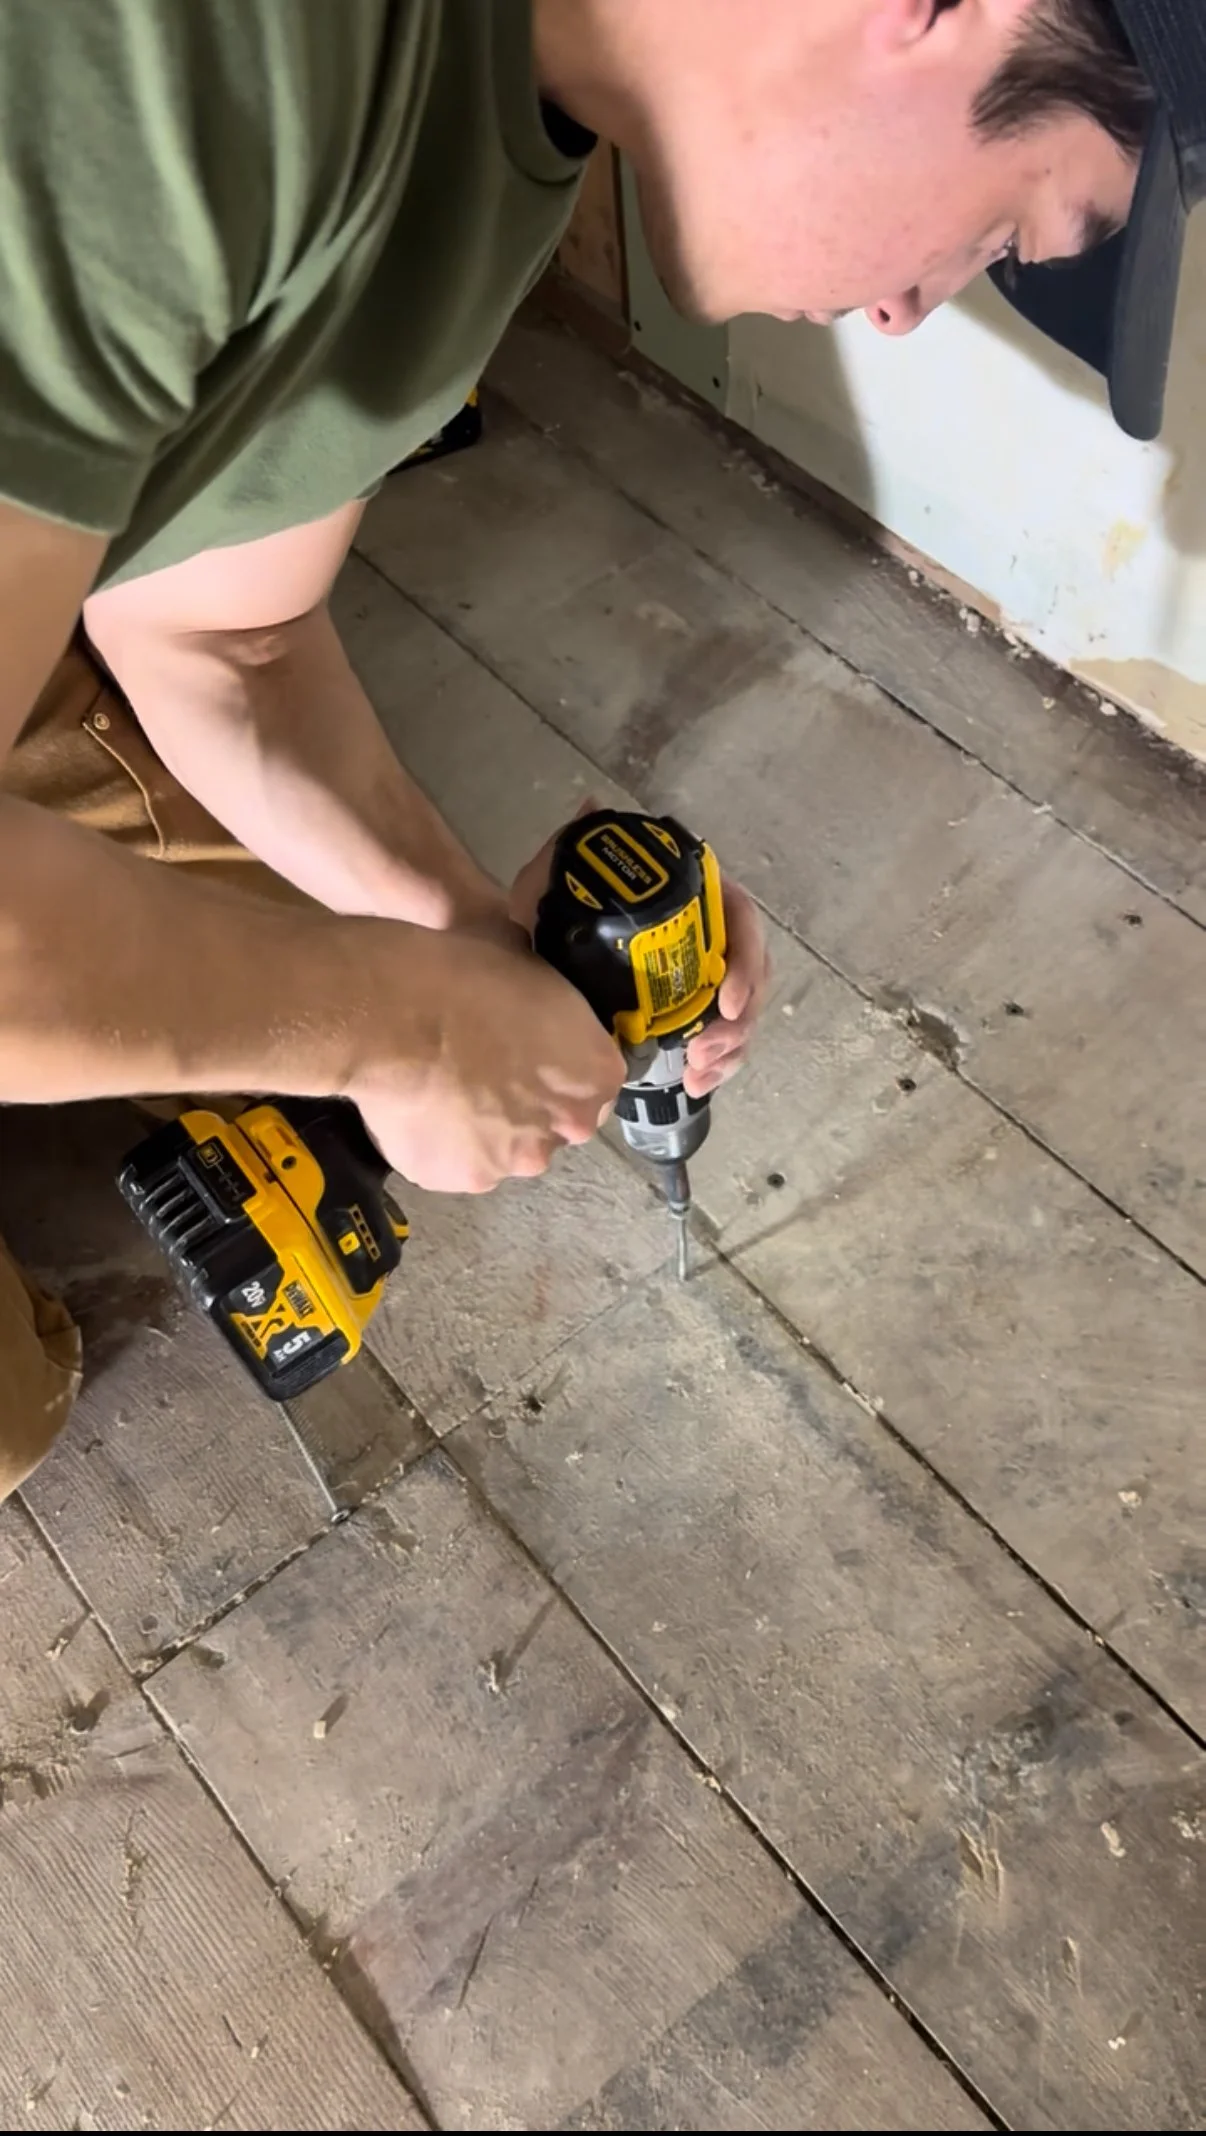
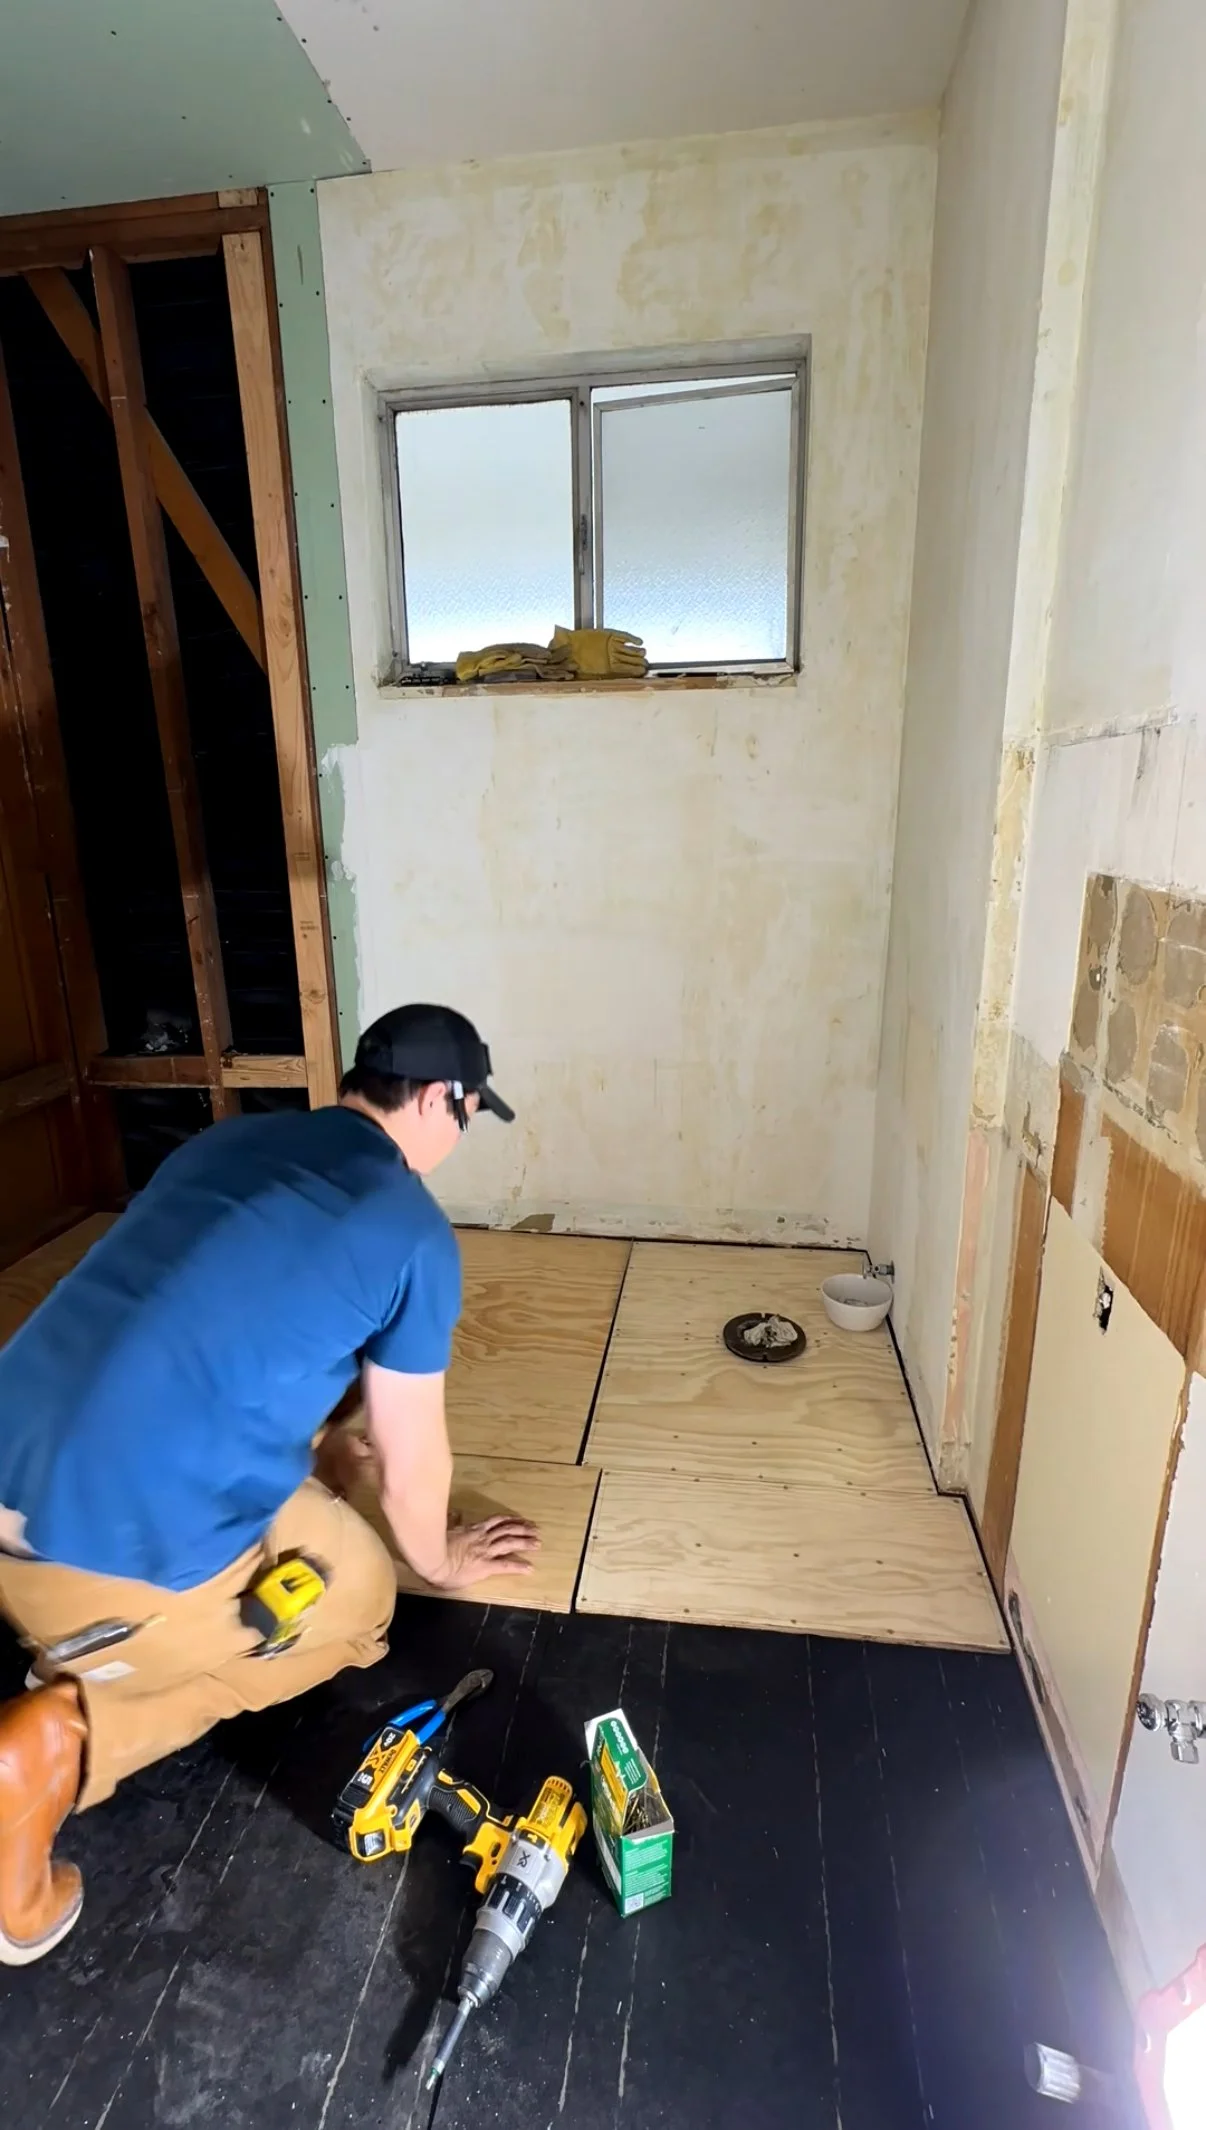
Before we could move on to the next (more exciting) steps, we had to ensure the floors were ready for tile installation. This required us to drive additional screws into the floor joists for extra security. Once the subflooring was secured, it was time to add multiple layers of materials to the floors. Black underlayment paper was installed on the entire surface of the floor. This creates a barrier between the subfloors and plywood/tile. Next, we installed 3/4” plywood. And if you can believe it, we still had to add a couple more layers of material on top of that— talk about a lot of prep work!
Skim Coat
We have quite the expertise when it comes to skim coating the walls. When we first moved in, we removed wallpaper from pretty much all the walls in our house. Most of the time walls get damaged due to the wallpaper adhesive, therefore we needed to retexture to make them smooth. Skim coating is the process of making your walls smooth. You simply mix joint compound with water to make it runny. Pour it into a paint tray and use a roller with a very thick nap to apply to the walls. It’s critical you don’t wait too long to smooth the material otherwise it’ll turn out like knock down texture (and no one likes that)! Our trick is that we always have a spray bottle on hand to keep the compound moist when we’re ready to smooth. We used a very large window squeegee to smooth the joint compound. Wait for the compound to dry (we typically wait 24 hours especially ensuring the wet months) to ensure it’s ready to sand. After lots of practice, this step is now easy for us but doesn’t mean it’s not TEDIOUS and MESSY.


Installing Tub
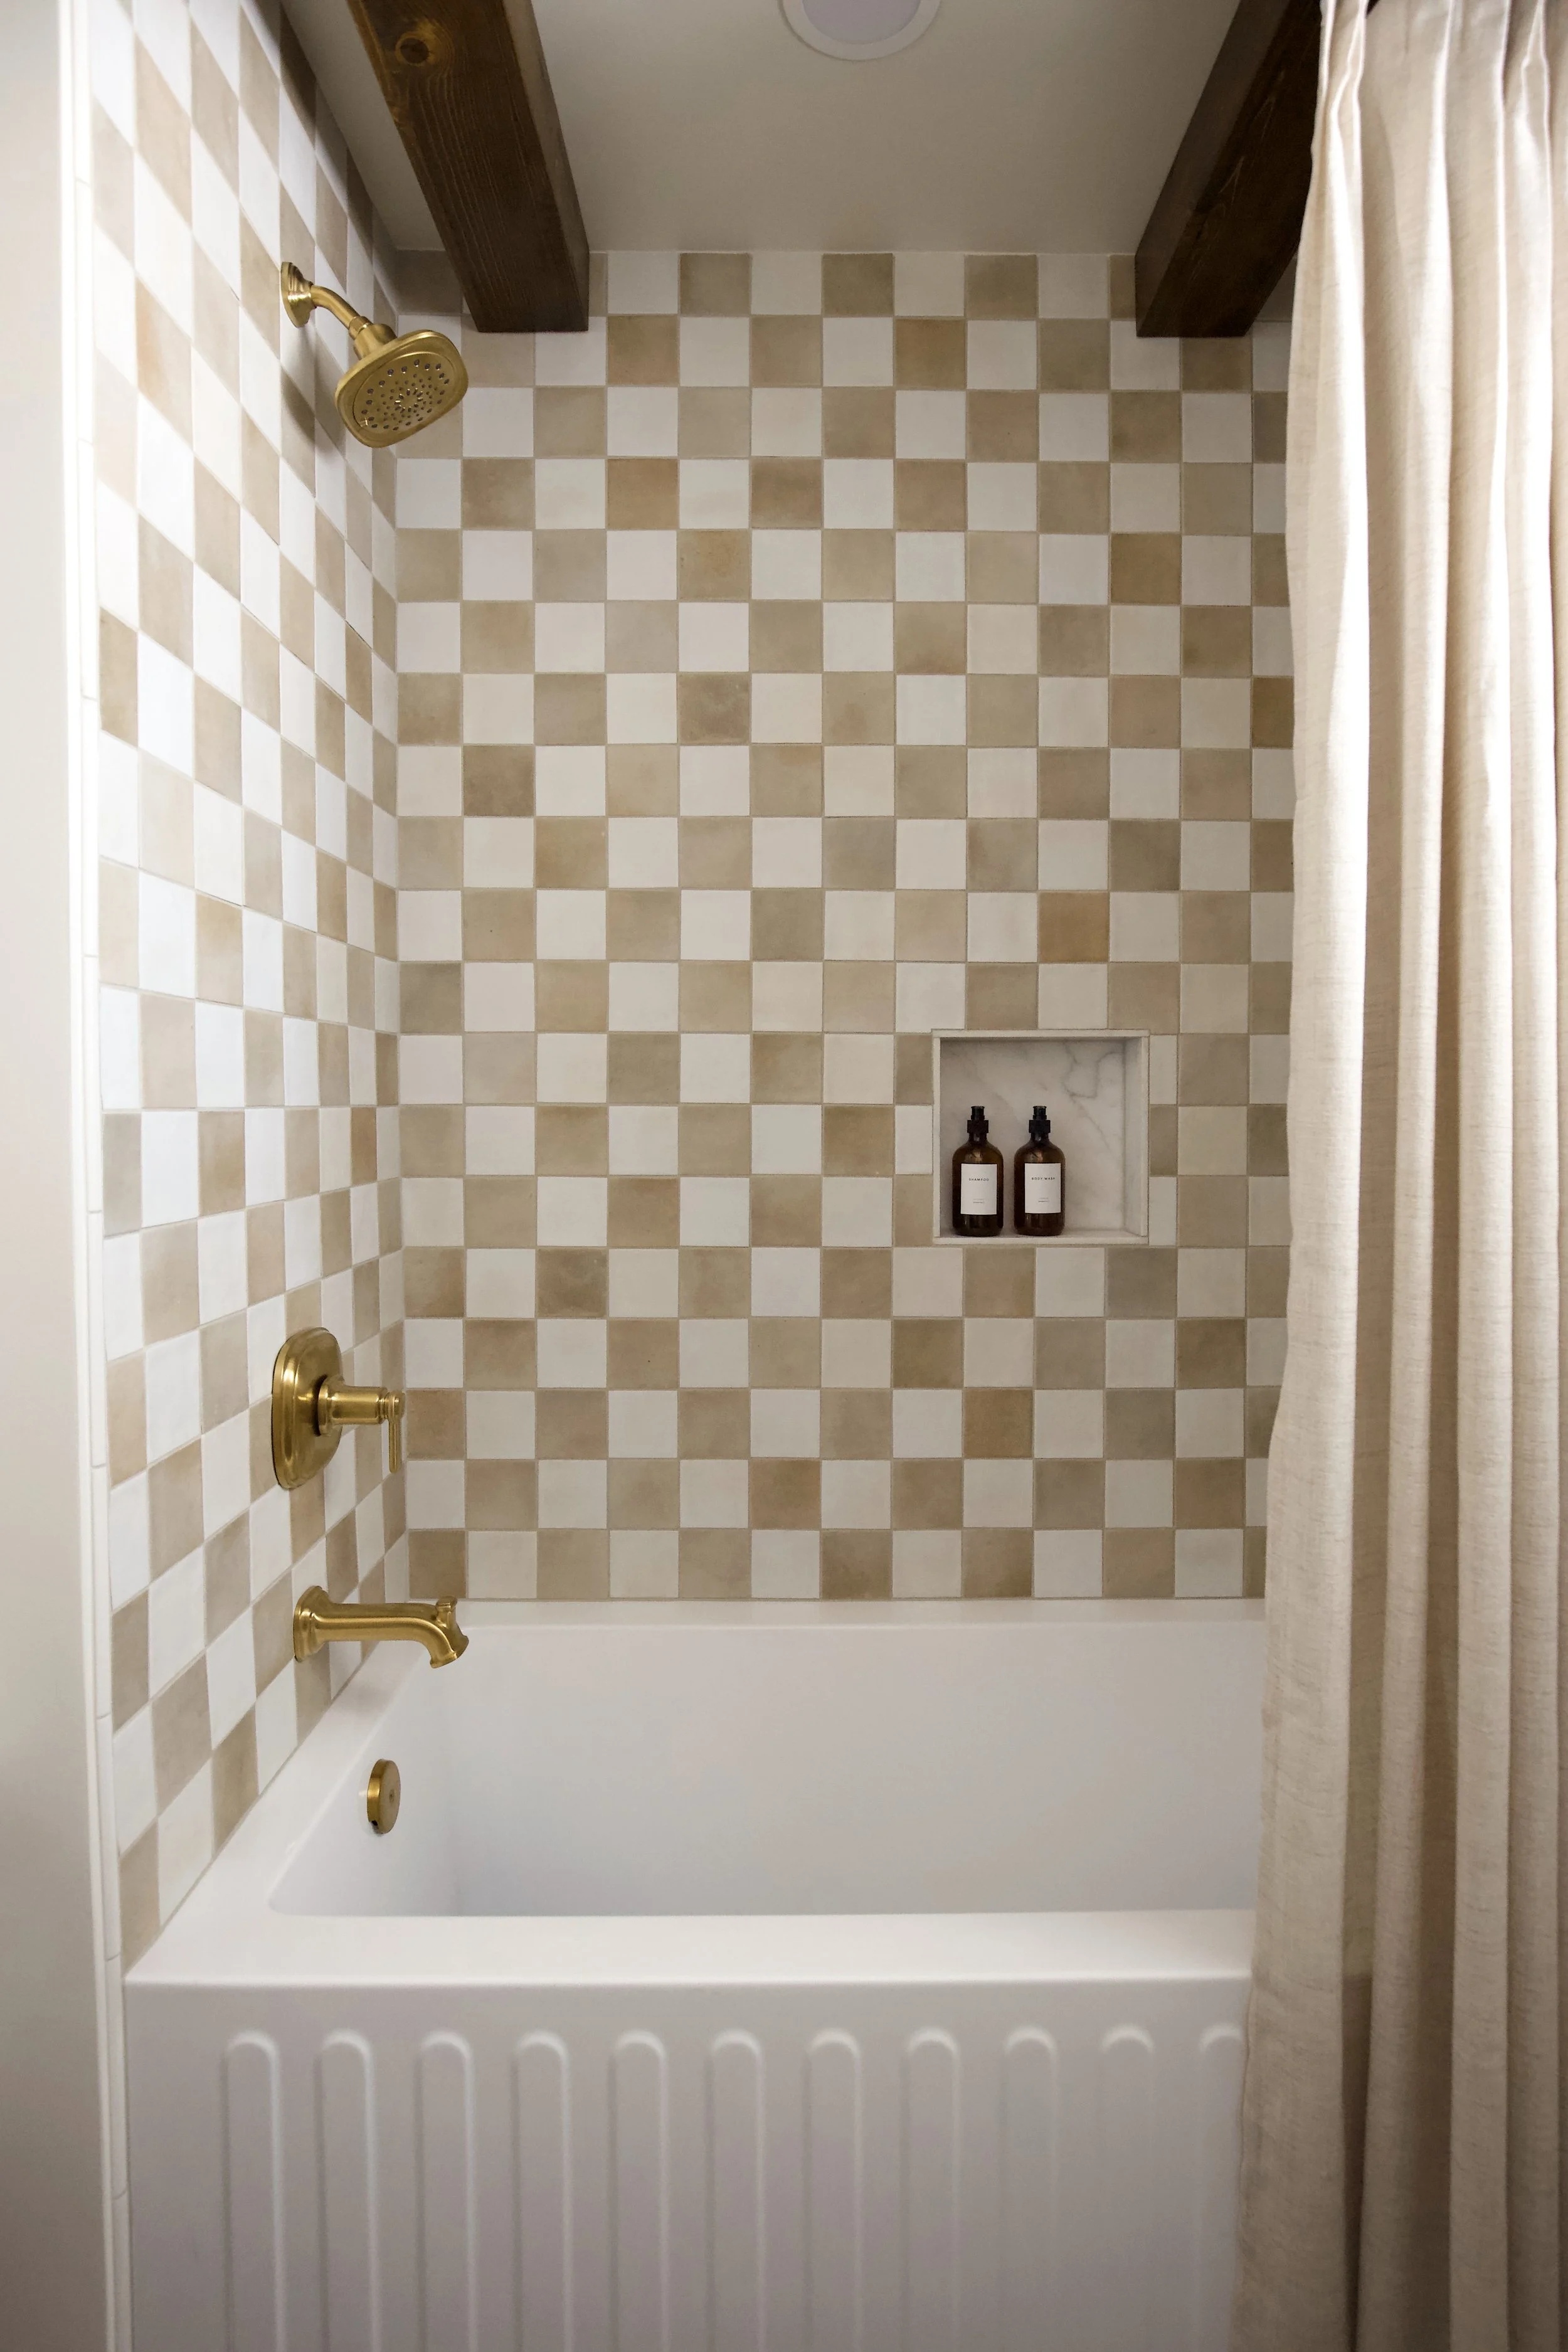
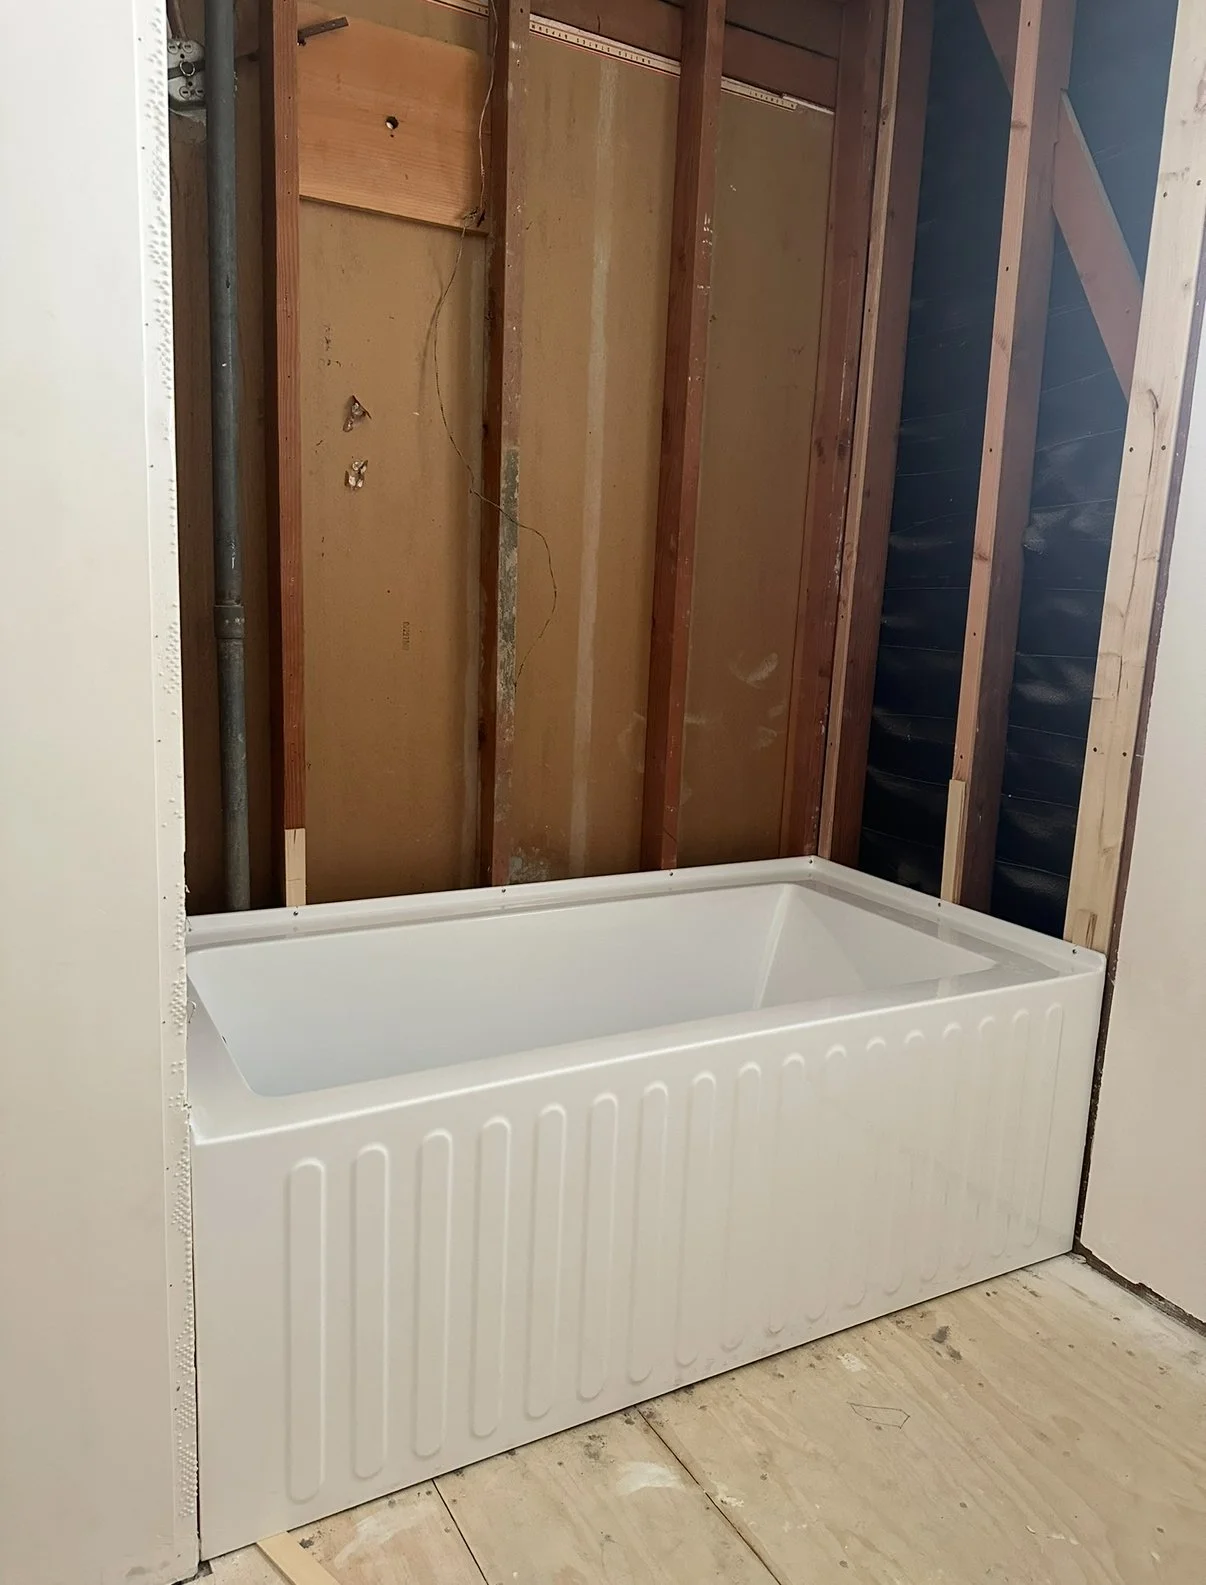
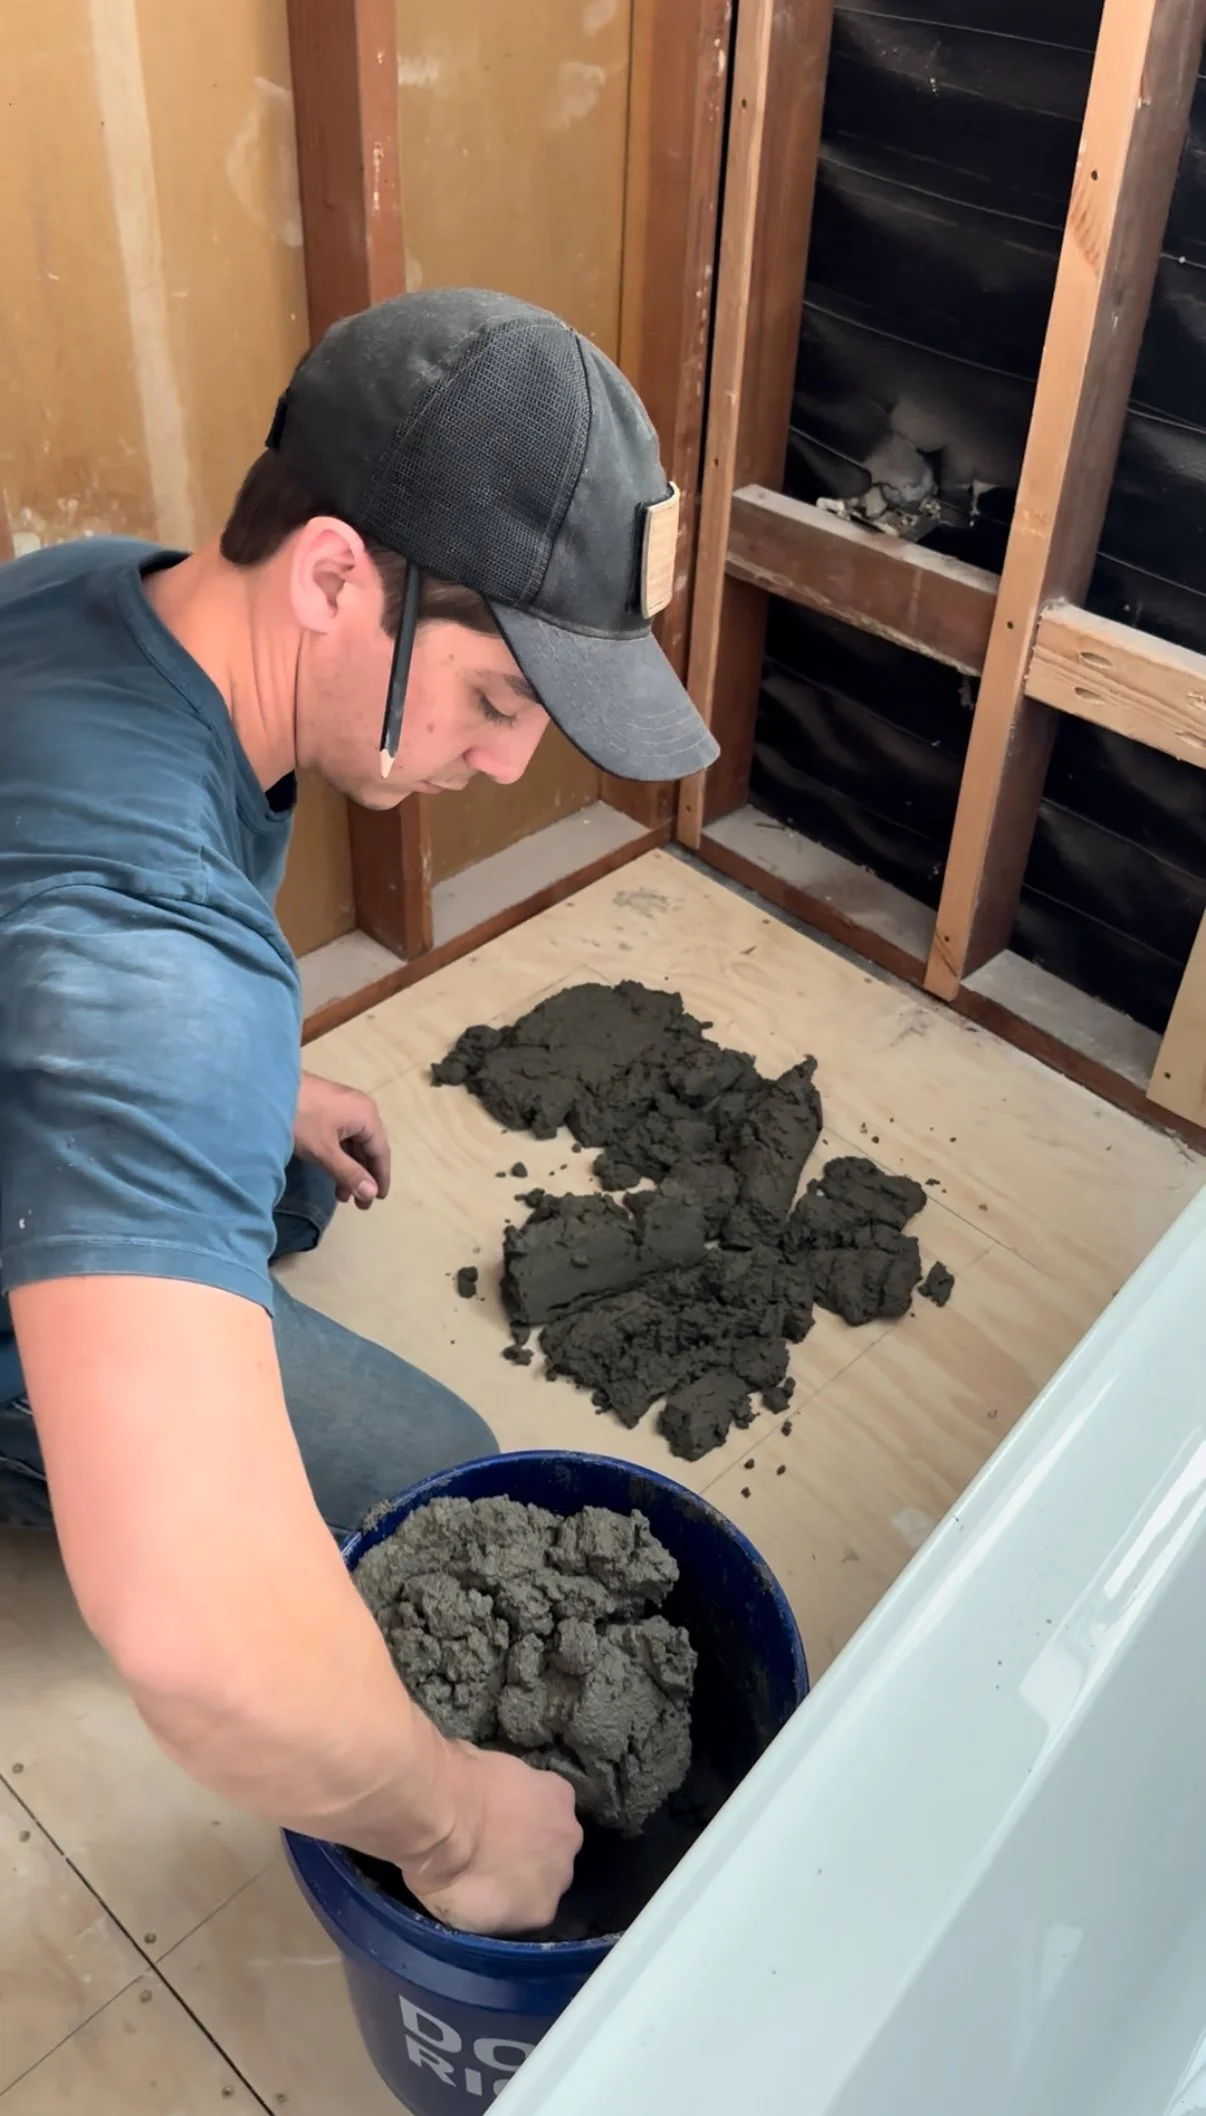
This was probably the most nerve racking step of the whole project. Something we’ve never done before. We purchased this alcove tub to install for our tub/shower section. The process sounds easy but there are many things you need to account for when installing the tub. The tub had to fit pretty much perfect in this space meaning there was no wiggle room when installing. This increases your chances of it cracking if you don’t get it right. This section also needs to be completely square- we had to add shims to the studs. I didn’t know this but for alcove tubs, you have to place a bed of mortar underneath the belly to level the tub. It gives it something to grab to. Looking back, this step seemed fairly simple but we’d be lying if we said we didn’t break a sweat.
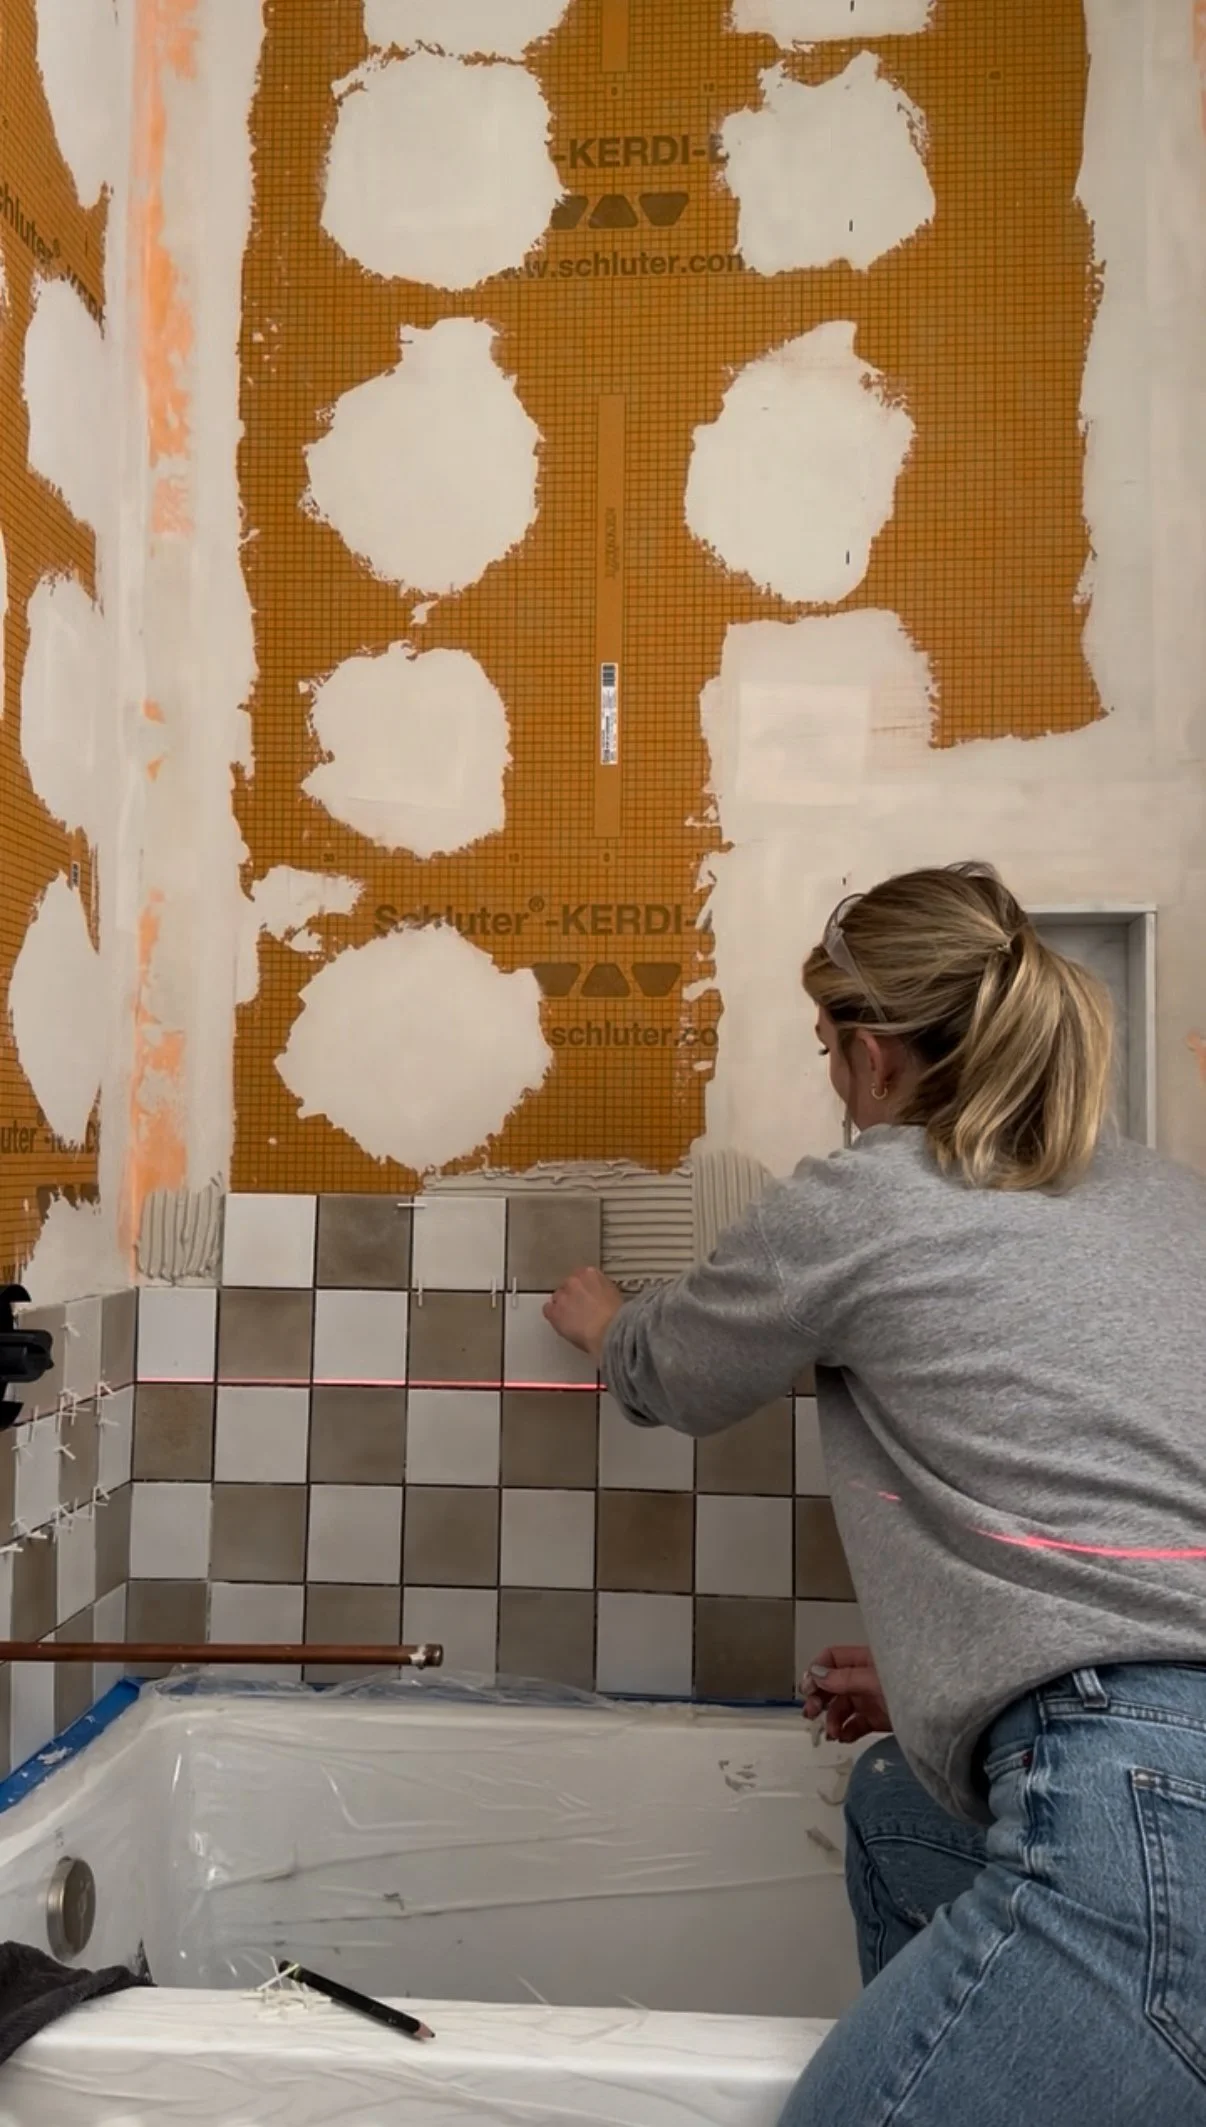
Tiling & Grouting
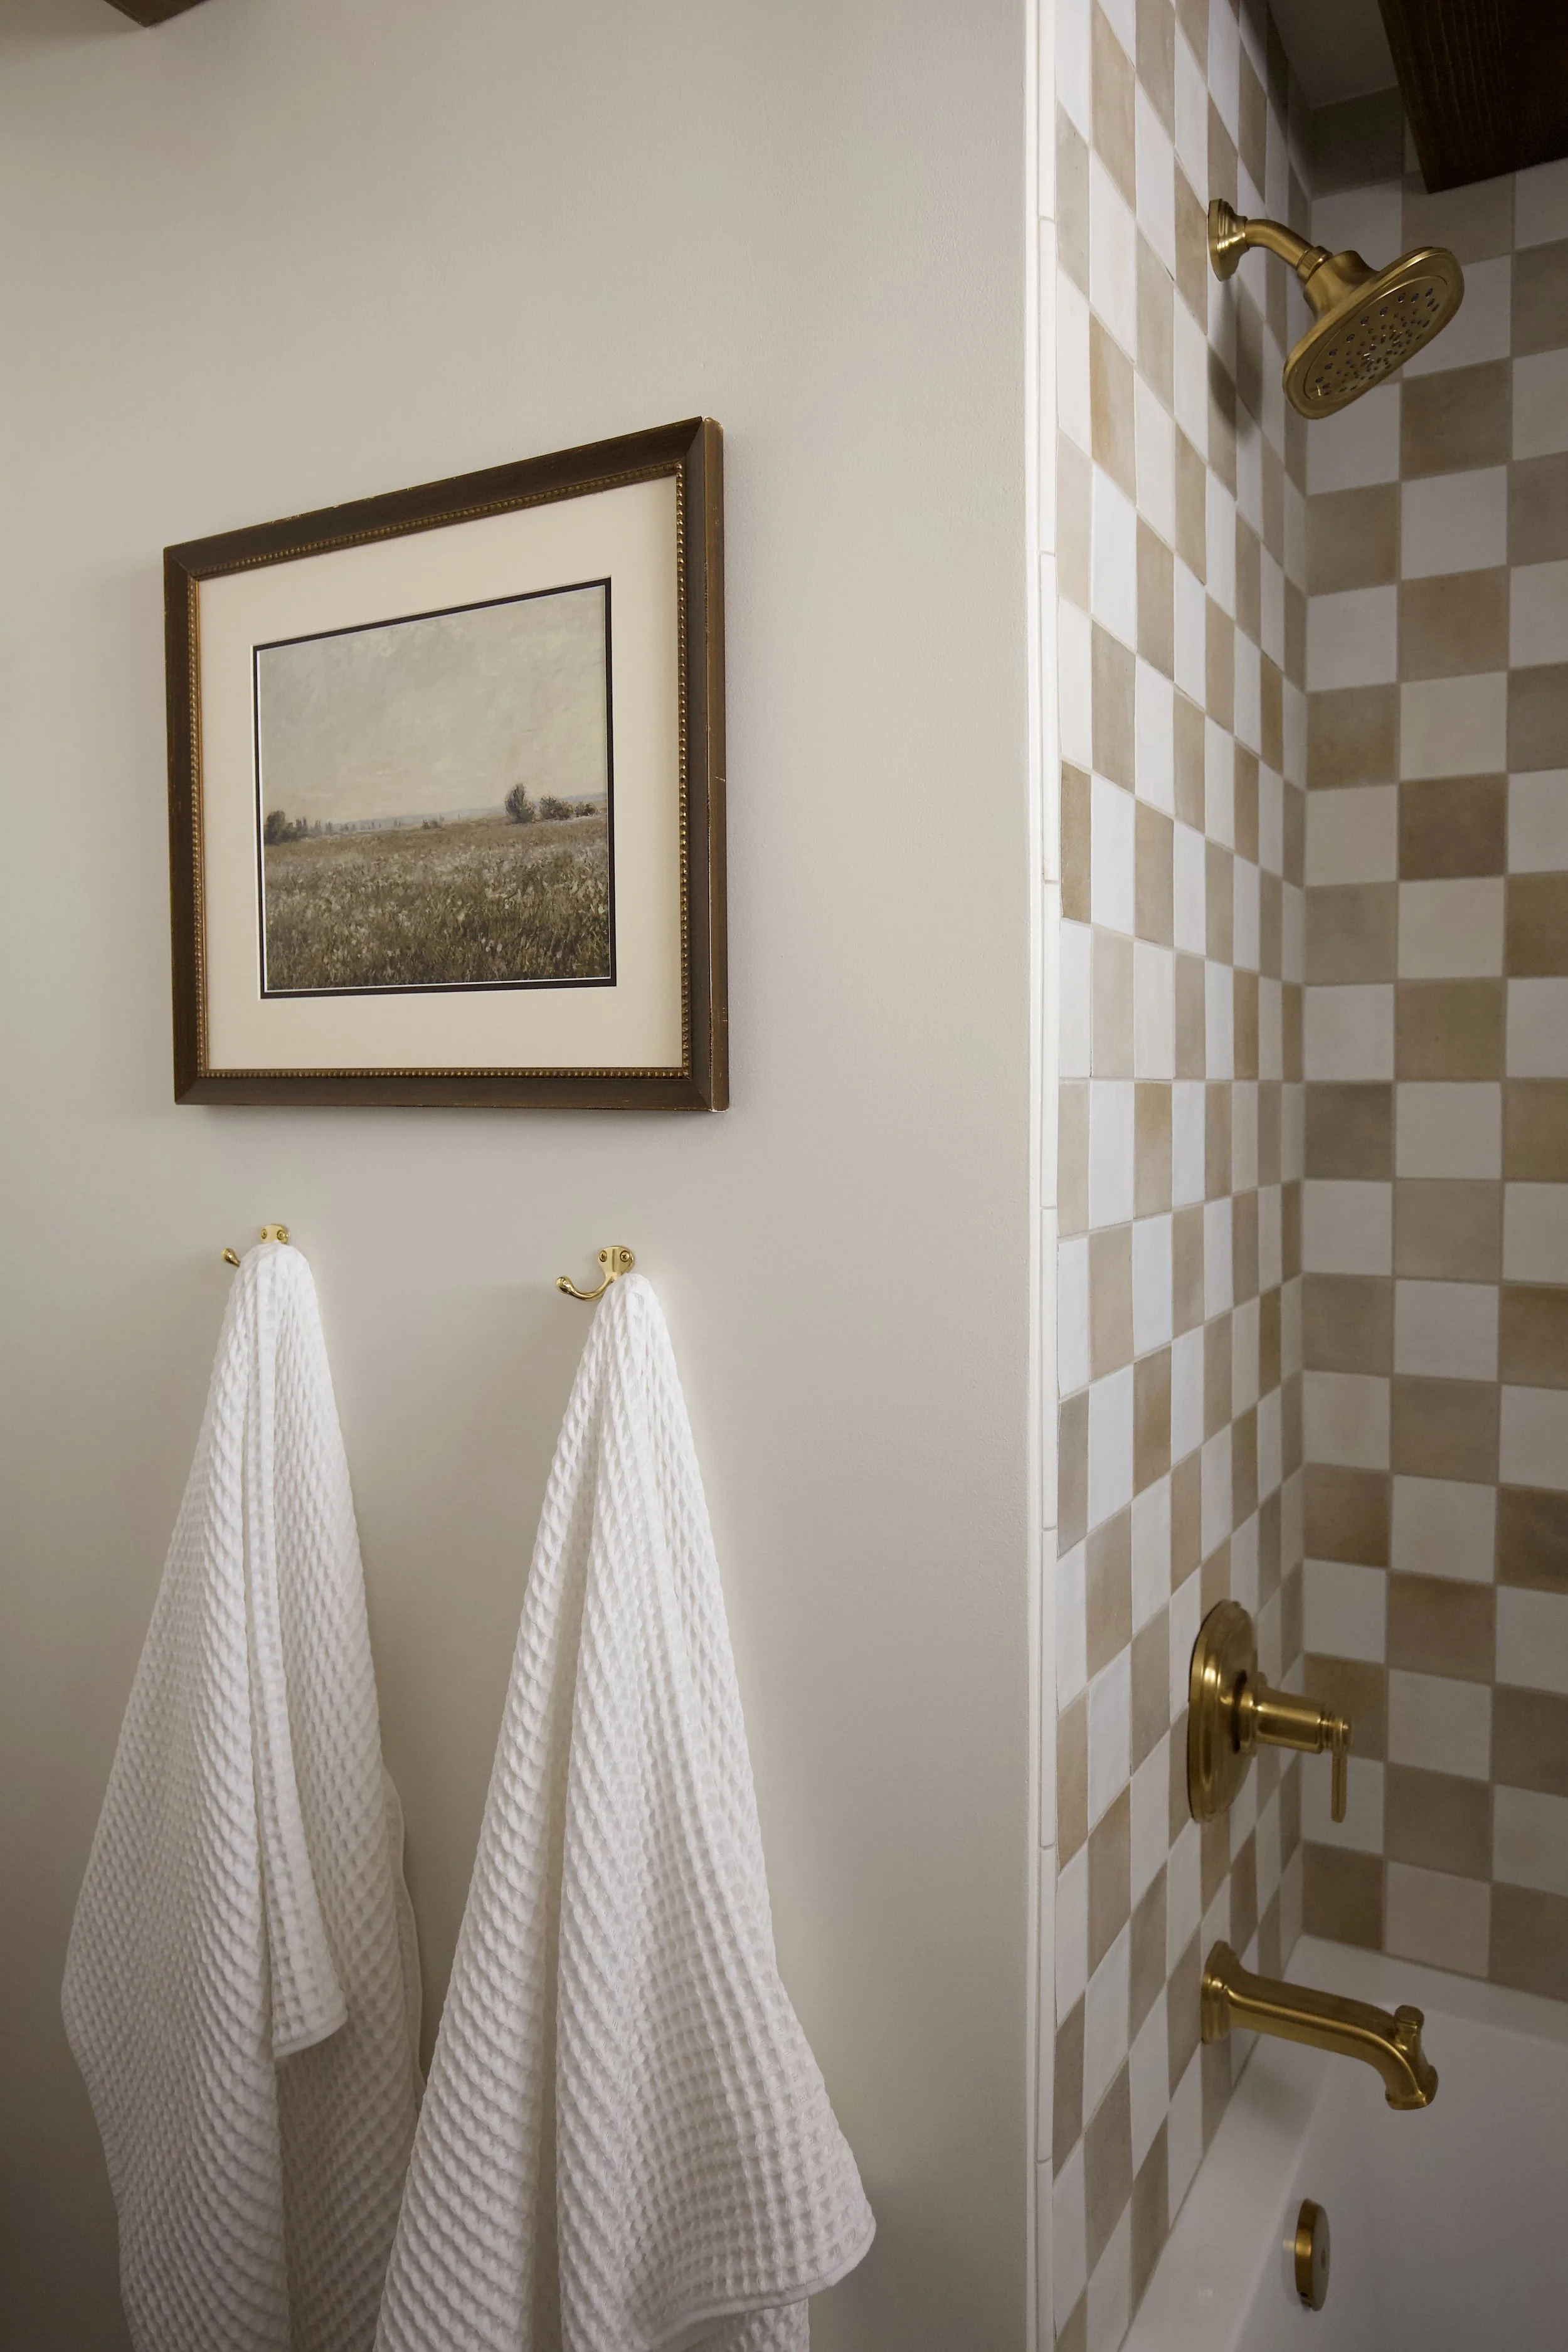
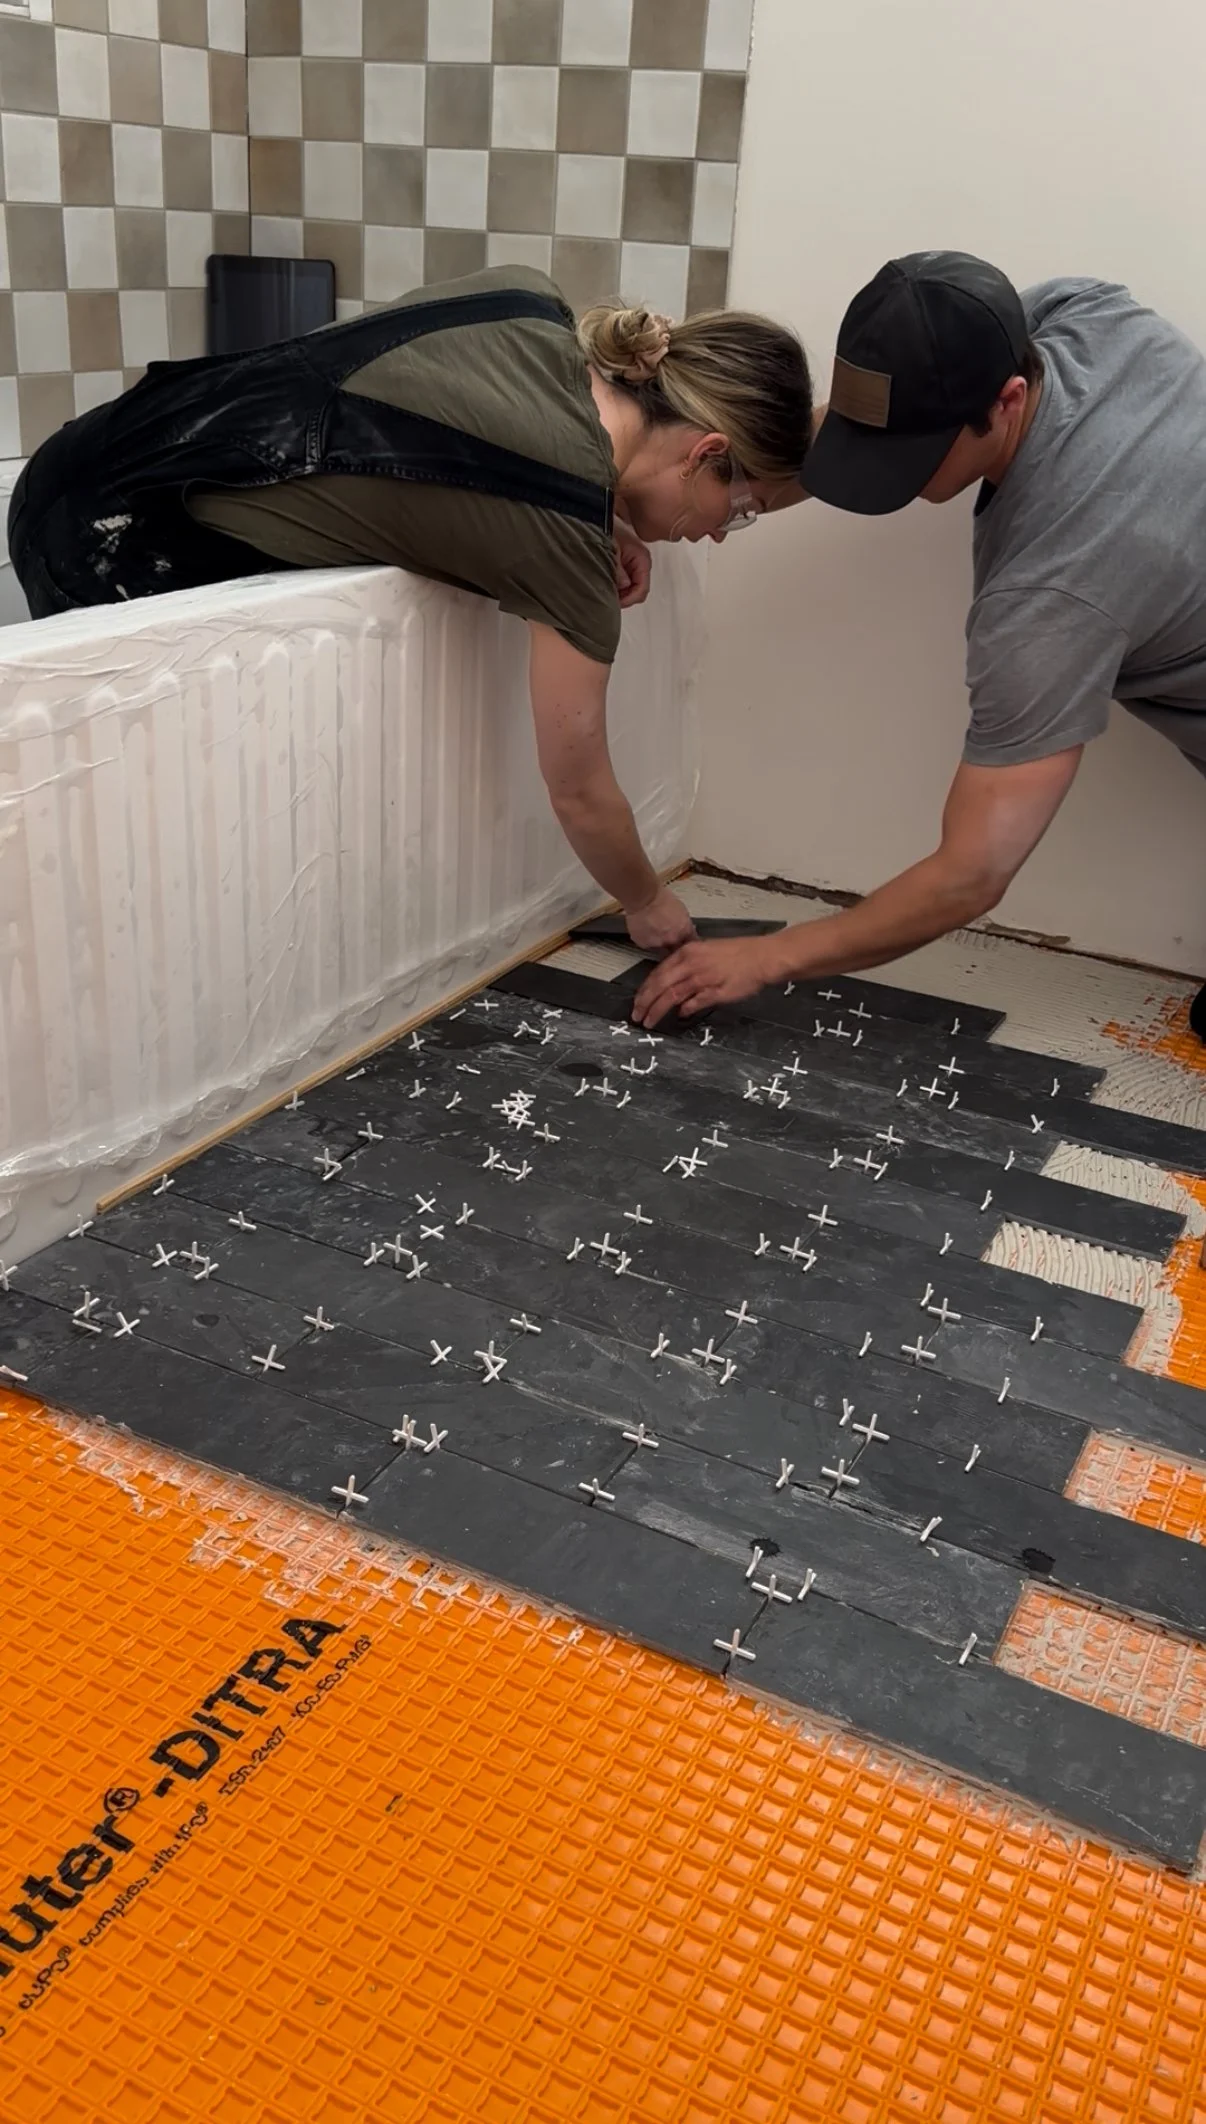
My favorite part. This was when it started to feel like it was coming together. I originally wanted to lay the tiles in a diagonal checkerboard pattern but Travis warned me that the corners would be too tricky to line up. We then decided to lay the tiles in a traditional checkerboard pattern. It turned out beautifully and I’m so glad we saved ourselves the headache. Laying tile takes a ton of patience. We had to work on it little by little. Travis helped with installing the first few rows and then I took it from there. I would work on it for 2-3 hours at a time after the kids asleep, making lots of noise in the front yard (sorry neighbors). Since we have done two big tile jobs in house house already, we were familiar with the process. After the shower was complete, we quickly started on the floor tile. We got this done together in about a day and I tell you what, it felt so good to lay that last piece of tile down in our house.
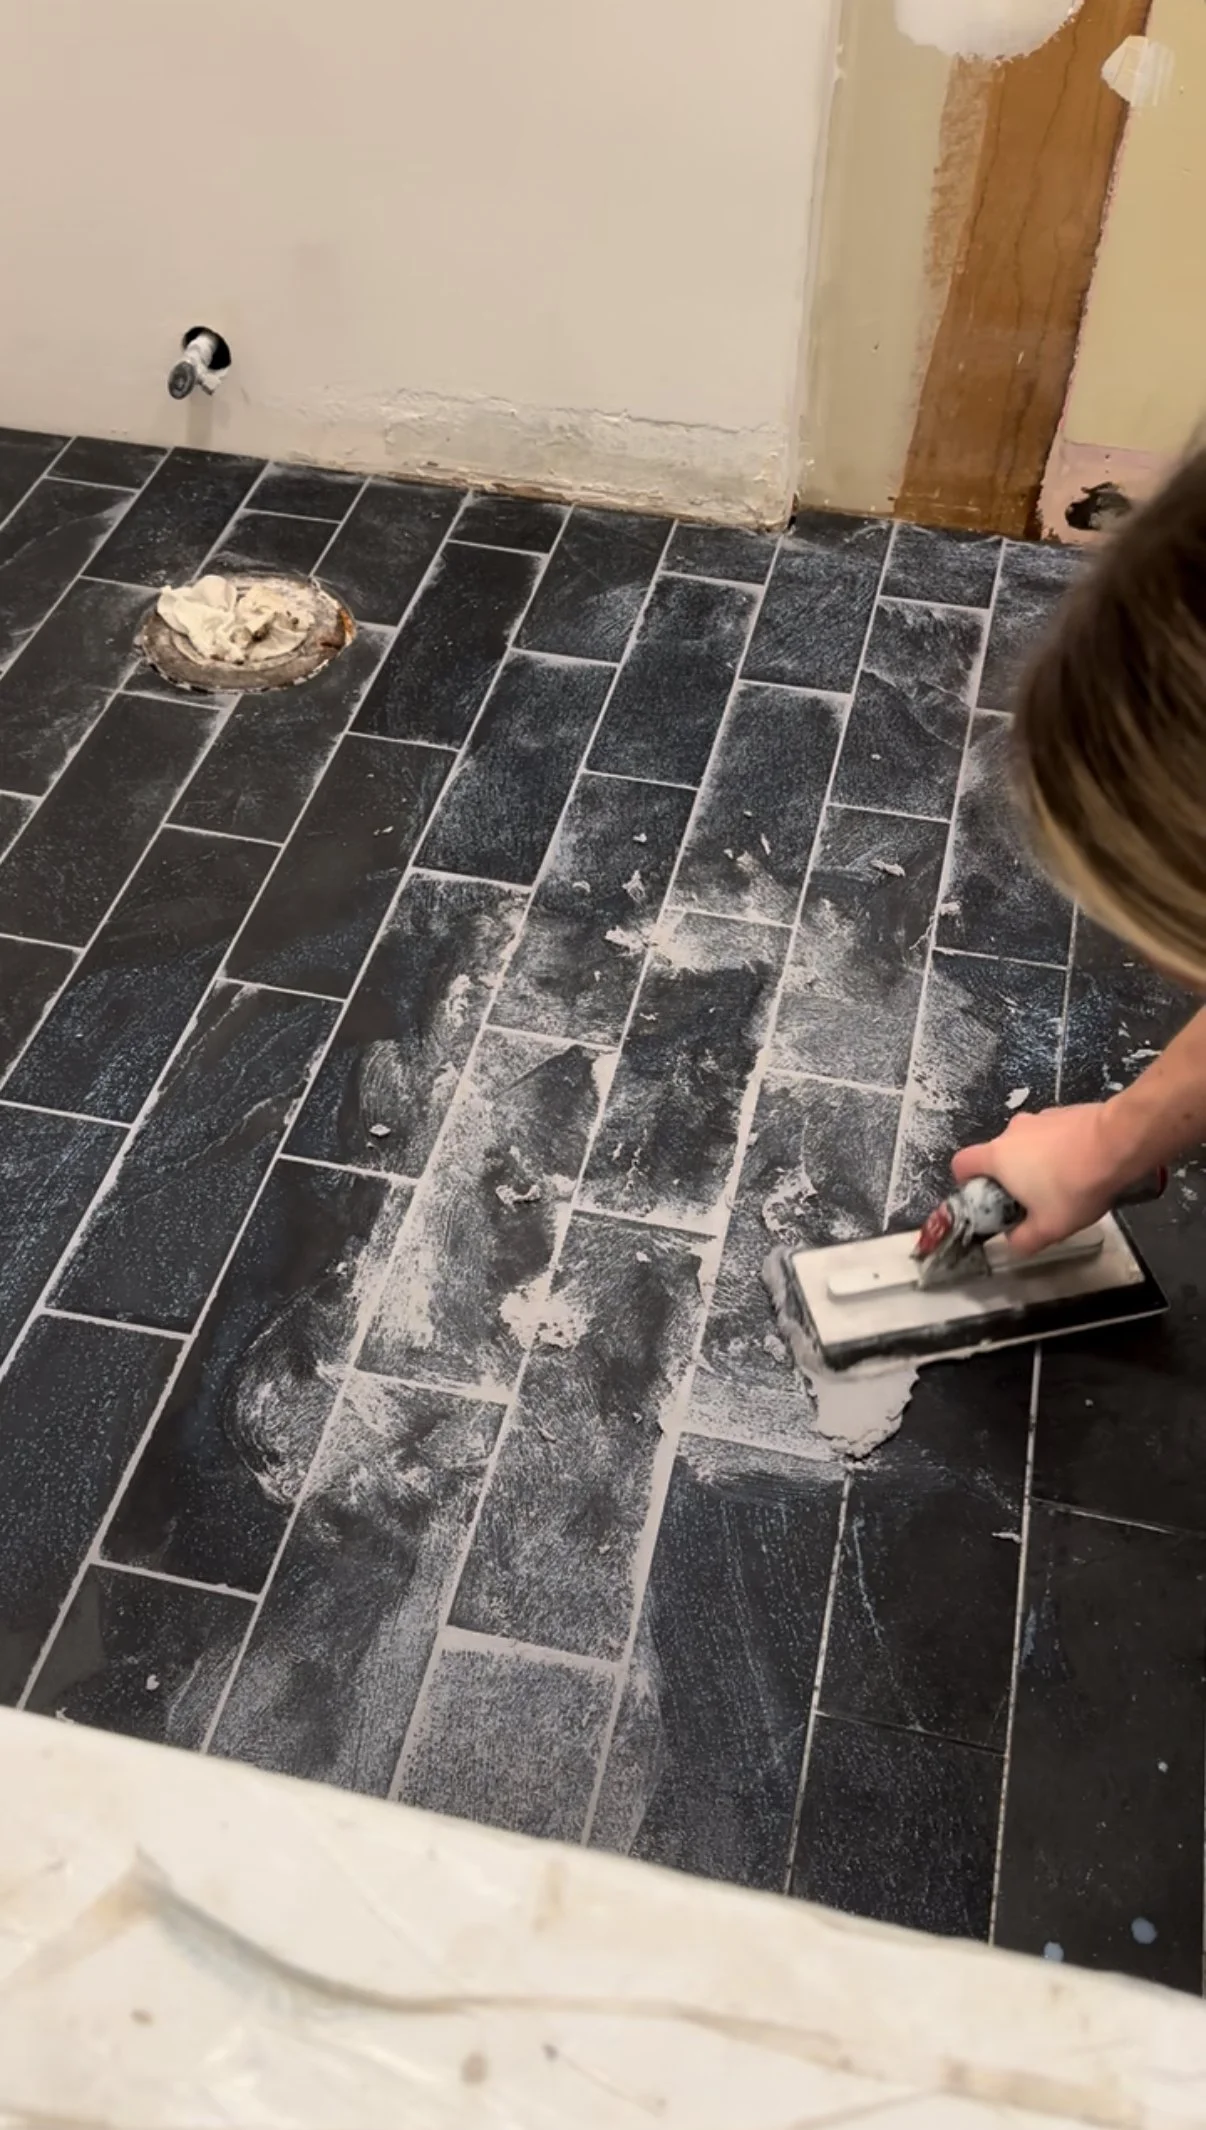
Be prepared for grouting to be a MESS. This step is fairly easy but does take a lot of elbow grease at the end. We’re big fans of Mapei’s premixed grout. No mixing and the color will always be consistent. Applying the grout with a float is absolutely necessary. Make sure to NOT grout the corners or between any change of planes. It is important to apply with silicone to allow for movement, otherwise grout will crack and make a huge mess. After the grout was done drying (we waited 24 hours), it was time to de-haze. We enjoy using a dish scrubber. This was what I meant when I said we used a lot of elbow grease- you need to scrub HARD it order to get the layer of grout off the faces of the tiles.
Install Panels
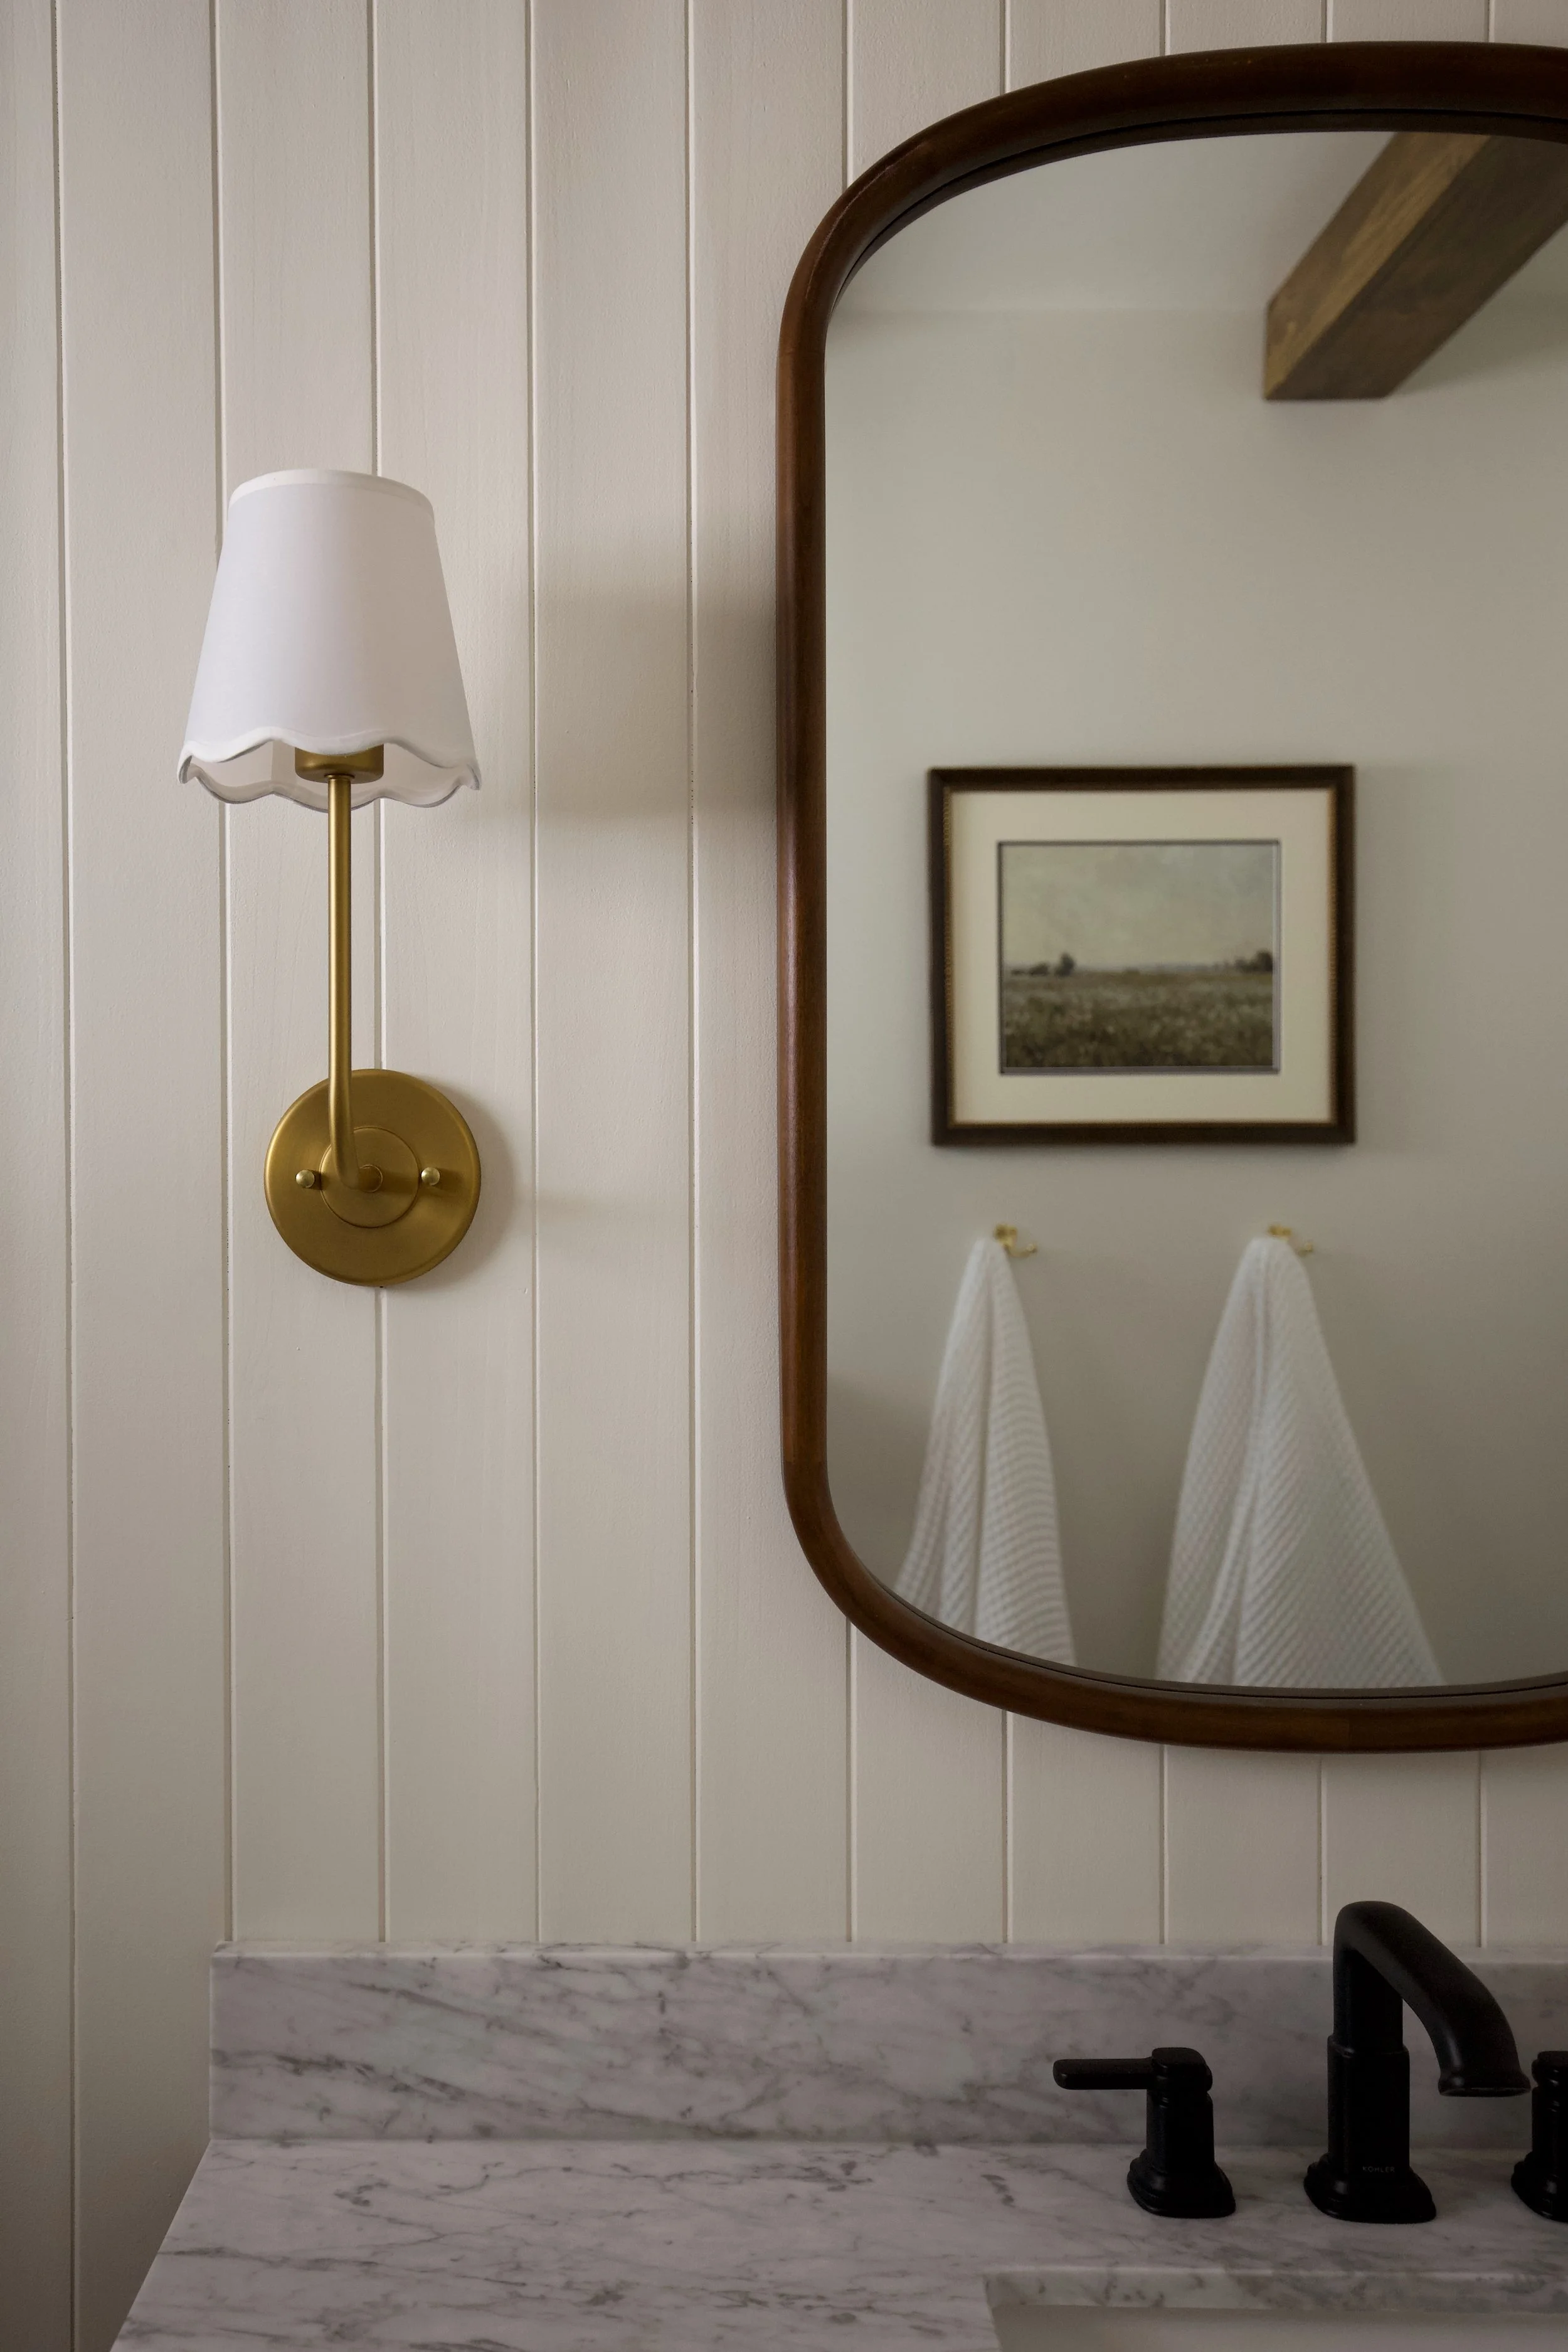
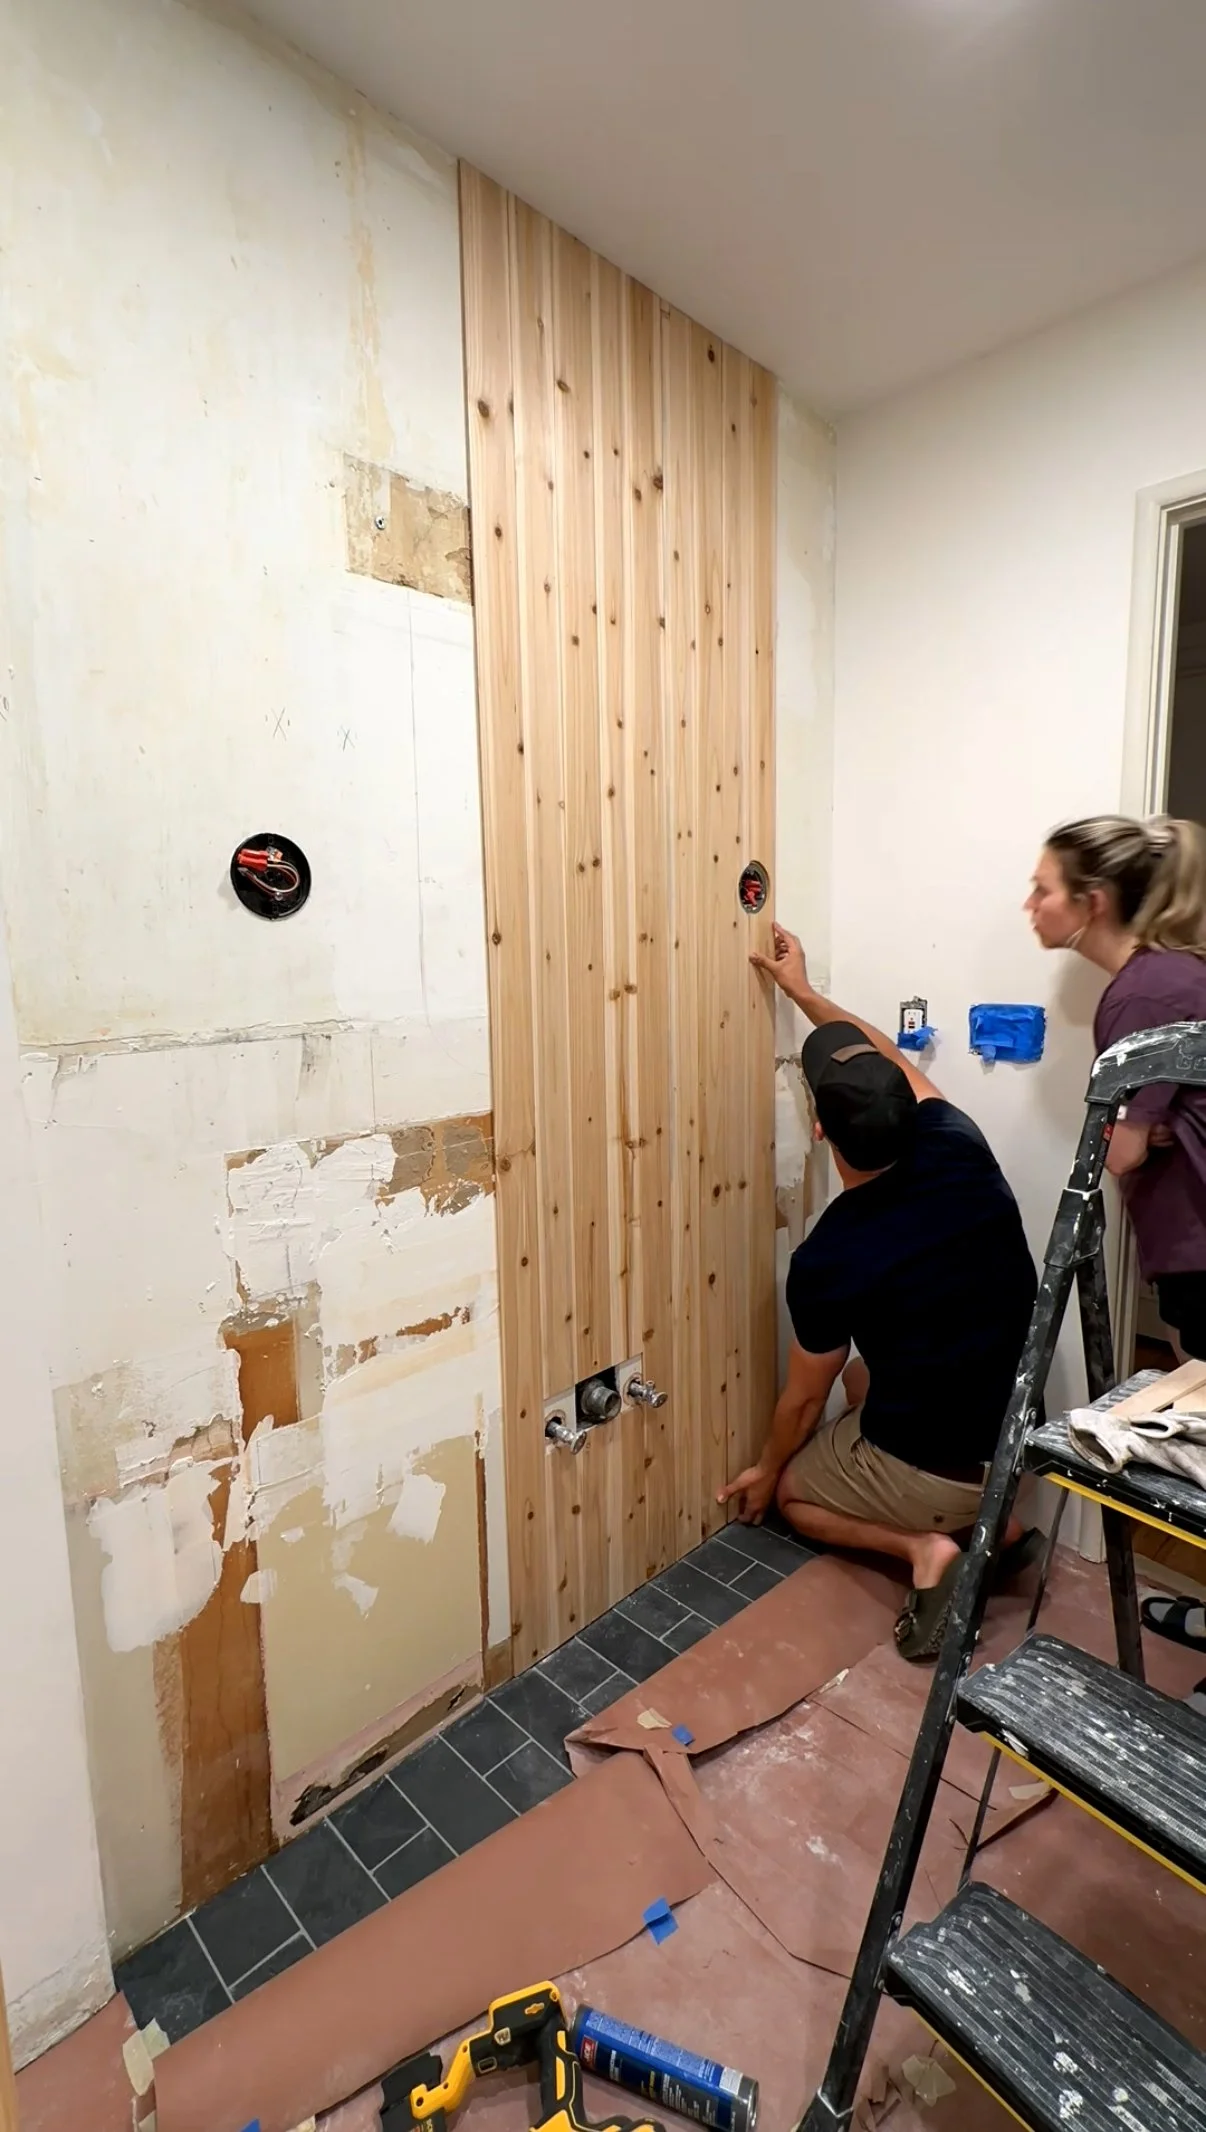
There is one section of the wall as you can see that is pushed in, right where the vanity will be placed. I knew this was a perfect opportunity for a feature wall without having to force an accent wall. I decided I wanted to install vertical paneling. I chose these cedar boards from Home Depot. I knew I didn’t want shiplap- something more subtle & softer. They were easy to install, but the tricky parts were cutting around the sconce housing and filling the gaps between the end boards and the walls. To prep for paint, all I needed to do was fill the nail holes and knots with wood filler. I sanded and primed and then it was ready for paint!
Paint
Deciding on the perfect paint color can be a real headache. I thought I had the perfect one the first time around but that wasn’t the case. I initially chose Old Prairie by Benjamin Moore. I painted the entire room and knew it wasn’t right. I sat on it for a few days, grabbed tons of new color samples, and came to a final decision. Old Prairie was a pretty color but did not coordinate with the shower tiles I installed. There was something off-putting about the combination. I landed on the perfect white: Soft Chamois by Benjamin Moore. It’s a creamy white that complimented all the elements in the room. I still love the color to this day!


Install Vanity
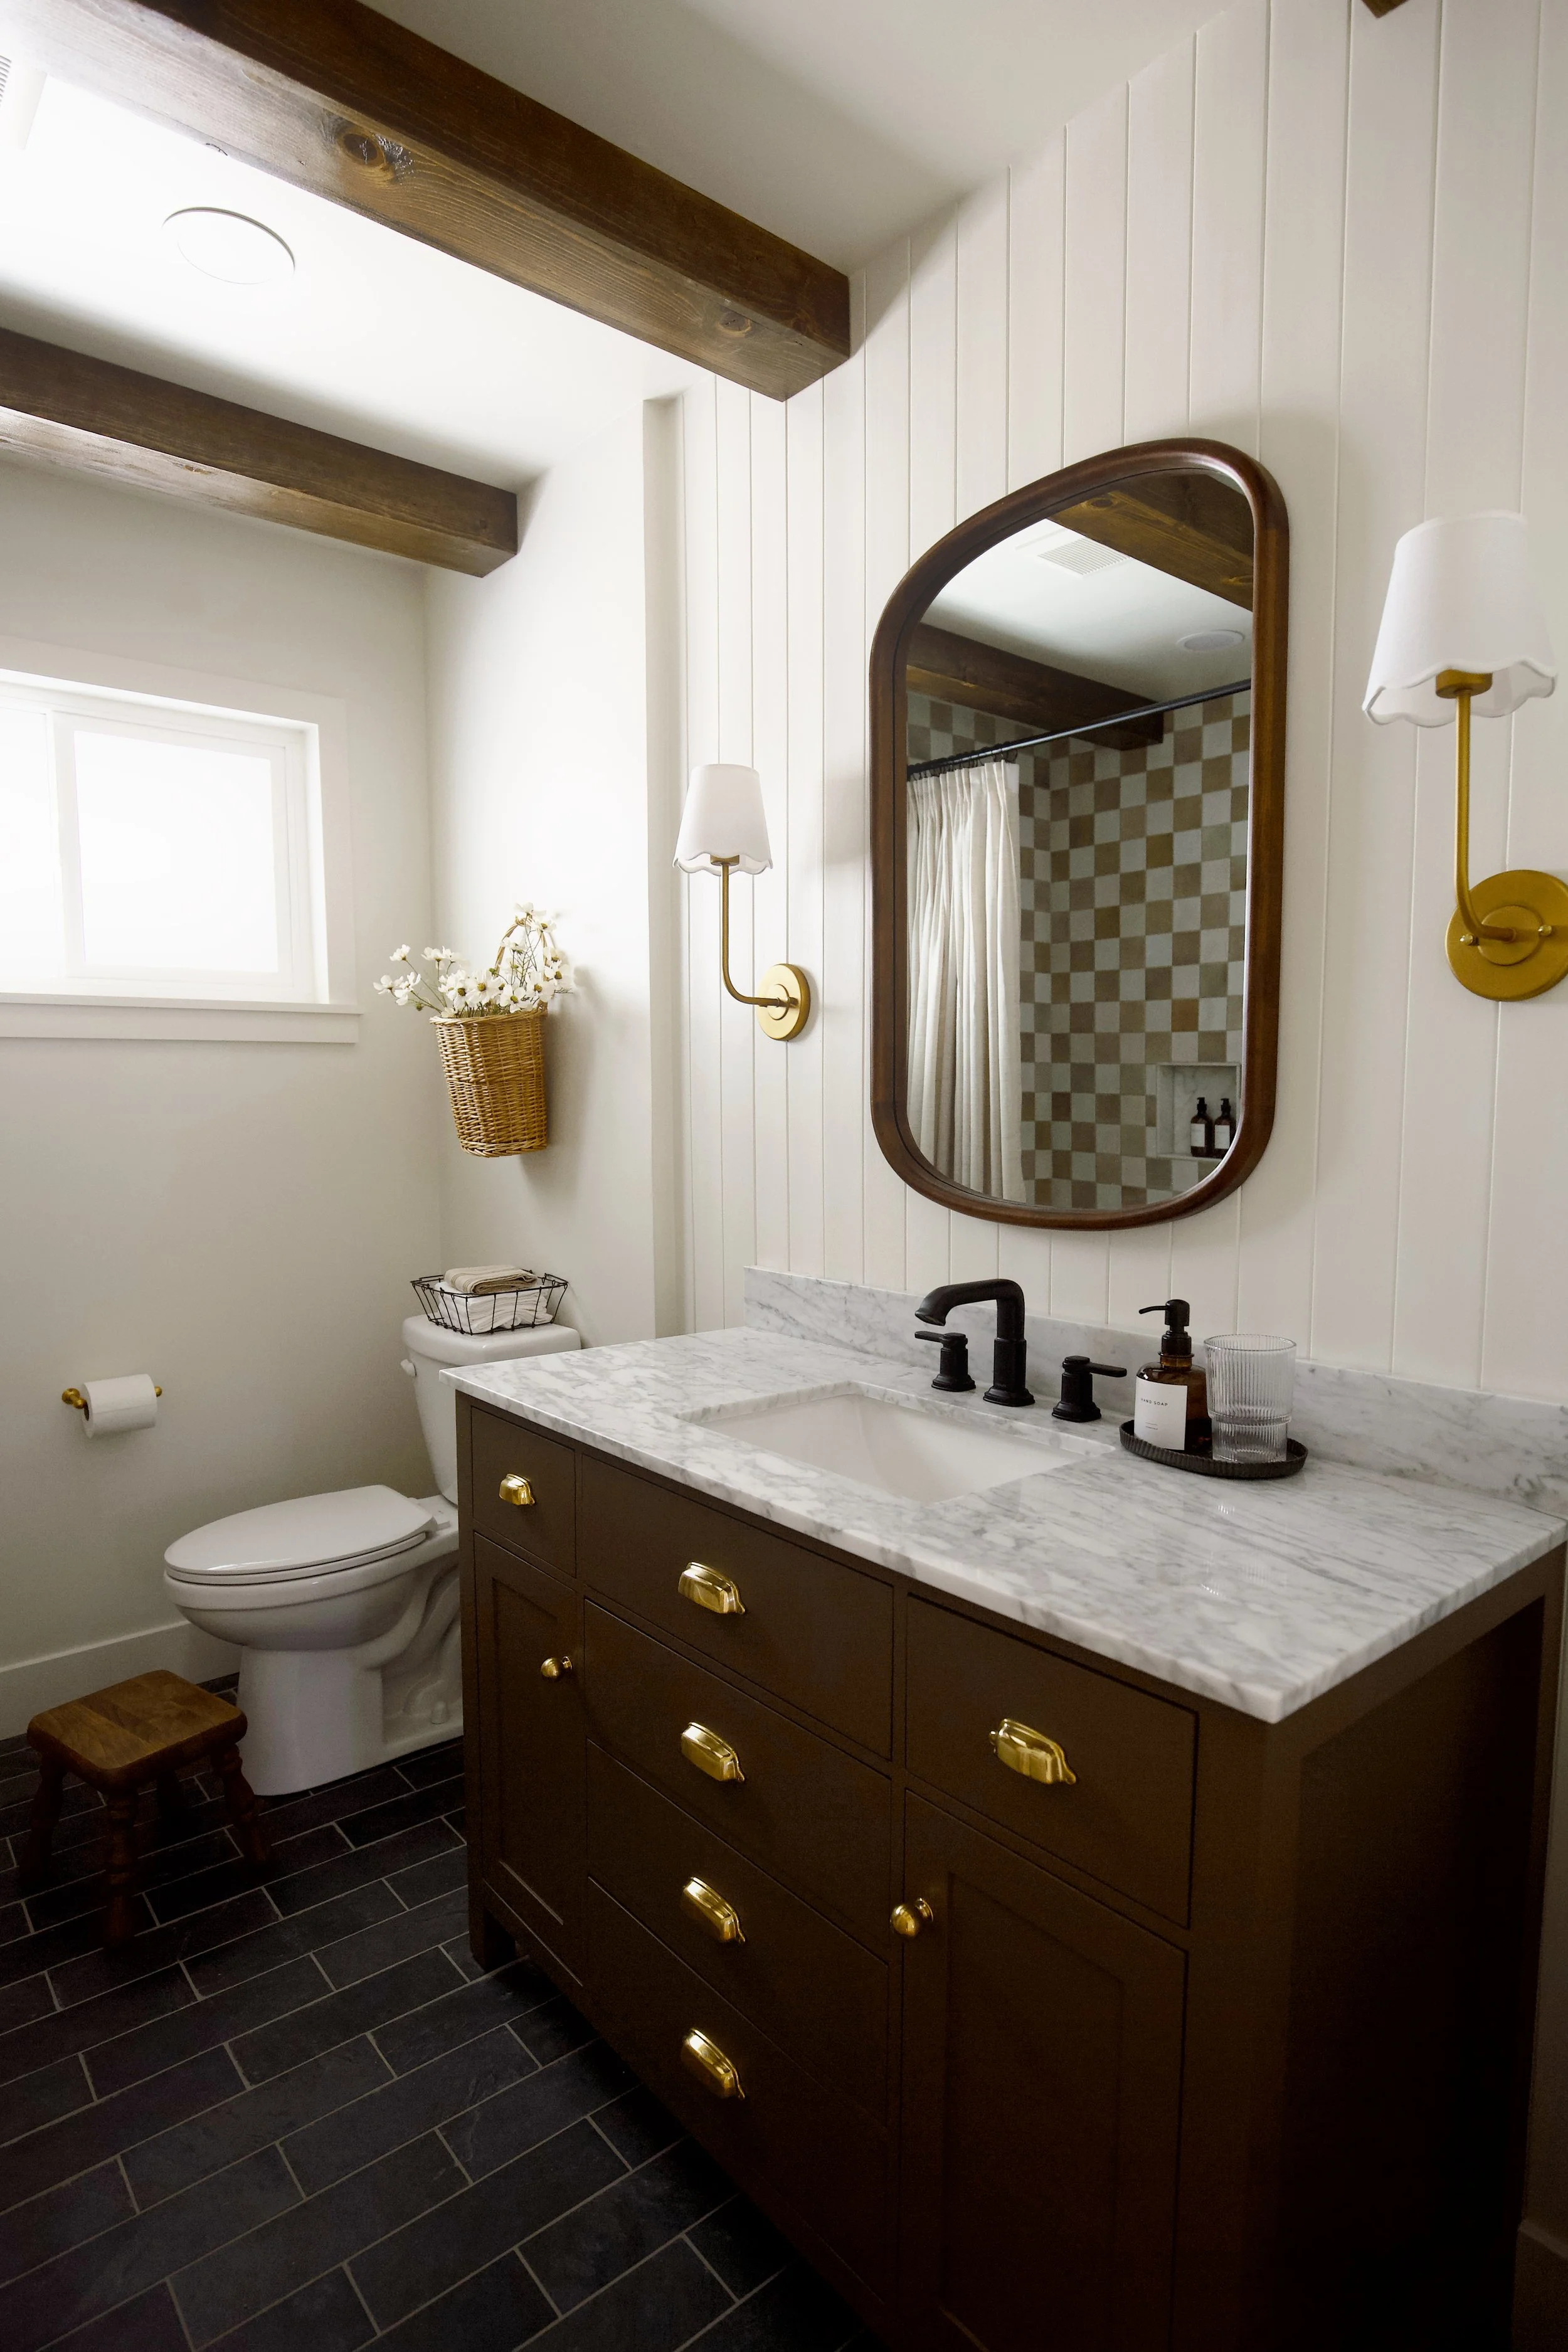
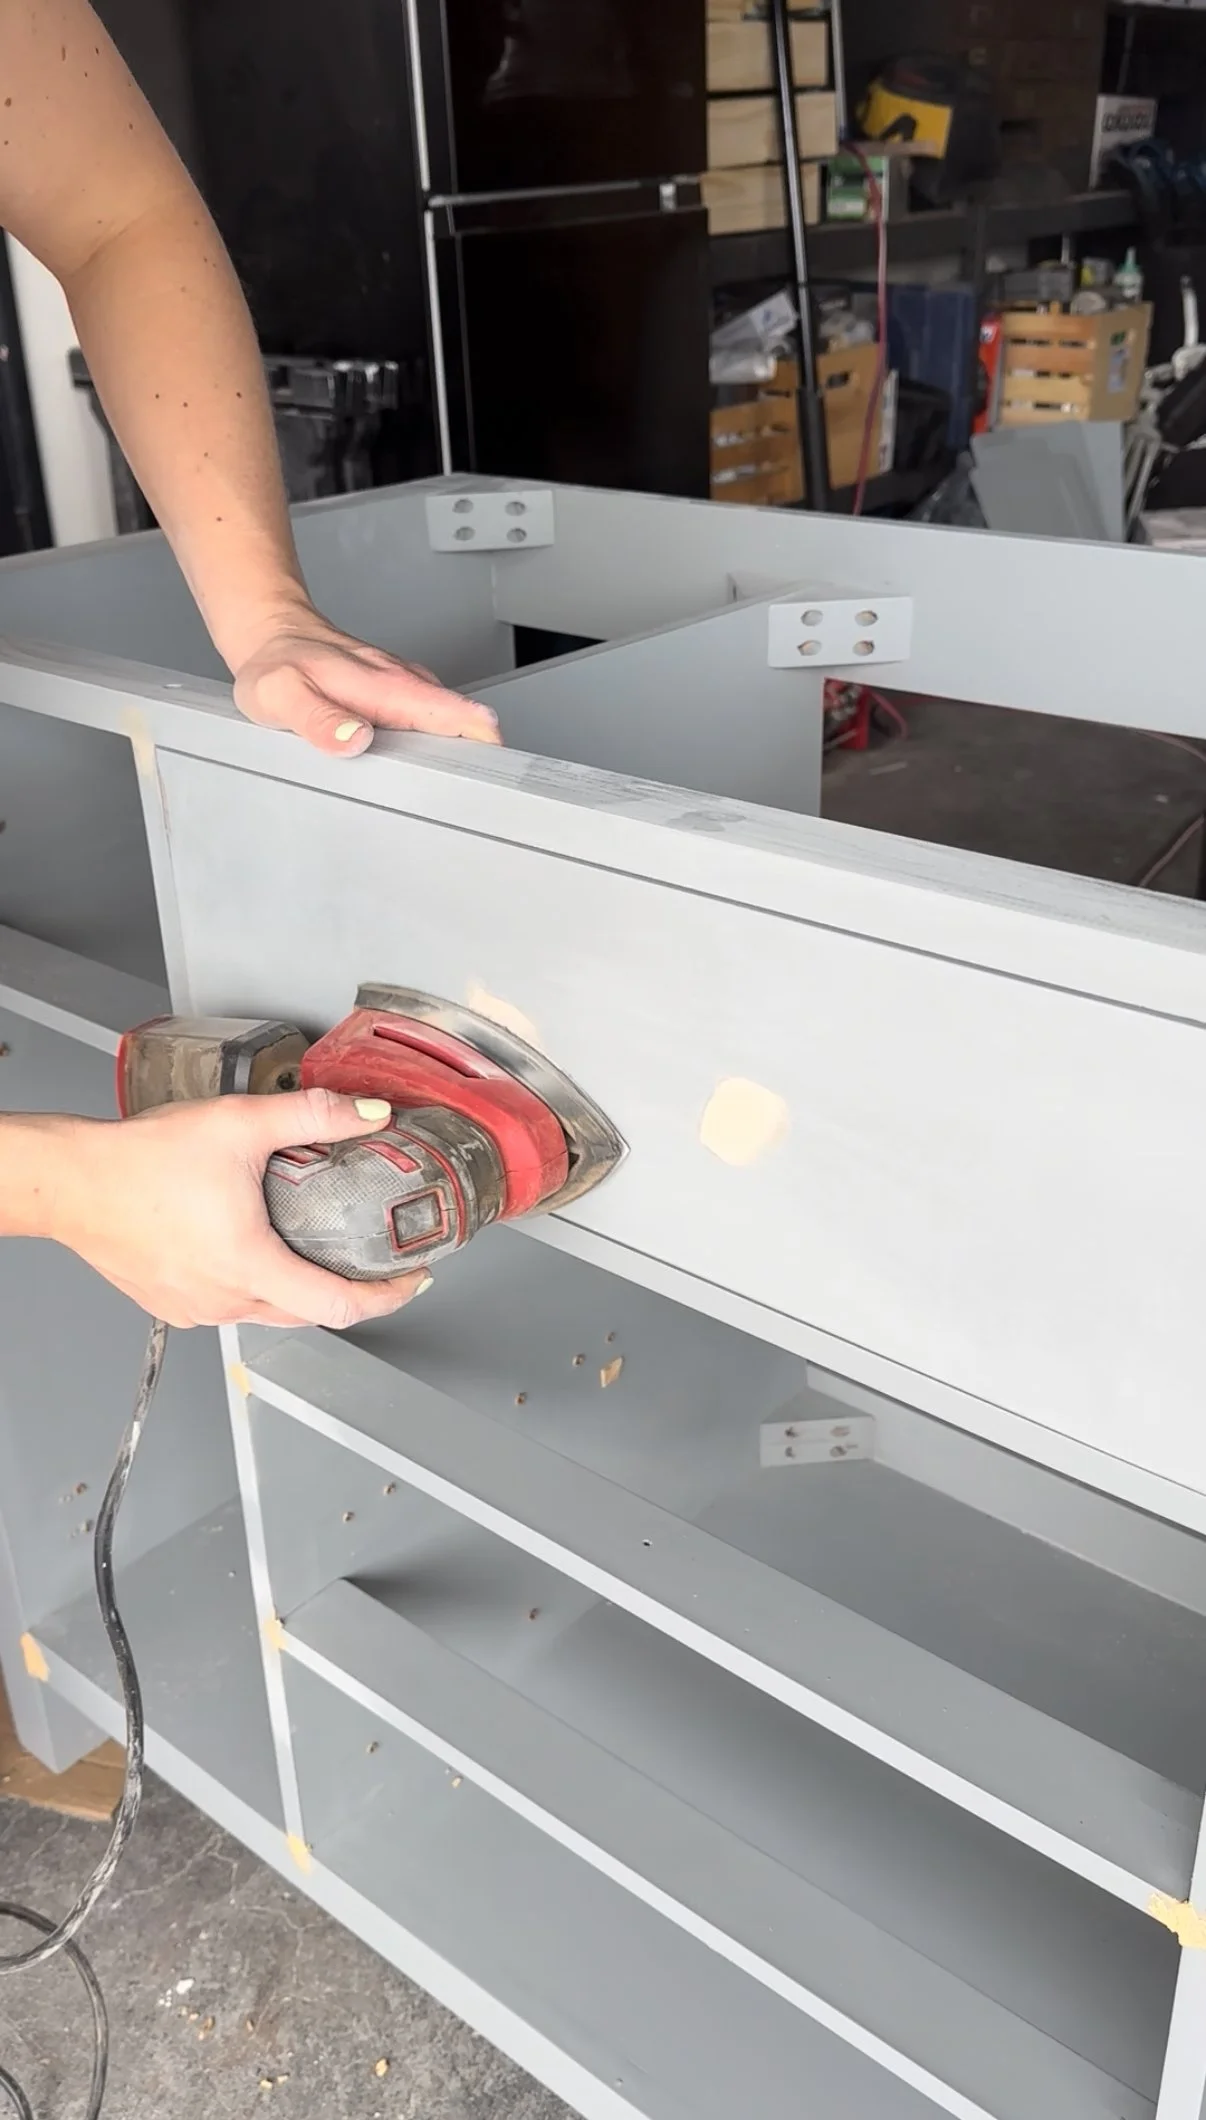
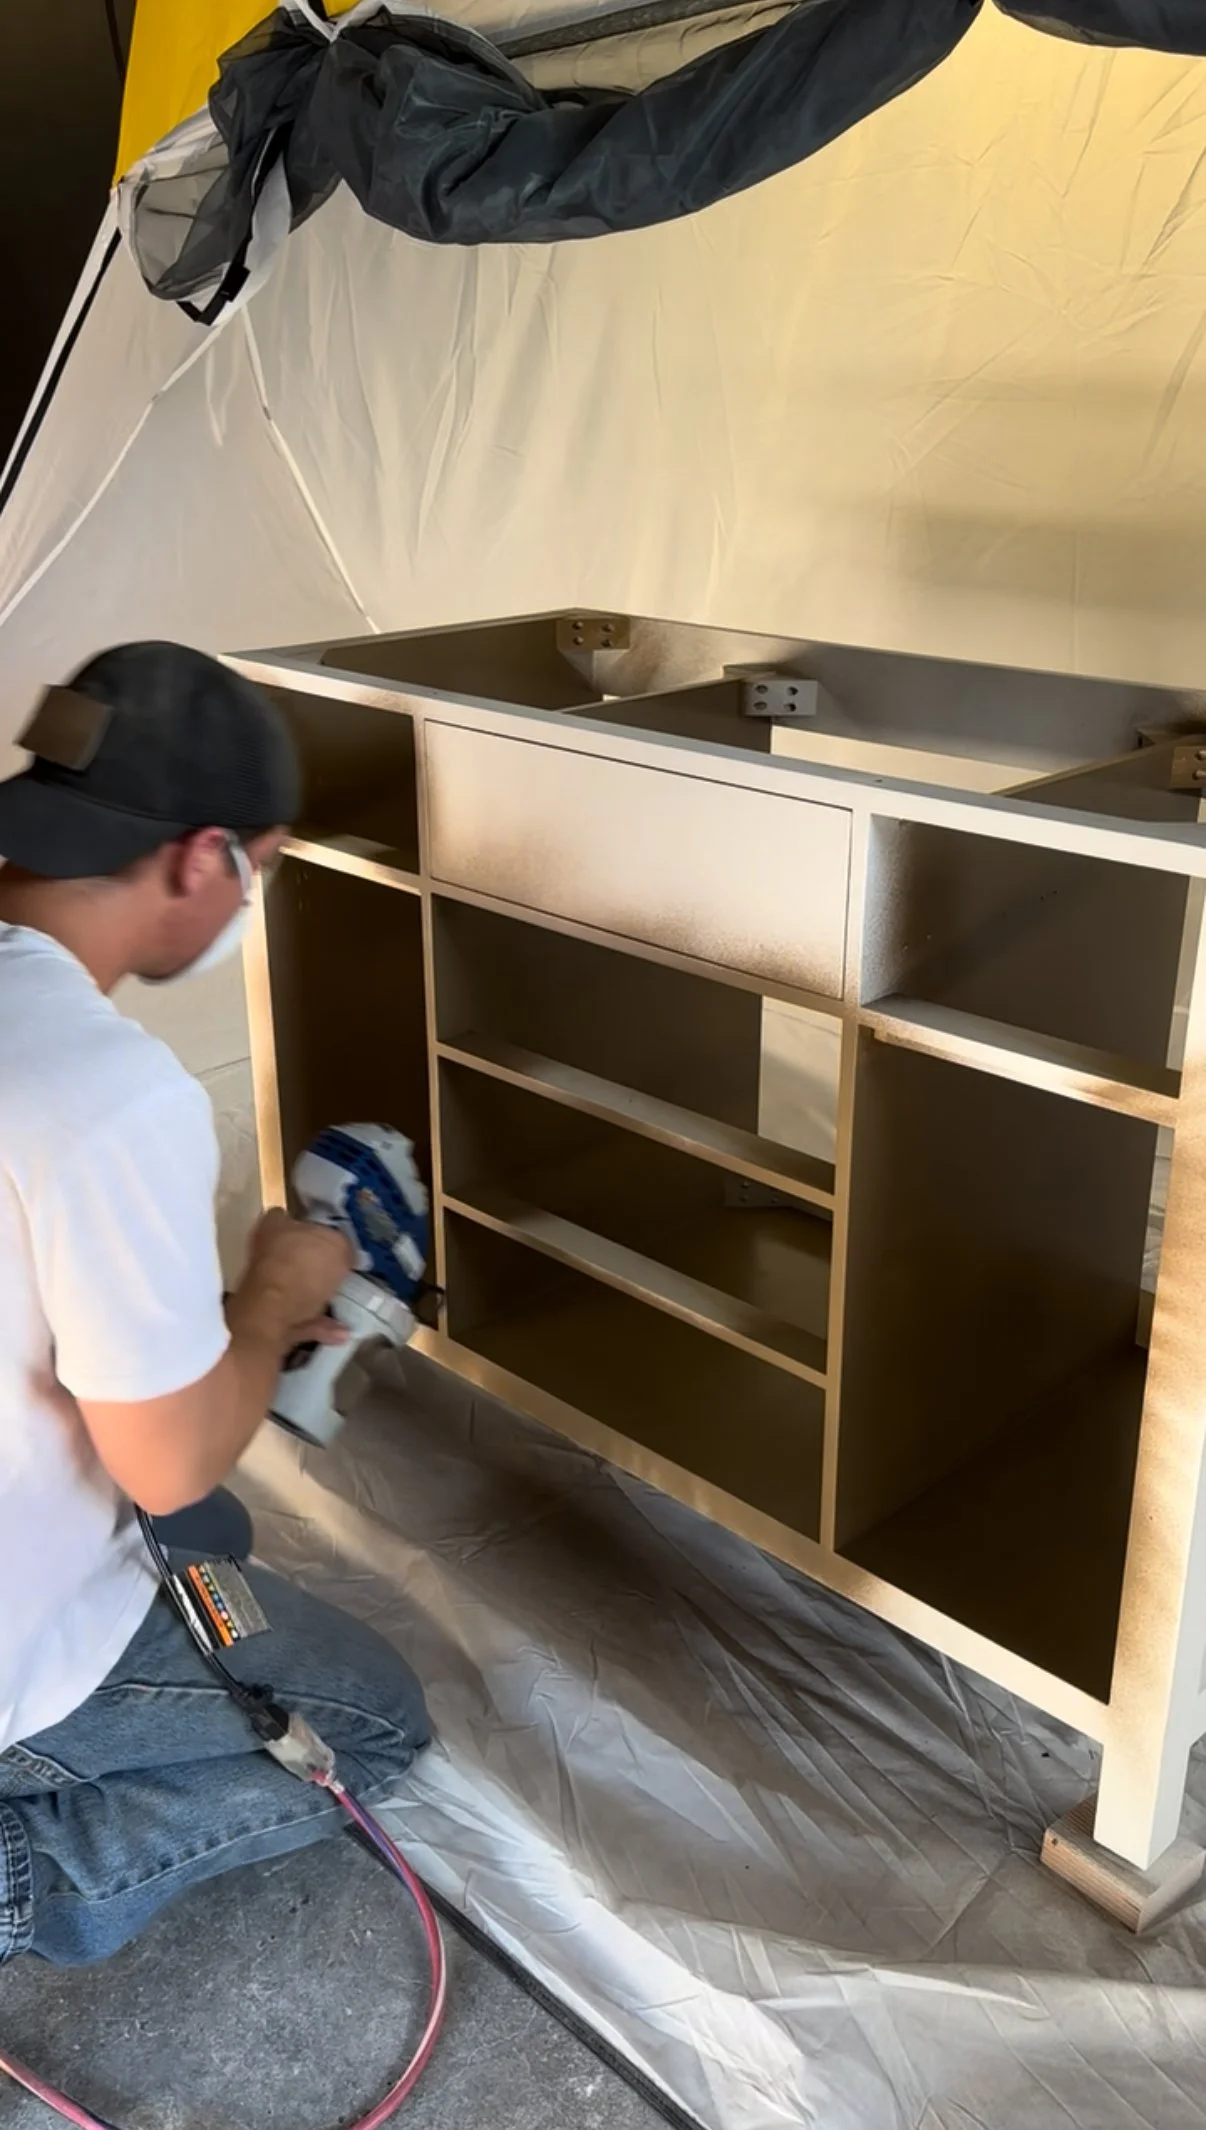
Remember, this bathroom was DIYed not only because we love doing the work but because we had a smaller budget to work with. I knew I wanted a custom vanity but didn’t want to pay the price of custom work. I did some research and found some inspirational posts. We purchased a builder grade vanity from Home Depot. My one request for the vanity was that it had inset drawers. Inset cabinetry looks sophisticated and elevates the cabinet. I found one in our price range and got started on the process. The stock color was a hideous millenial gray that absolutely needed to be covered. I started fillings holes and hand sanded with 120-220 grit. Travis primed the whole thing with this amazing sprayer. Then it was time to paint the vanity the most beautiful chocolate brown color. We sprayed the vanity again but with two coats of North Wood Brown by Benjamin Moore.
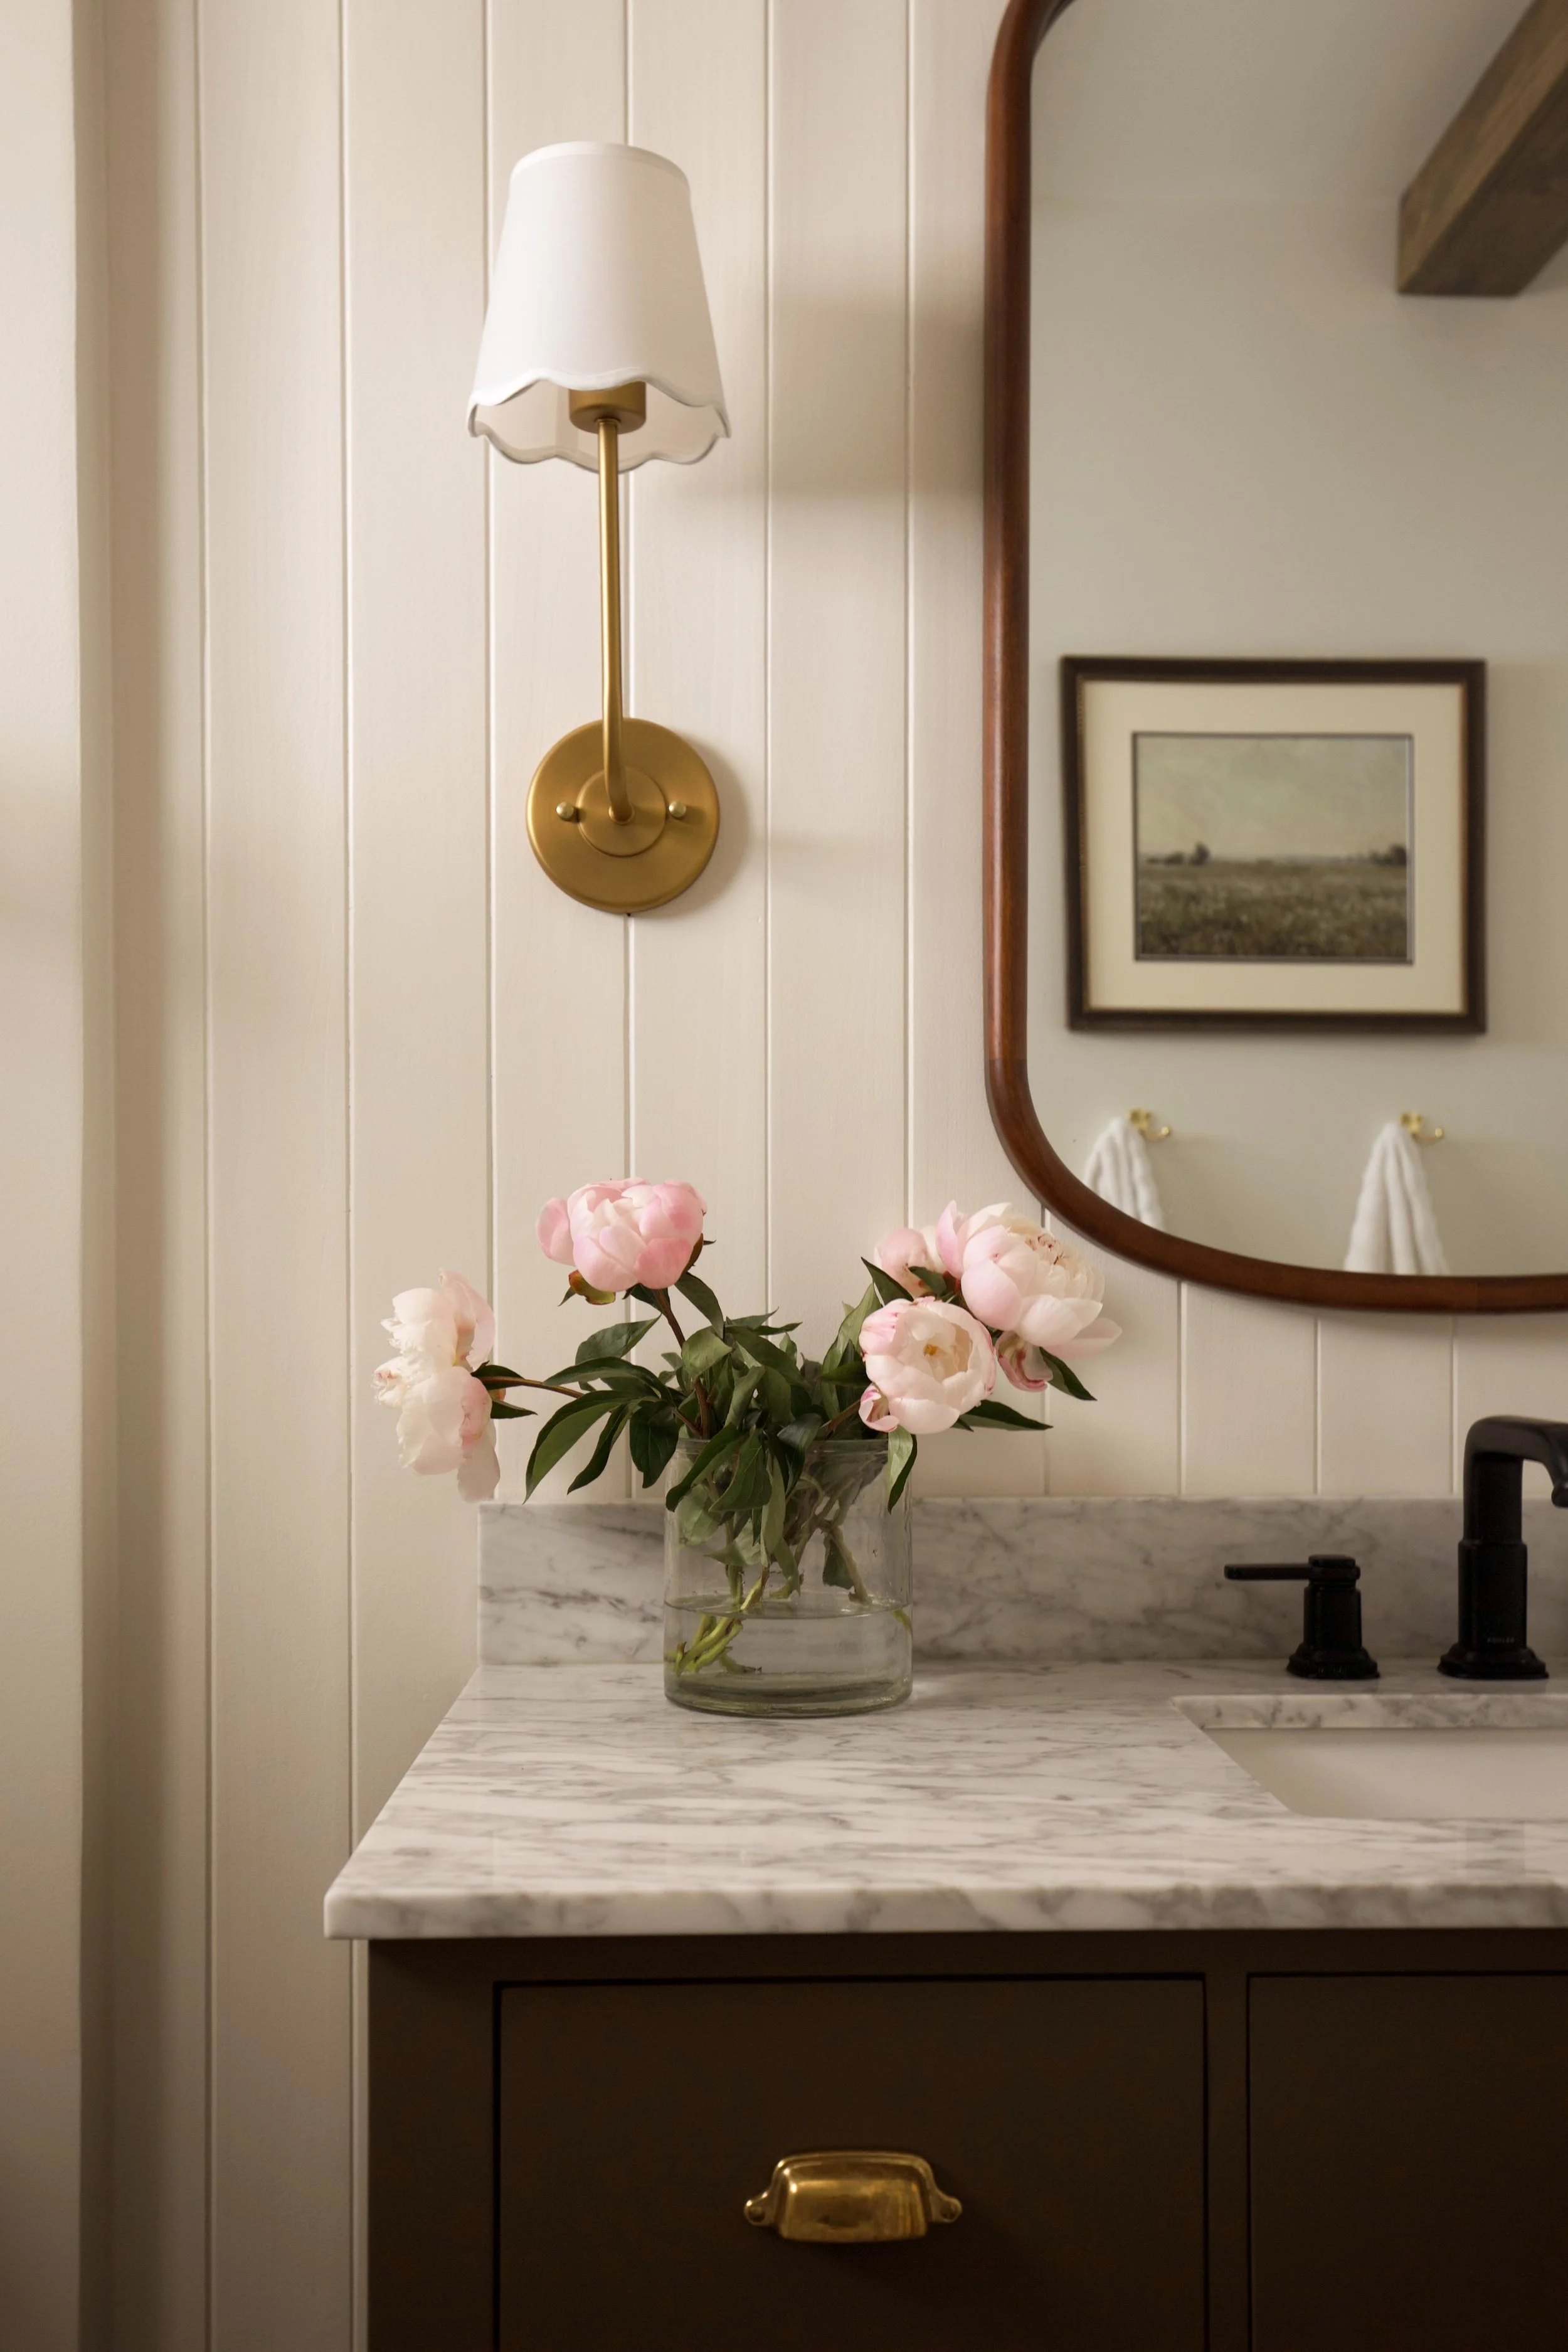
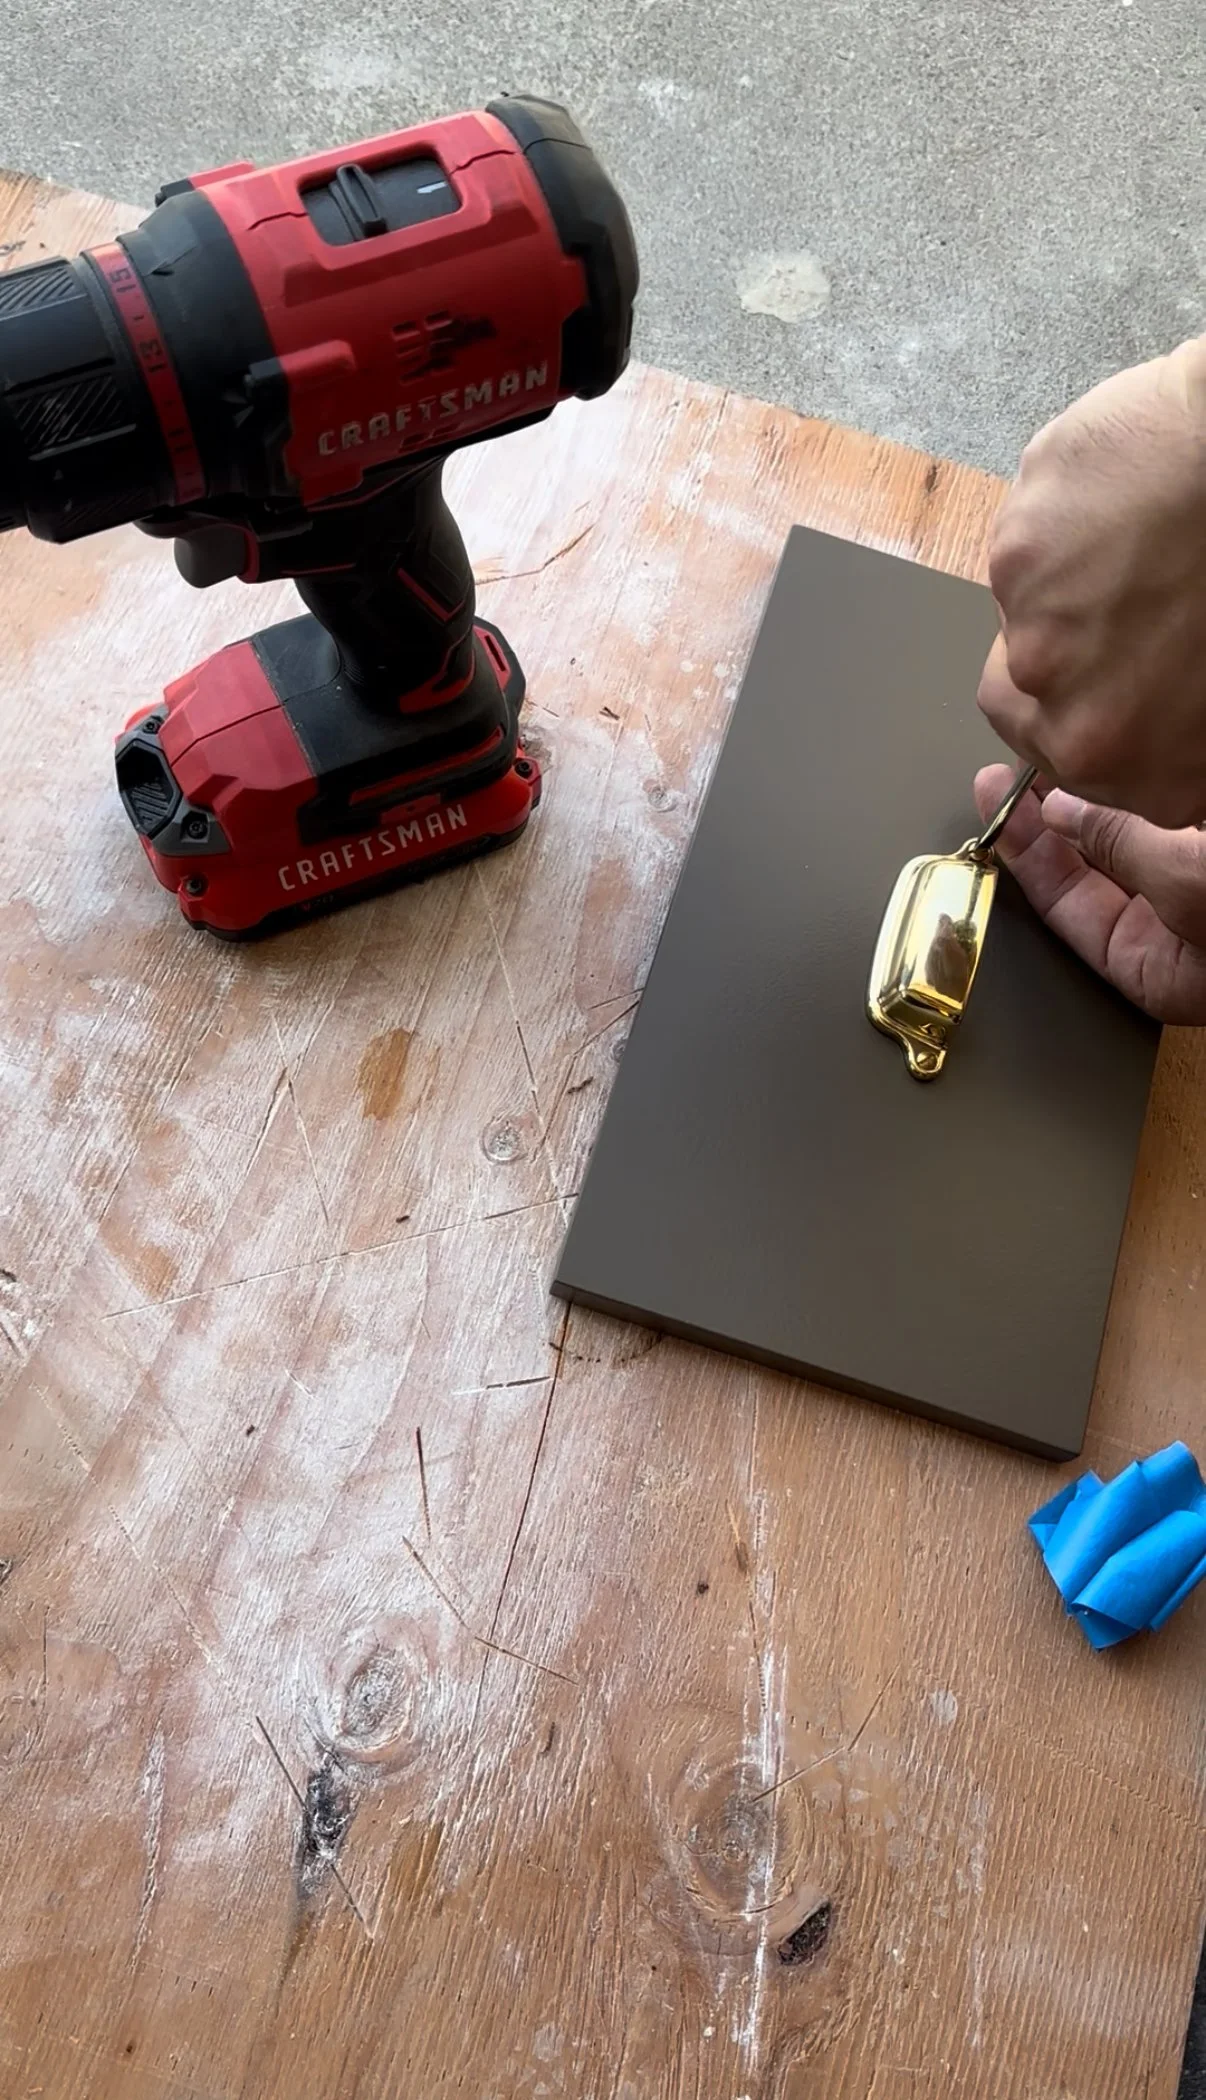
The vanity color turned out so beautifully- spraying it gave it the elegant finish we were trying to achieve. I decided I wanted to use different hardware to give it an even more custom look, because we all know that original chrome hardware does NOT look good. Changing hardware is one of the most transformative things you can do for cabinetry. I chose unlacquered brass drawer pulls and knobs from Hardwick and Sons. They carry authentic brass products at a low cost. After the jewelry was installed, it was time for the countertop! I also kept the cost low by choosing a prefabricated piece of Carrara marble from Floor & Decor. Installing the countertop was one of the simplest steps to this whole project! It was as easy as applying silicone to the edges and placing the counter on top. We were very satisfied with this vanity transformation and would do it again in a heartbeat!

Frame Window
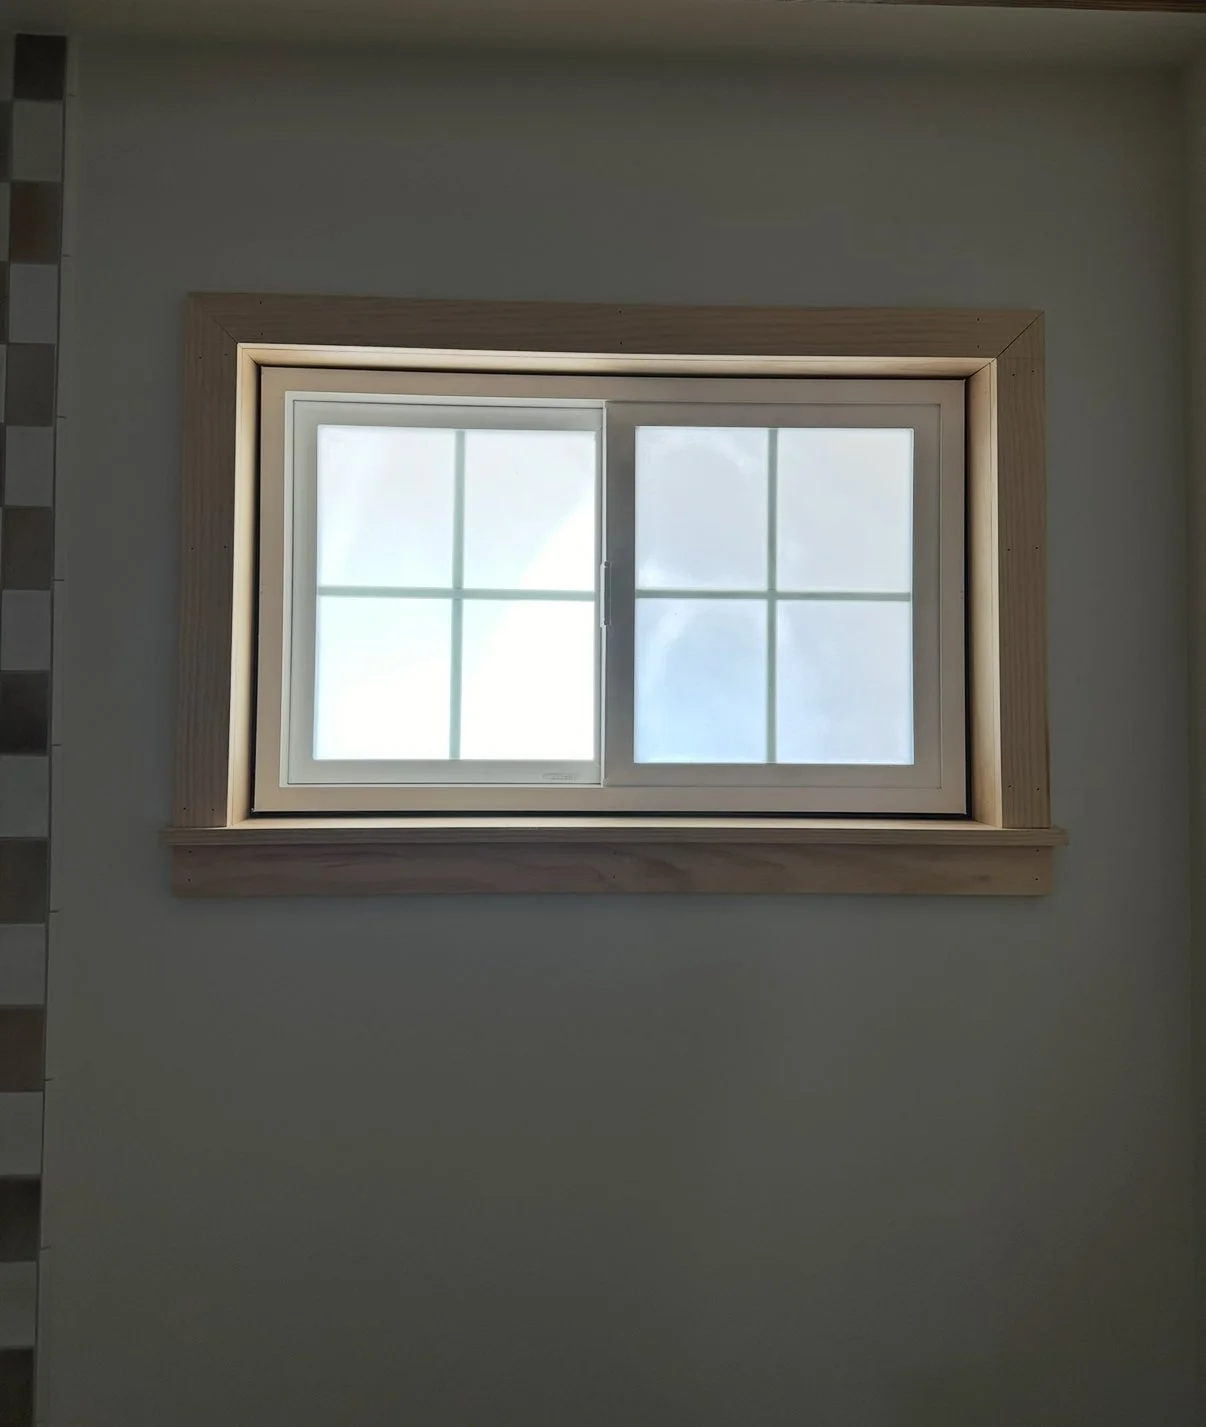
We are slowly but surely replacing our original aluminum windows with retrofitted vinyl ones. We replaced the one in the bathroom and that meant that we needed to reframe the window. We decided on a style of trim that was classic but had a modern twist to it. We used select pine for the job because it was easy to sand and paint. For the mission style window trim, we mitered the top piece with the sides. Then created a sill that extended only 1/2” past the width of the side pieces. We love this look and are planning to use style for every window in our home.
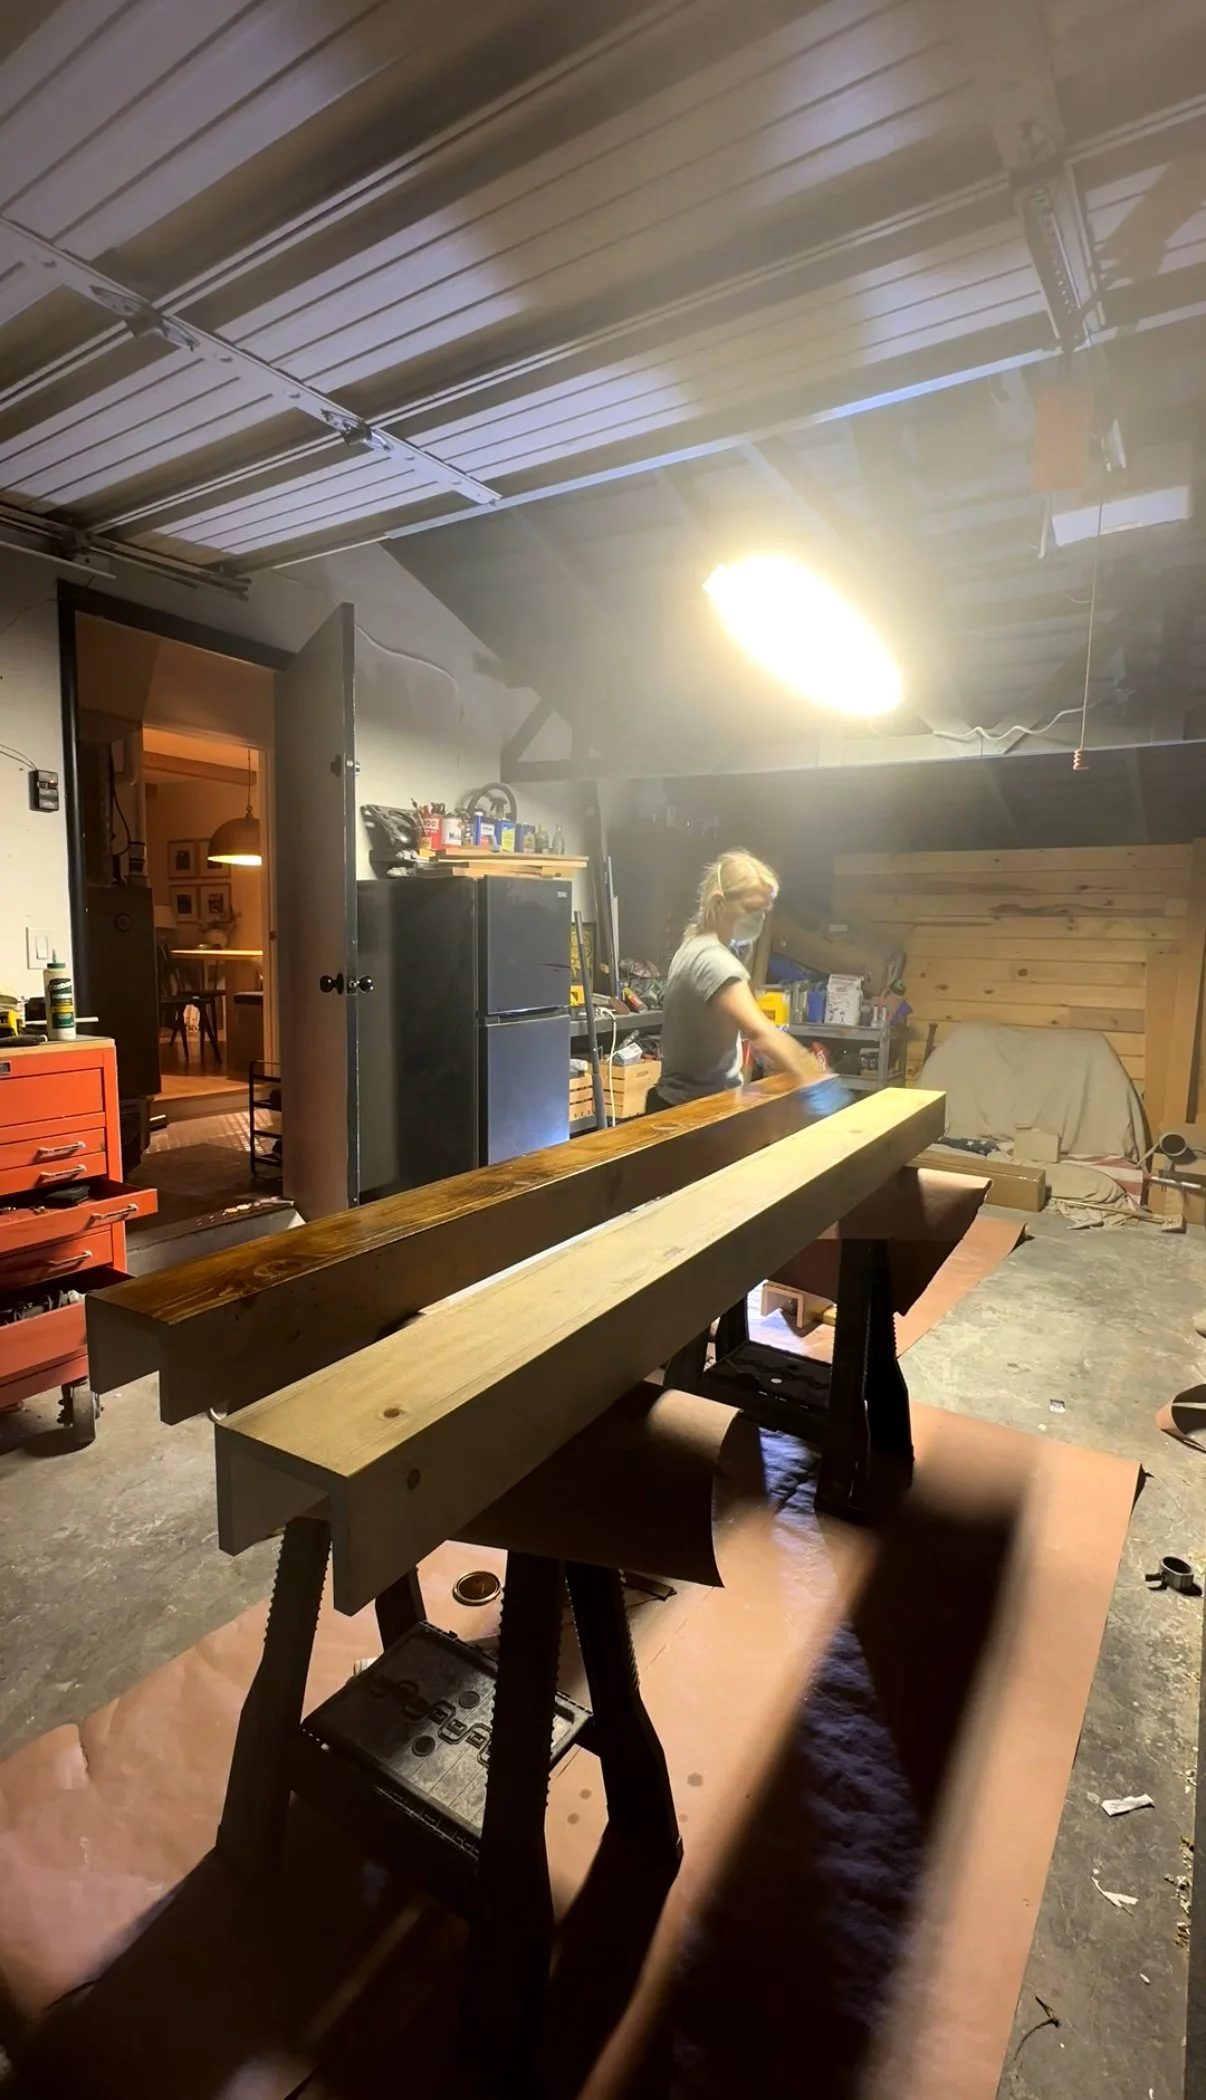
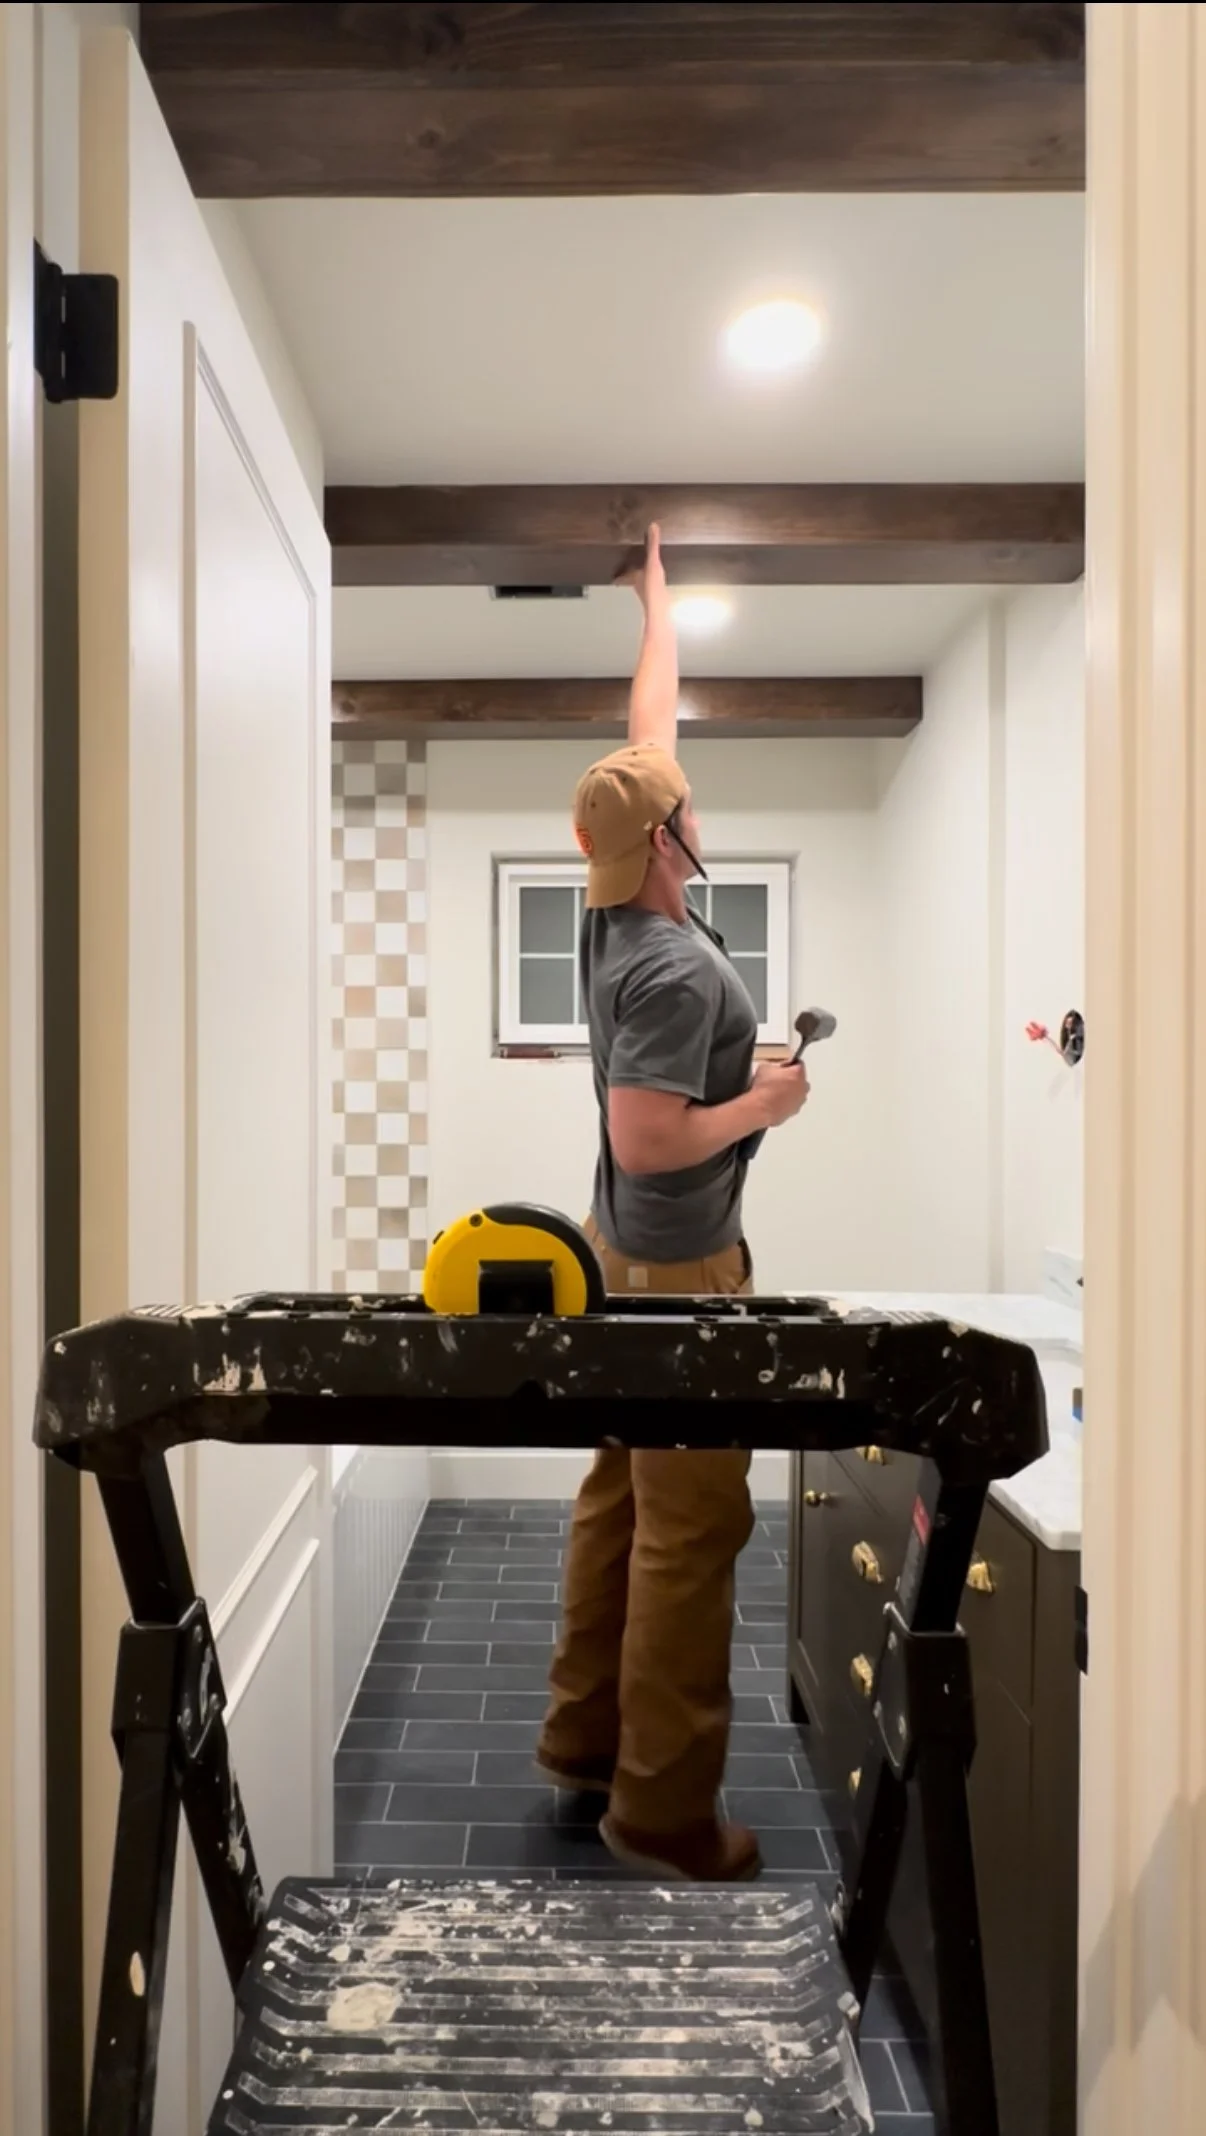
Install Beams
This was the second time we built and installed beams in our home. The process is simple: attach cleats to the ceiling and build a three sided box with pieces of pine. We used cheap wood for the cleats on the ceiling and regular pine for the actual beams themselves. Once the beams were assembled, I beat them up with a hammer to give it a more rustic look. I also rounded the corners by using 80-100 grit sandpaper. I knew I wanted the color of the wood to be darker in this bathroom compared to our dining room beams. It’s very important to use wood conditioner with pine since it’s a soft wood and absorbs wood differently than premium woods. I typically use one to two coats of weathered oak to hide the variations of the wood grain. Then I applied one to two coats of Minwax’s Dark Walnut. Once it was dry (waited 24 hours) we appied Total Boat’s Satin Sealer. This product was perfect for the bathroom as it’s made for actual boats and for wood that’s contantly around water.


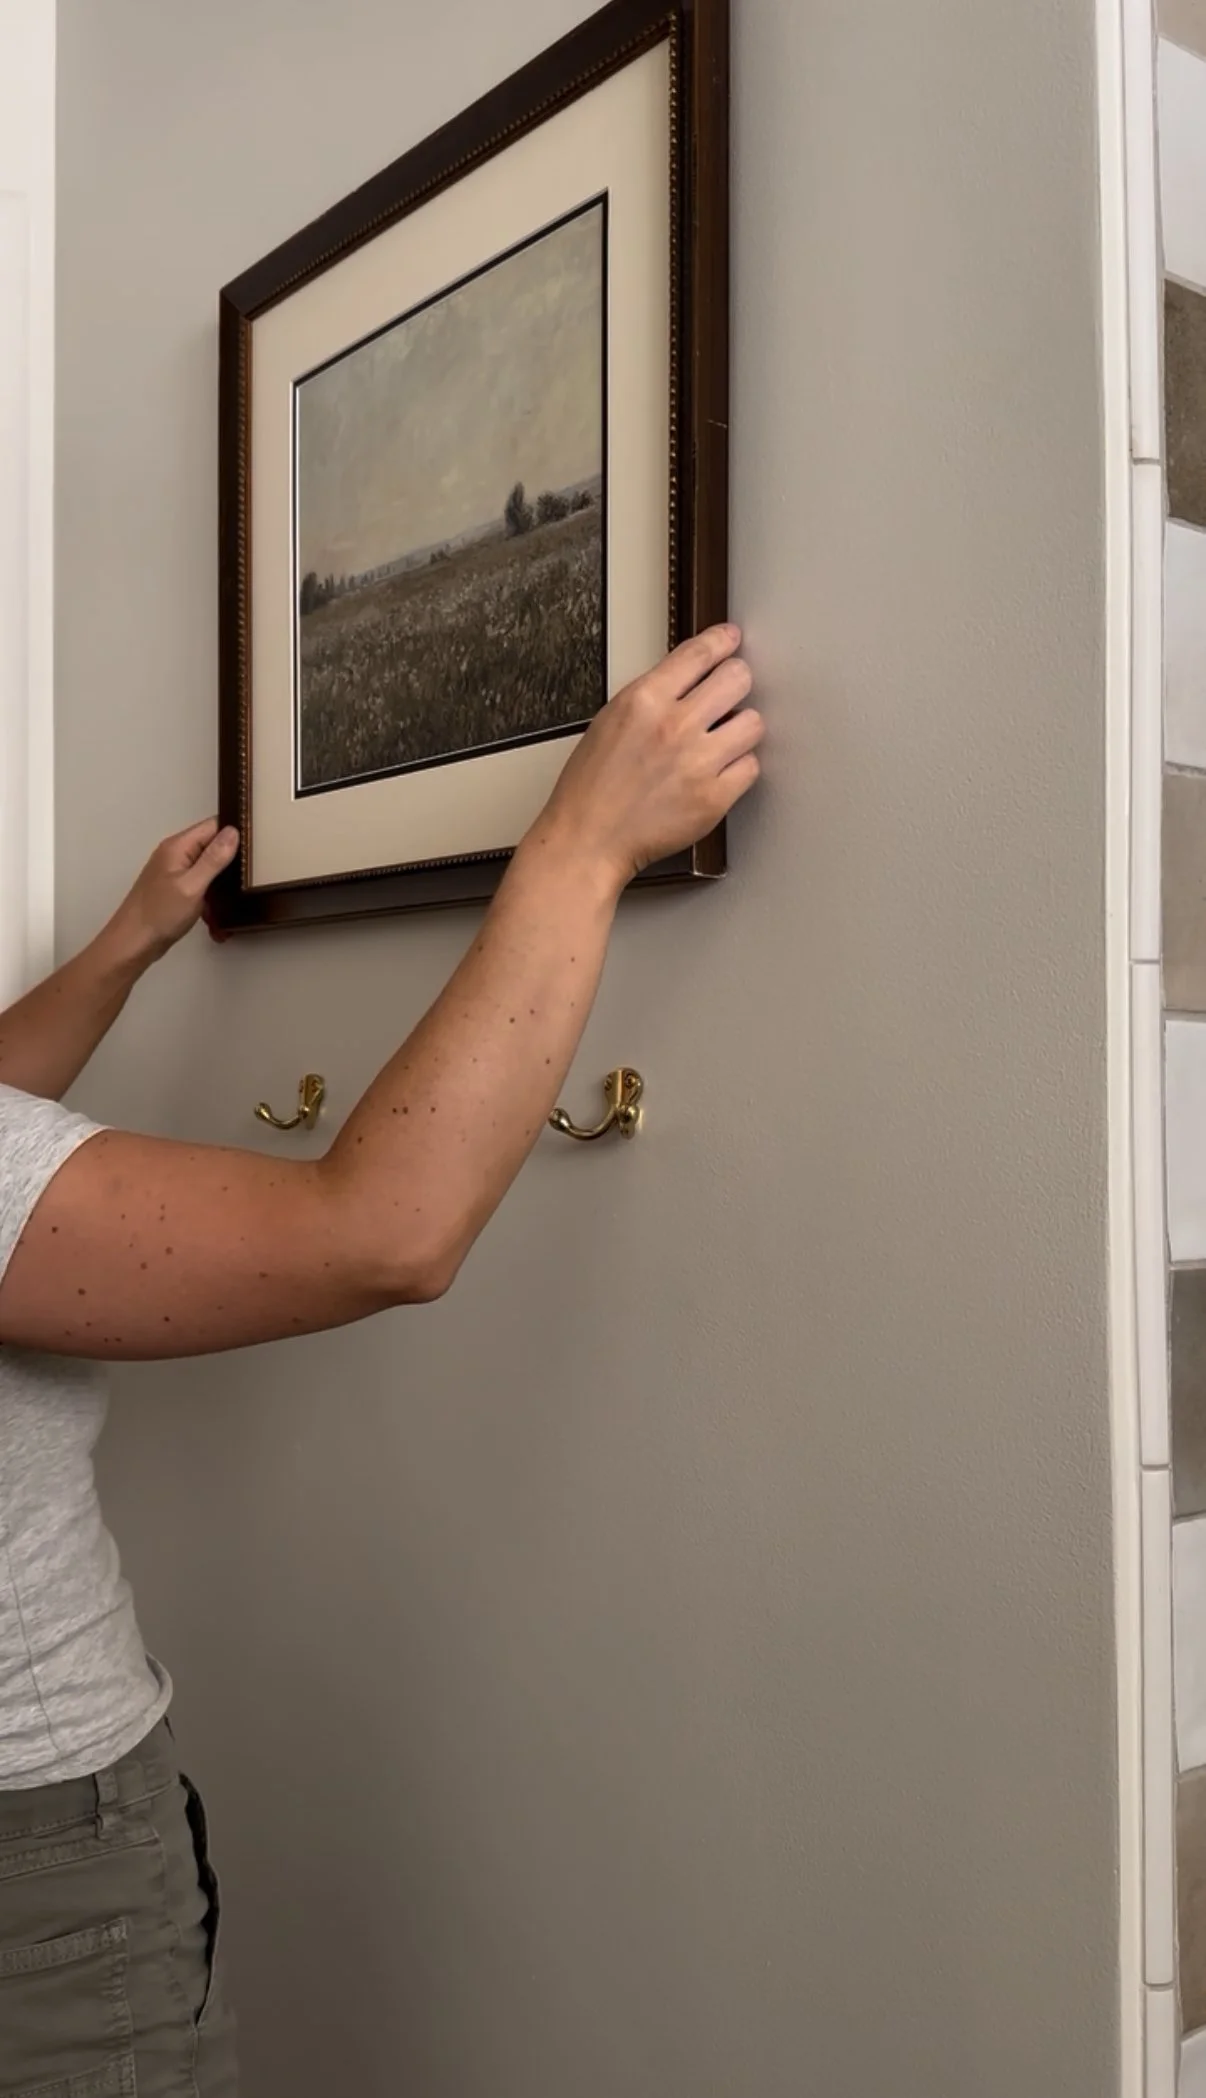
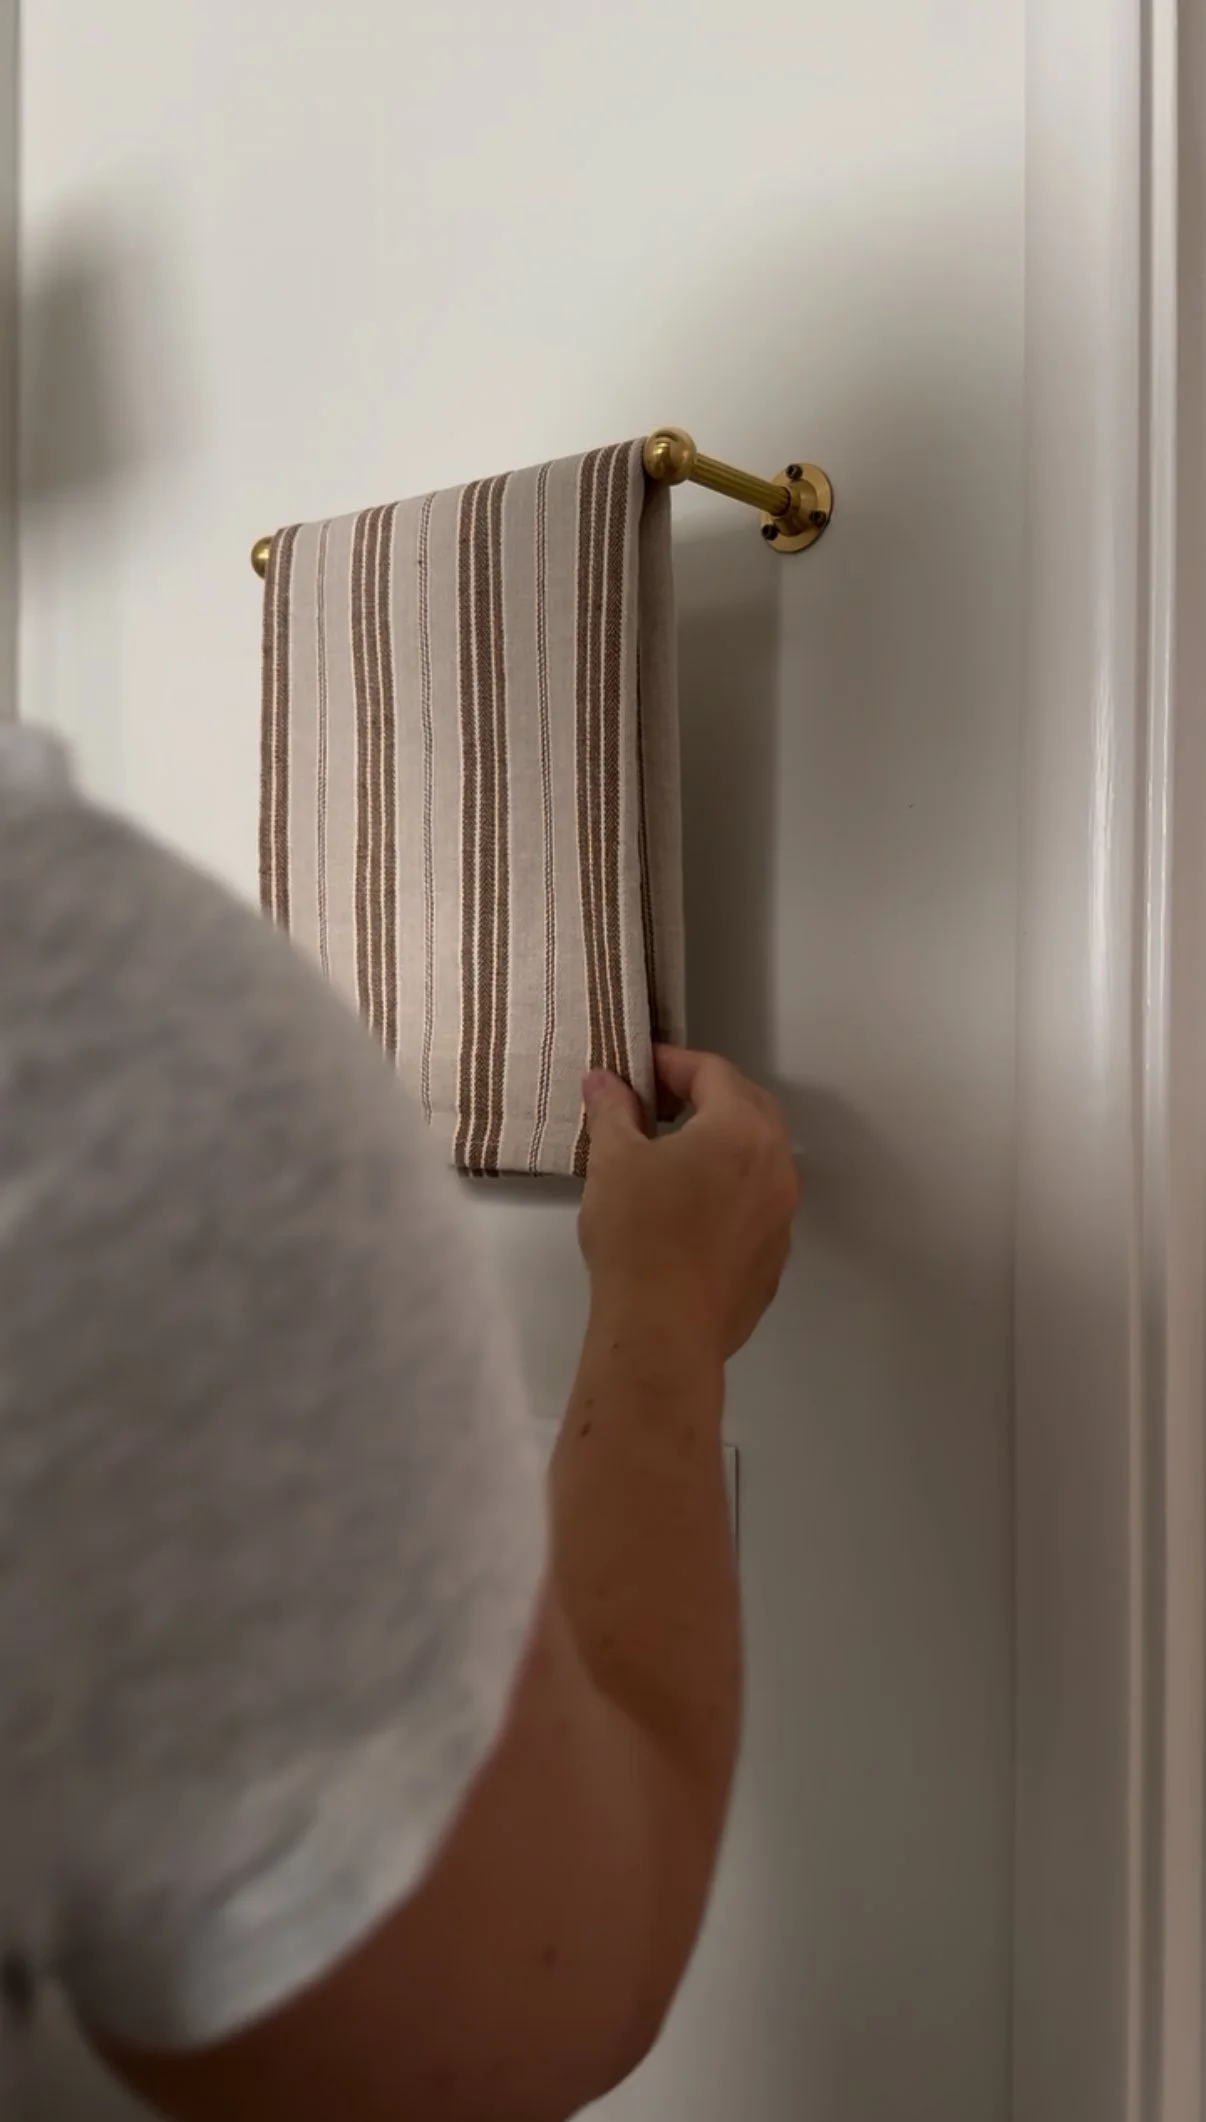
Add Decor
The finishing touches! I kept it simple with this bathroom and didn’t want the space to be overwhelming. I purchased the hand towel bar and toilet paper holder from Pepe & Carols. The frame behind the door was thrifted and artwork was printed from Etsy. Sconces were an inexpensive find from Amazon and the basket of flowers above the toilet were Hobby Lobby. All that to say, we didn’t go overboard and kept the whole thing within budget.
Enjoy the New Bathroom
We’ve enjoyed our bathroom for over a year now and I still don’t get tired of it. The slate floors, the deep fluted tub, the brown vanity, the checkered tile, I could go on and on. It took us long five months (that felt like an eternity) to complete this bathroom. It was an amazing feeling when I could take the first picture of this space. Lots of gratitude filled my heart. We share this bathroom as a family and it’s safe to say the kids love bathing in the tub. Fun memories have been made and it’s just the start of it!