How We Built Custom Built-in Beds Without a Plan
How we designed and constructed built-in beds for our kids with no plans.
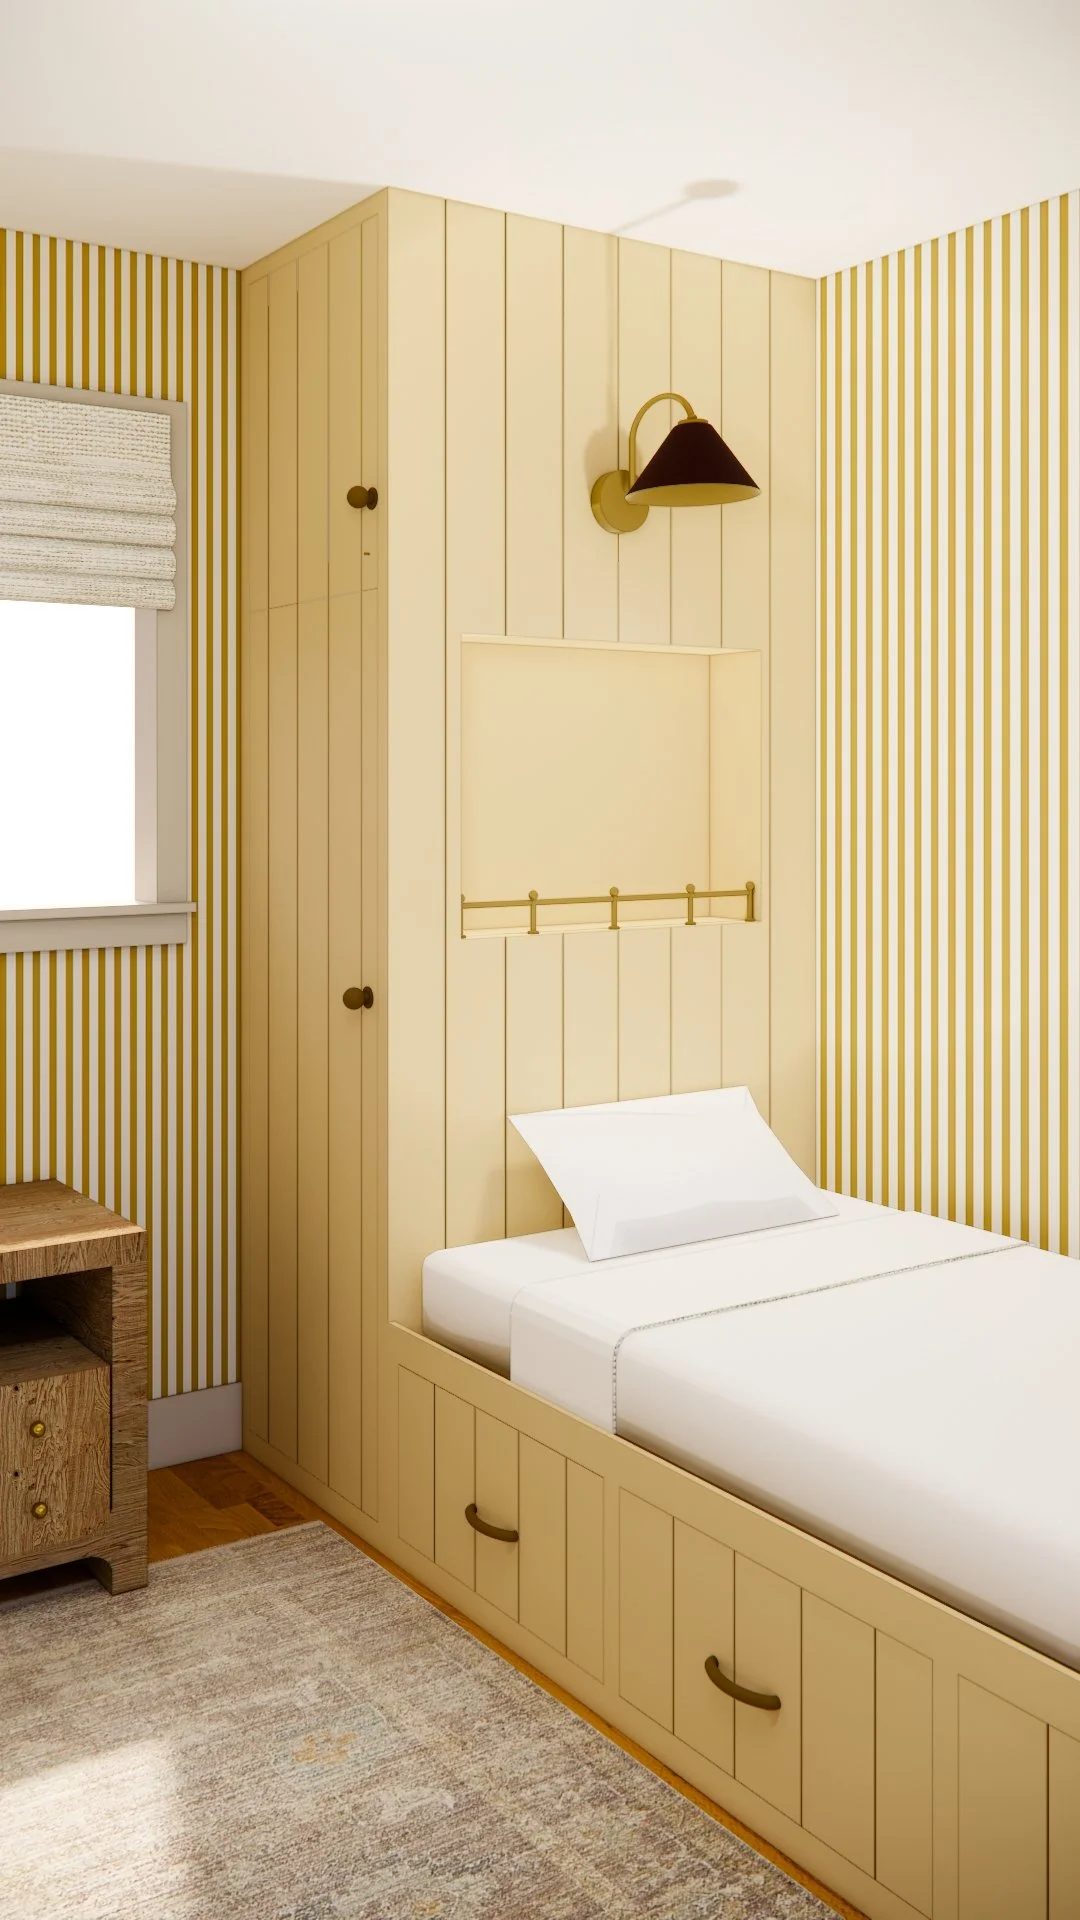
This project started with the vision of creating a welcoming space for our two toddlers. We wanted the space to feel warm and inviting; like a ray of sunshine. We also wanted a timeless space that could grow with them. In the end I believe we achieved both of those things.
Why Would you build beds when you could buy them cheaper?
Well, because we are kinda crazy. In reality we both love working with our hands and we wanted to build something meaningful for them. Travis has fond memories of spending time in his childhood loft bed his dad built for him, and he wanted his kids to be able to relive that same experience. This also gave us an opportunity to develop new skills such as building drawer fronts and cabinet doors. We were also able to tailor the design to best fit our needs and incorporate more storage into our modest home.
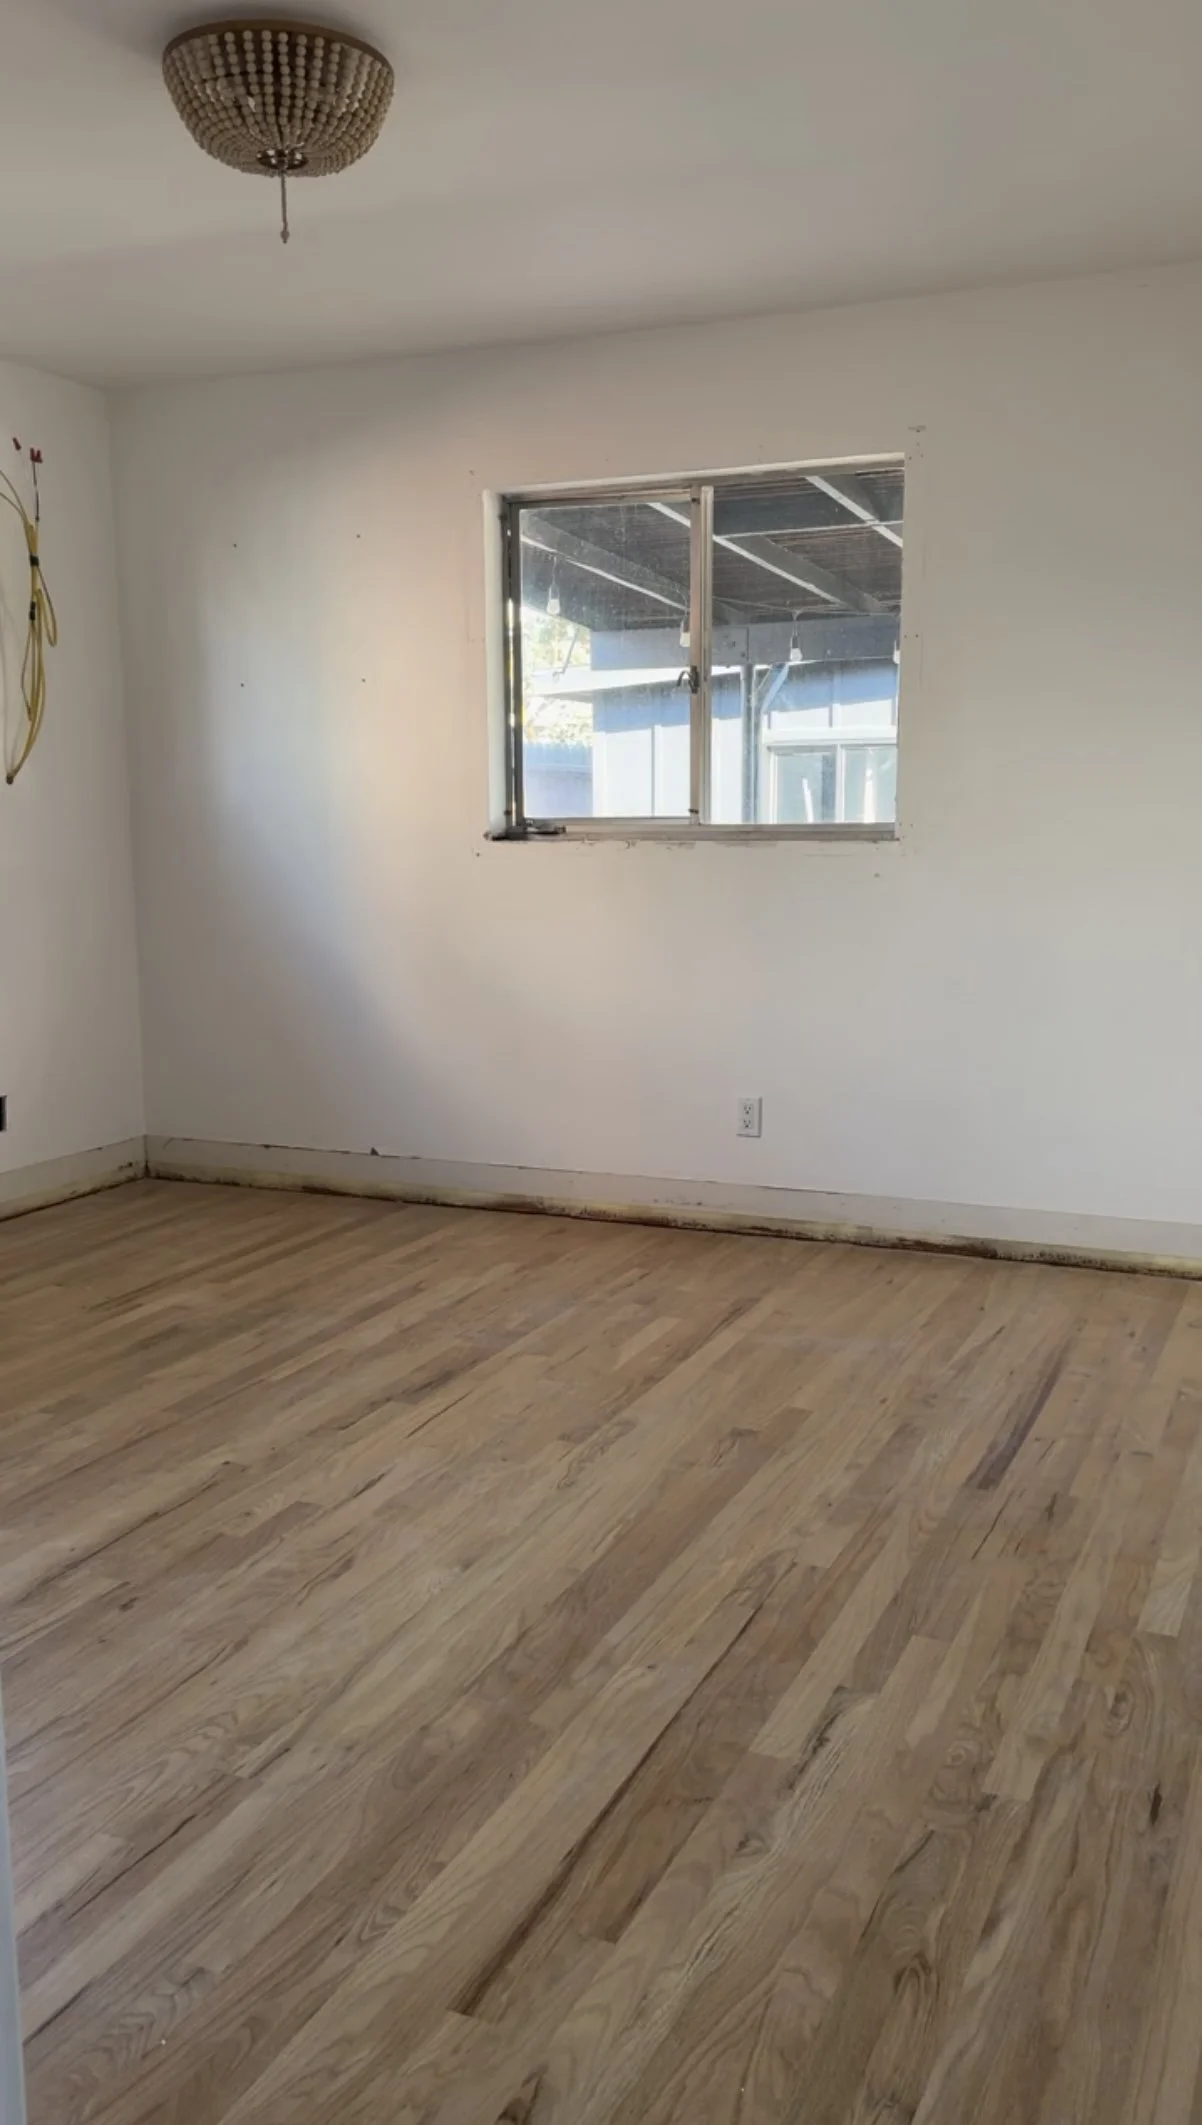
Preparing for the Beds
After looking at countless photos of built-in beds, I decided I wanted to do something a little different. Instead of building bunk beds, we opted for two separate built-in beds with their own storage for each of our kids. After reading multiple other blogs about built-in beds, we opted to construct the bed and cabinet frames out of dimensional lumber (specifically 2x4’s) to reduce the cost and ensure we had a stable foundation.
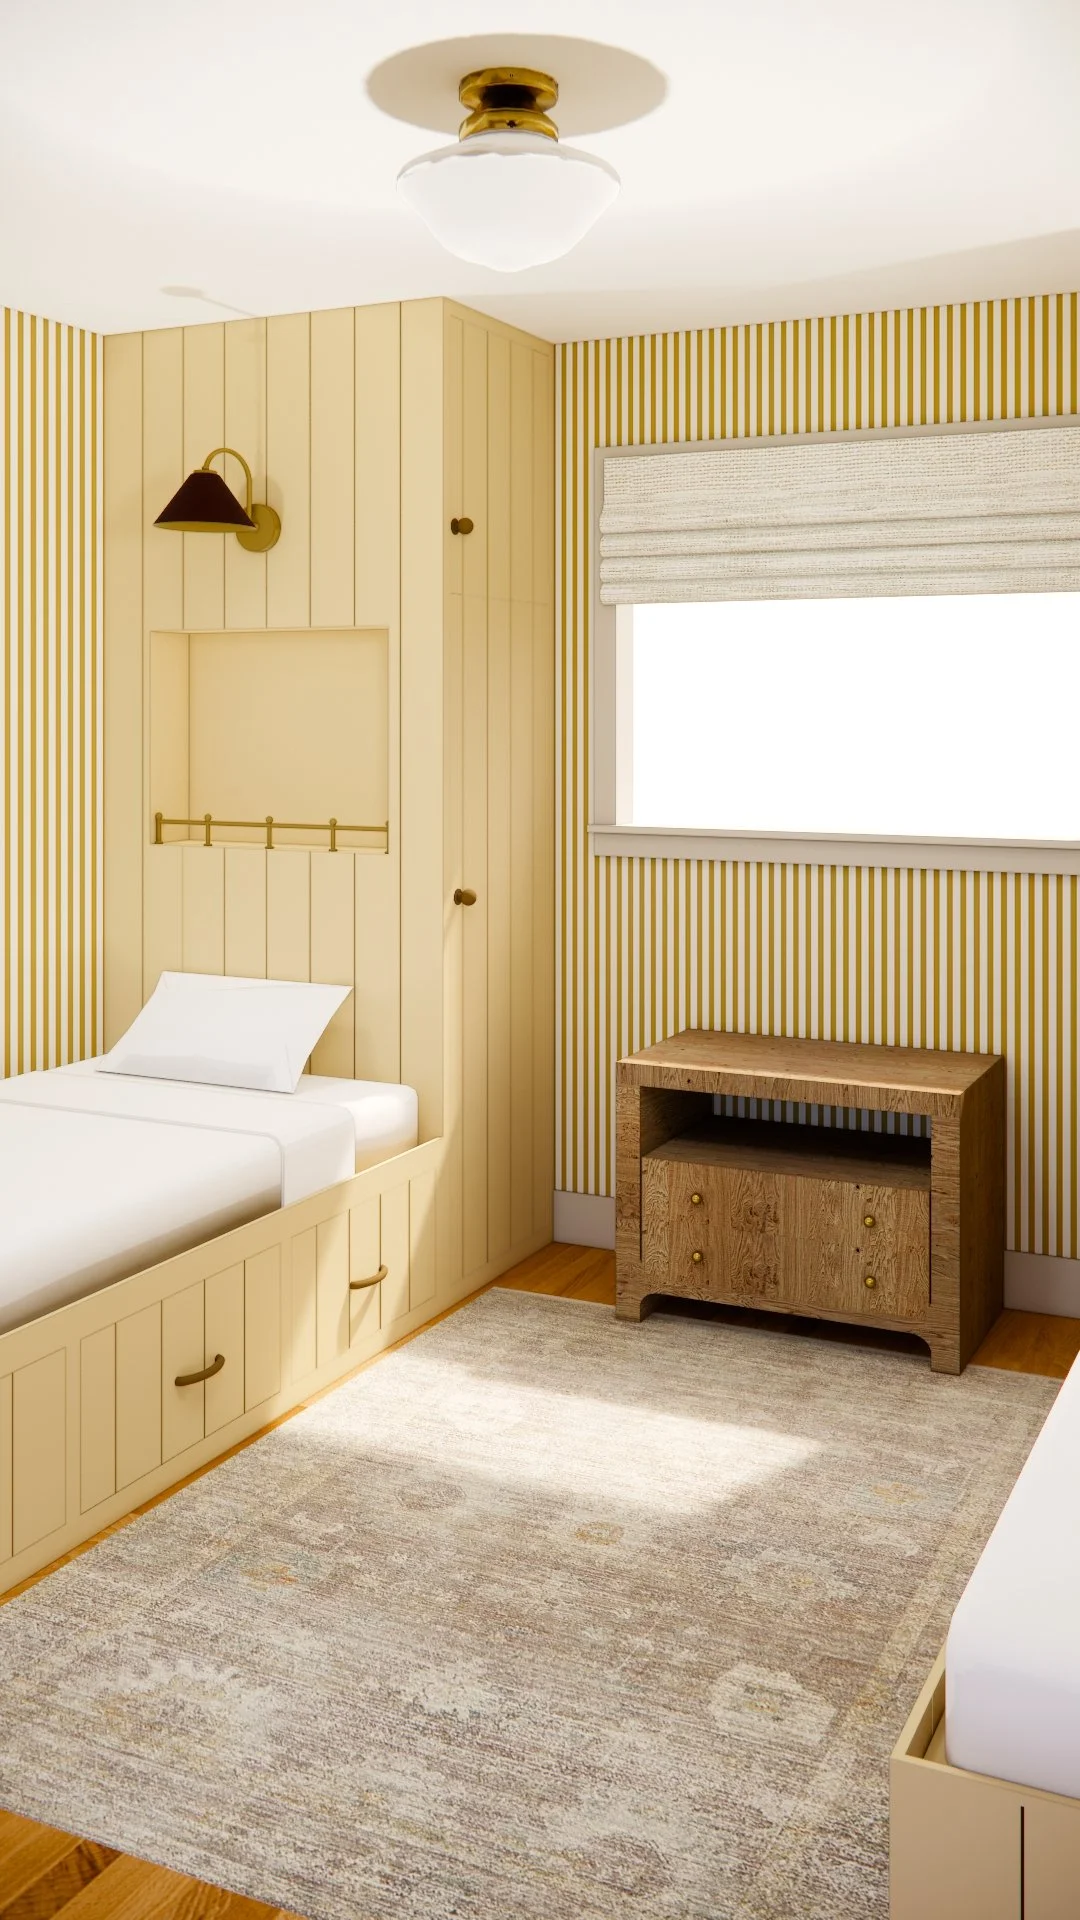
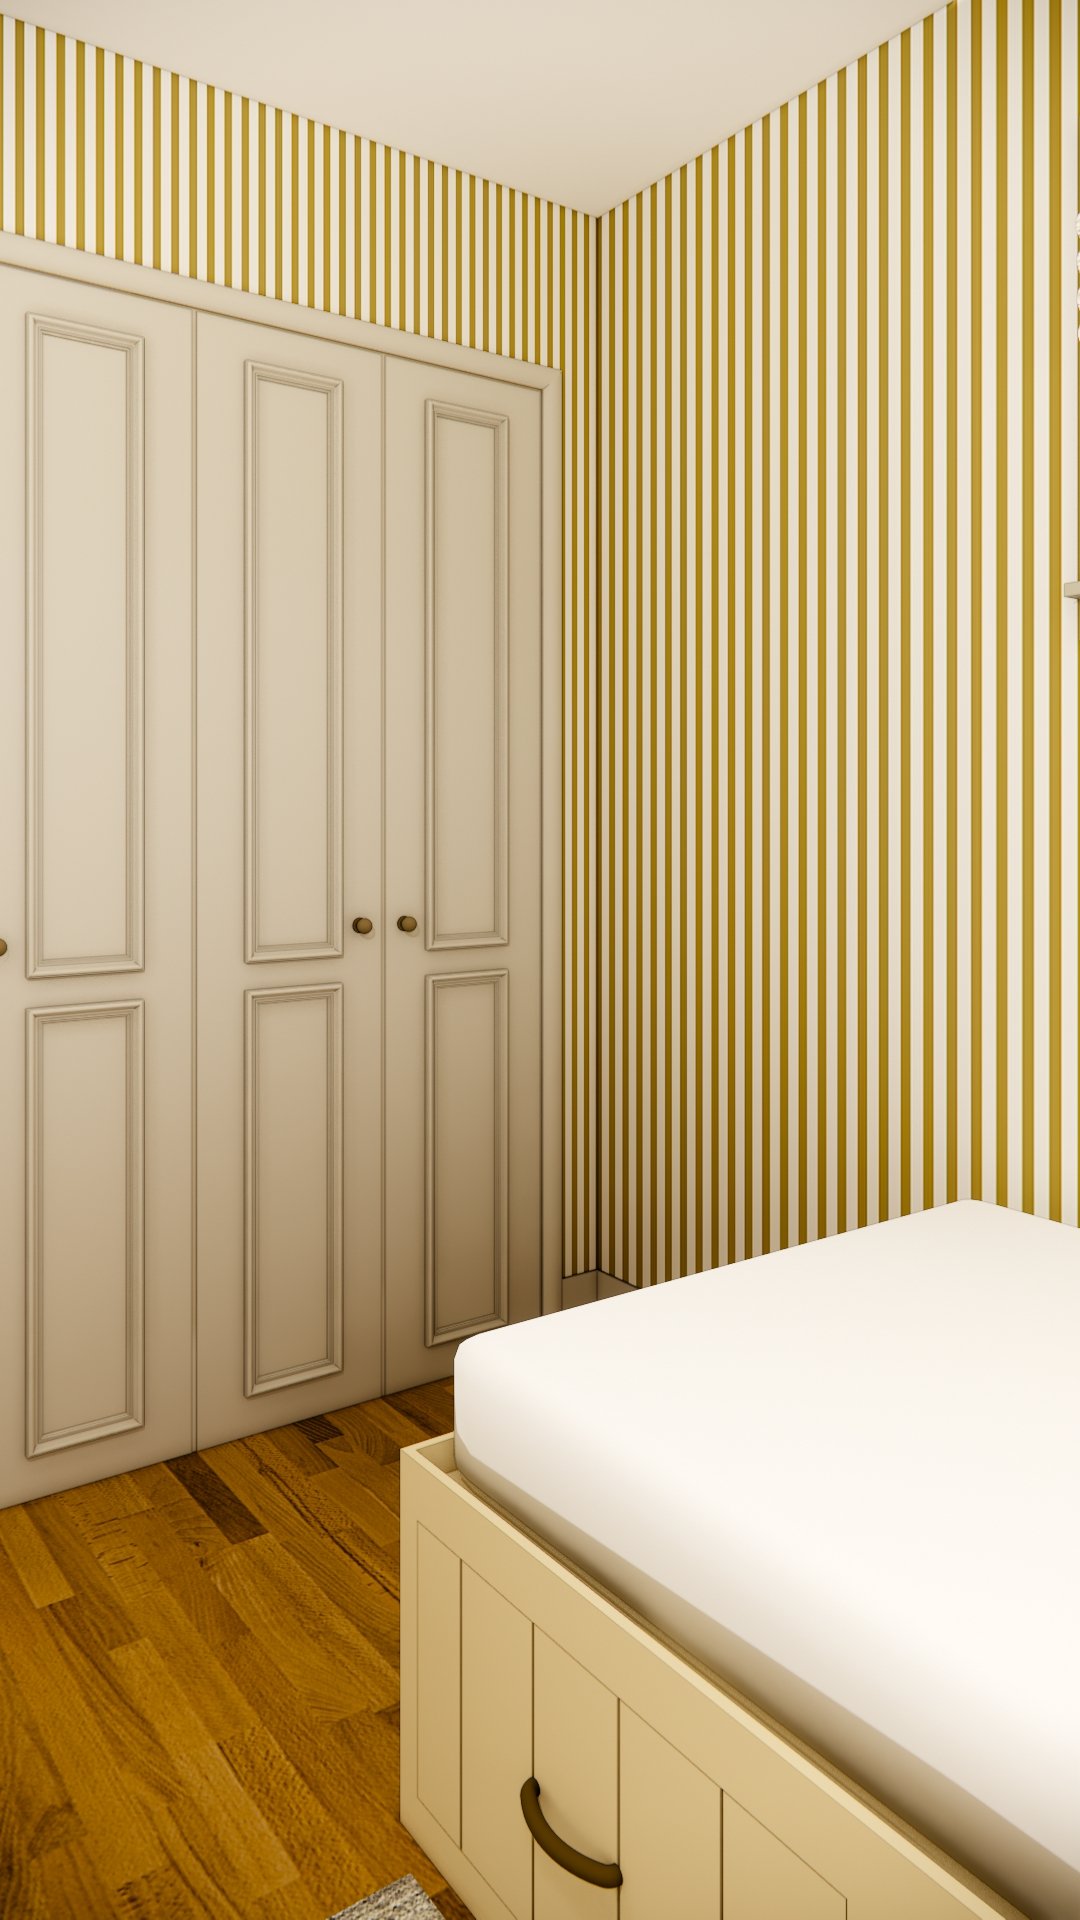
From there I took measurements of the room, created a basic 3D model of the space and started to play around with colors and materials. After multiple iterations I decided to shiplap the exterior of the beds, include three drawers in the base of the beds and a floor to ceiling cabinet with two doors for additional storage next to the beds.

Building the Beds Step-by-Step
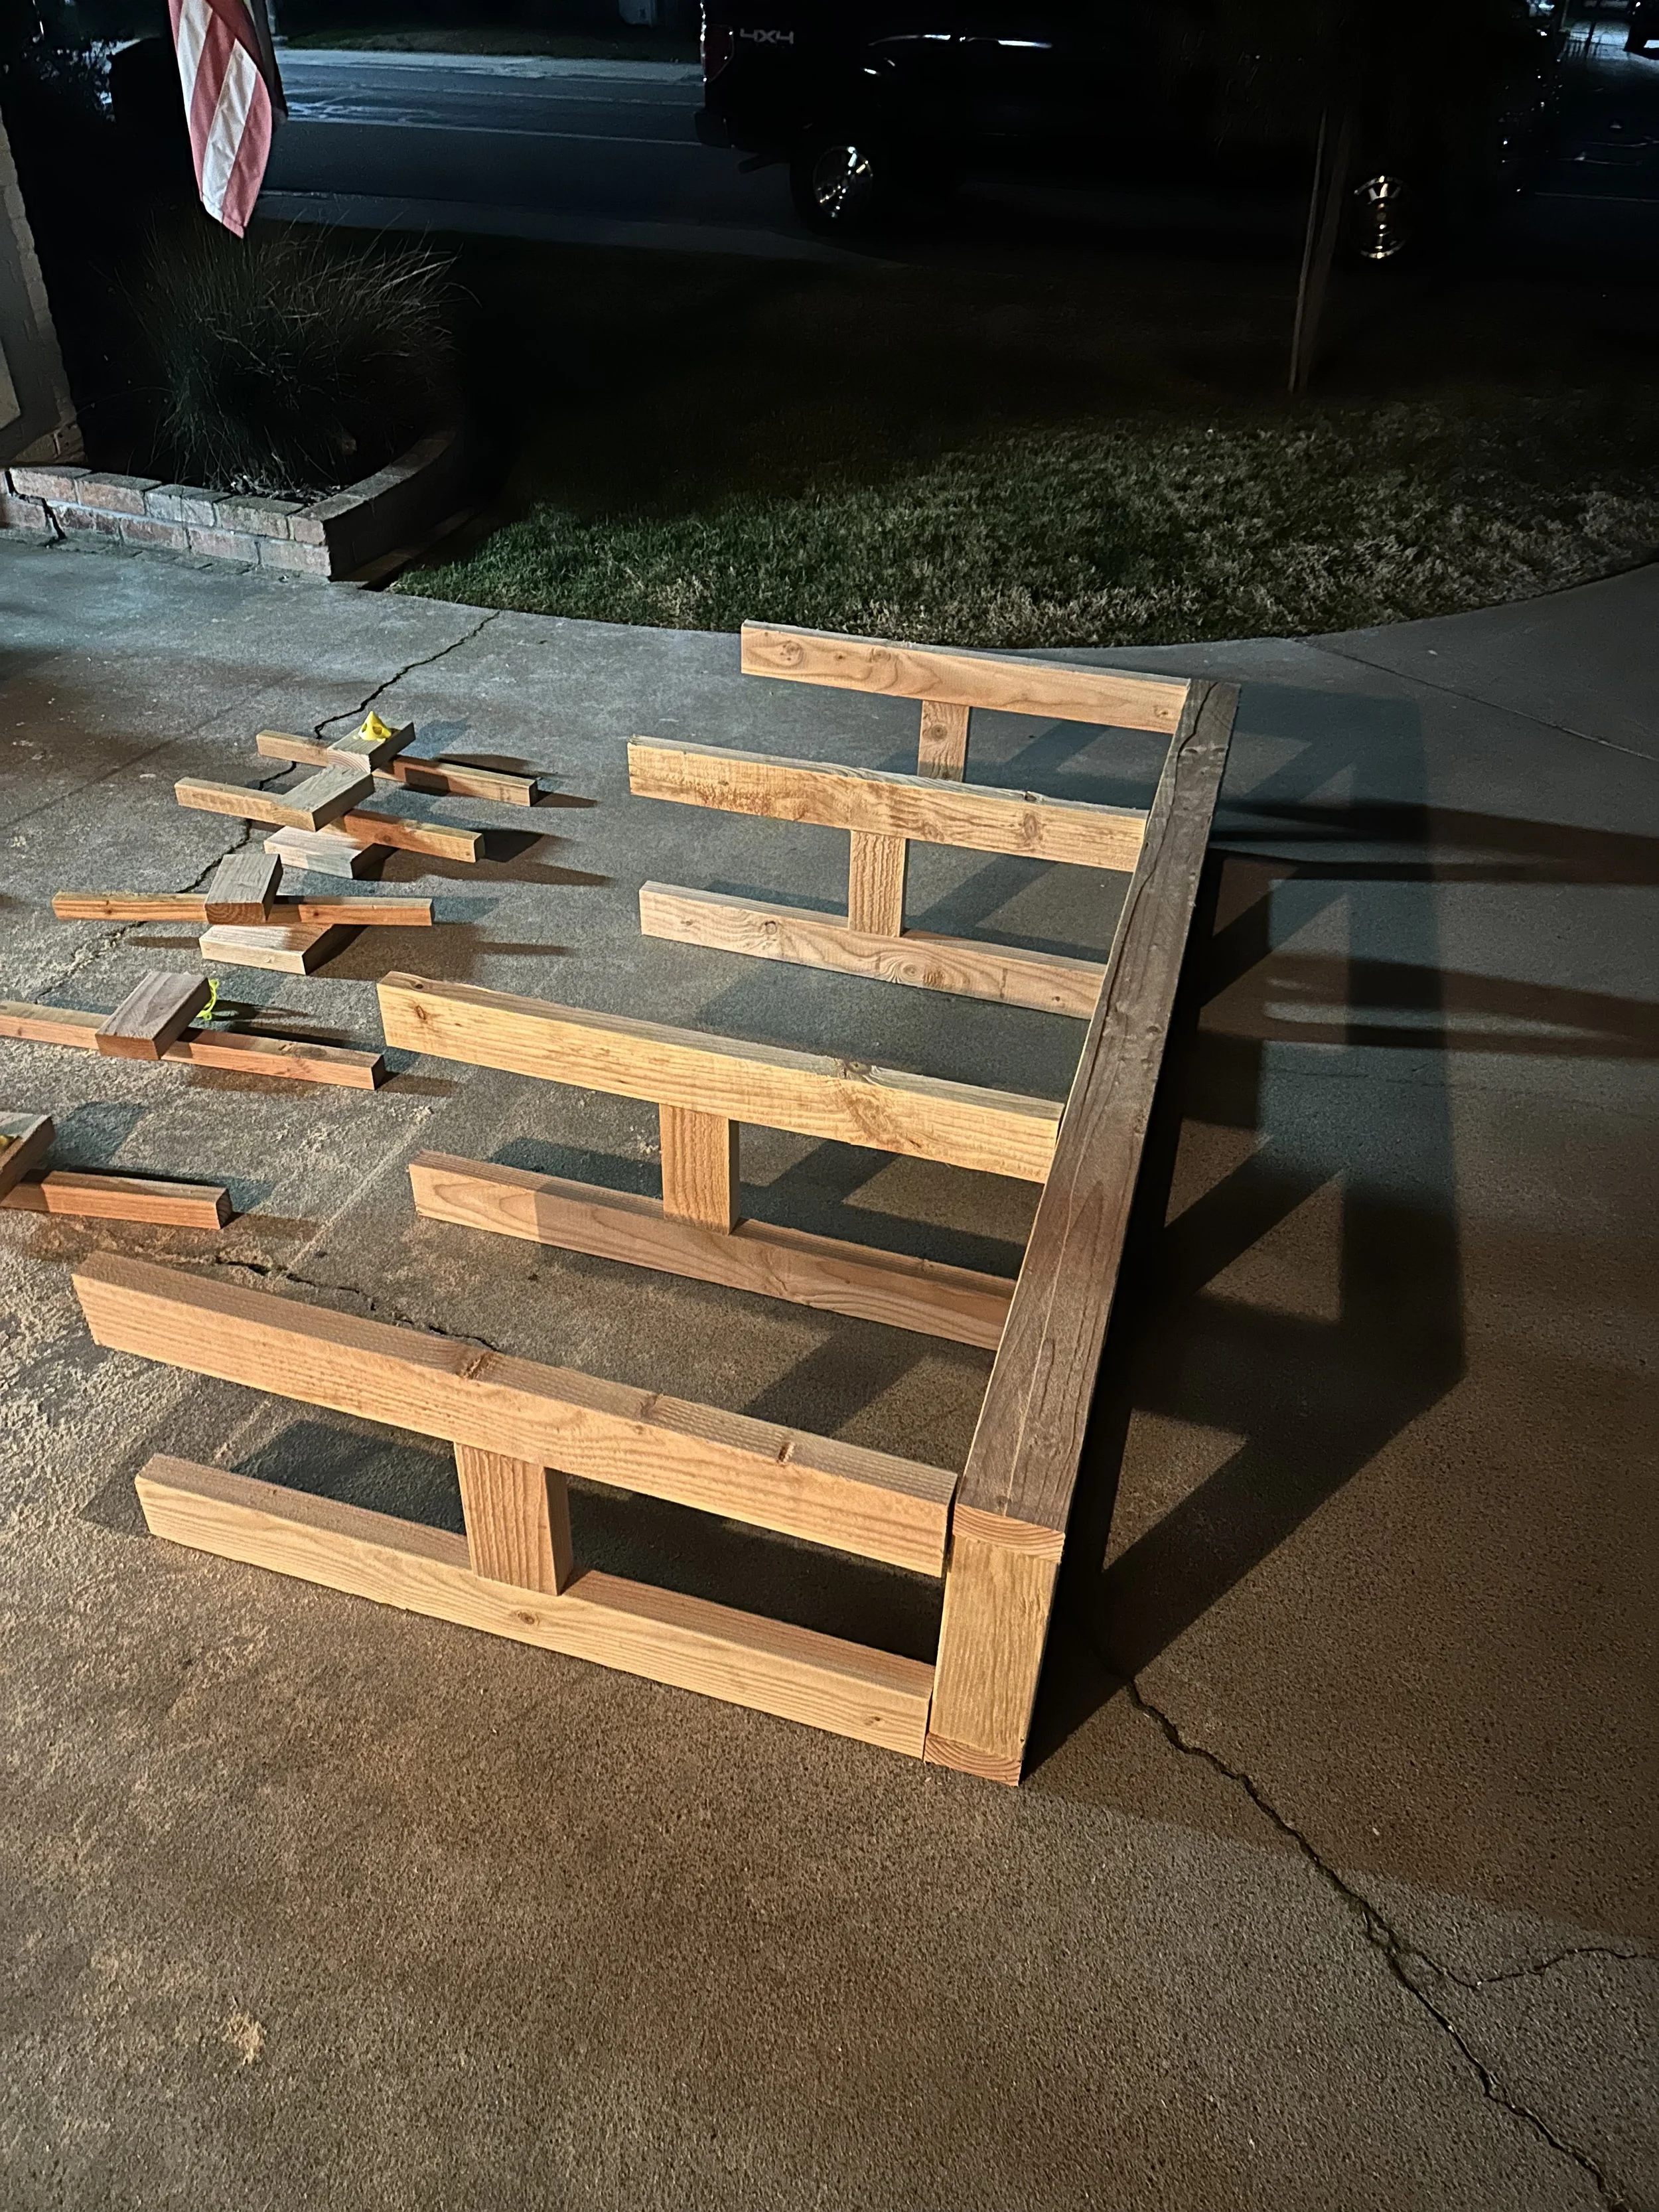
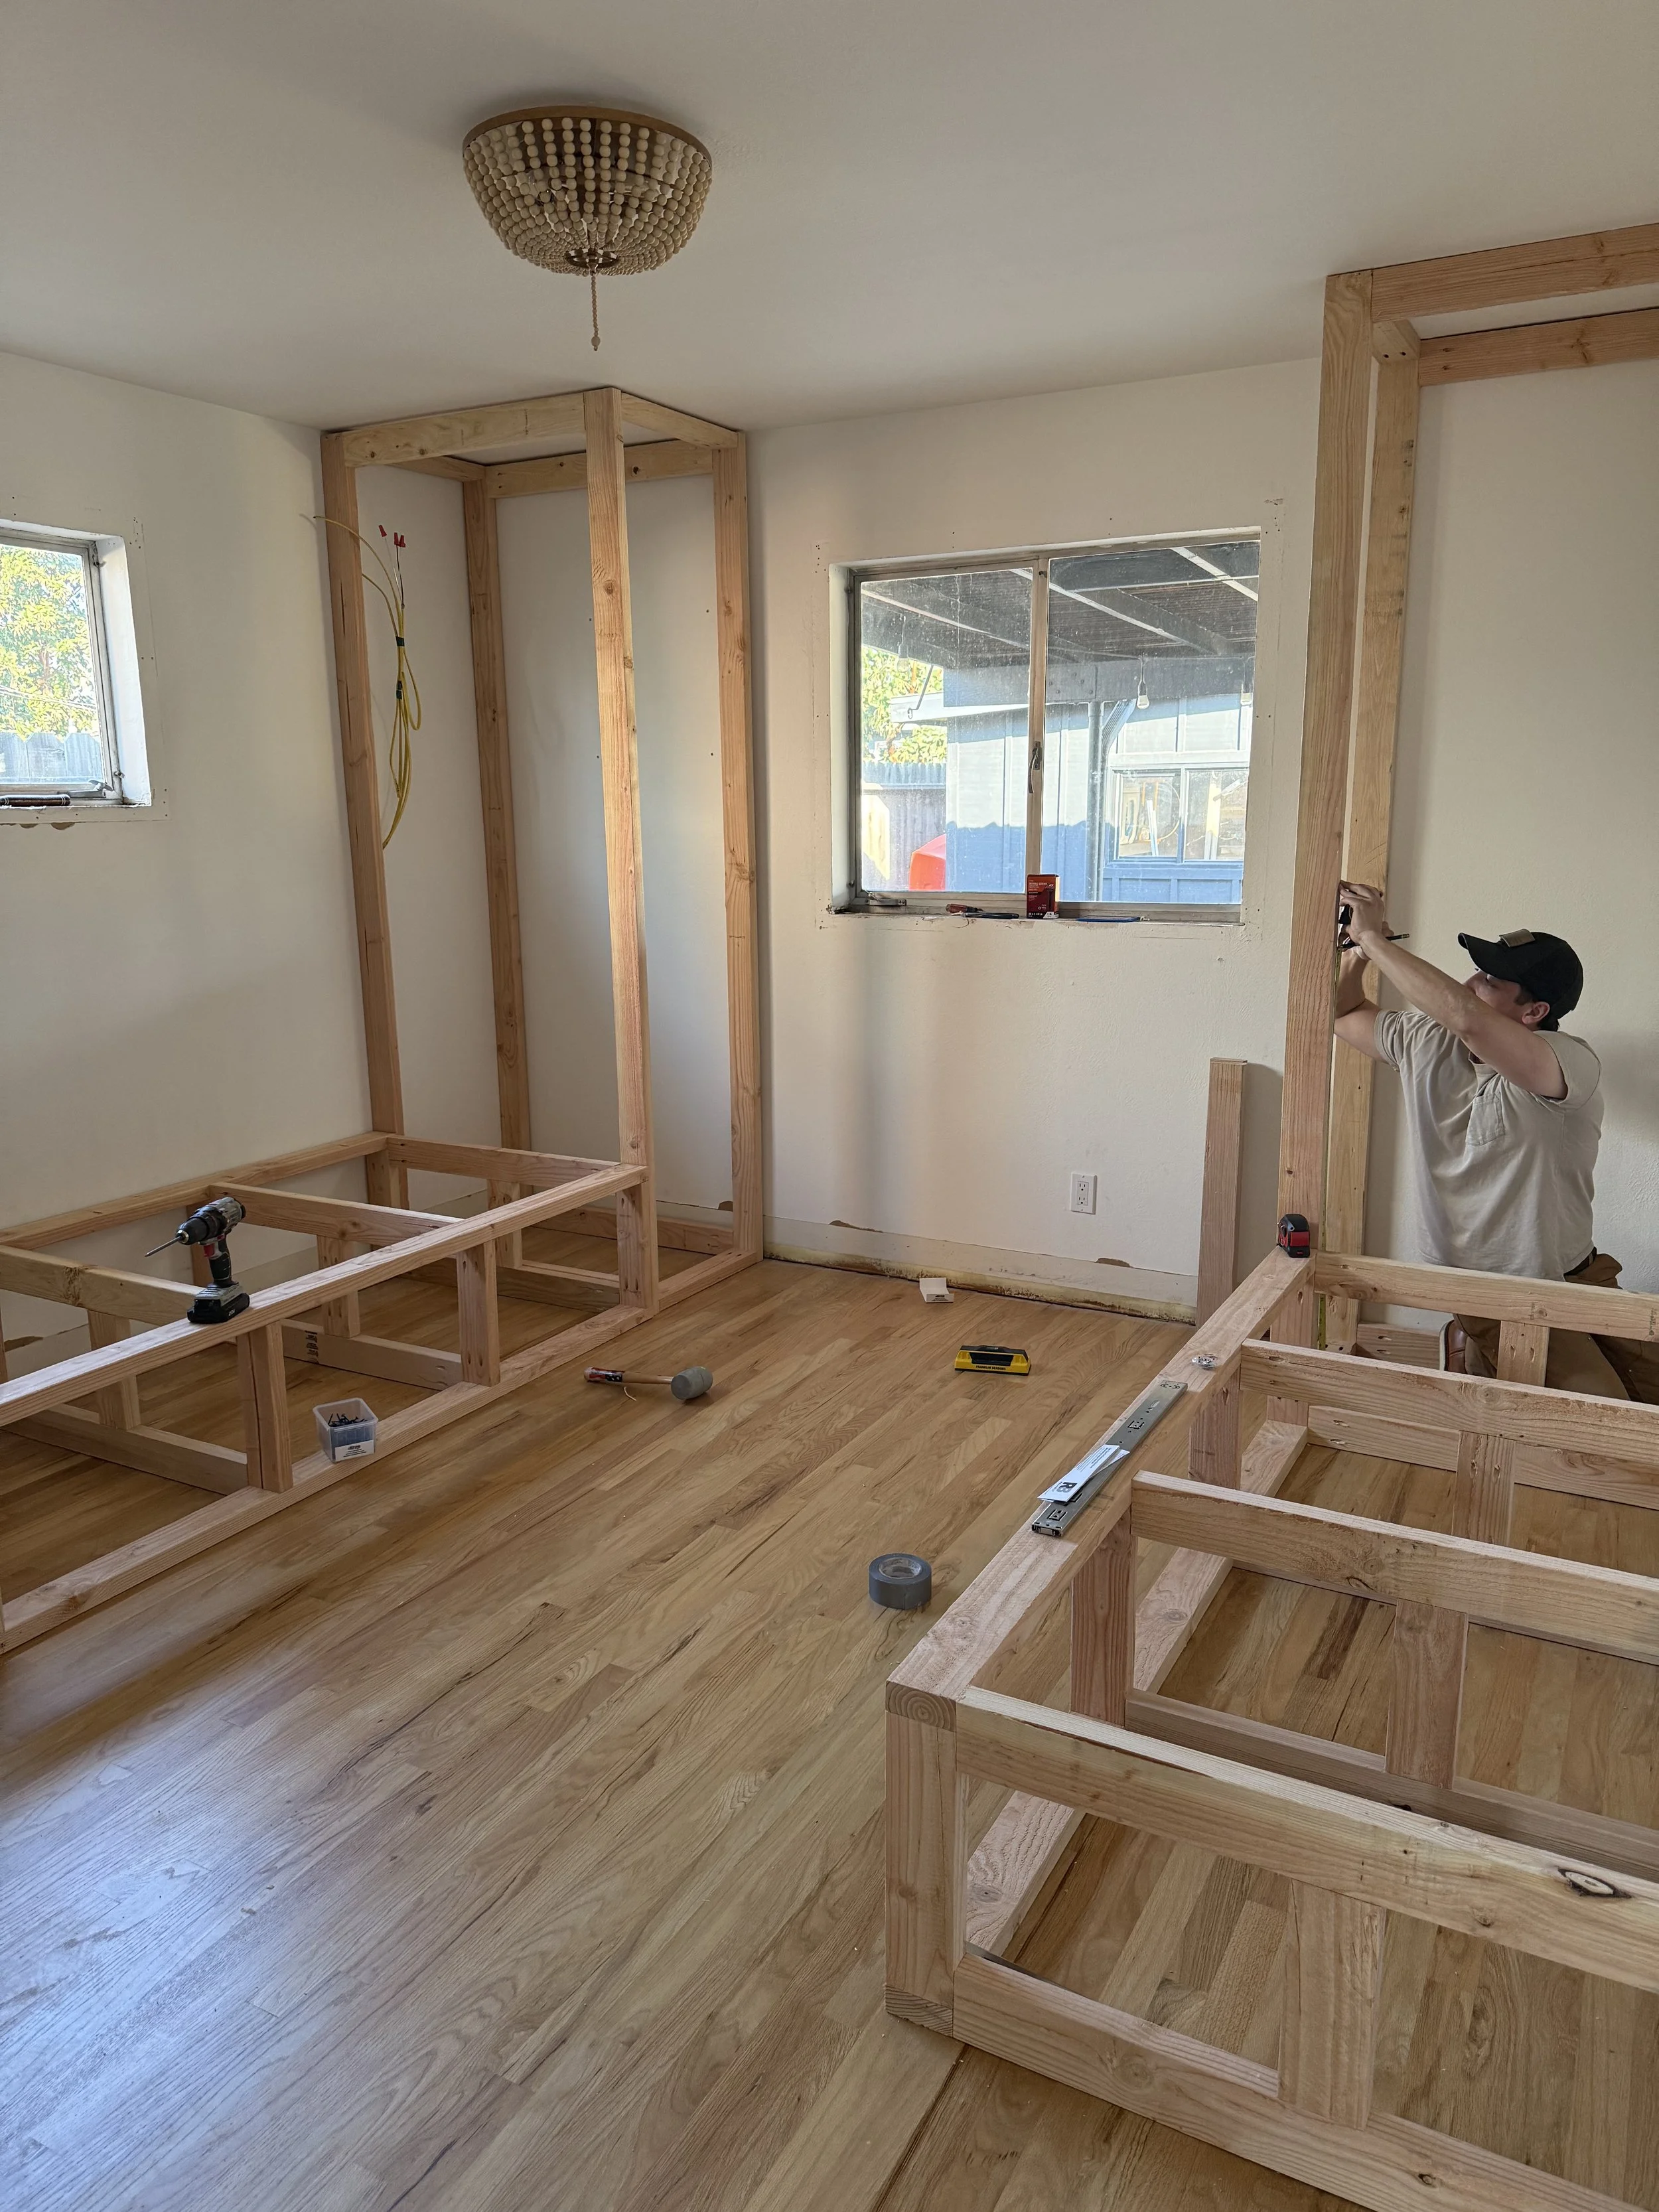
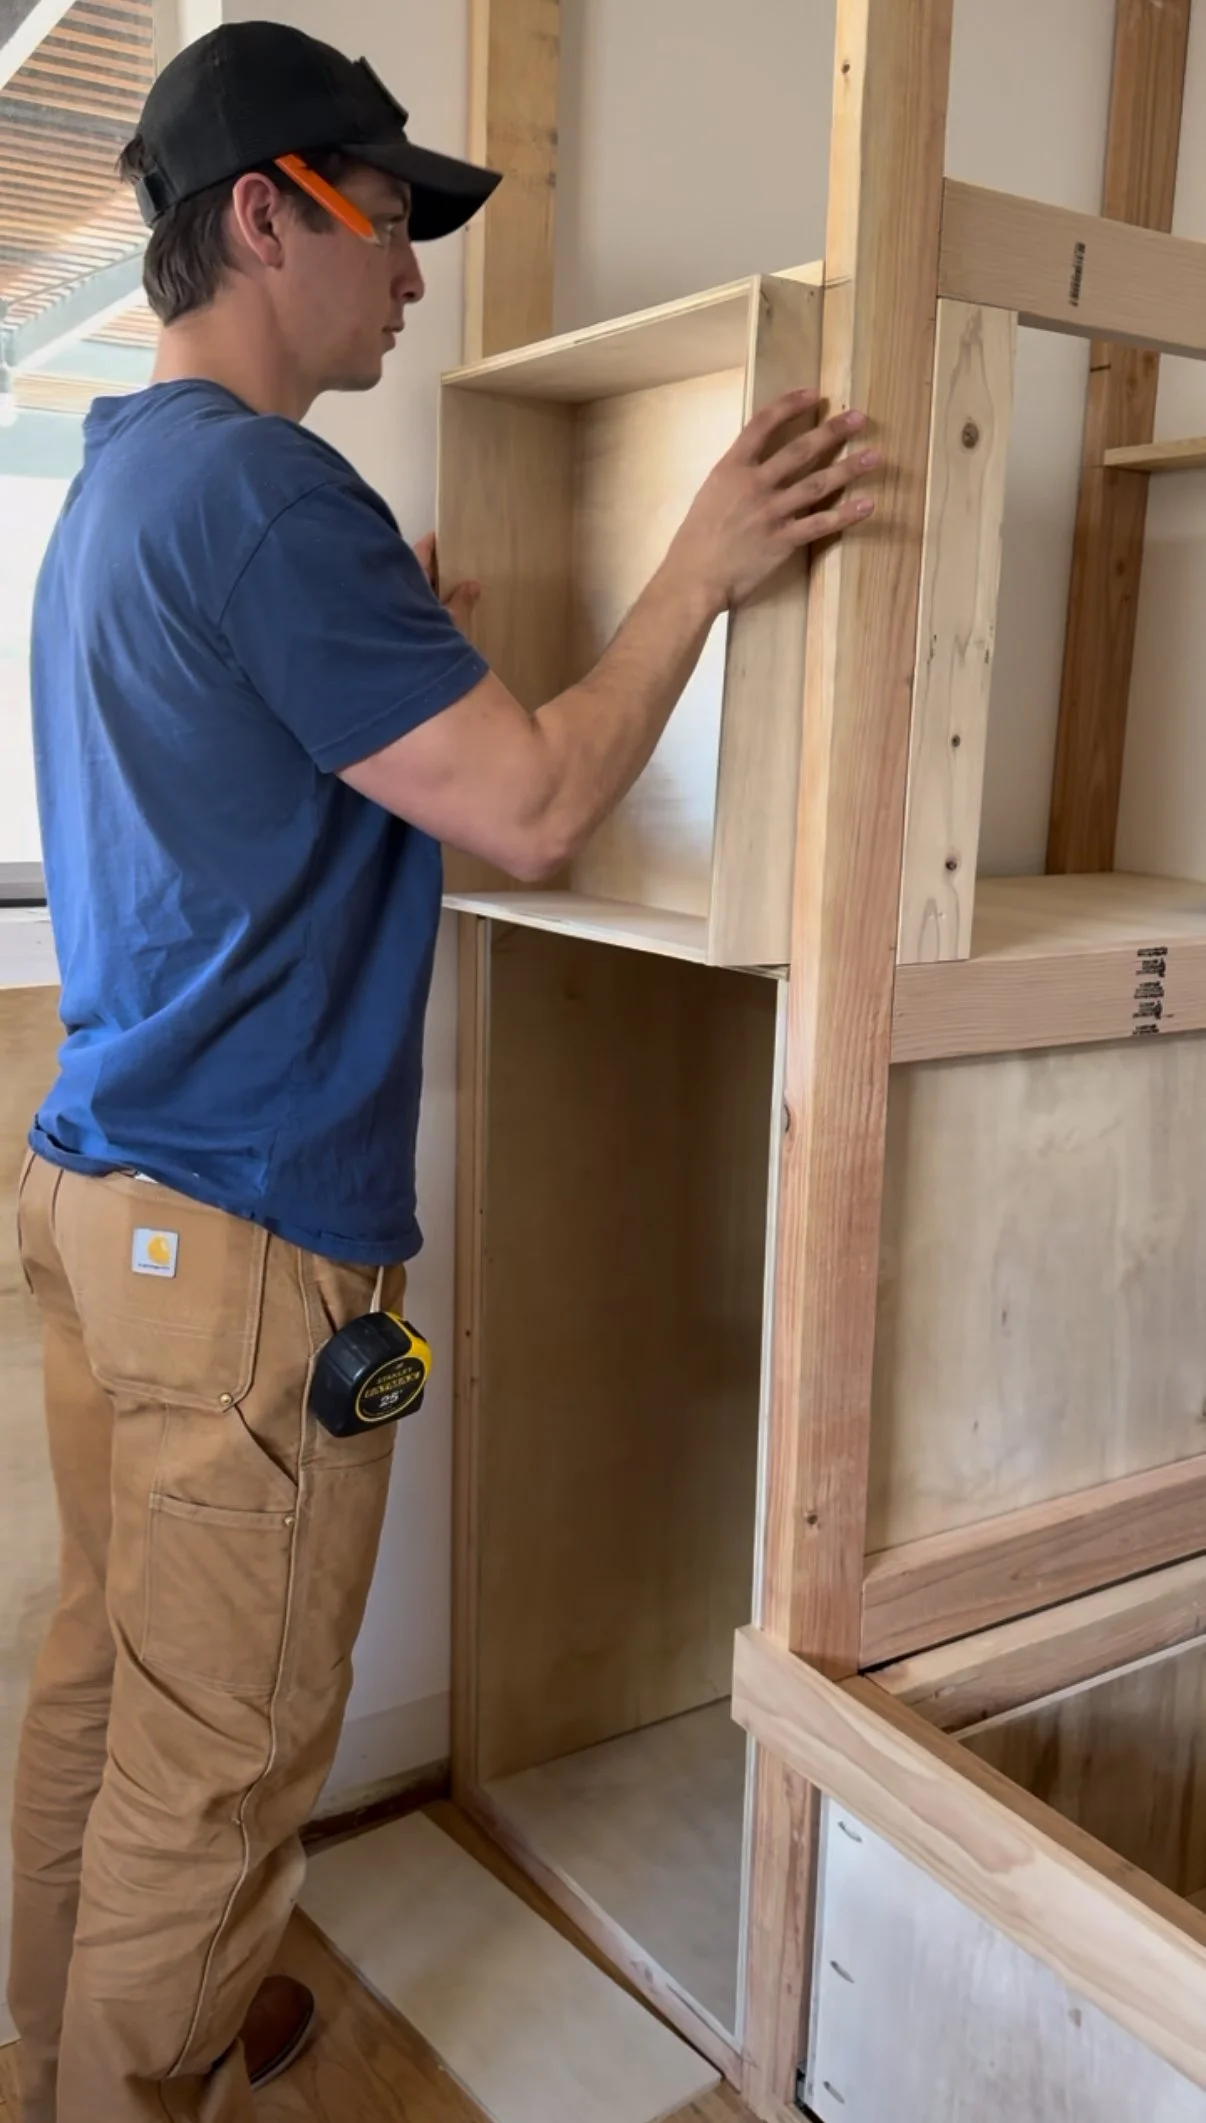
Step 1: Building the bed and cabinet frames
As I mentioned earlier, we opted to use 2x4’s for both the bed and cabinet frames. After creating the measurements for the frames Travis began cutting 2x4’s to length. To attach the frame pieces together, he used a Kreg pocket hole jig and pocket screws. This allowed him to easily assemble the frames and keep them square. Travis included 2 cross braces in the middle in each bed both for lateral support and for a solid location to mount the drawer slides. Once the frames were complete, Travis secured them to the wall studs to prevent them from moving.
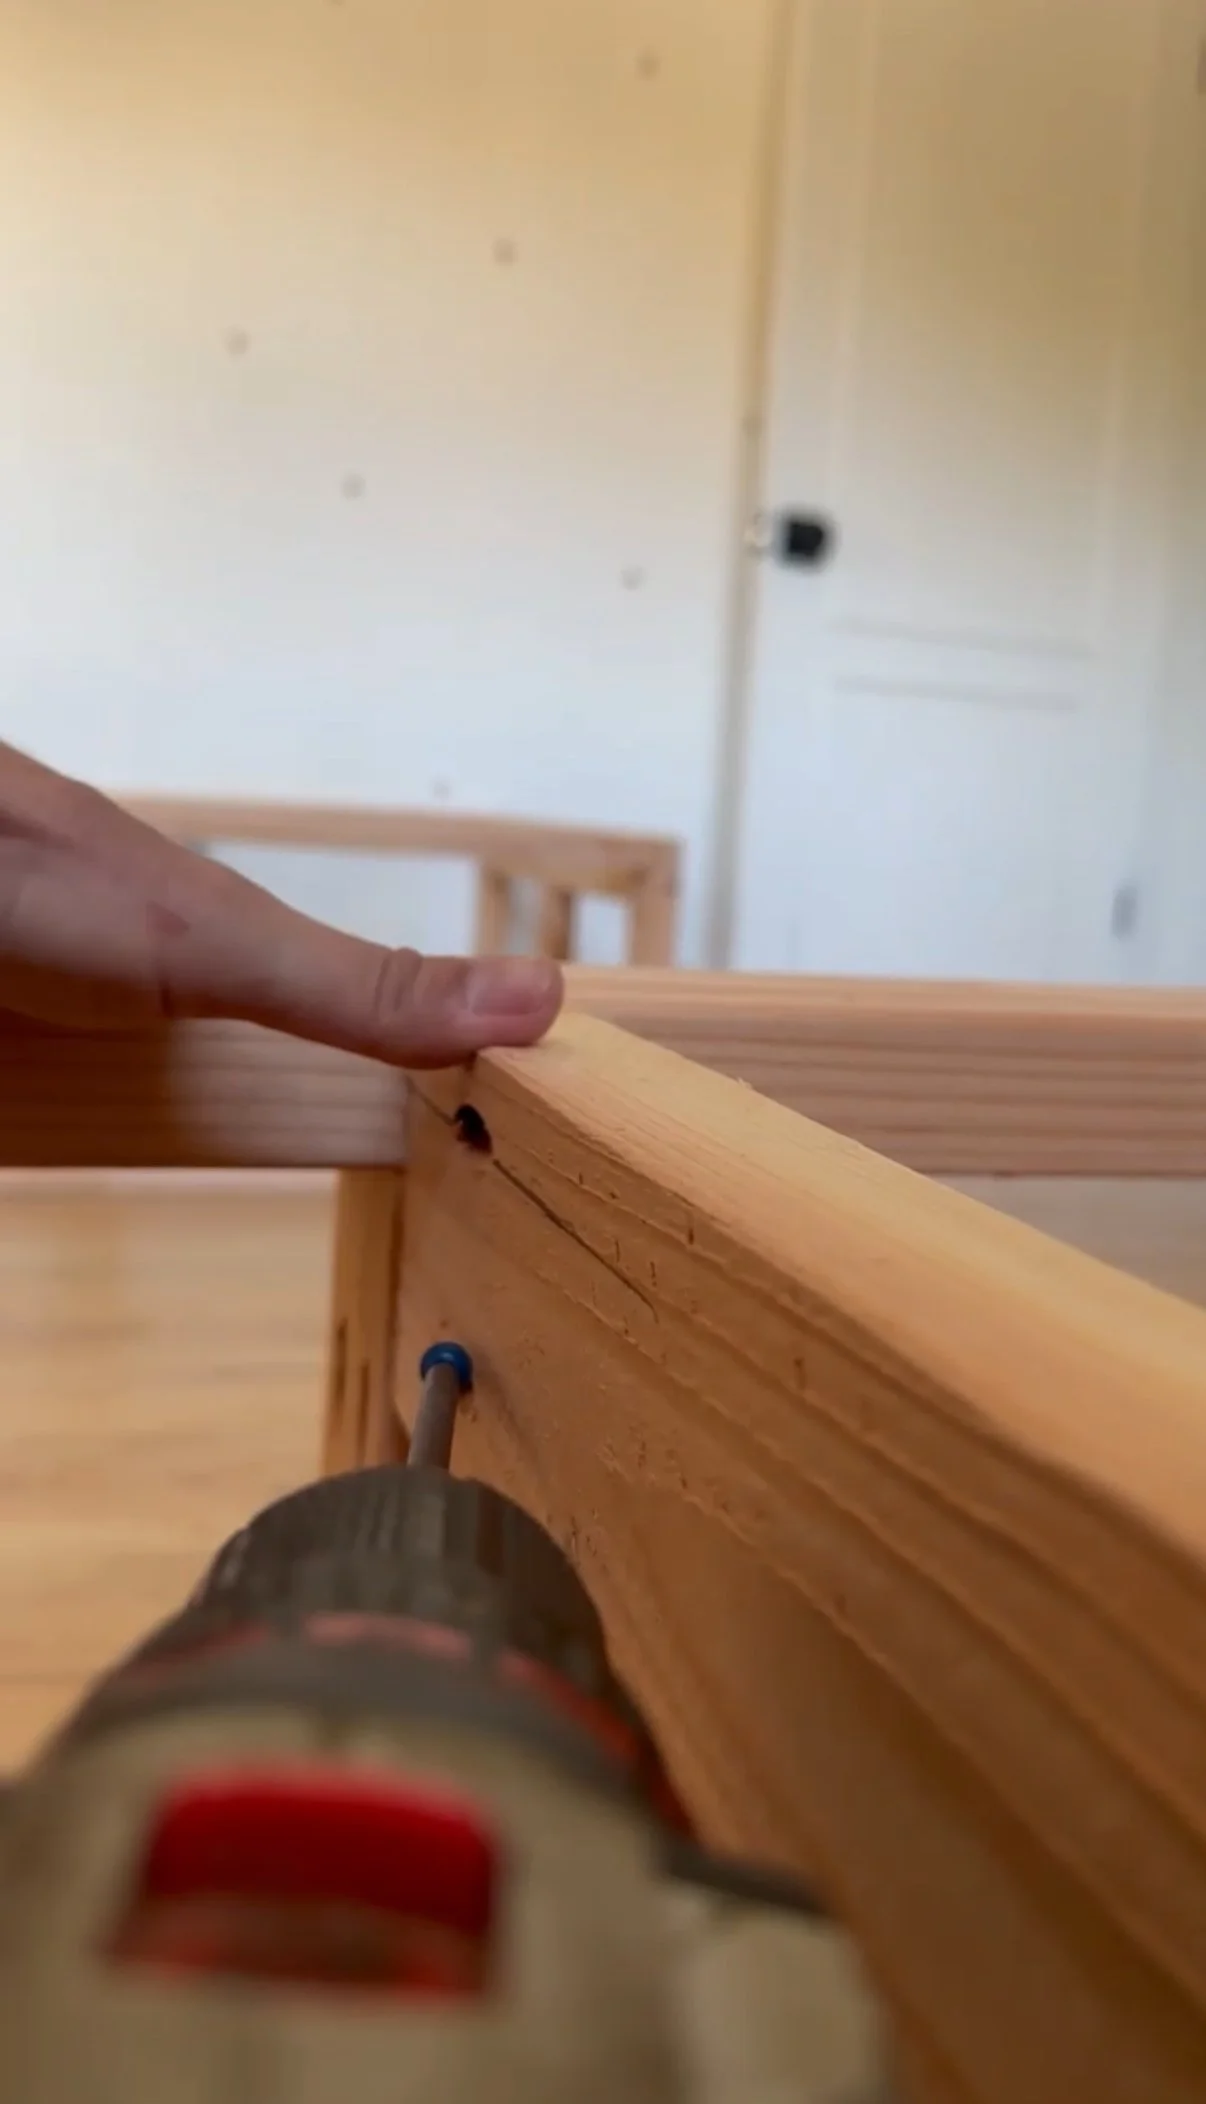
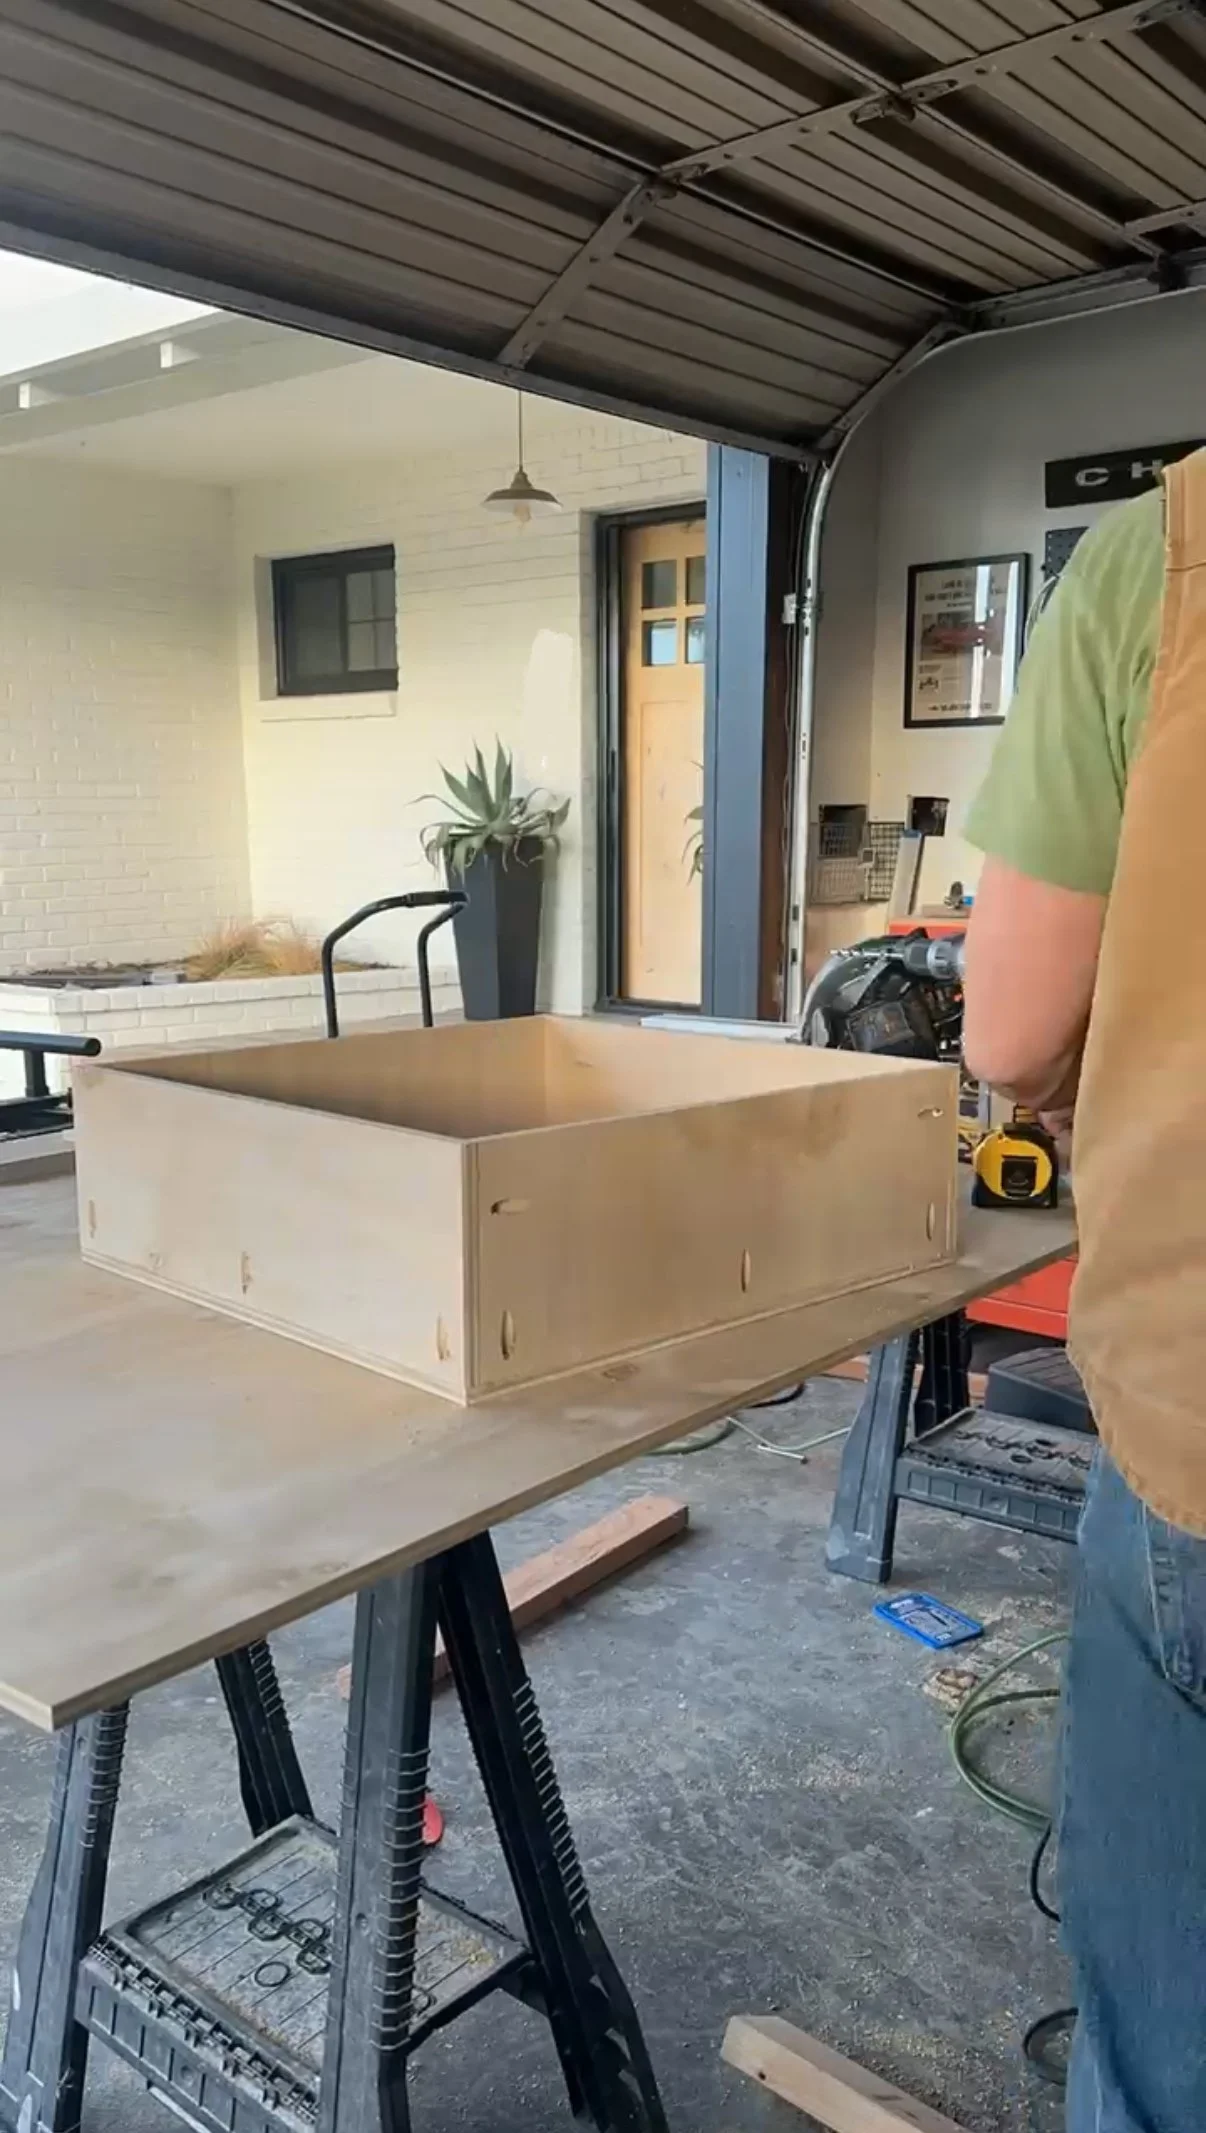
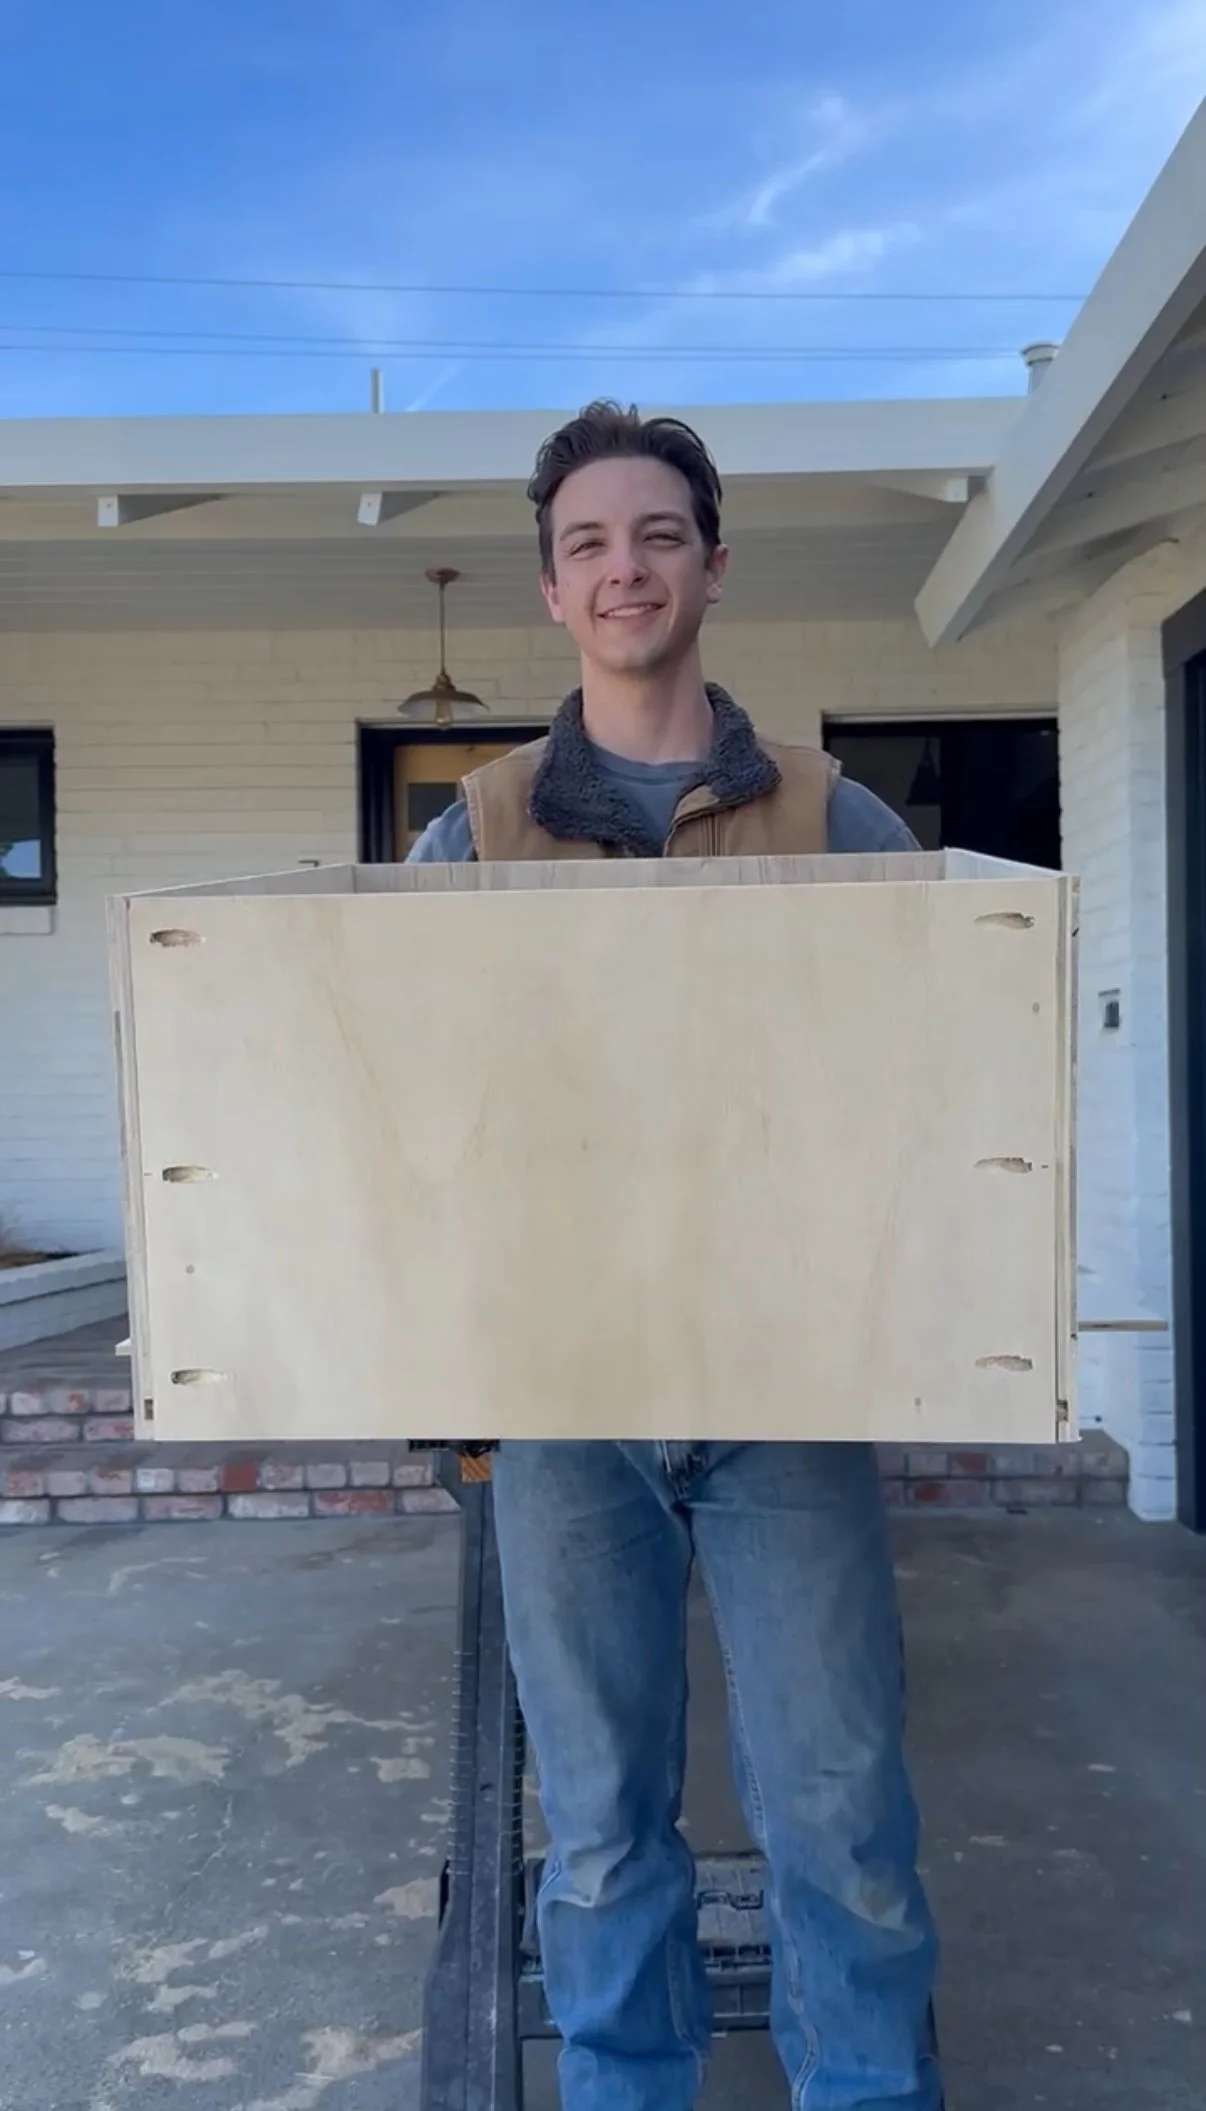
Step 2: Building and installing the face frames drawers
Travis built the bed and cabinet face frames using 3/4 inch select pine and attached the face frame pieces directly to the 2x4 frames. He then built the 6 drawer boxes using 1/2 inch plywood for both the sides and captured bottom of the boxes. This ensured the boxes with be able to withstand the abuse from two kids without skipping a beat. Travis built the drawer boxes to be as deep and as wide as practical to allow for an adequate amount of storage. Once the drawer boxes were built, Travis installed them using 24” ball bearing drawer slides. Due to the imprecise nature of the 2x4’s used in the frame, Travis had to use shims in a few spots to ensure the slides operated smoothly.
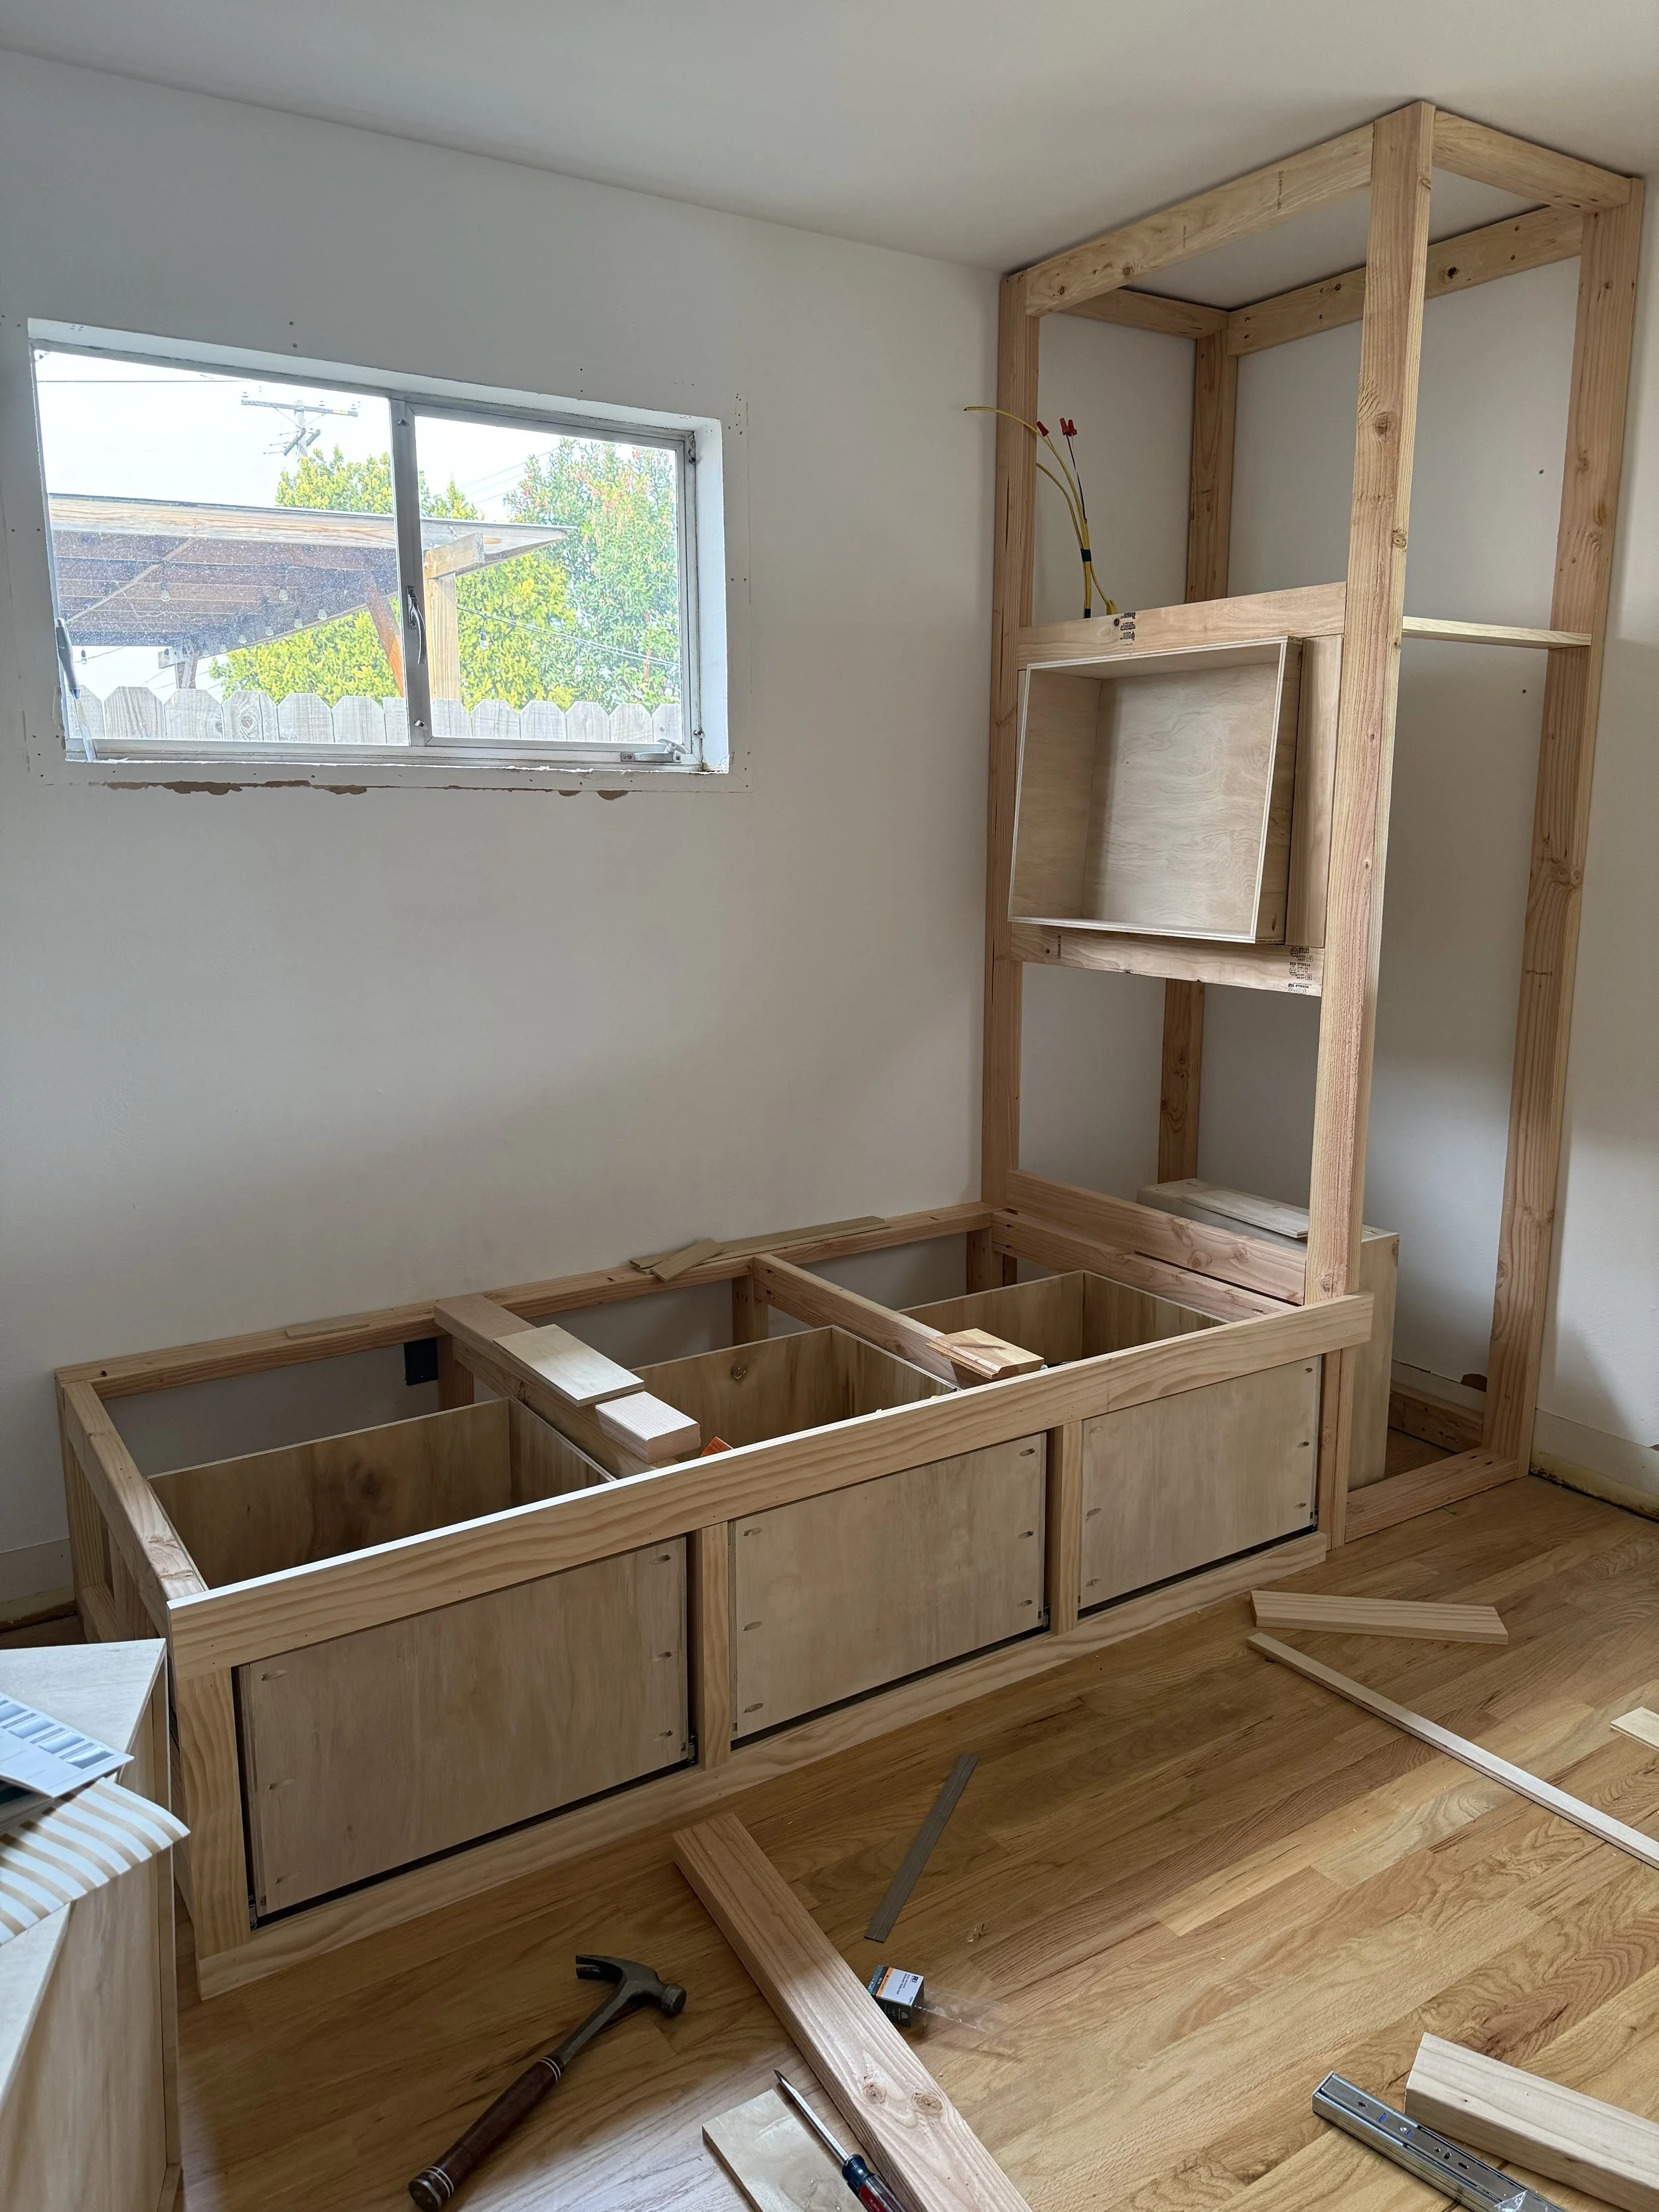
Step 3: Lining the inside of the cabinet
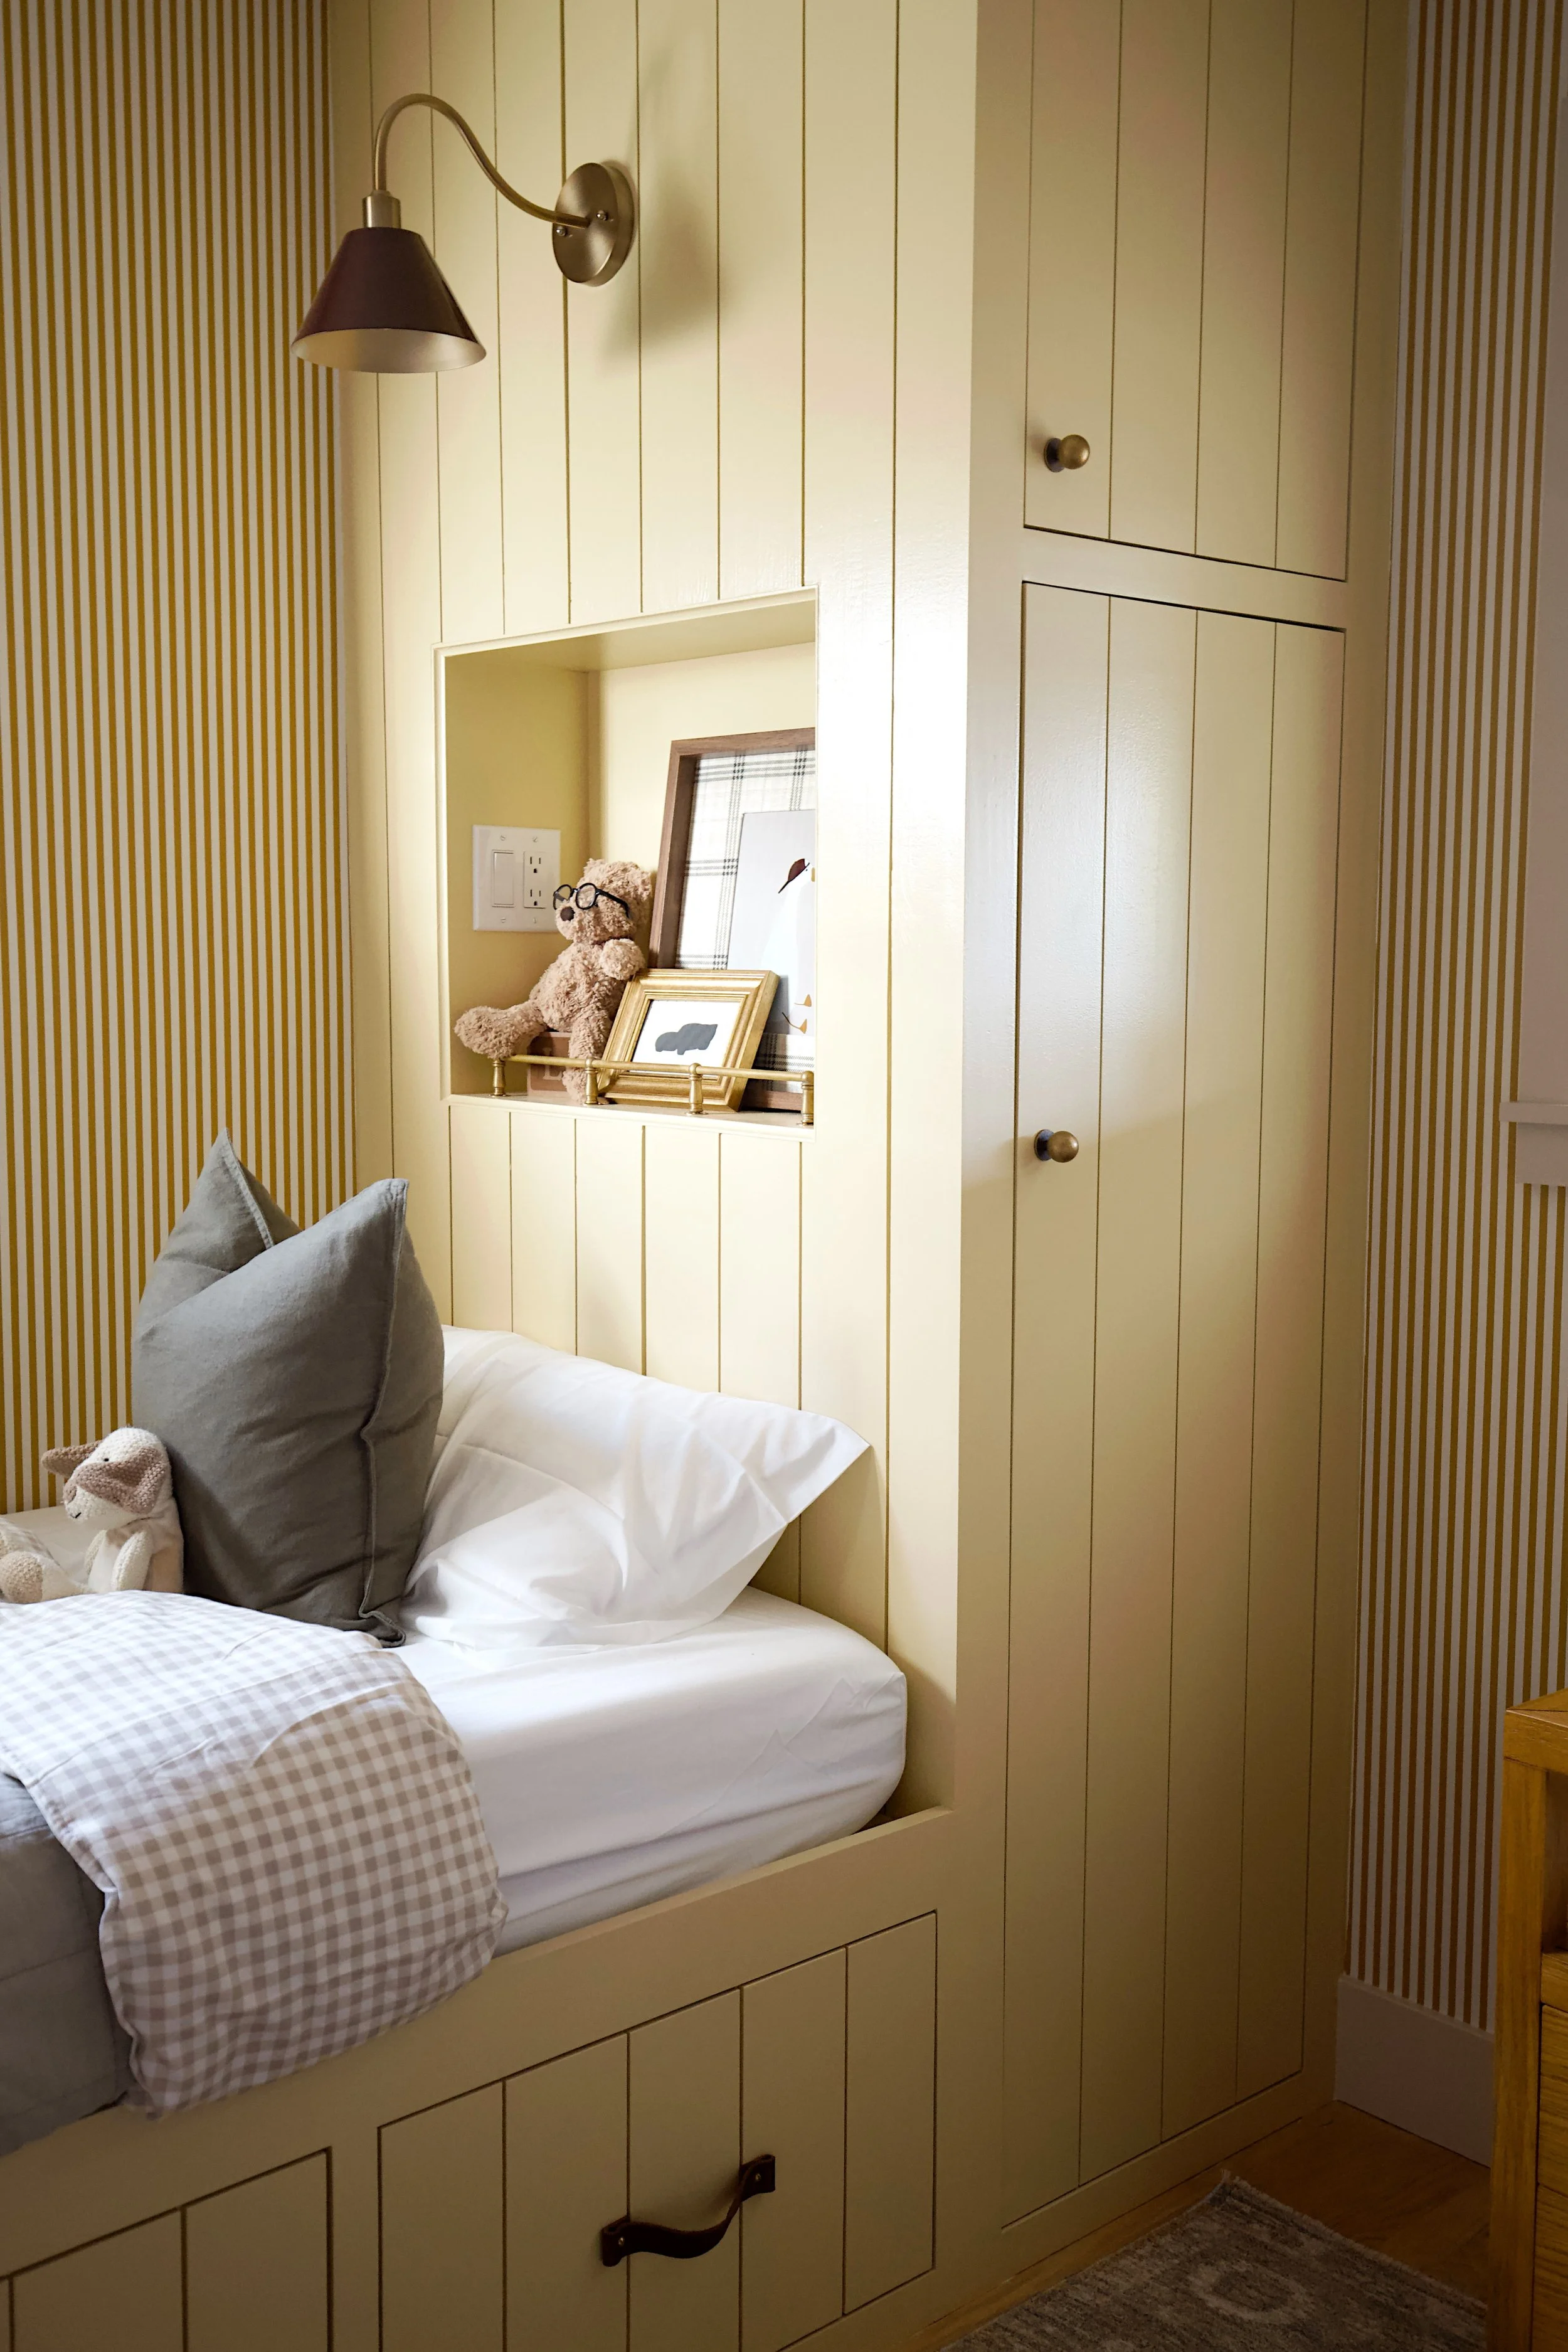
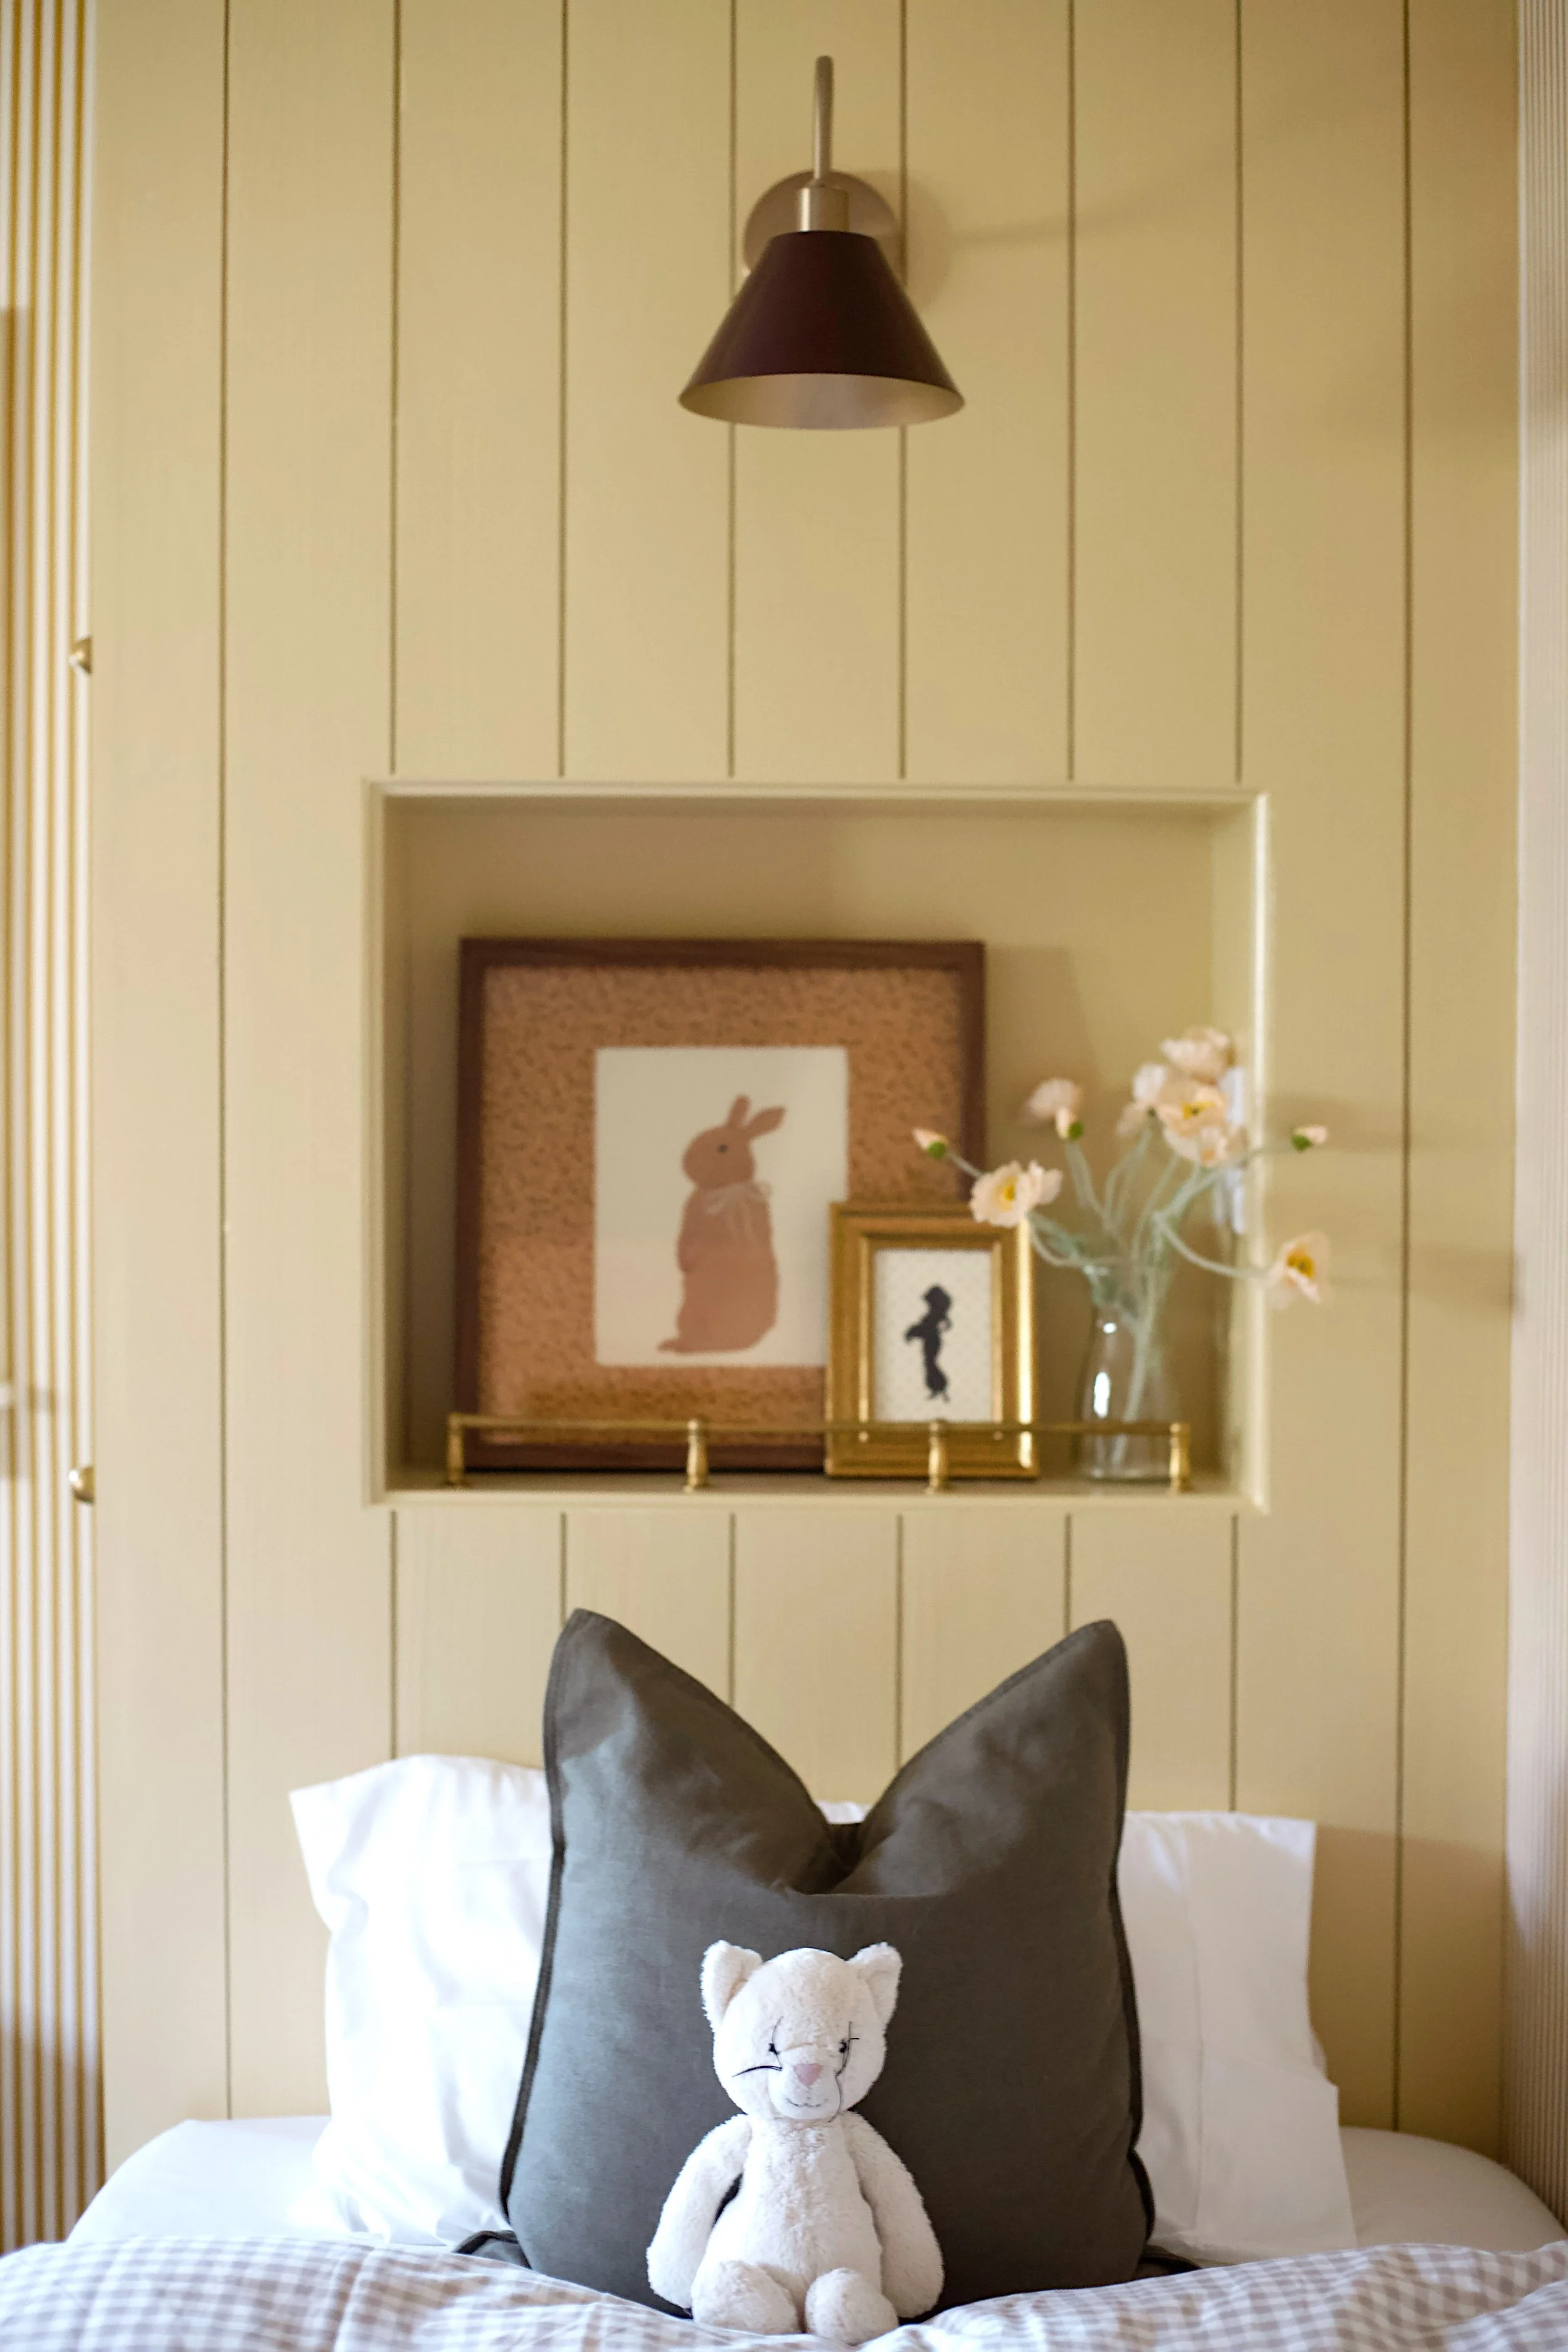
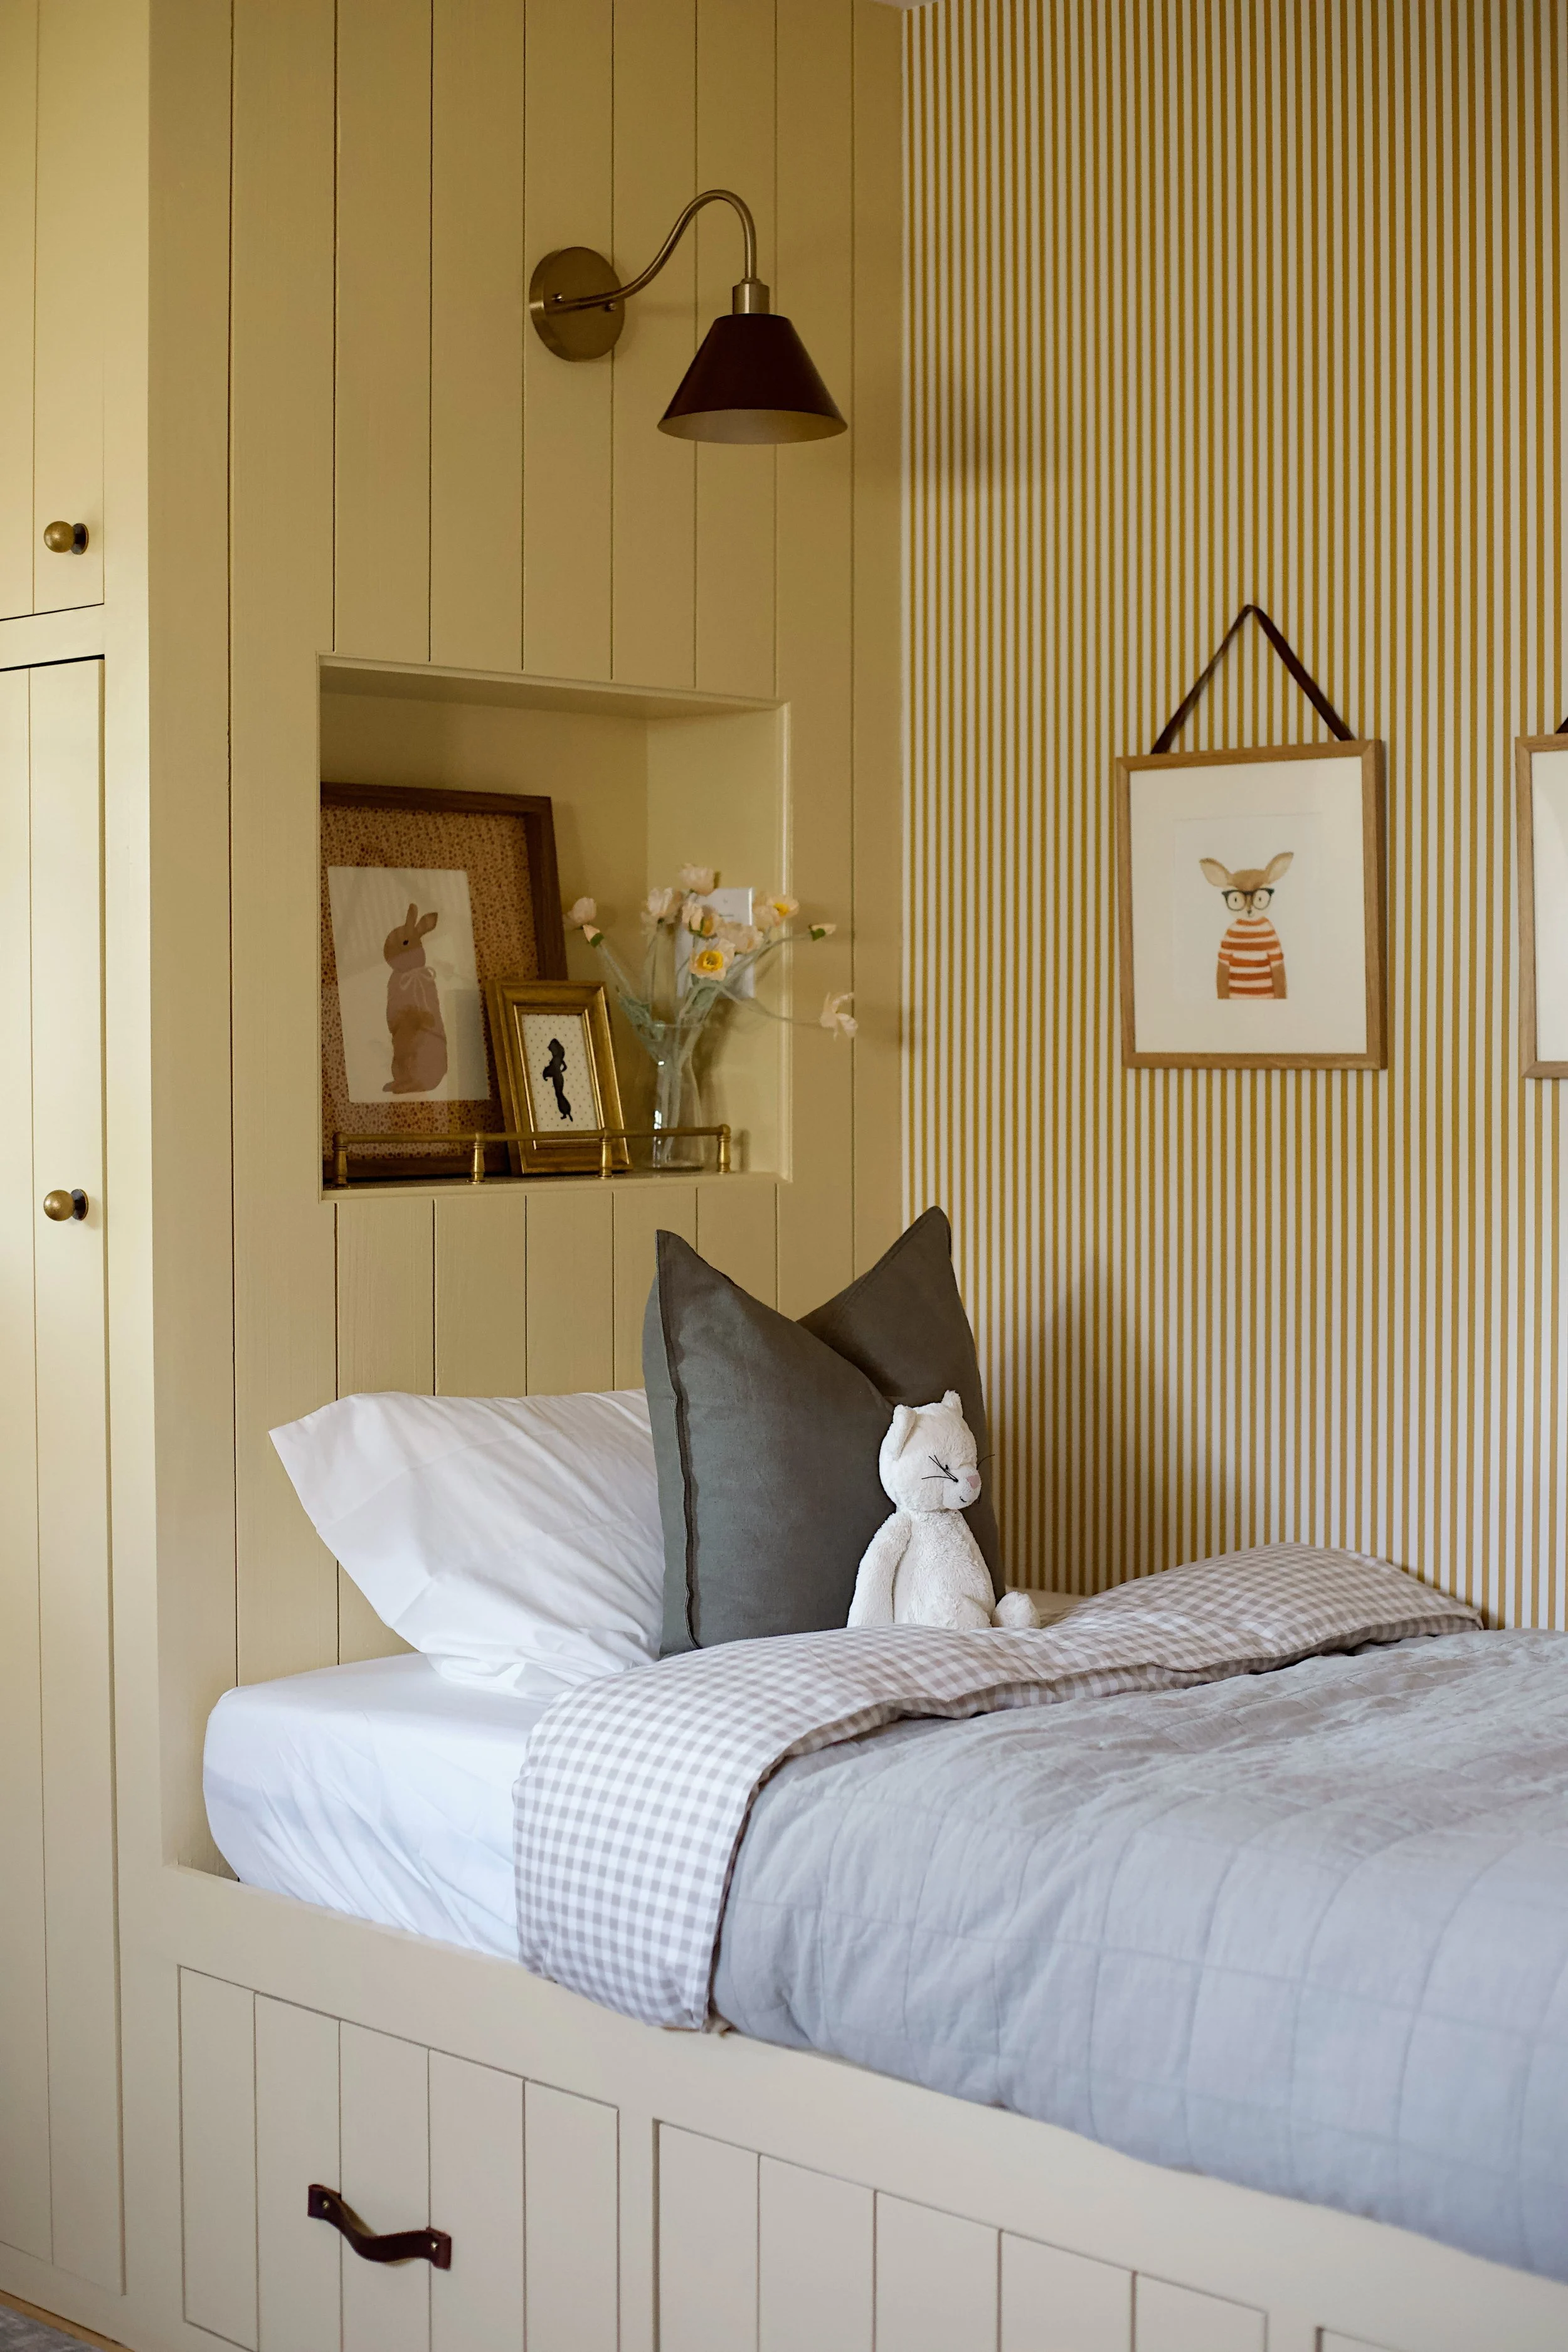
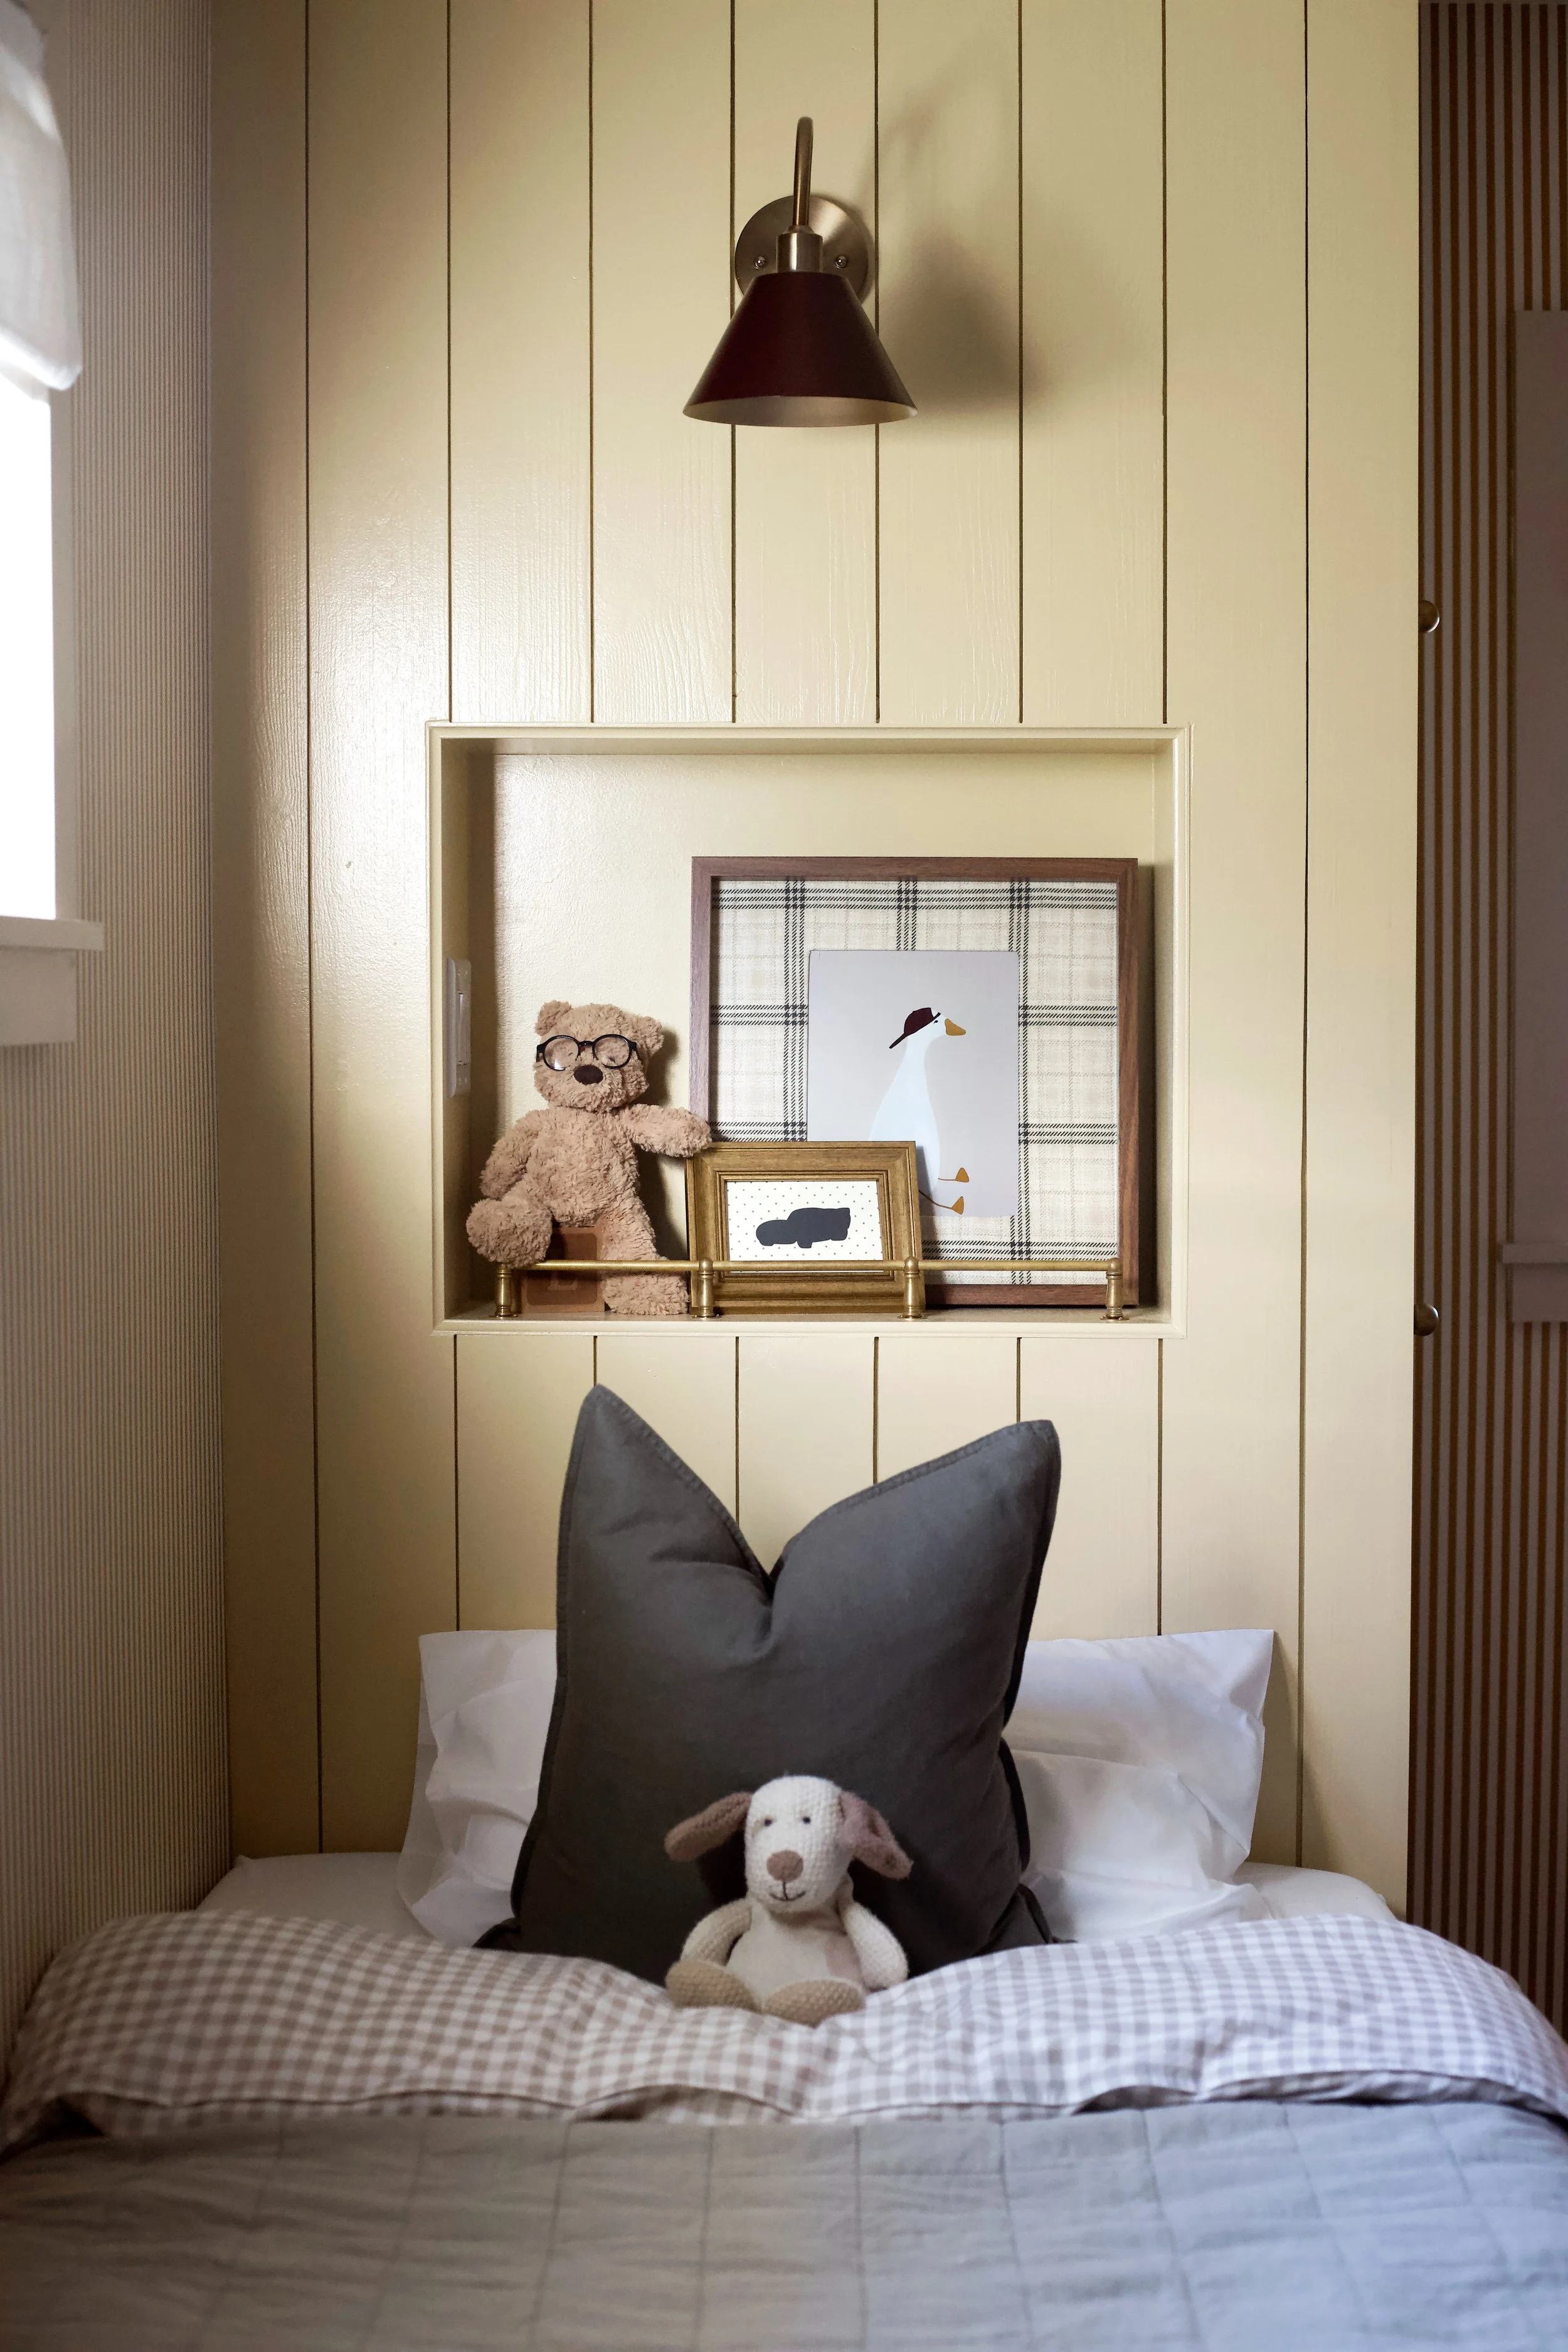
Because we opted to build the standing cabinet with a 2x4 frame, Travis lined the inside of the cabinet with 1/2 inch plywood. Looking back, it probably would have been easier to just build the entire standing cabinet out of 3/4” plywood, but we were still satisfied with the end result. In lining the standing cabinet, Travis divided the cabinet into two main sections incorporated a niche along the headboard of the bed. In the niches, Travis included a detailed trim piece on the front edge to make them look more finished.
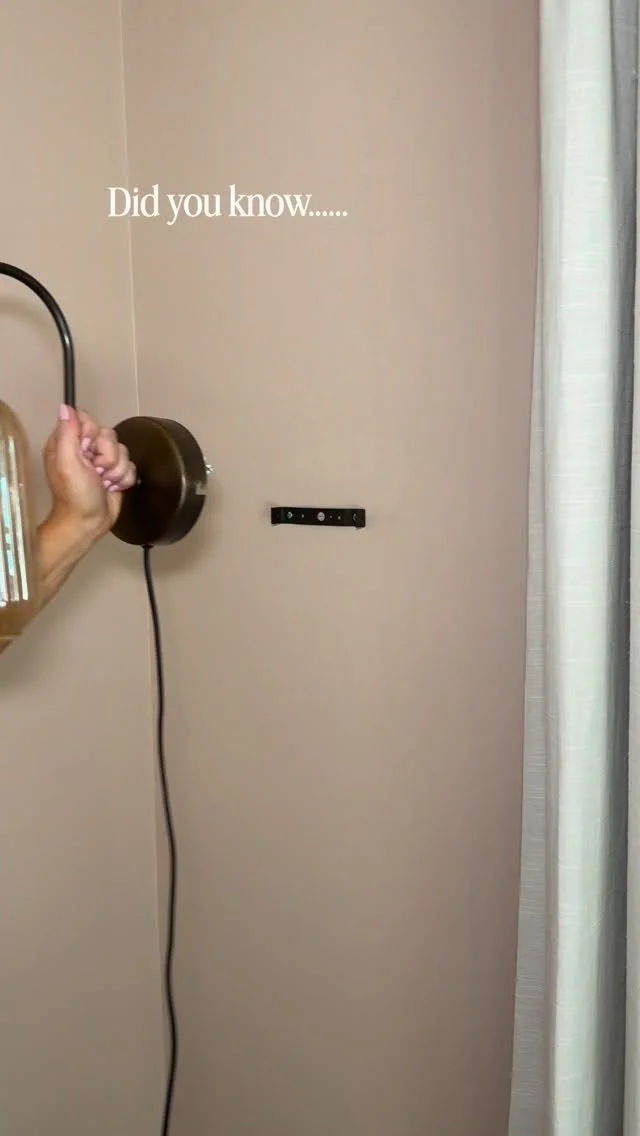
Step 4: Electrical
We typically hire out most of the electrical work around our house, and this project was no exception. Prior to installing the bed frames, we had our electrician run wire to the area where the standing cabinets would be placed so we would have power to include an outlet and light switch in the headboard niche. After the beds were installed, the outlets and light switch boxes were installed and wired. We wanted to incorporate a scone over each bed to act as a reading light and create a cozy vibe. The outlets will power their sound machines and provide power to charge their electronics as they get older.
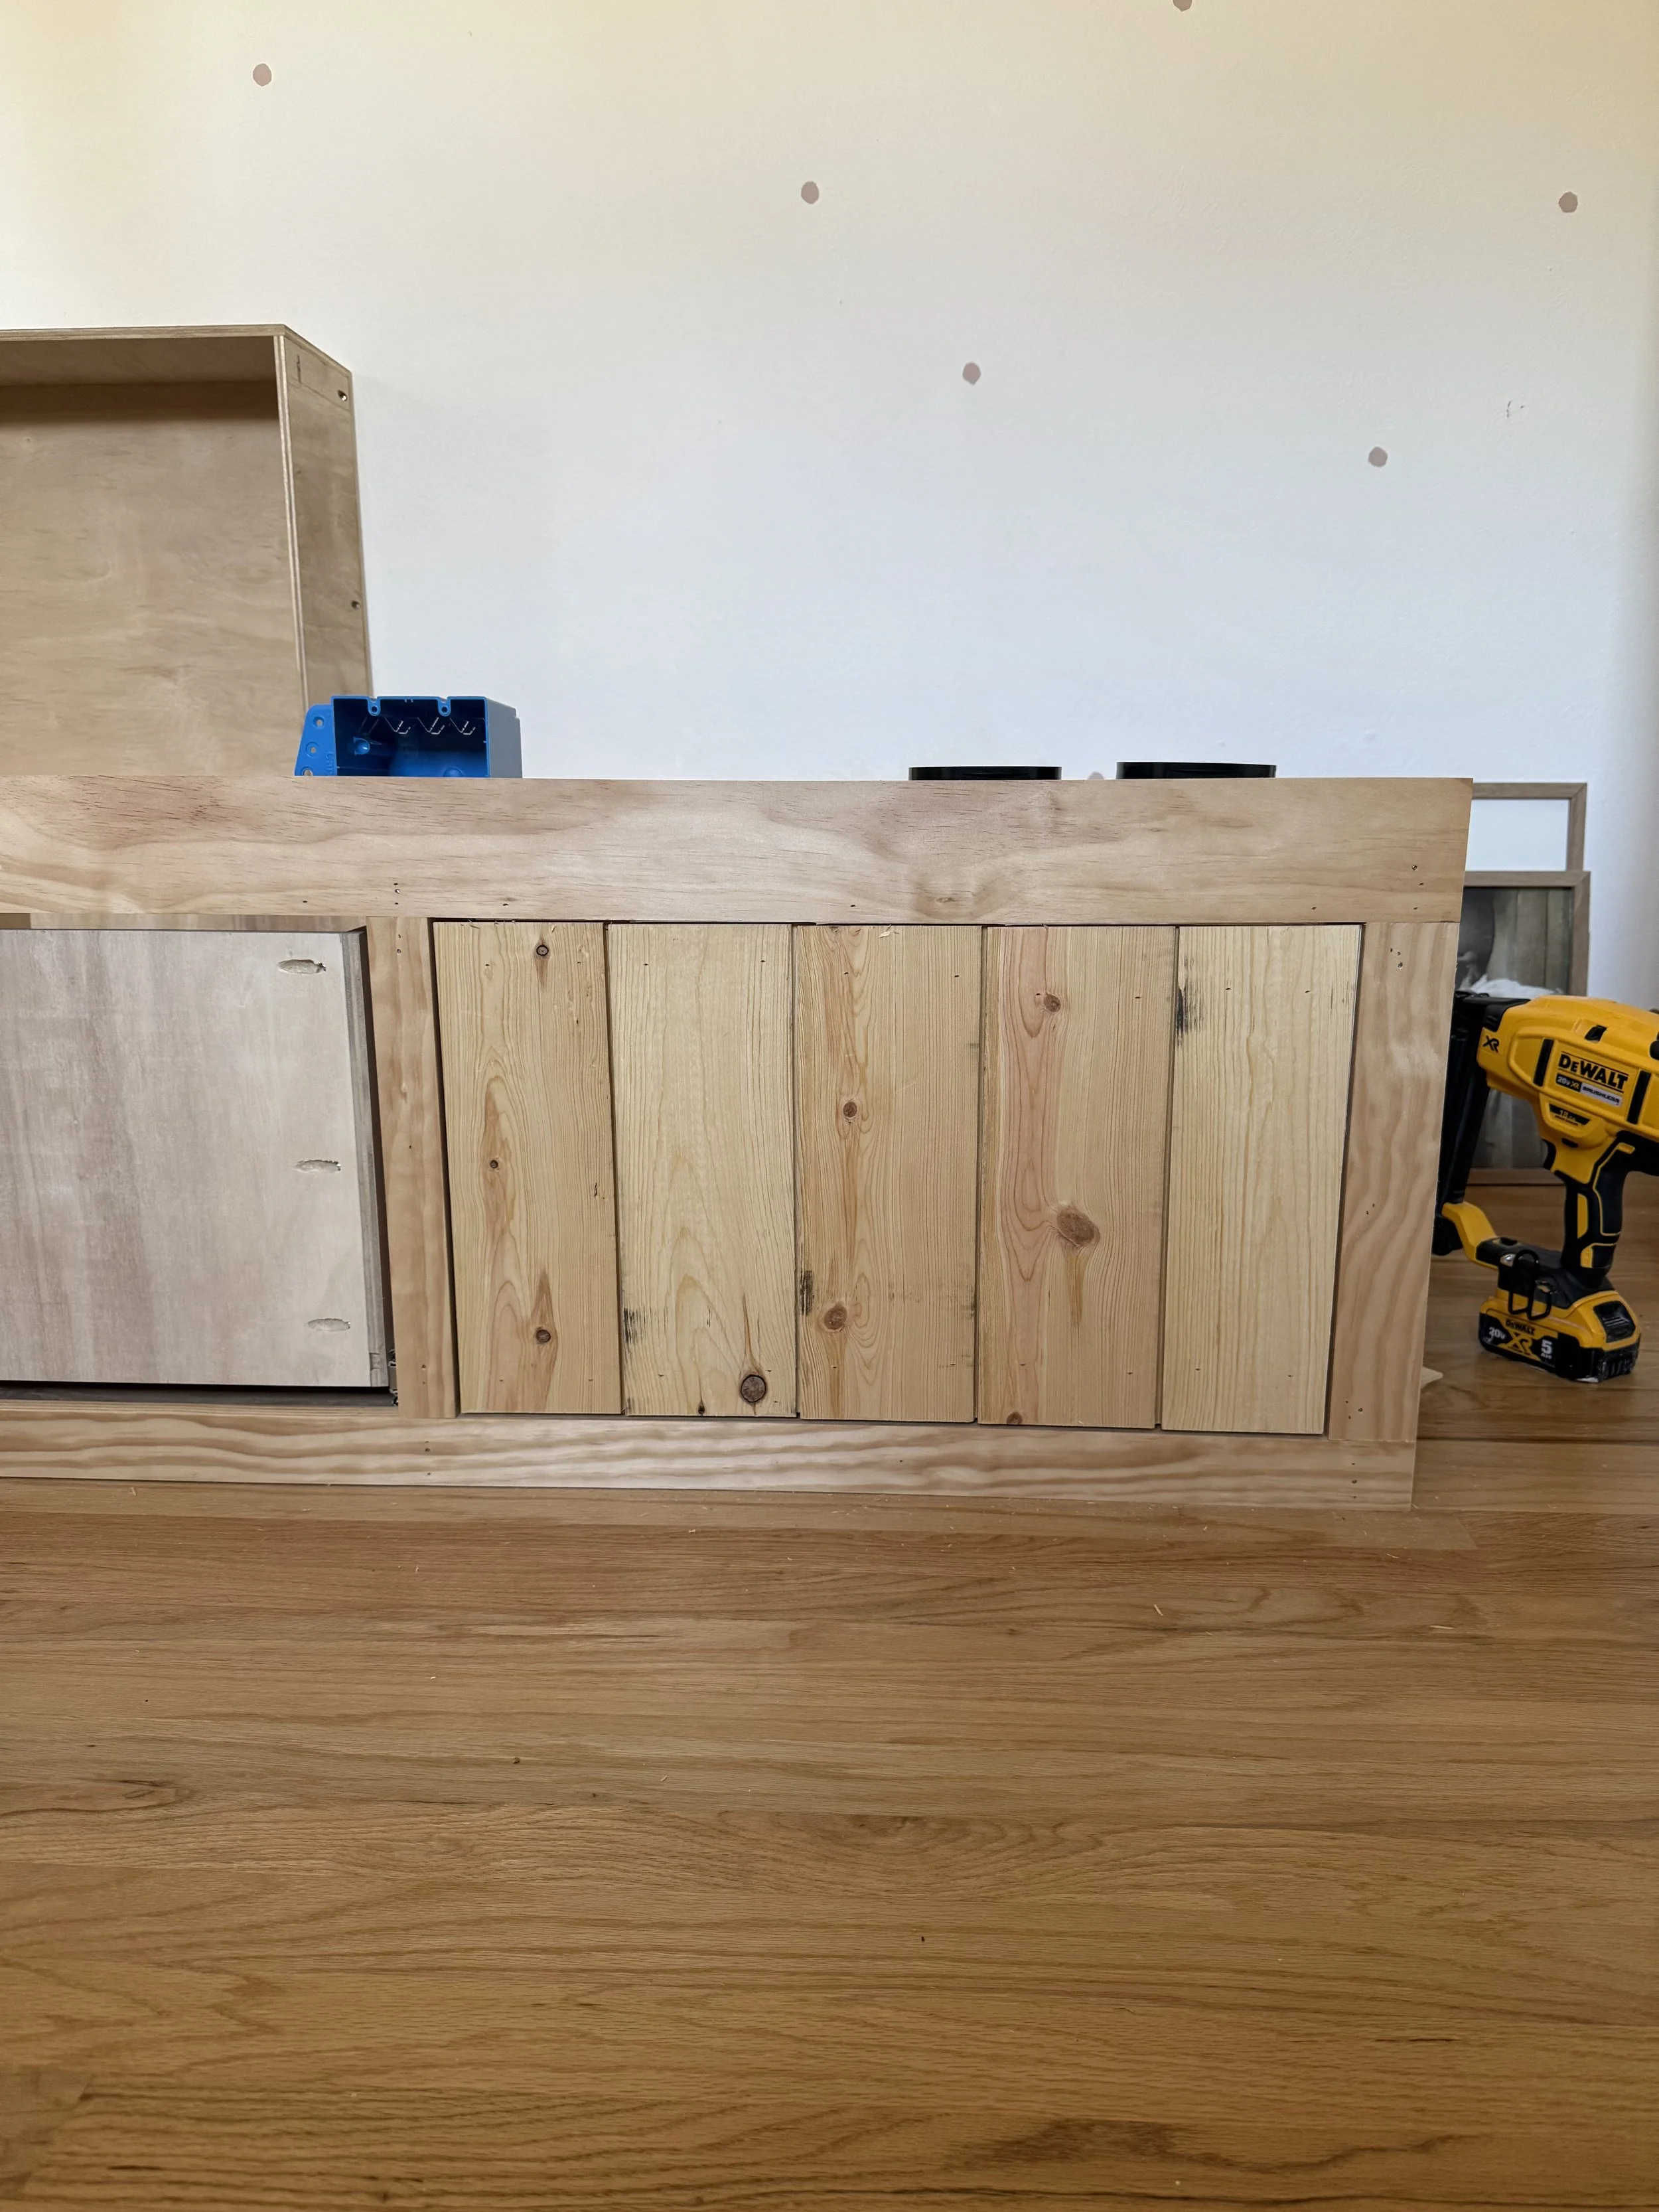
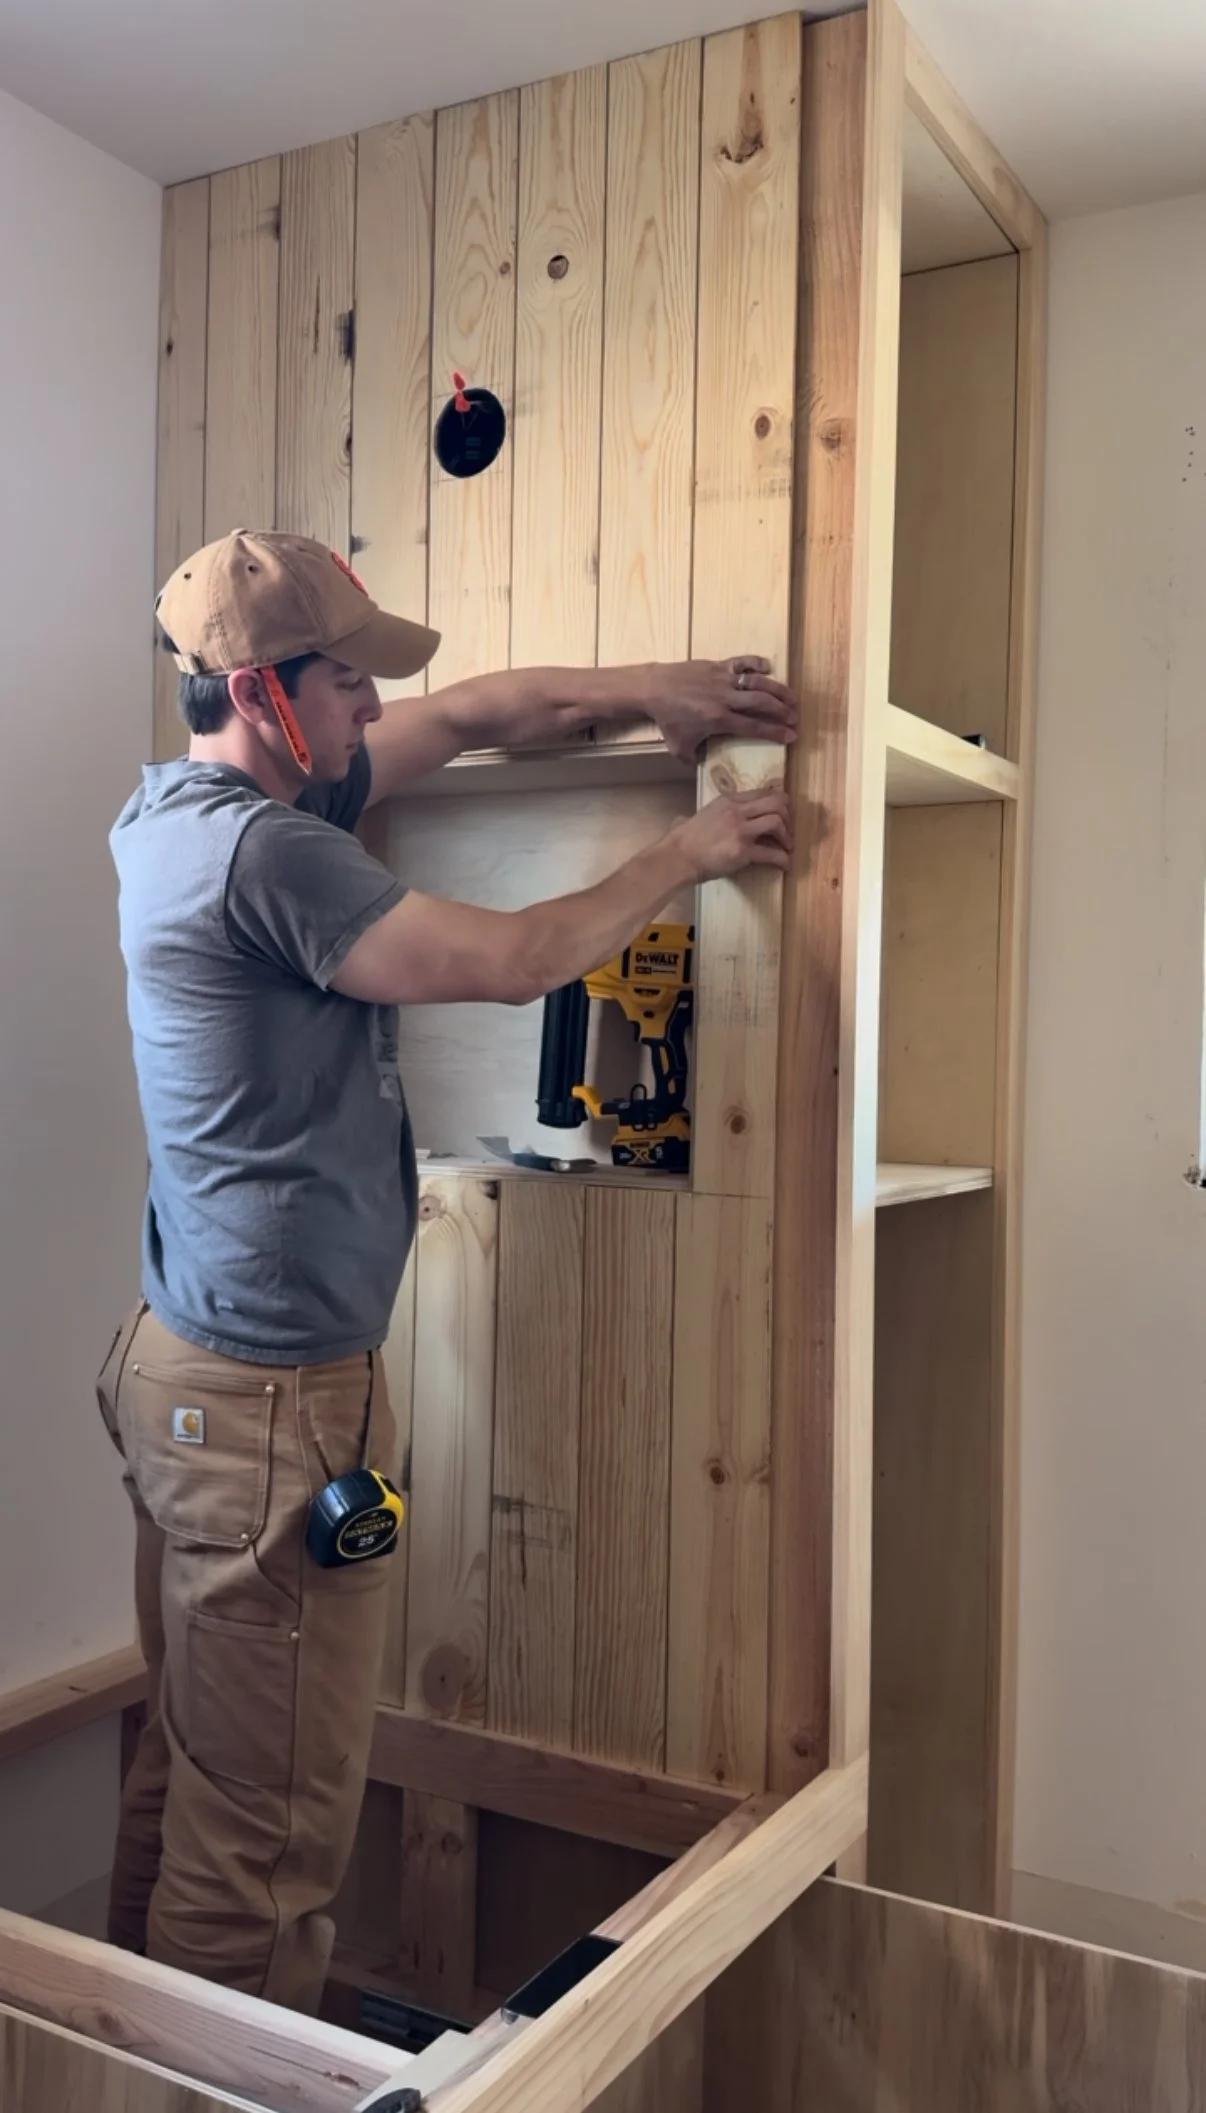
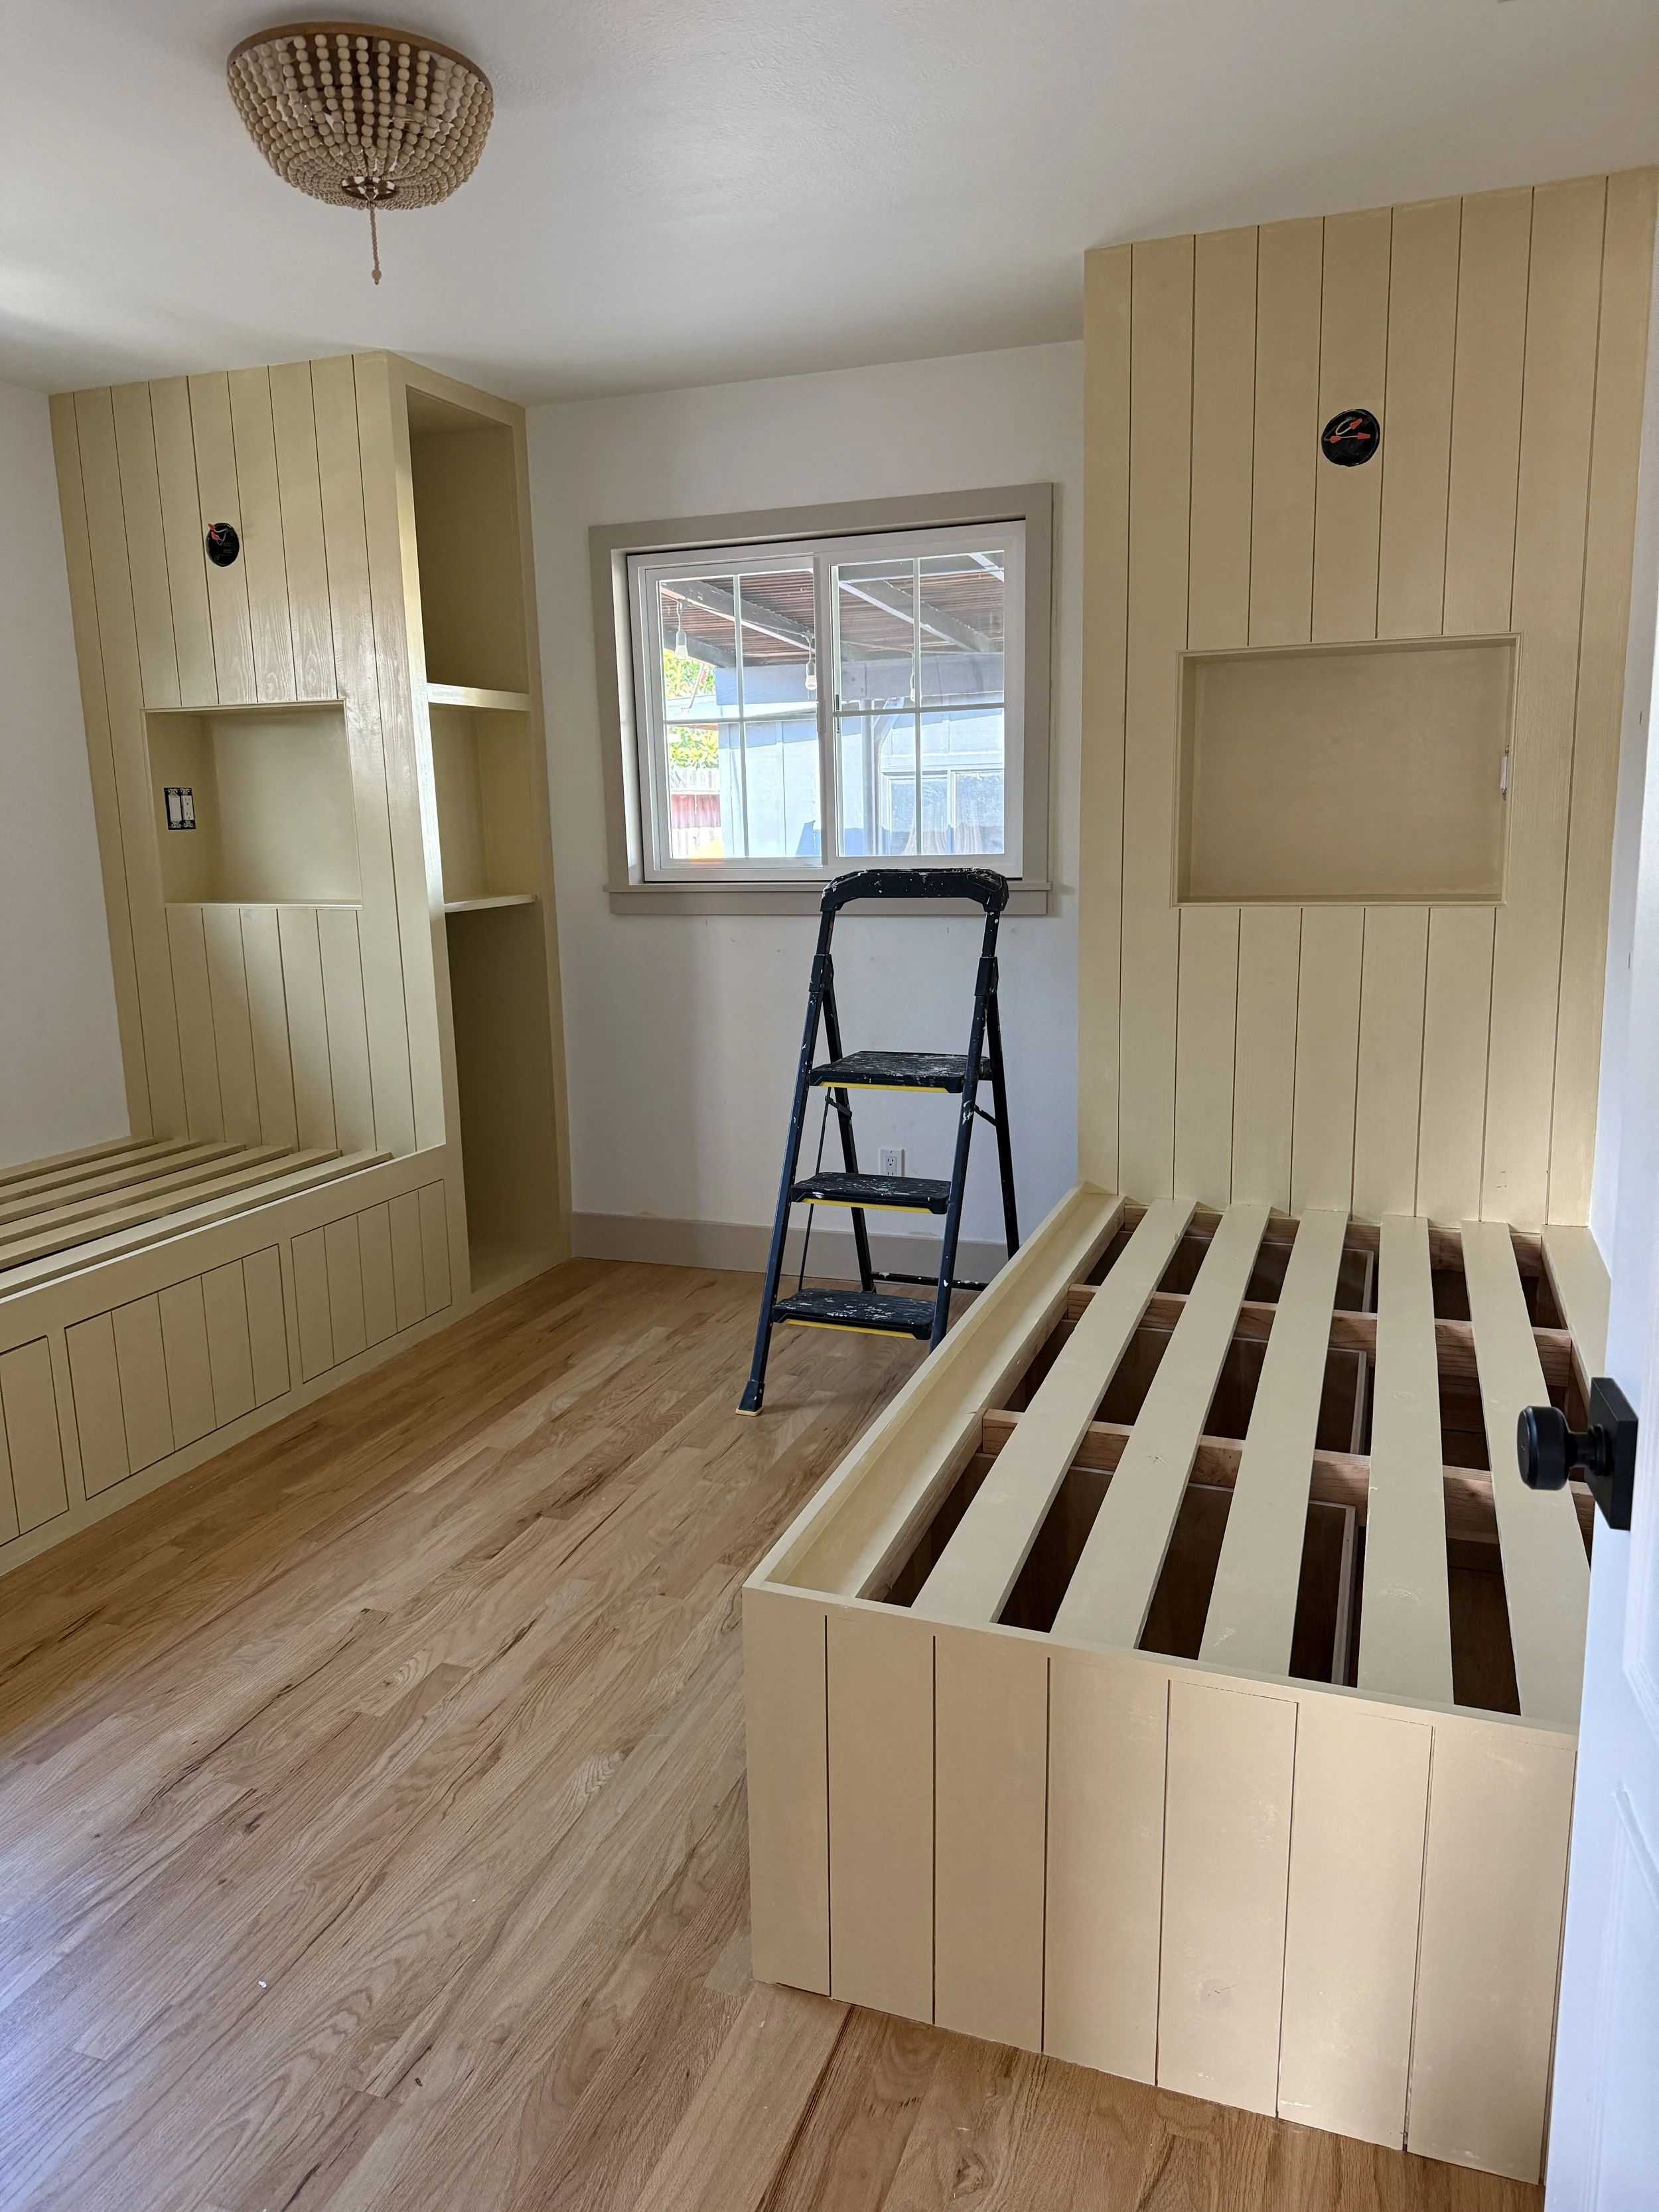
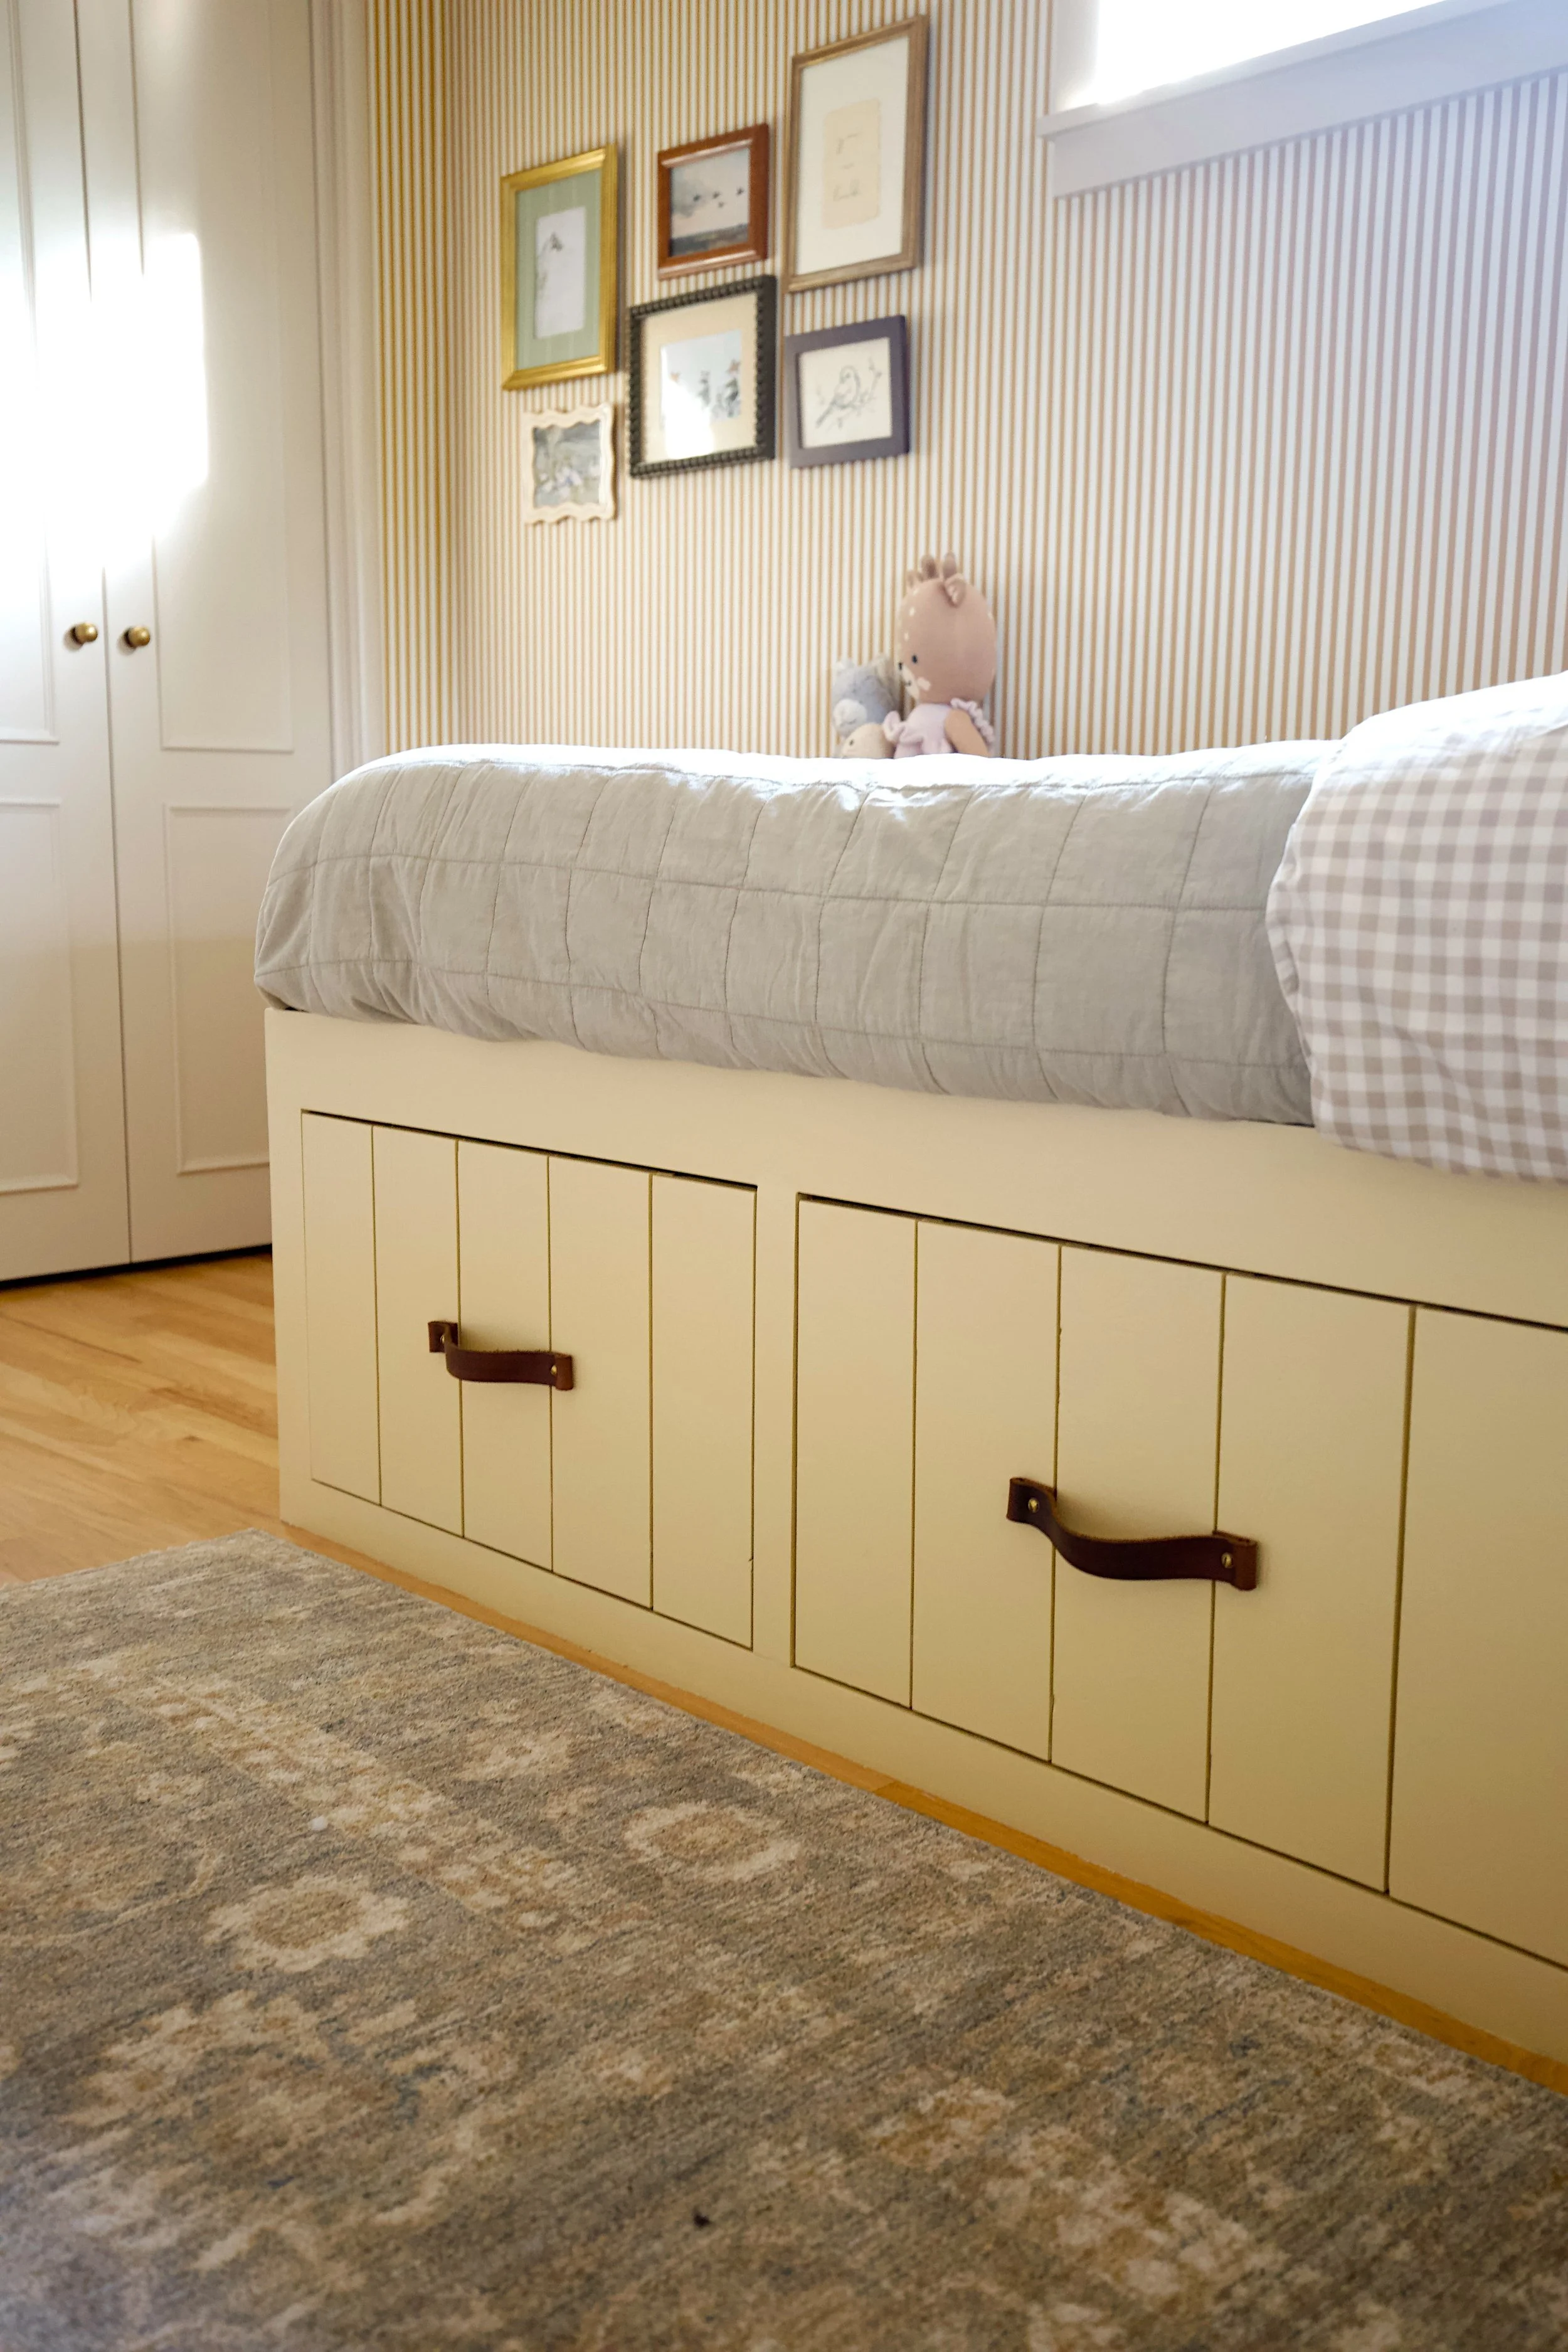
Step 5: Installing the shiplap and bed slats
The next step in the project was to install the shiplap on the exterior of the beds and cabinets. We chose an unprimed pine shiplap and attached the boards using 18 GA Brad nails. Travis also installed shiplap onto the front of the drawer boxes and aligned them to achieve a 1/8” reveal on all sides. For supporting the mattress, Travis installed 1x6 white wood boards on top of the bed frame, spacing them approximately 2.5” apart.

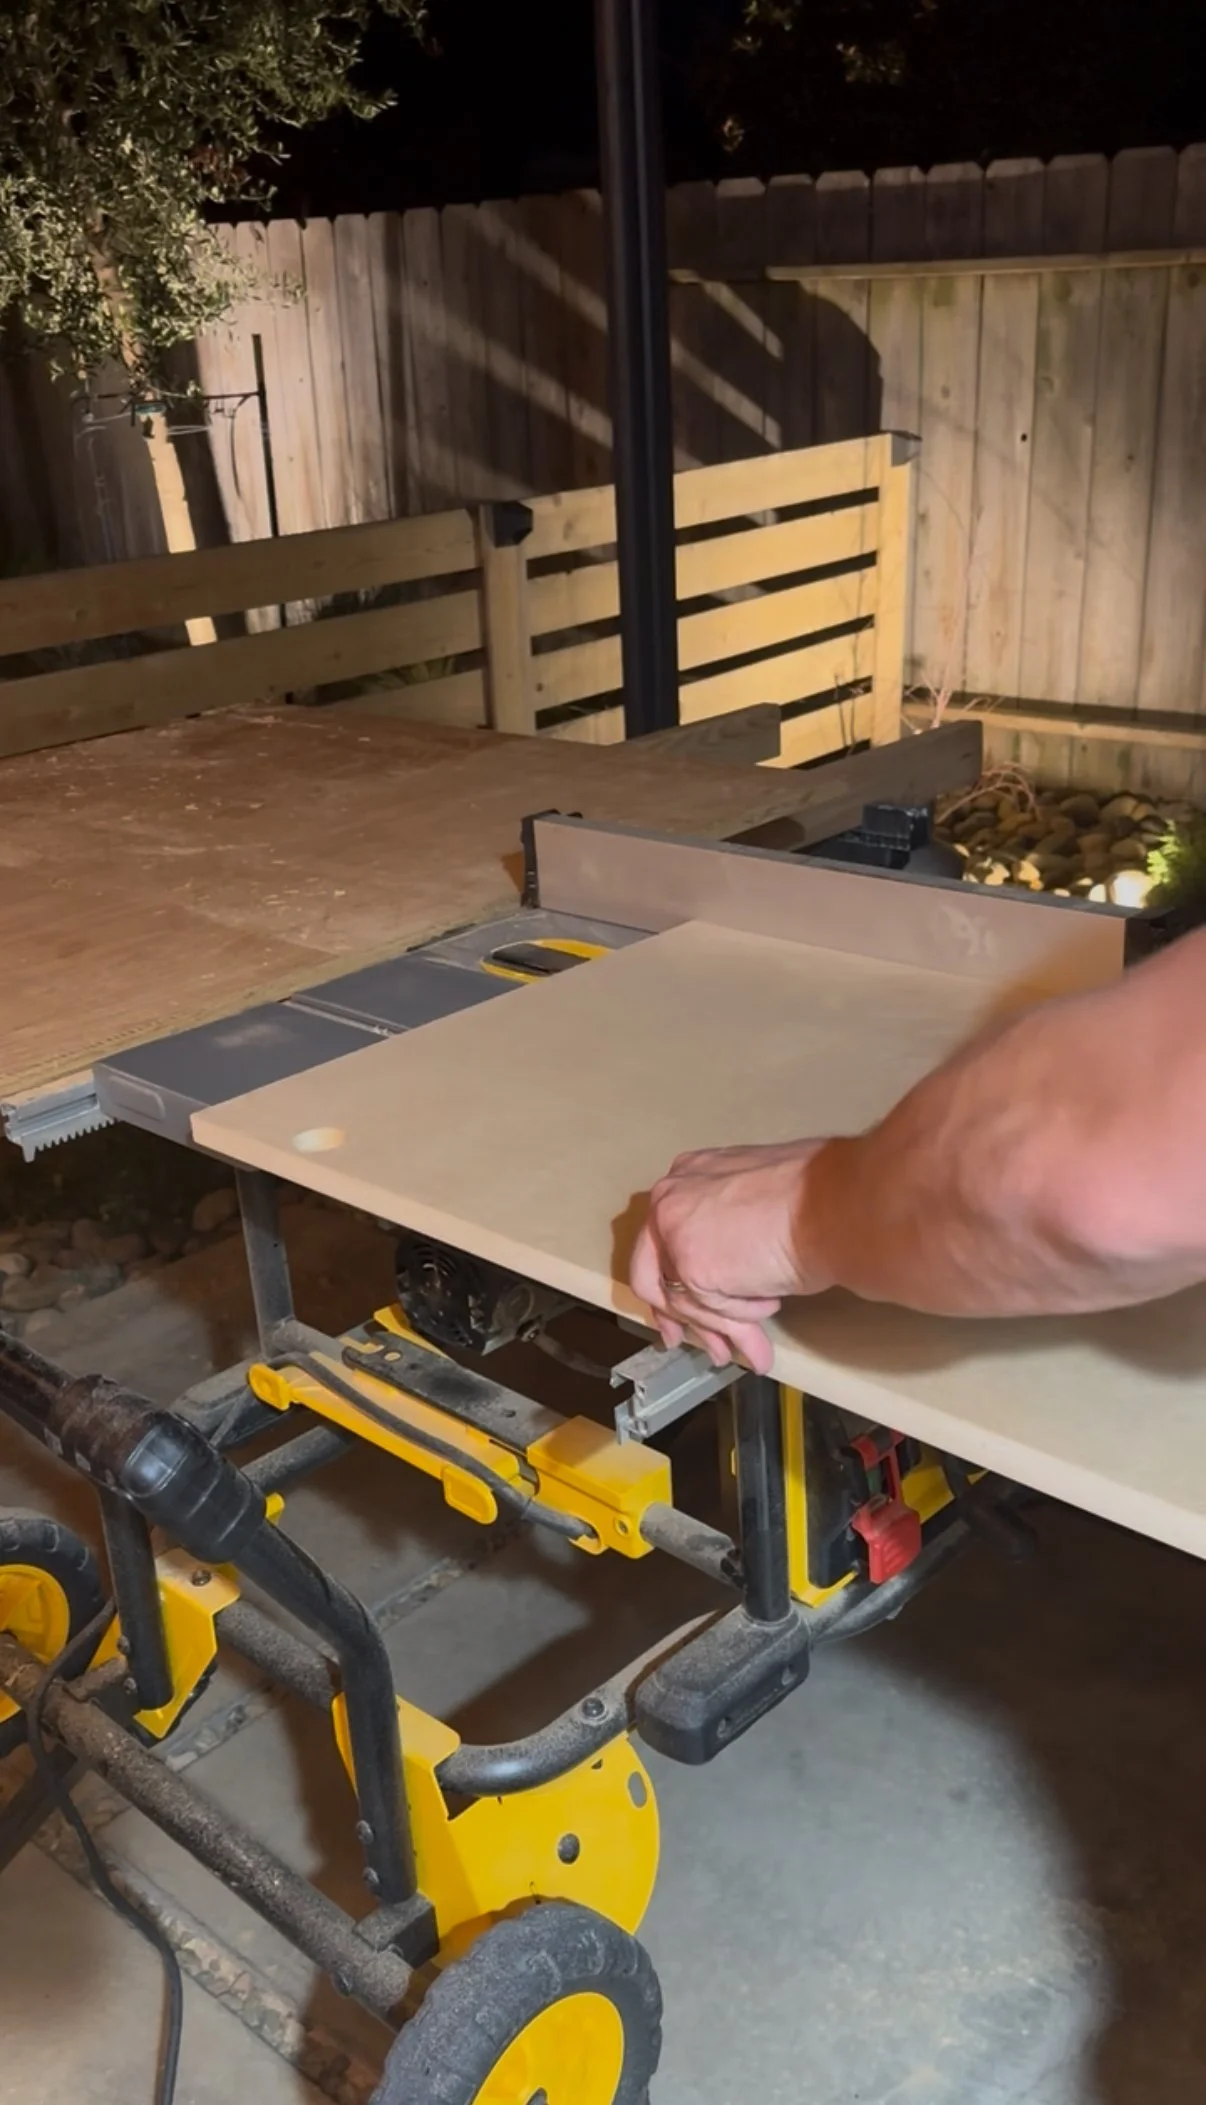
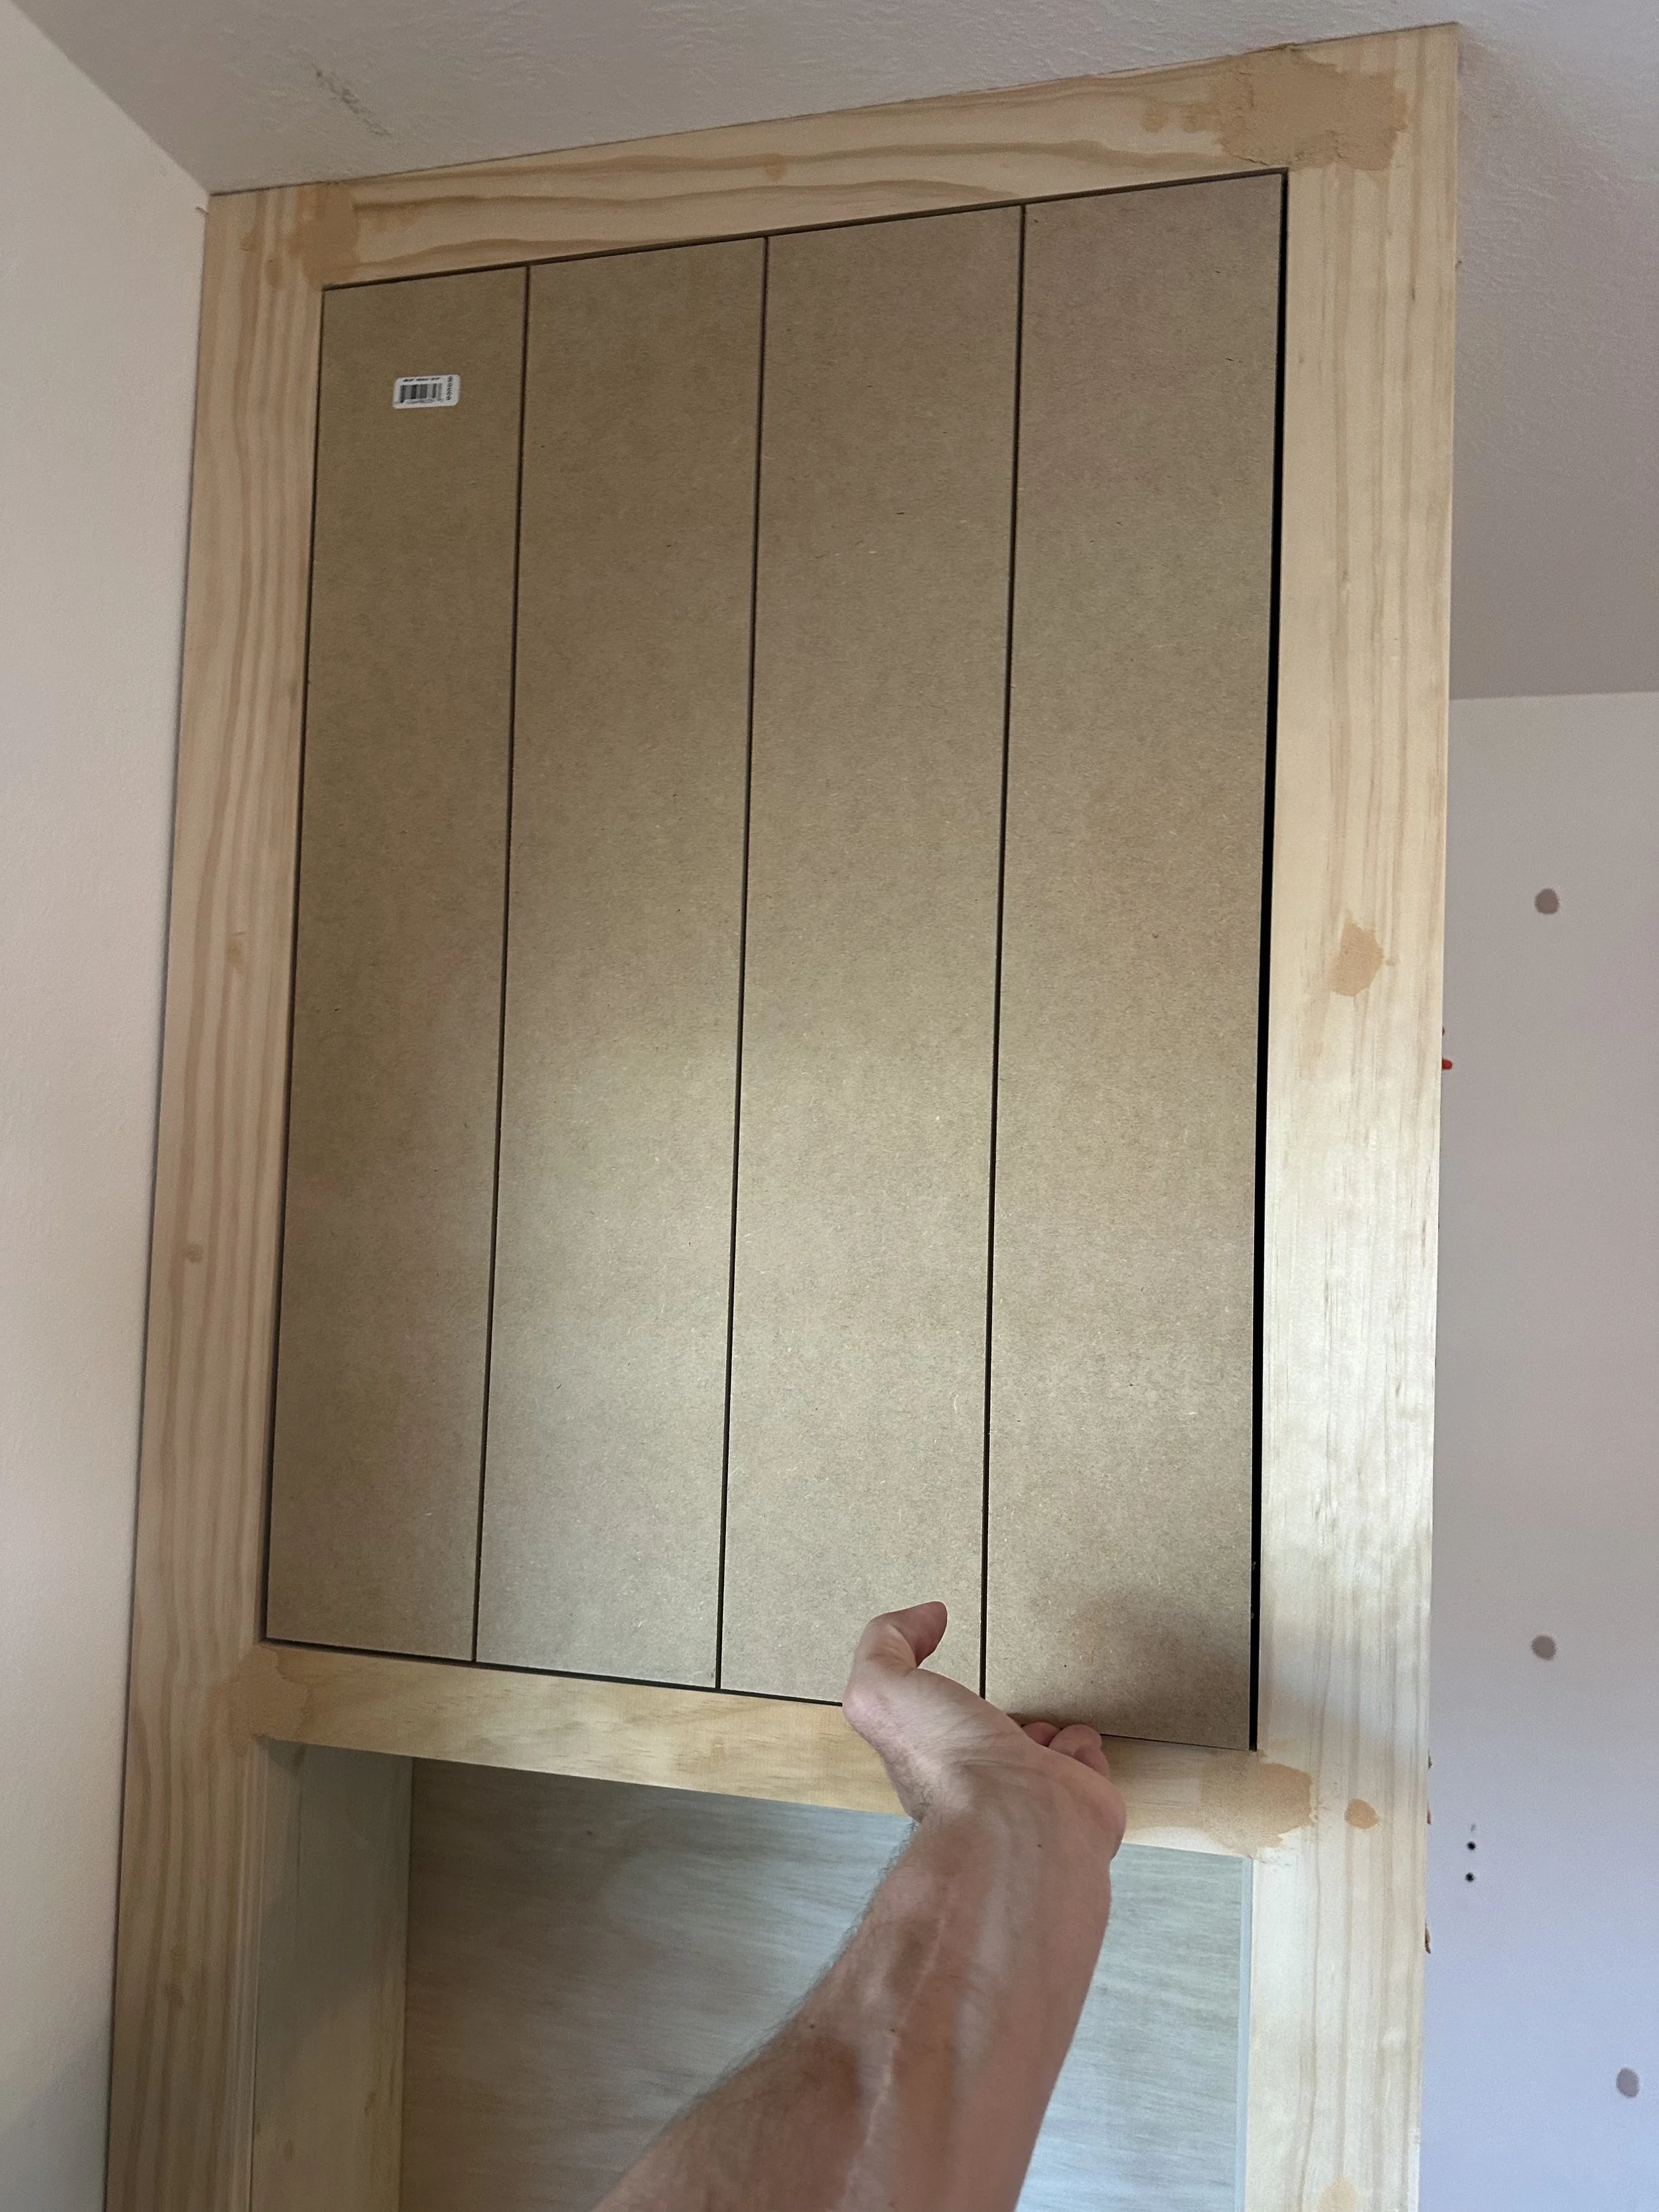
Step 6: Building the cabinet doors
We were trying to decide how to build the cabinet doors. We initially were going to build a frame and attach shiplap to it, but that was going to be too bulky. We instead opted to use 3/4 inch MDF and cut grooves into the fronts to reflect the same width and spacing of the shiplap. After building the doors, we installed them onto the cabinet using a set of European style concealed hinges.
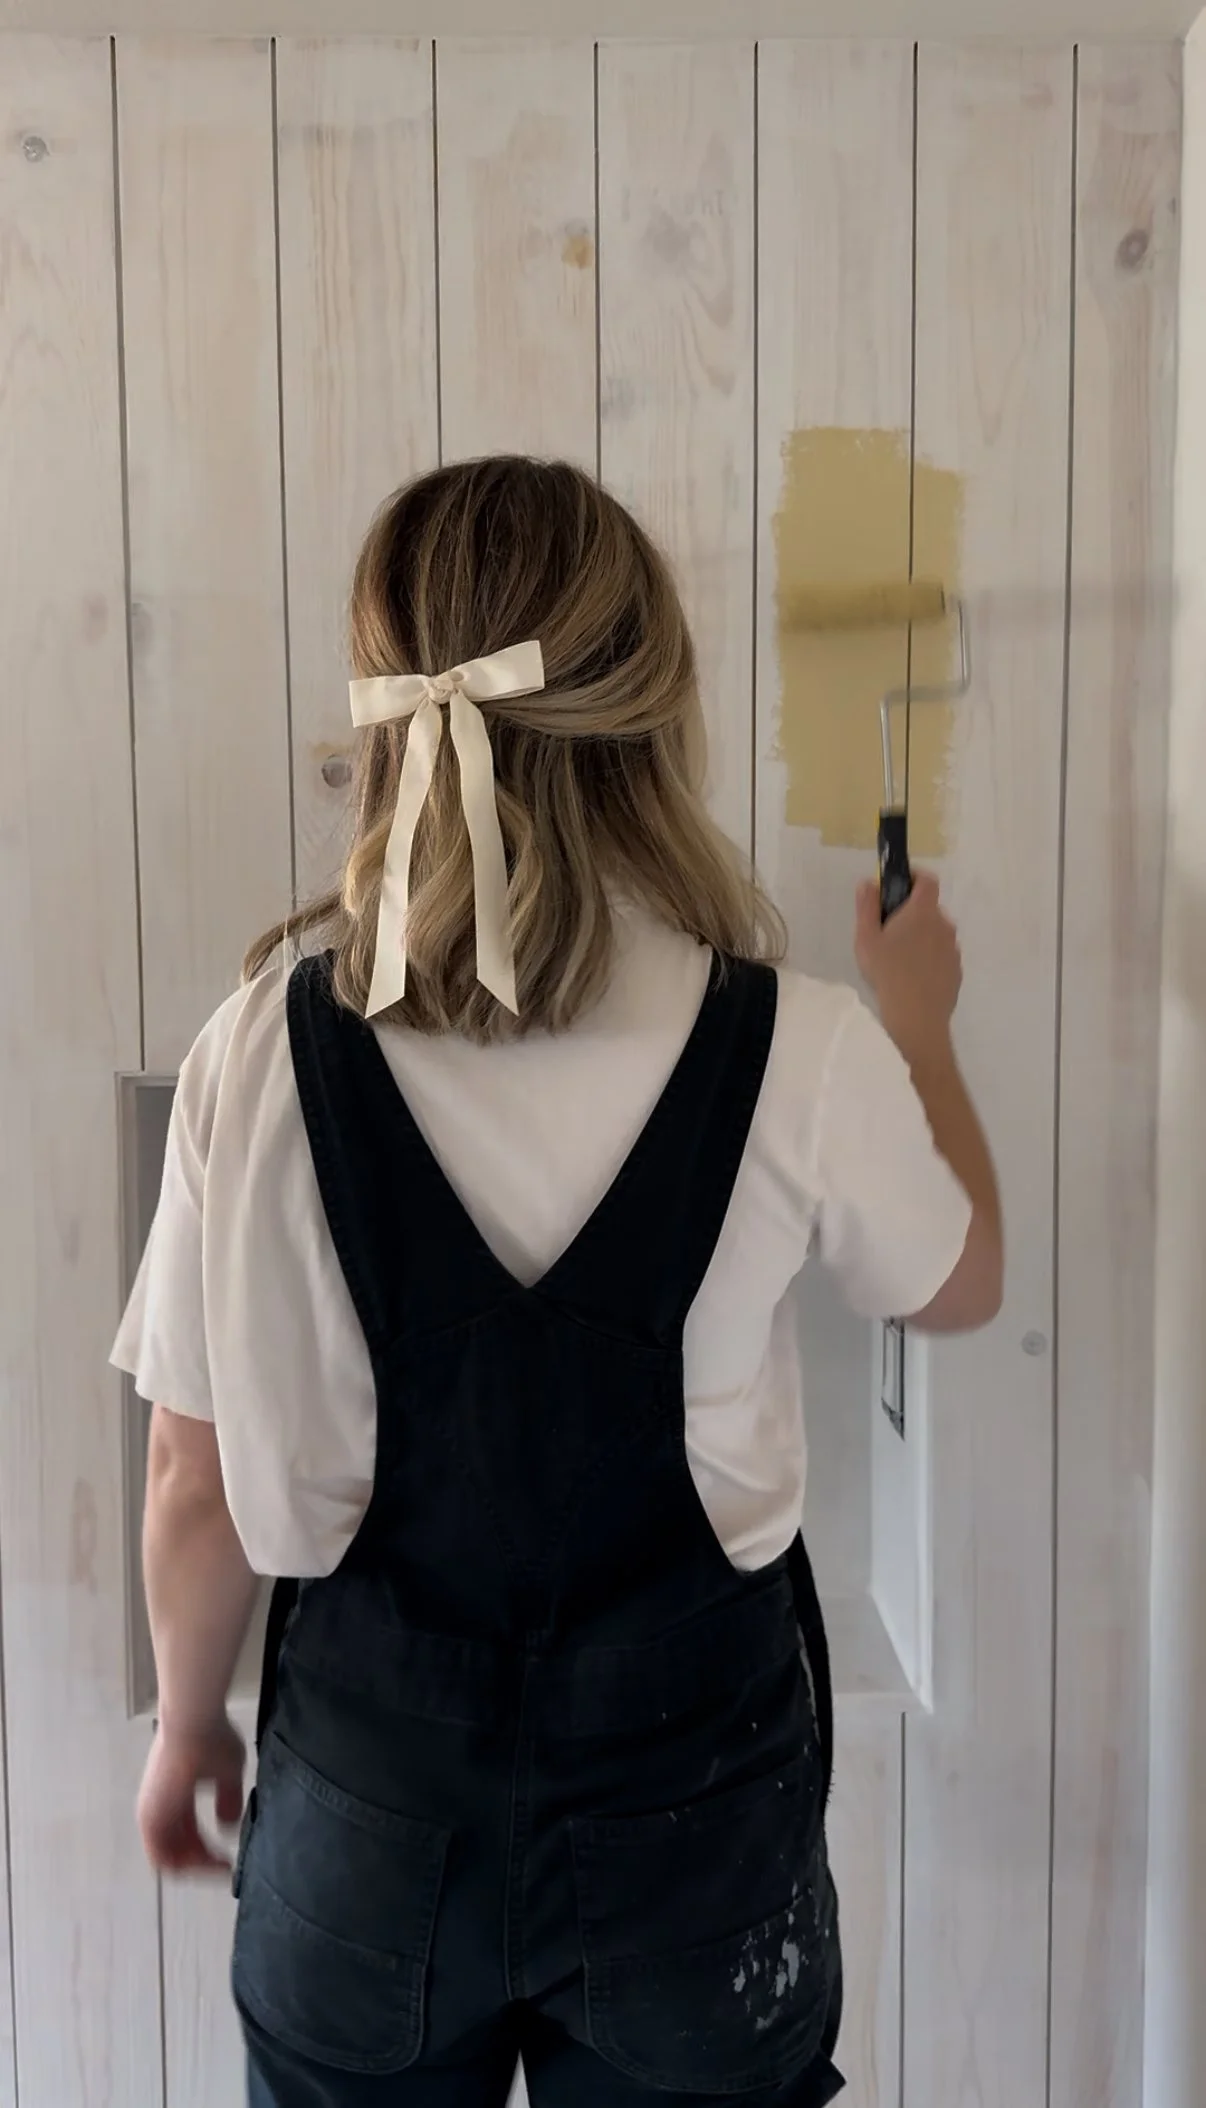
Step 7: Priming and painting
After the construction of the built-in beds was fully complete, it was my turn to get my hands dirty. I started by caulking all the seams, then priming both beds, cabinets and all four doors. For the MDF doors I used this Shellac based primer to seal all the edges and ensure a smooth finish. After priming, I applied two coats of Hay by Farrow & Ball mixed in Benjamin Moore enamel cabinet paint with a low nap roller.
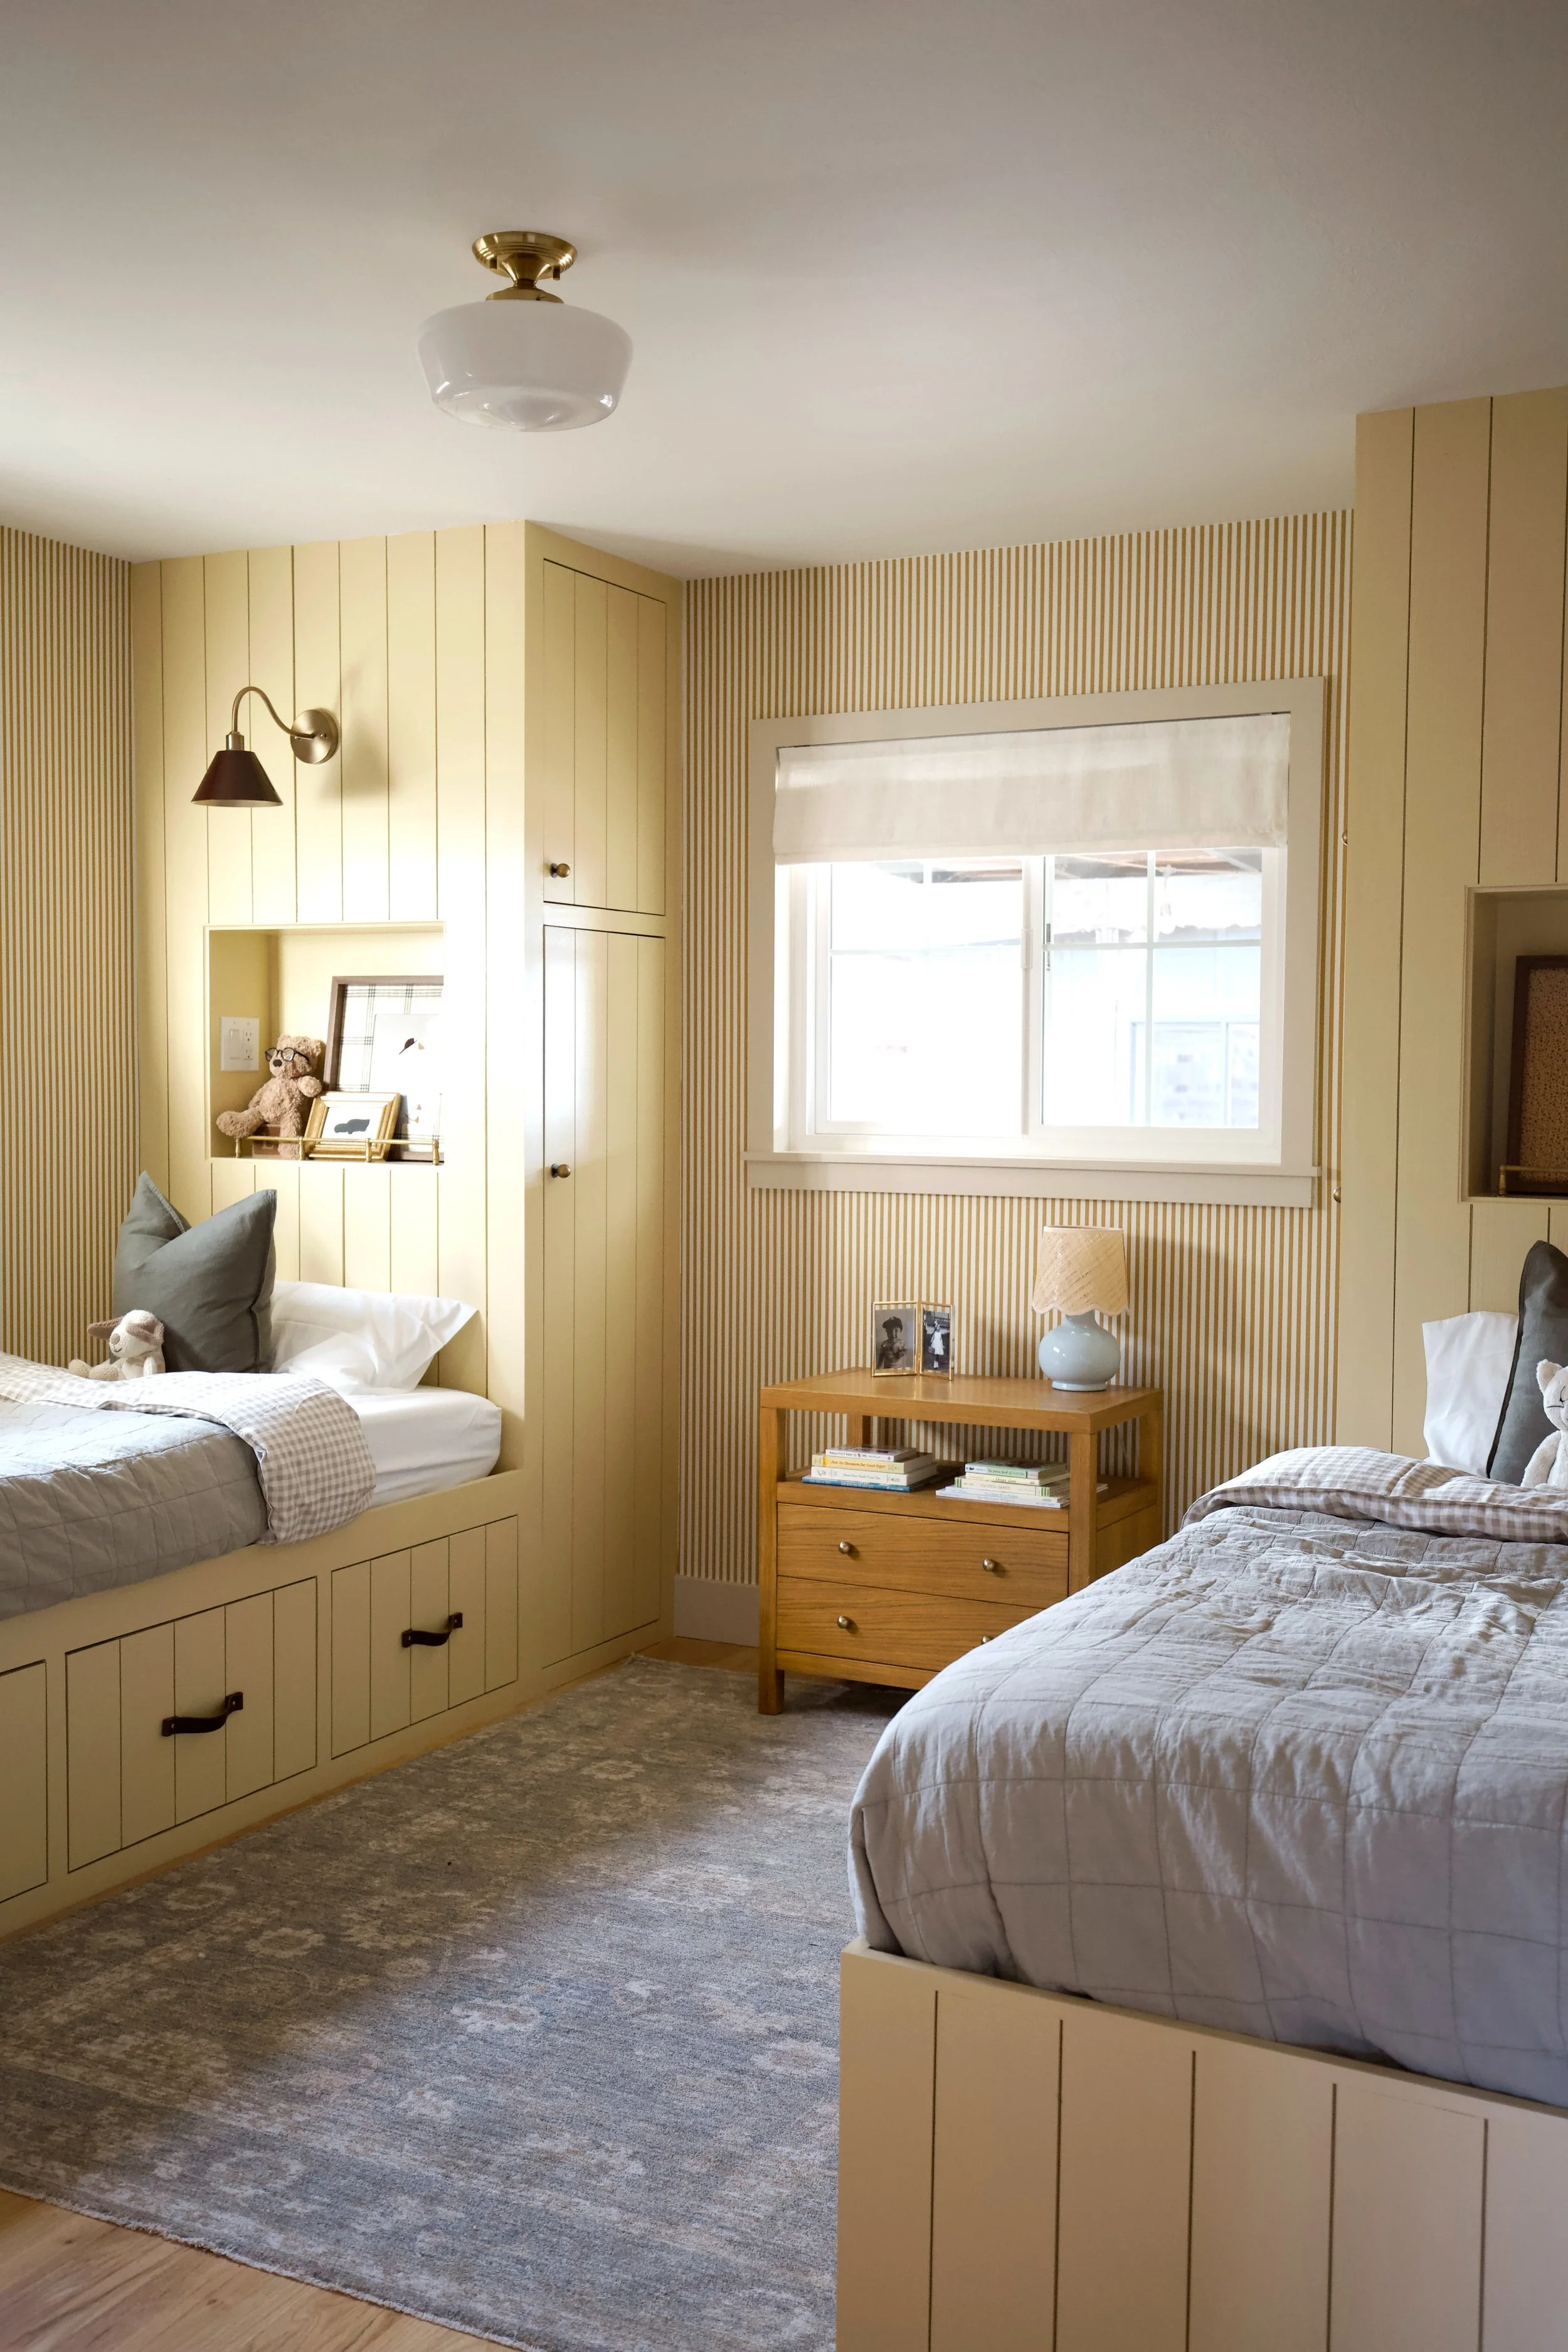
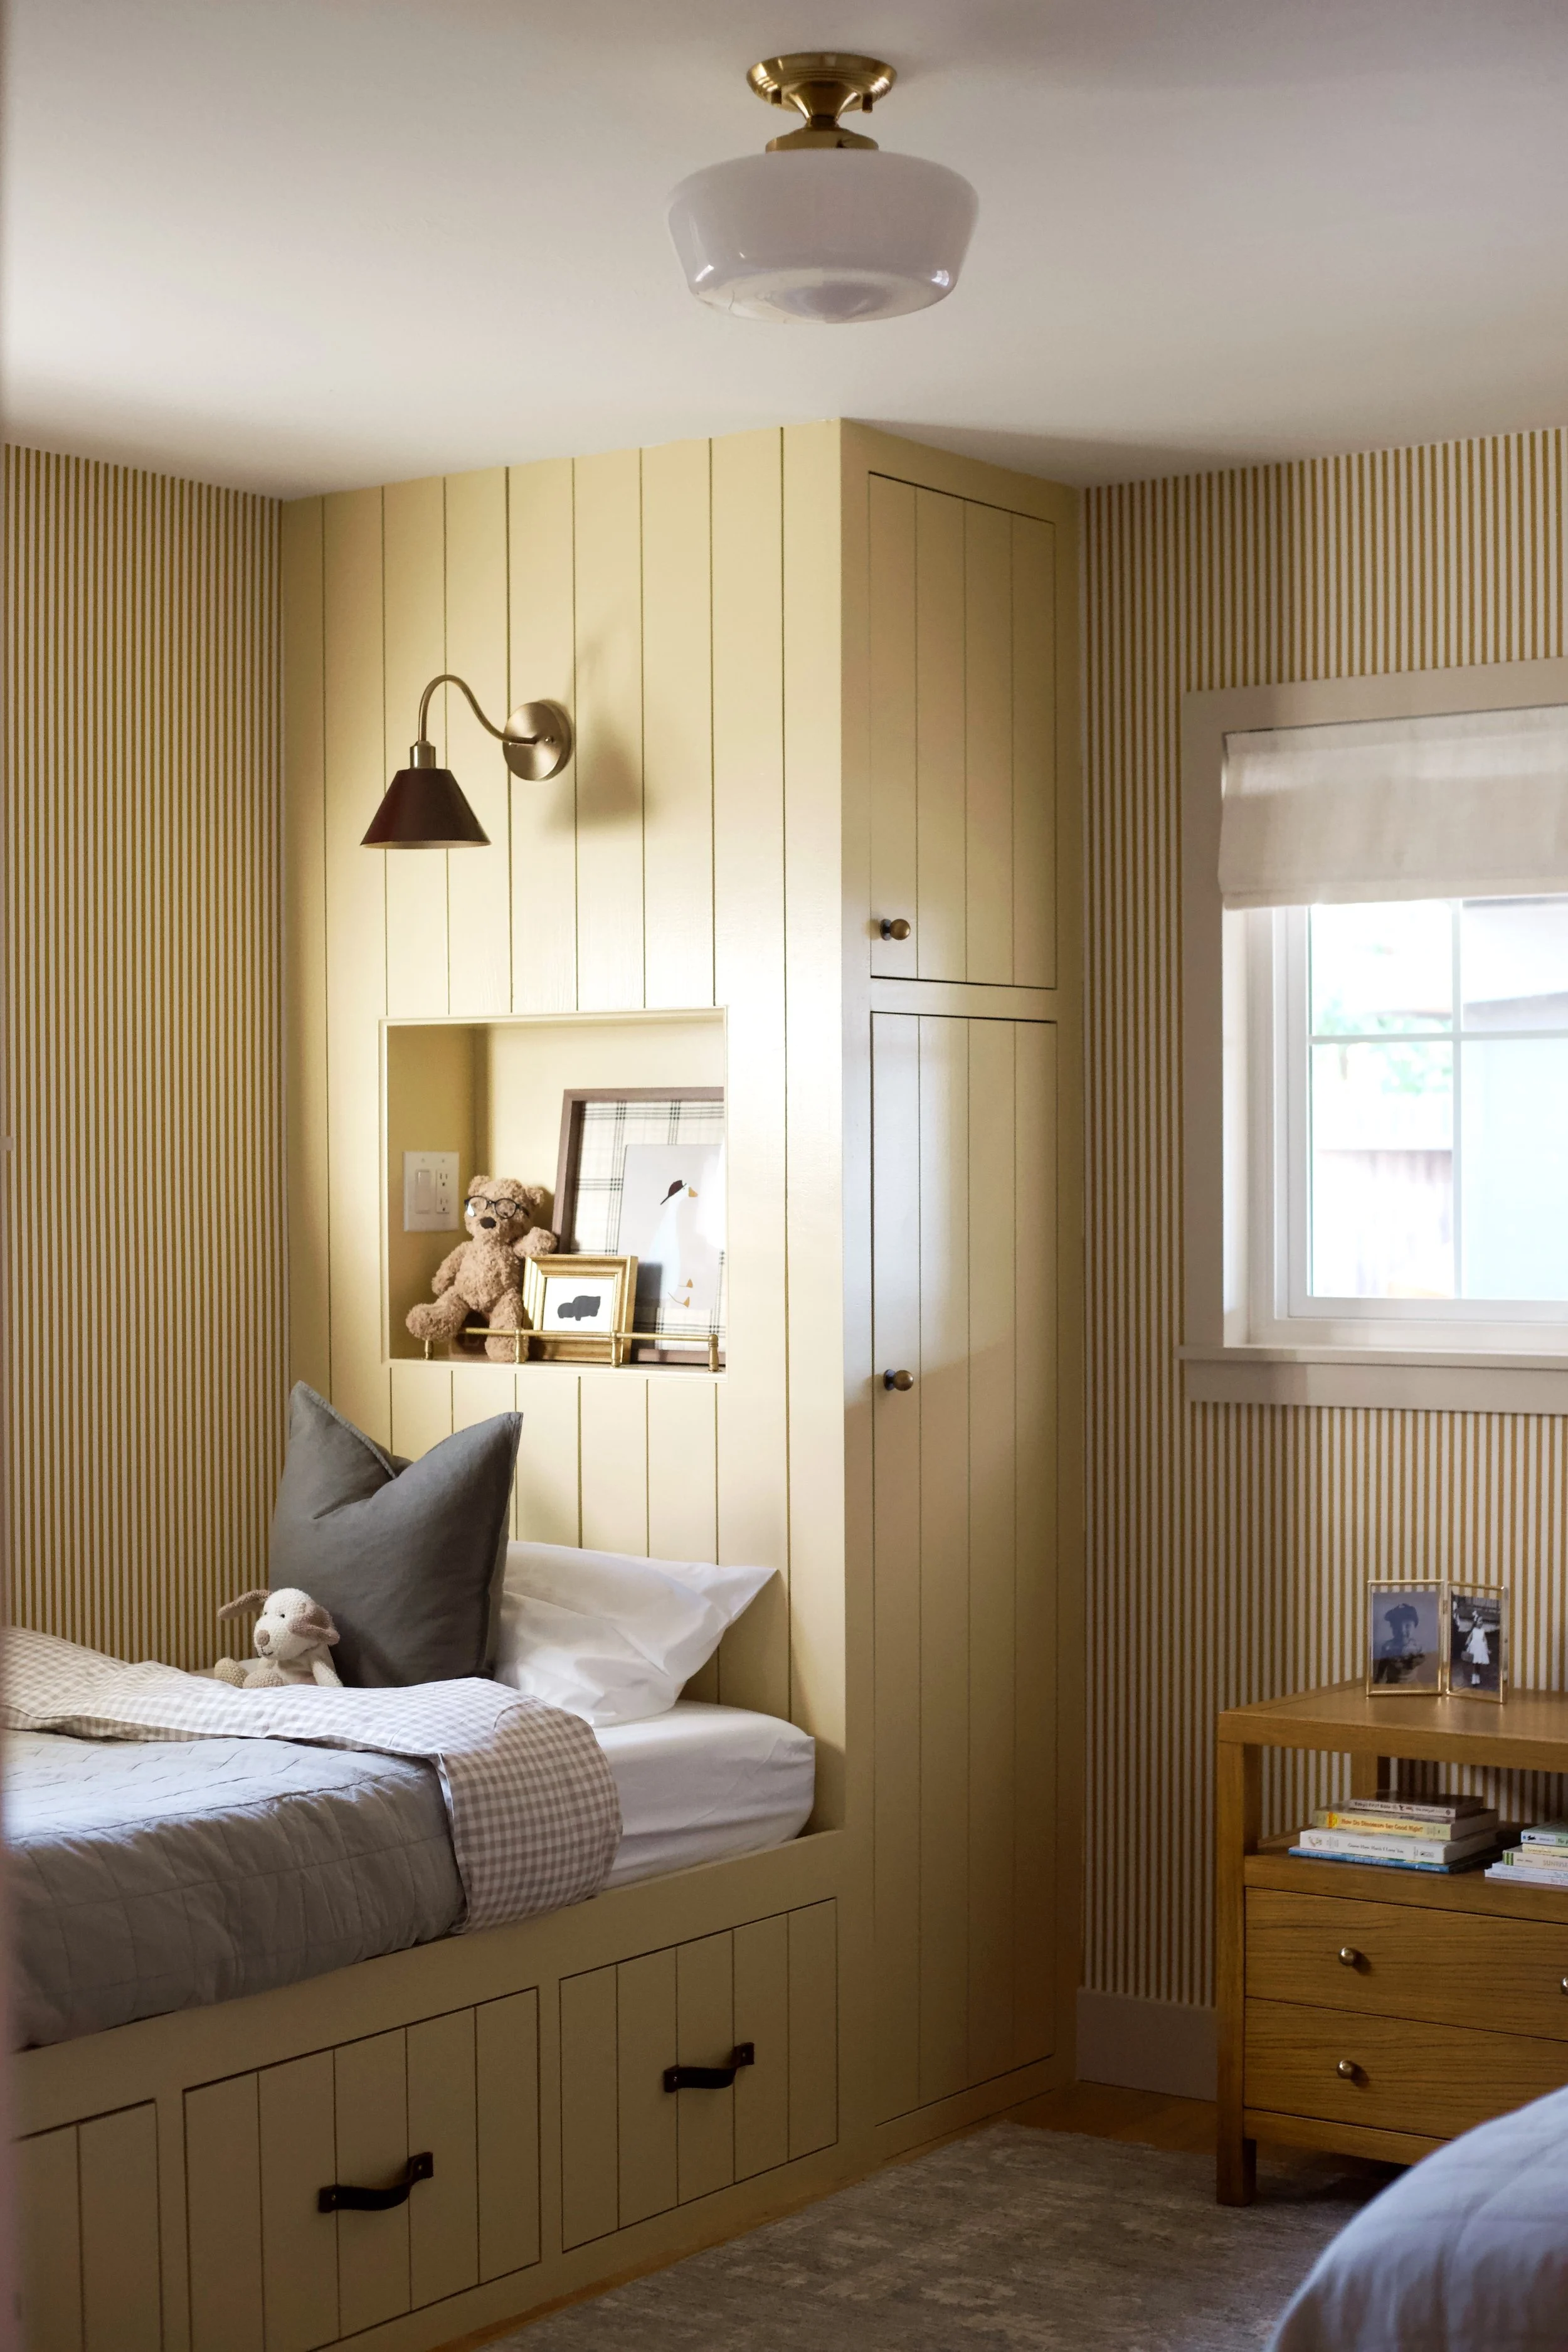
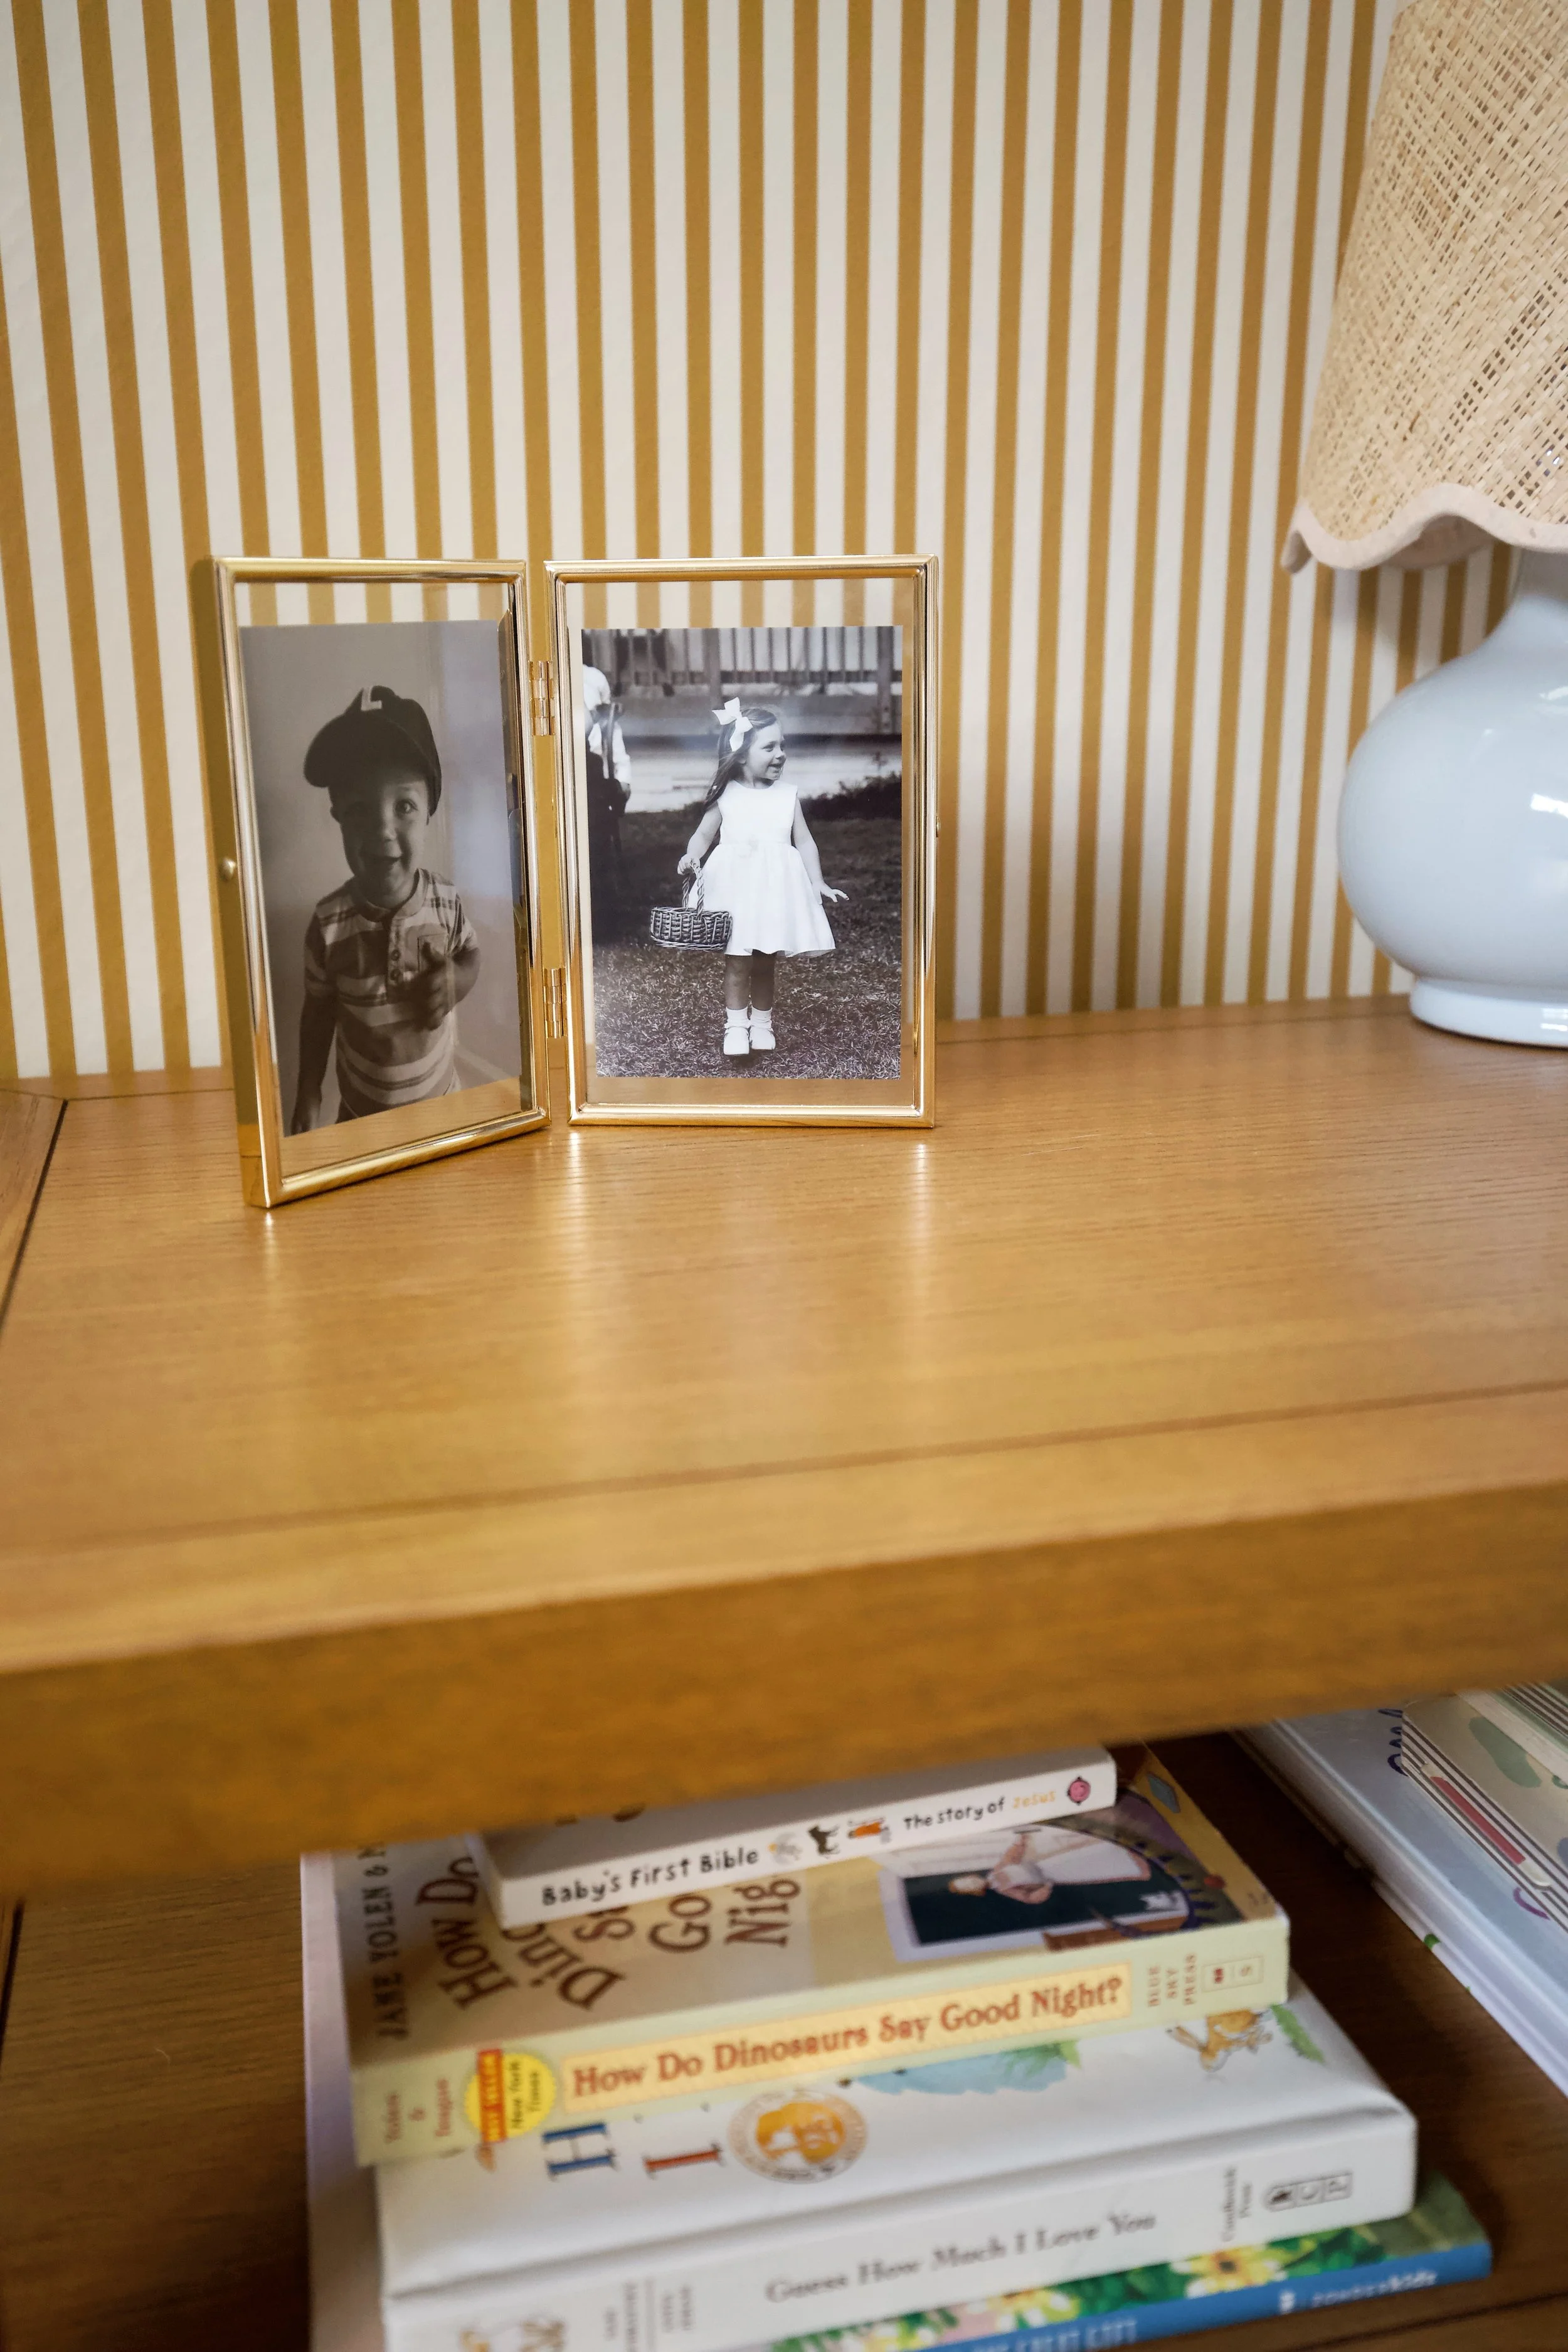
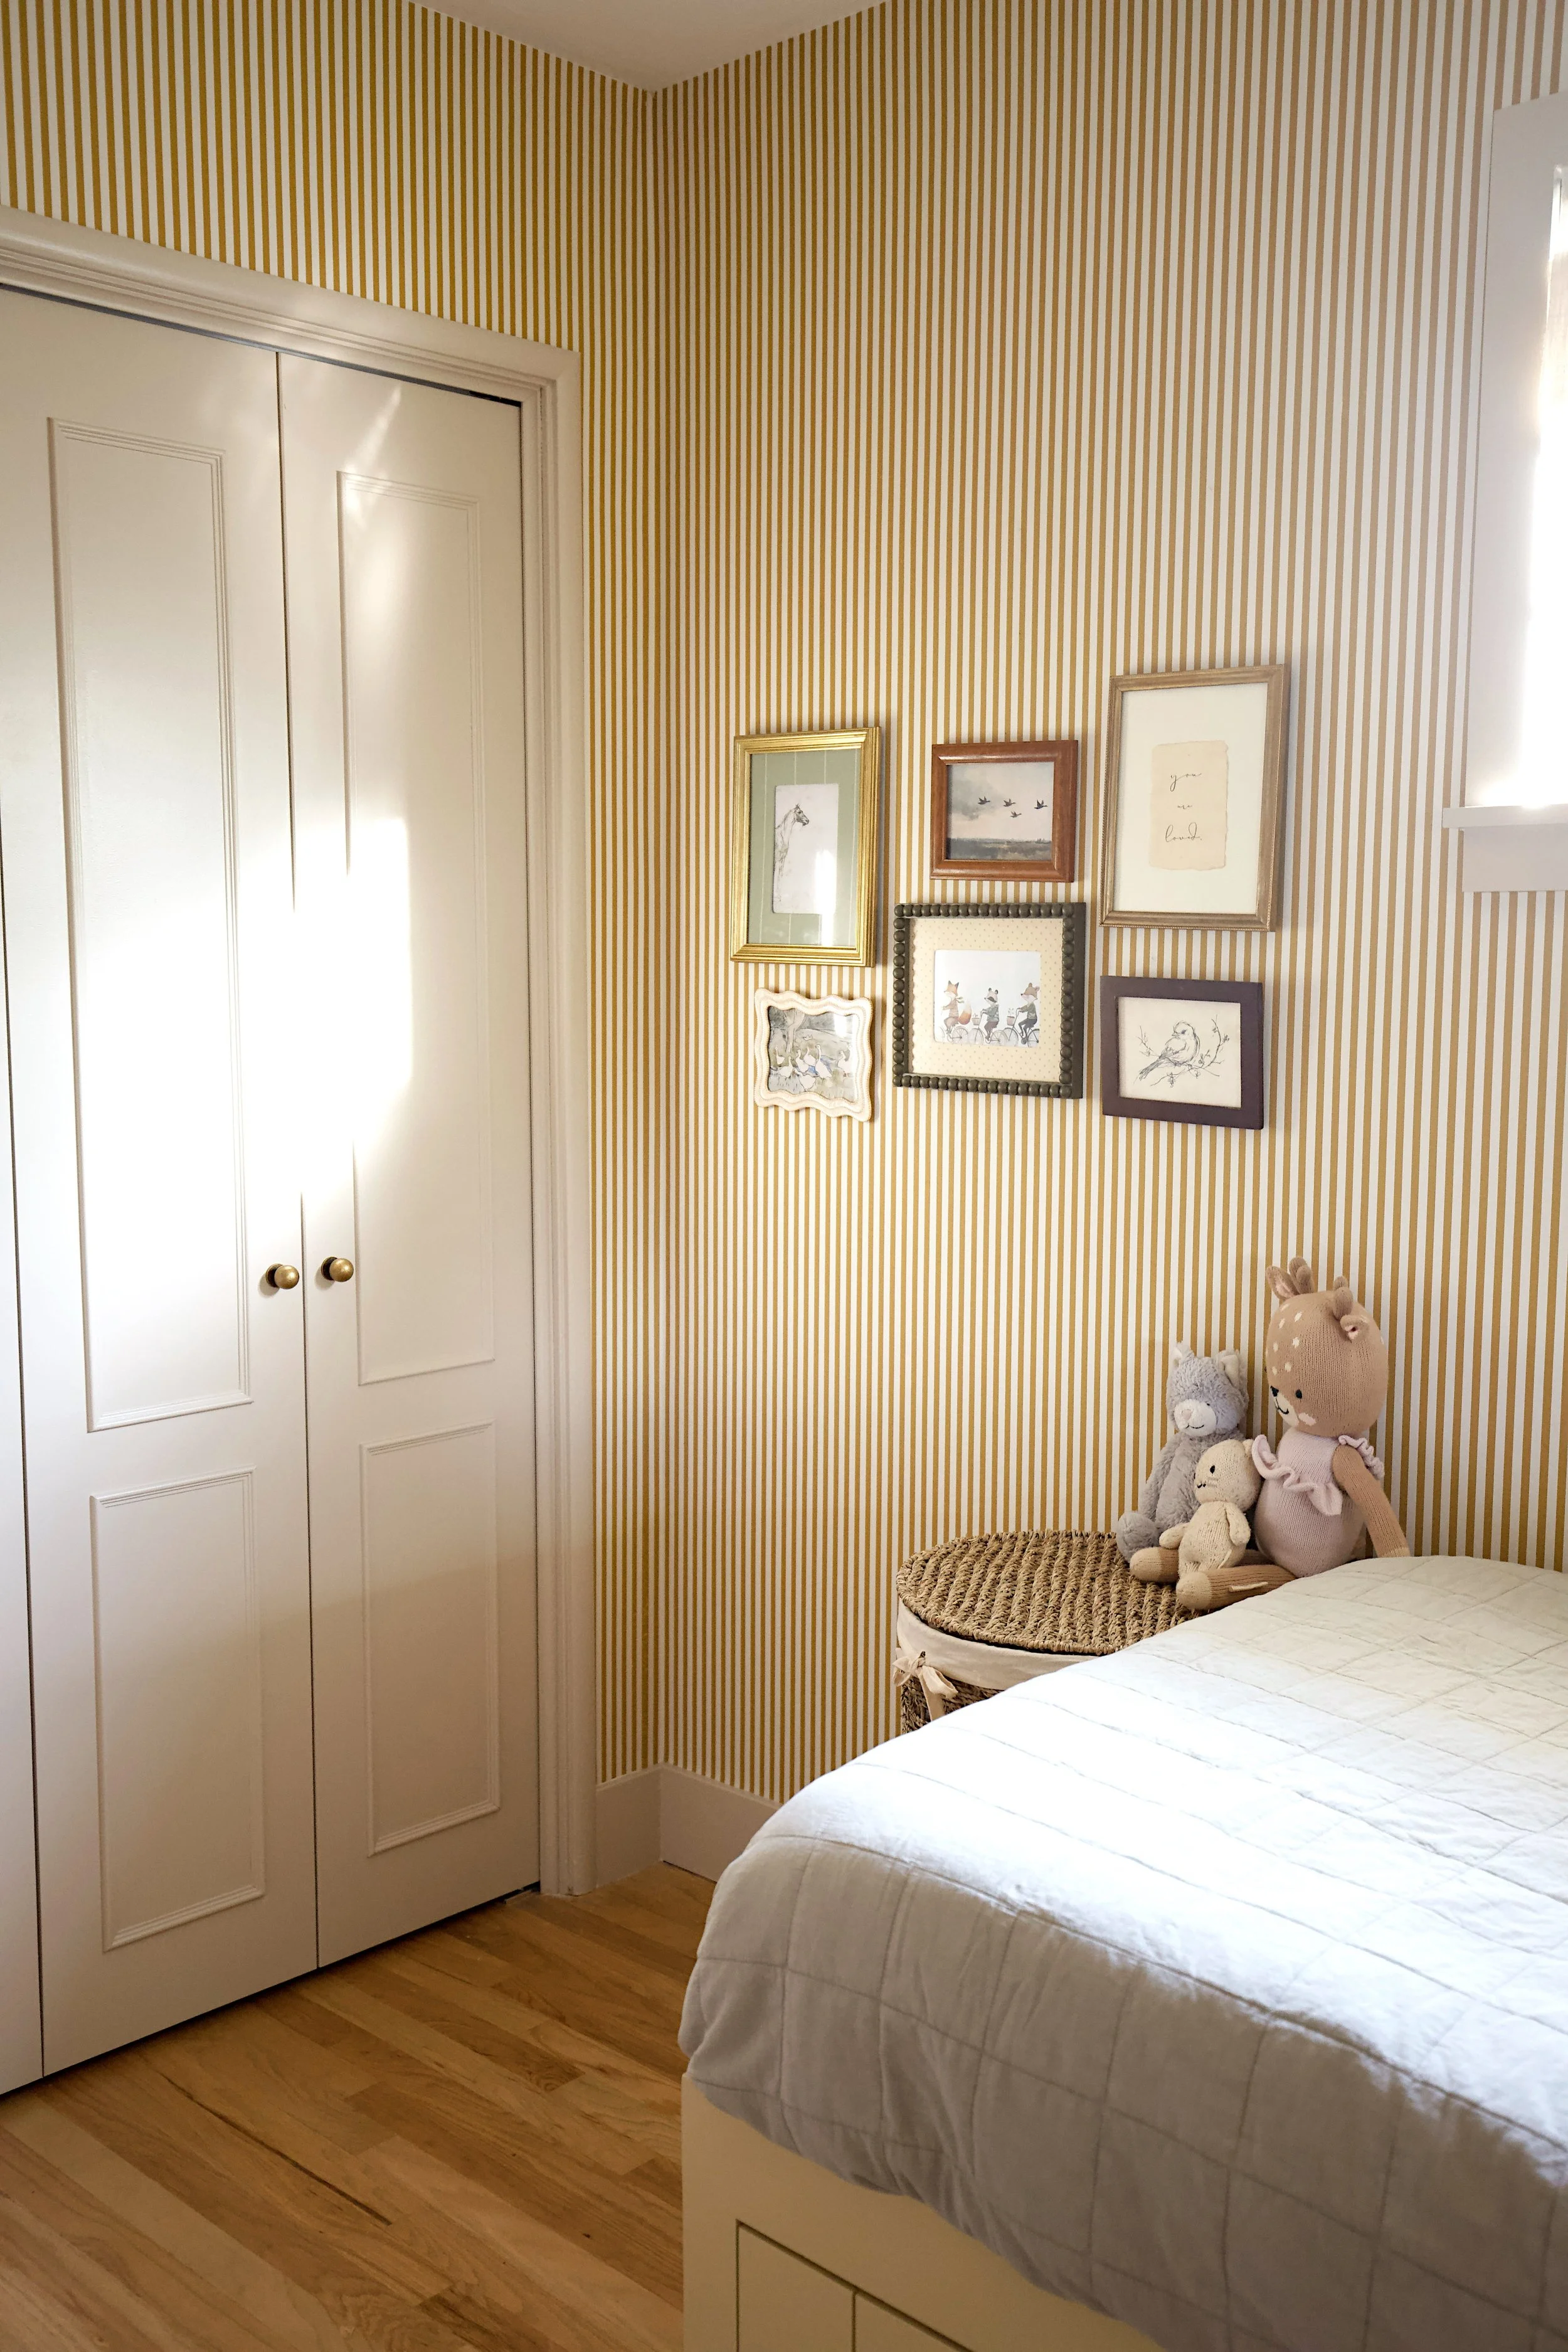
Final Step: Decorate and move the kids in!
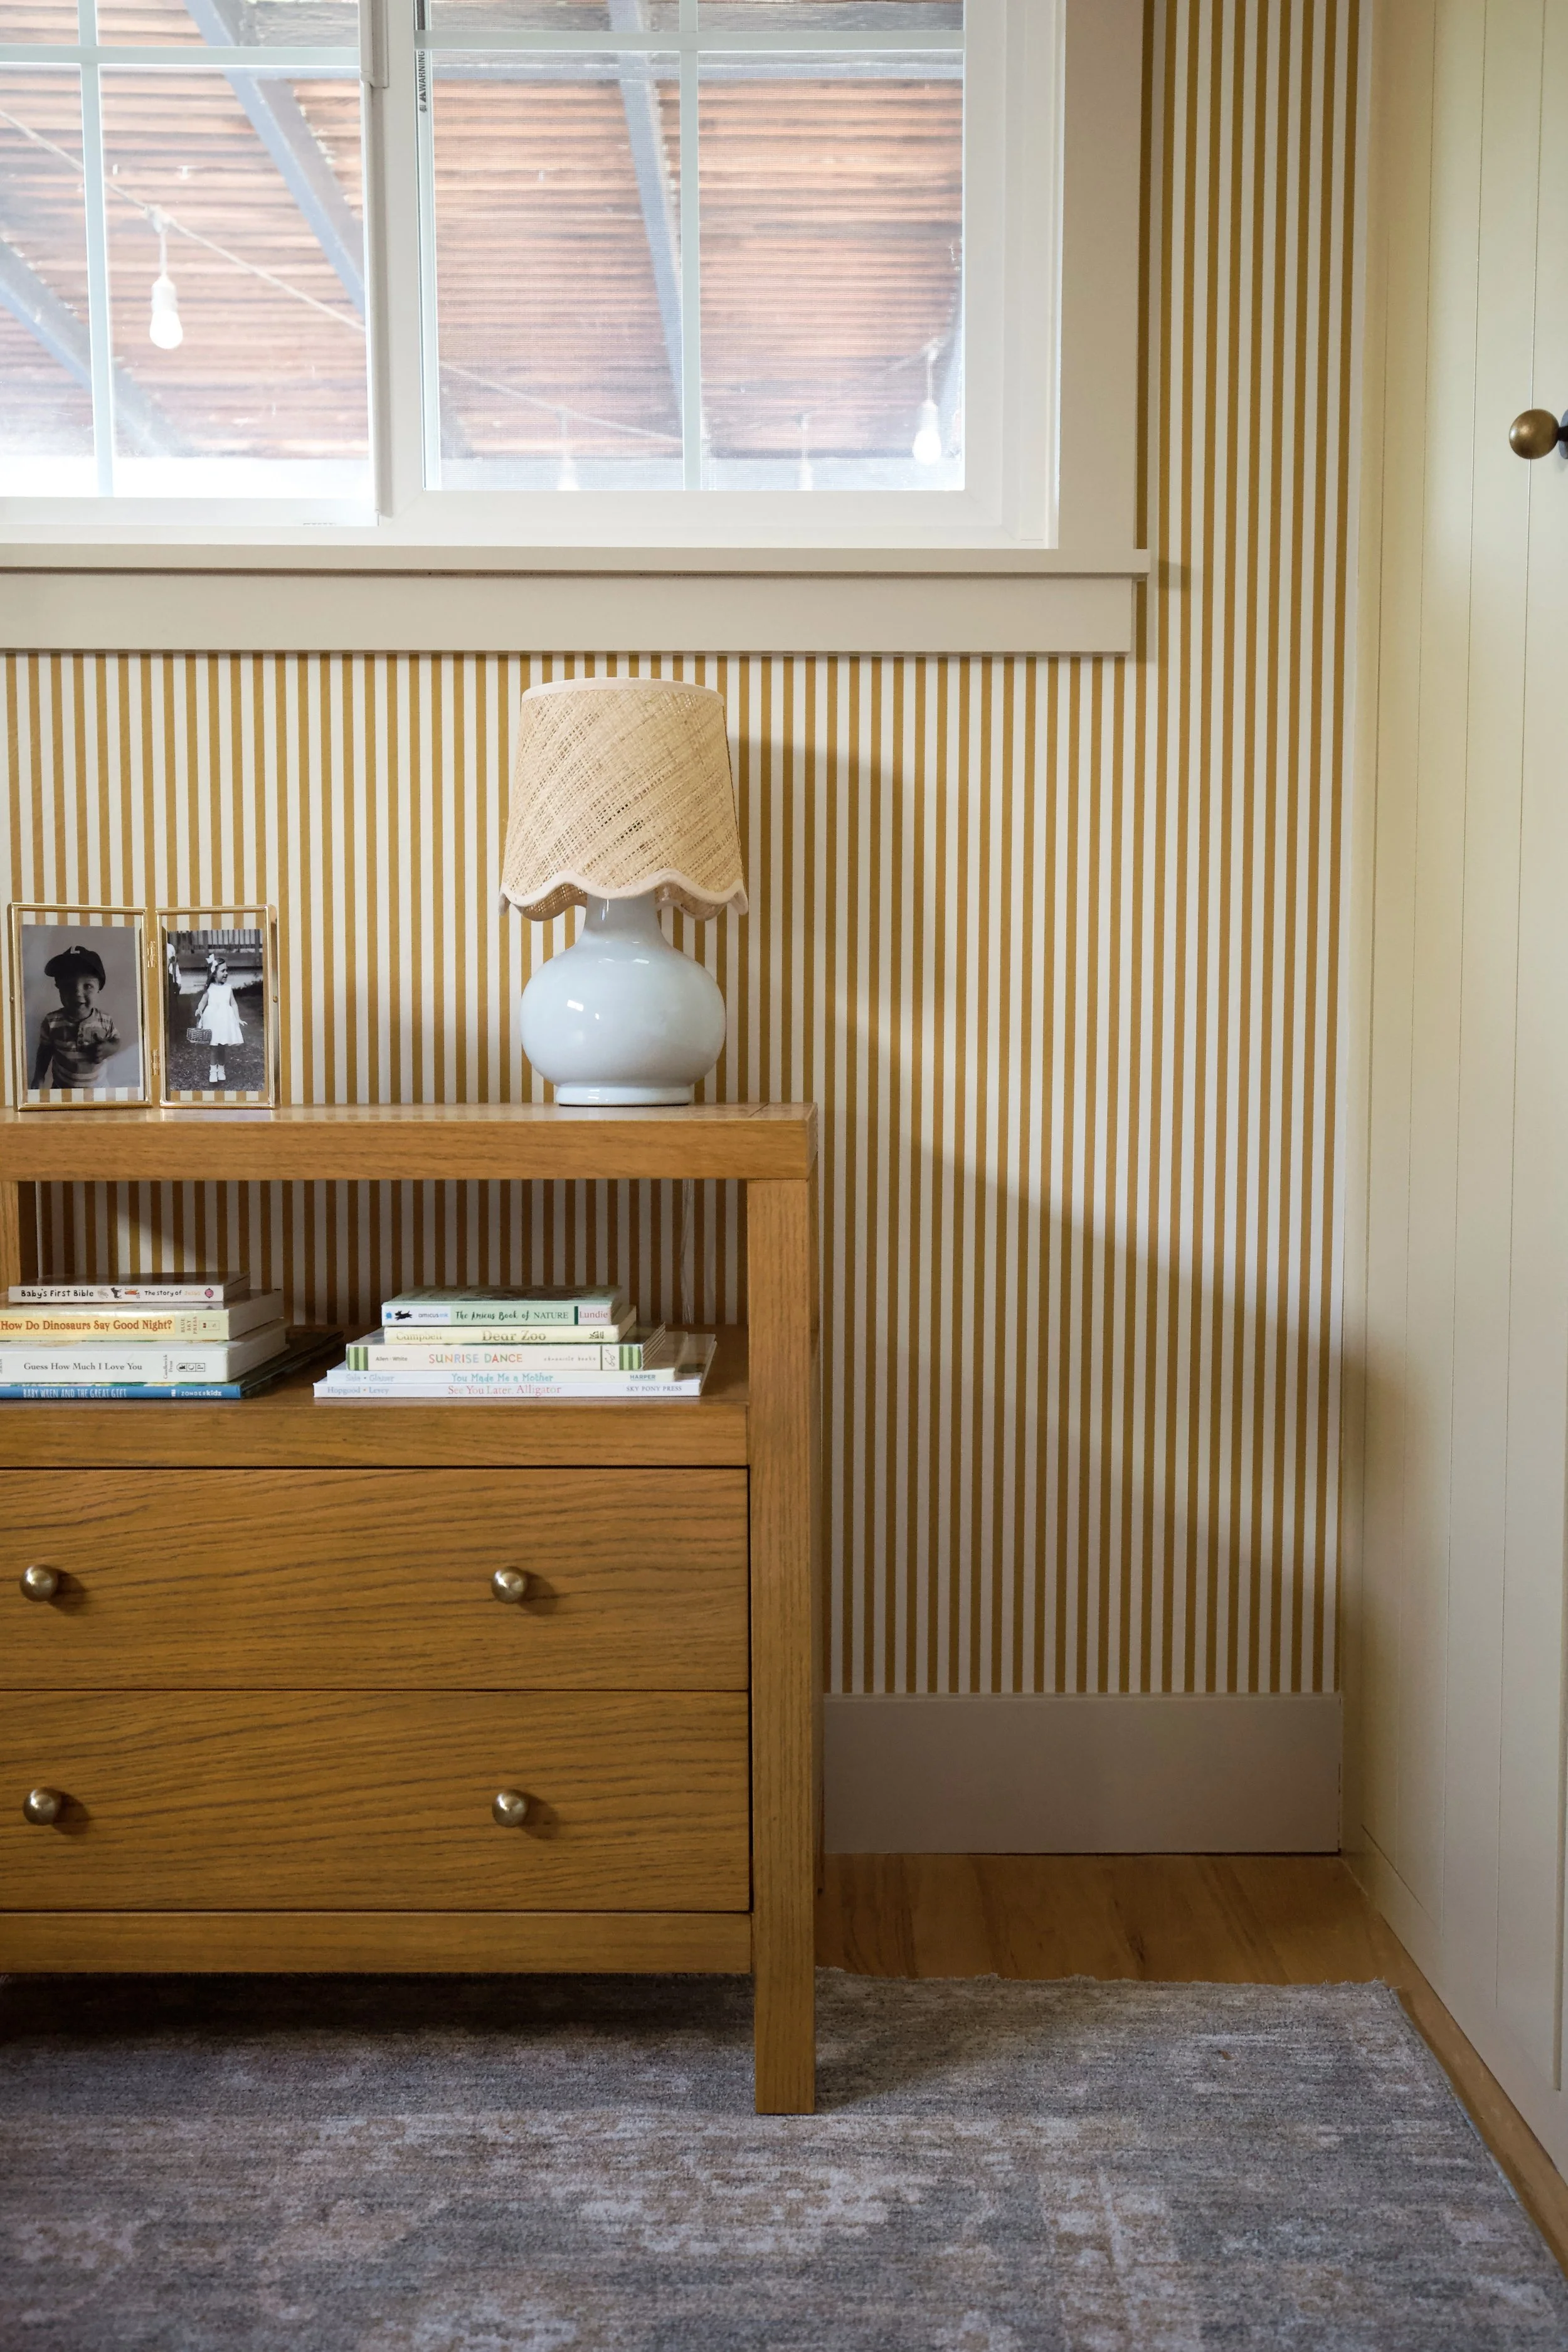
The long awaited step where I can express creativity and create a room that is tailored to the kids. The goal was to make the yellow paint the main focal point of the room but also sprinkle in a few more fun colors. It was a lot of fun painting this room a color that was out of my comfort zone— now lets make yellow THE color of the year! The color palette for this room includes: yellow, burgundy, taupe, green, and light blue. The sconces really tied it all together and made my vision come to life. And these linen roman shades added the right amount of softness to the design. A lot of thought was put into this room and it’s space our family will enjoy for years to come.

This was quite the project for us but was completely doable. Become familiar with woodworking before attempting a project this size— it took us nearly five months to finish! Were excited to now have a functional space while the kids enjoy rooming with each other.


Follow @meetthemosers on Instagram for more inspiration!