Our Primary in Pink
It was time for a major change in our primary bedroom. I’m talking a big glow-up. A room that feels sophisticated and romantic, if you will. I took about a month to this think over. I had a few furniture pieces in mind but wasn’t sure about the exact design. In November, I stumbled upon a gorgeous solid oak dresser on FBMP. I headed over to the estate sale and was able to snatch it for $300! It was a steal considering we found the same piece selling for over $1200 on the internet. Then it sat in our garage until we were ready to start this project. After finding this dresser and browsing Pinterest for inspo, it hit me that I should paint the room PINK. You heard it, PINK. I told Travis which color I wanted to use and thankfully, it didn’t take much to convince him. He supports pretty much all of my ideas. In January, once the holidays were over with and cabin fever started to build up, we finally pulled the trigger and moved out of our bedroom to start the project. Then it ended up being two months of minor demo, prep work, paint, and pulling the design together.
Inspiration
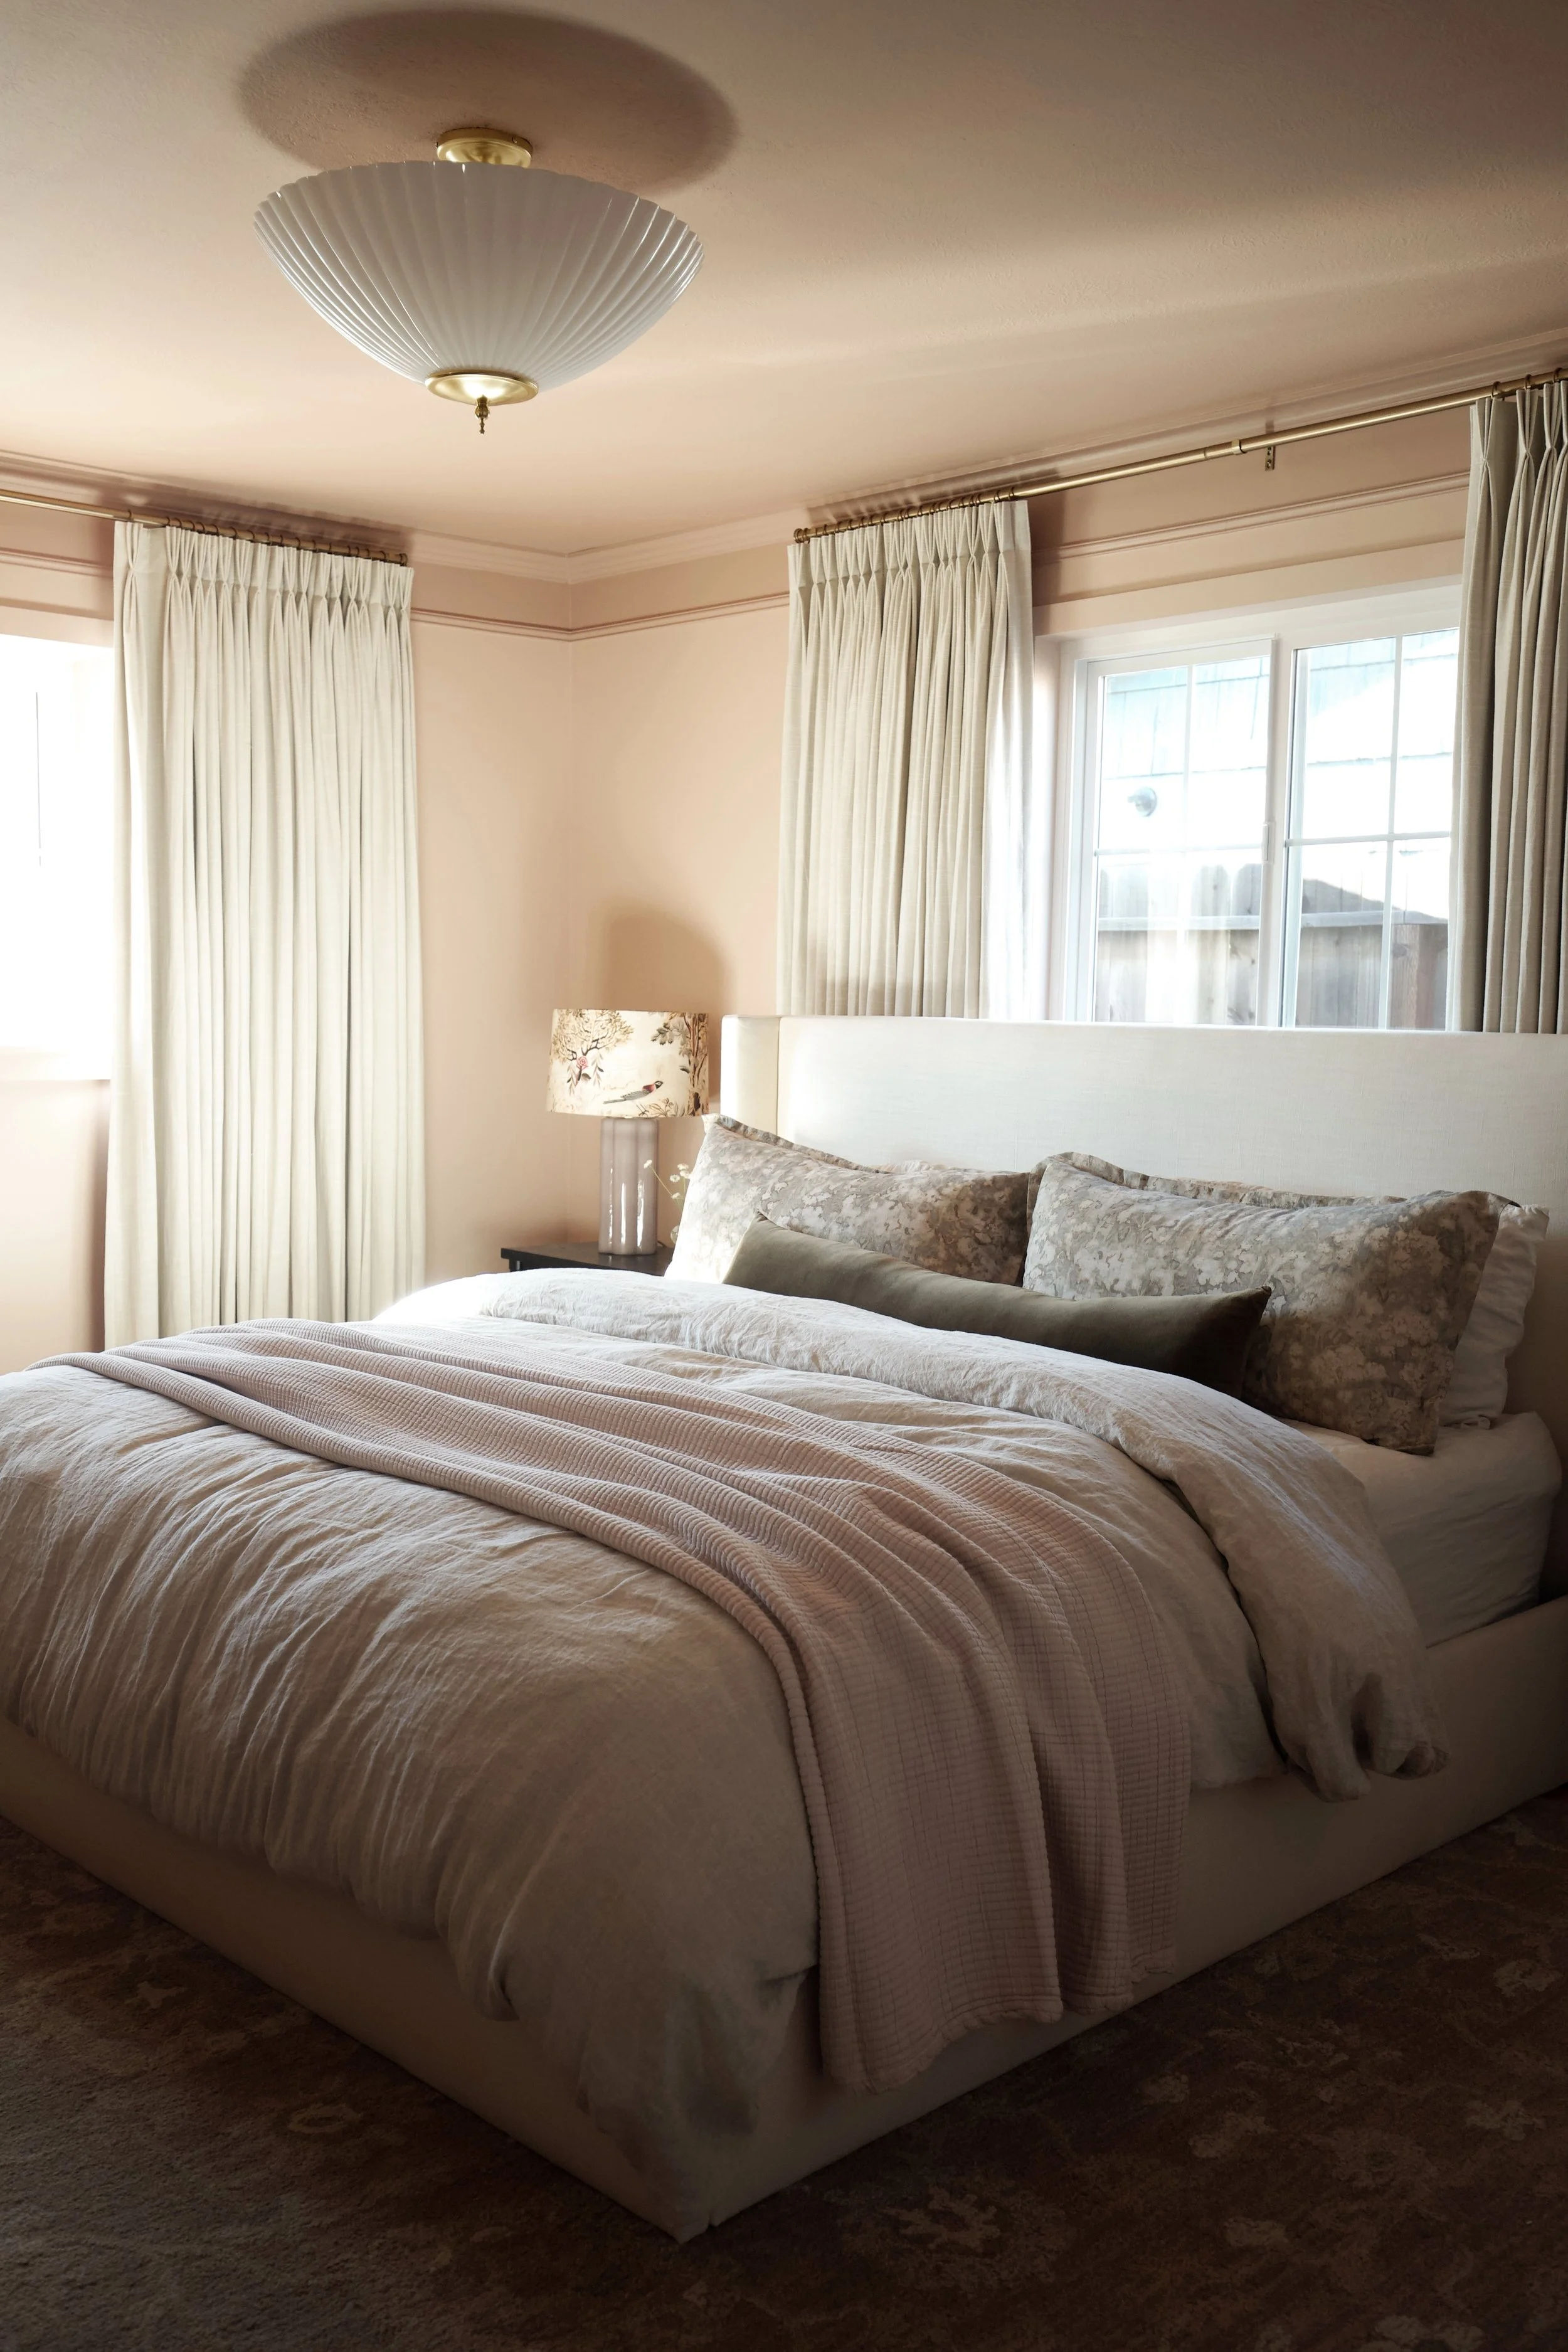
The tonal trend is hot right now. This is where you paint the room a solid base color and pair it with a different shade on the trim, ceiling, and/or doors. You could play with two colors of the same family or even three. The thought of doing this really excited me. I have seen a few rooms painted pink with burgundy trim, which I LOVED but I knew I wanted it to feel softer.
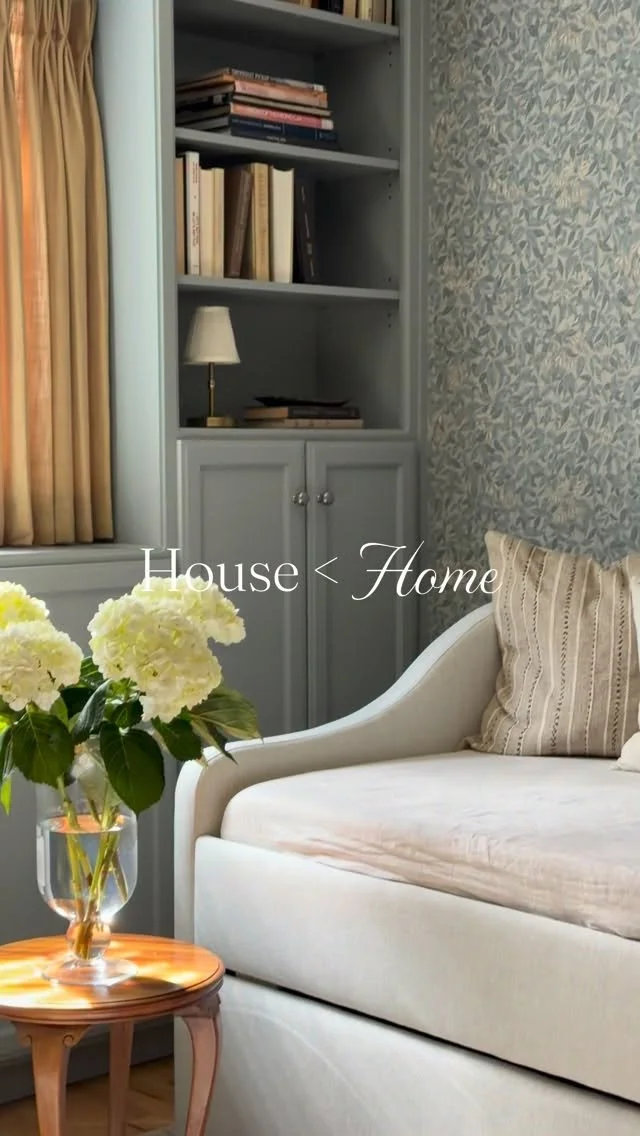
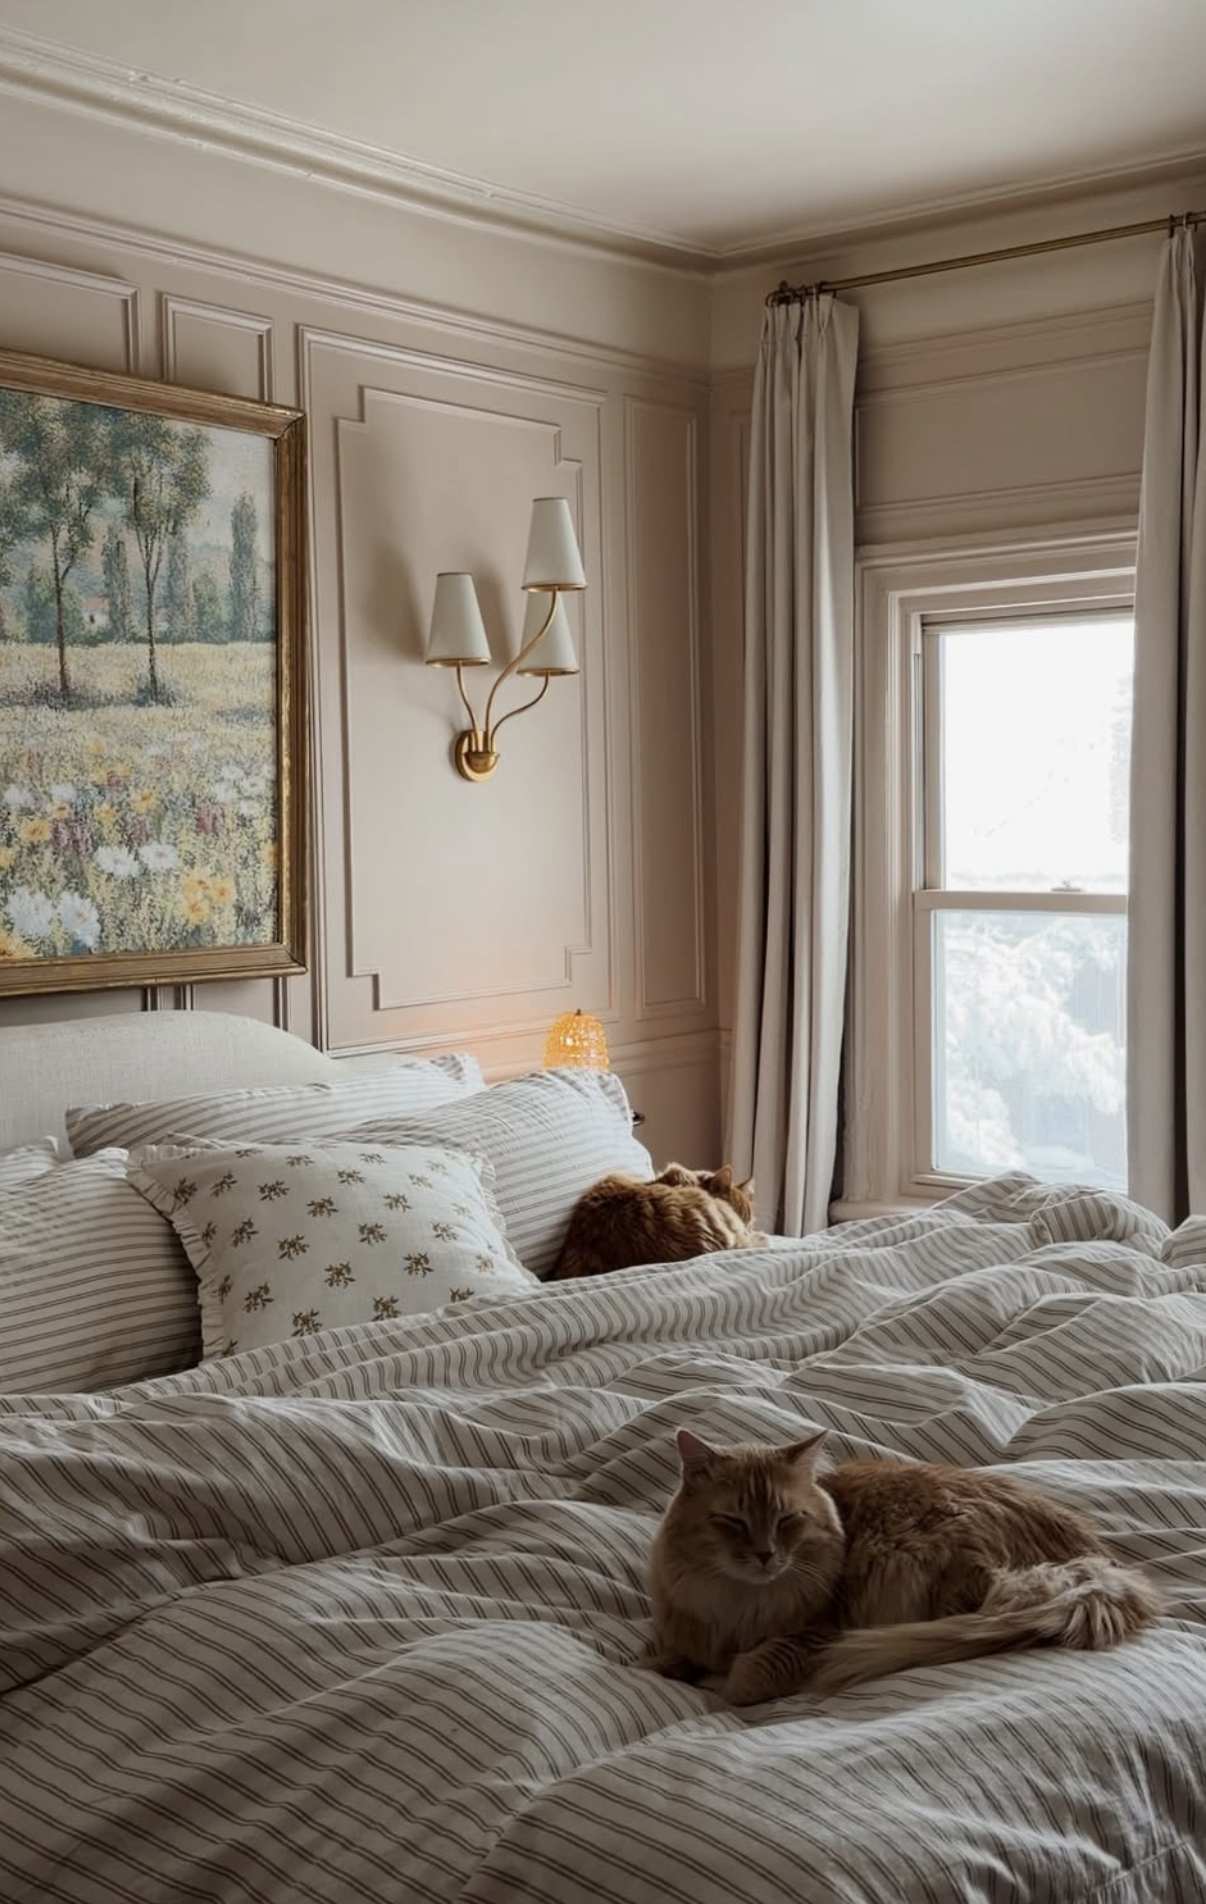
Source: @greyleigh.kiama
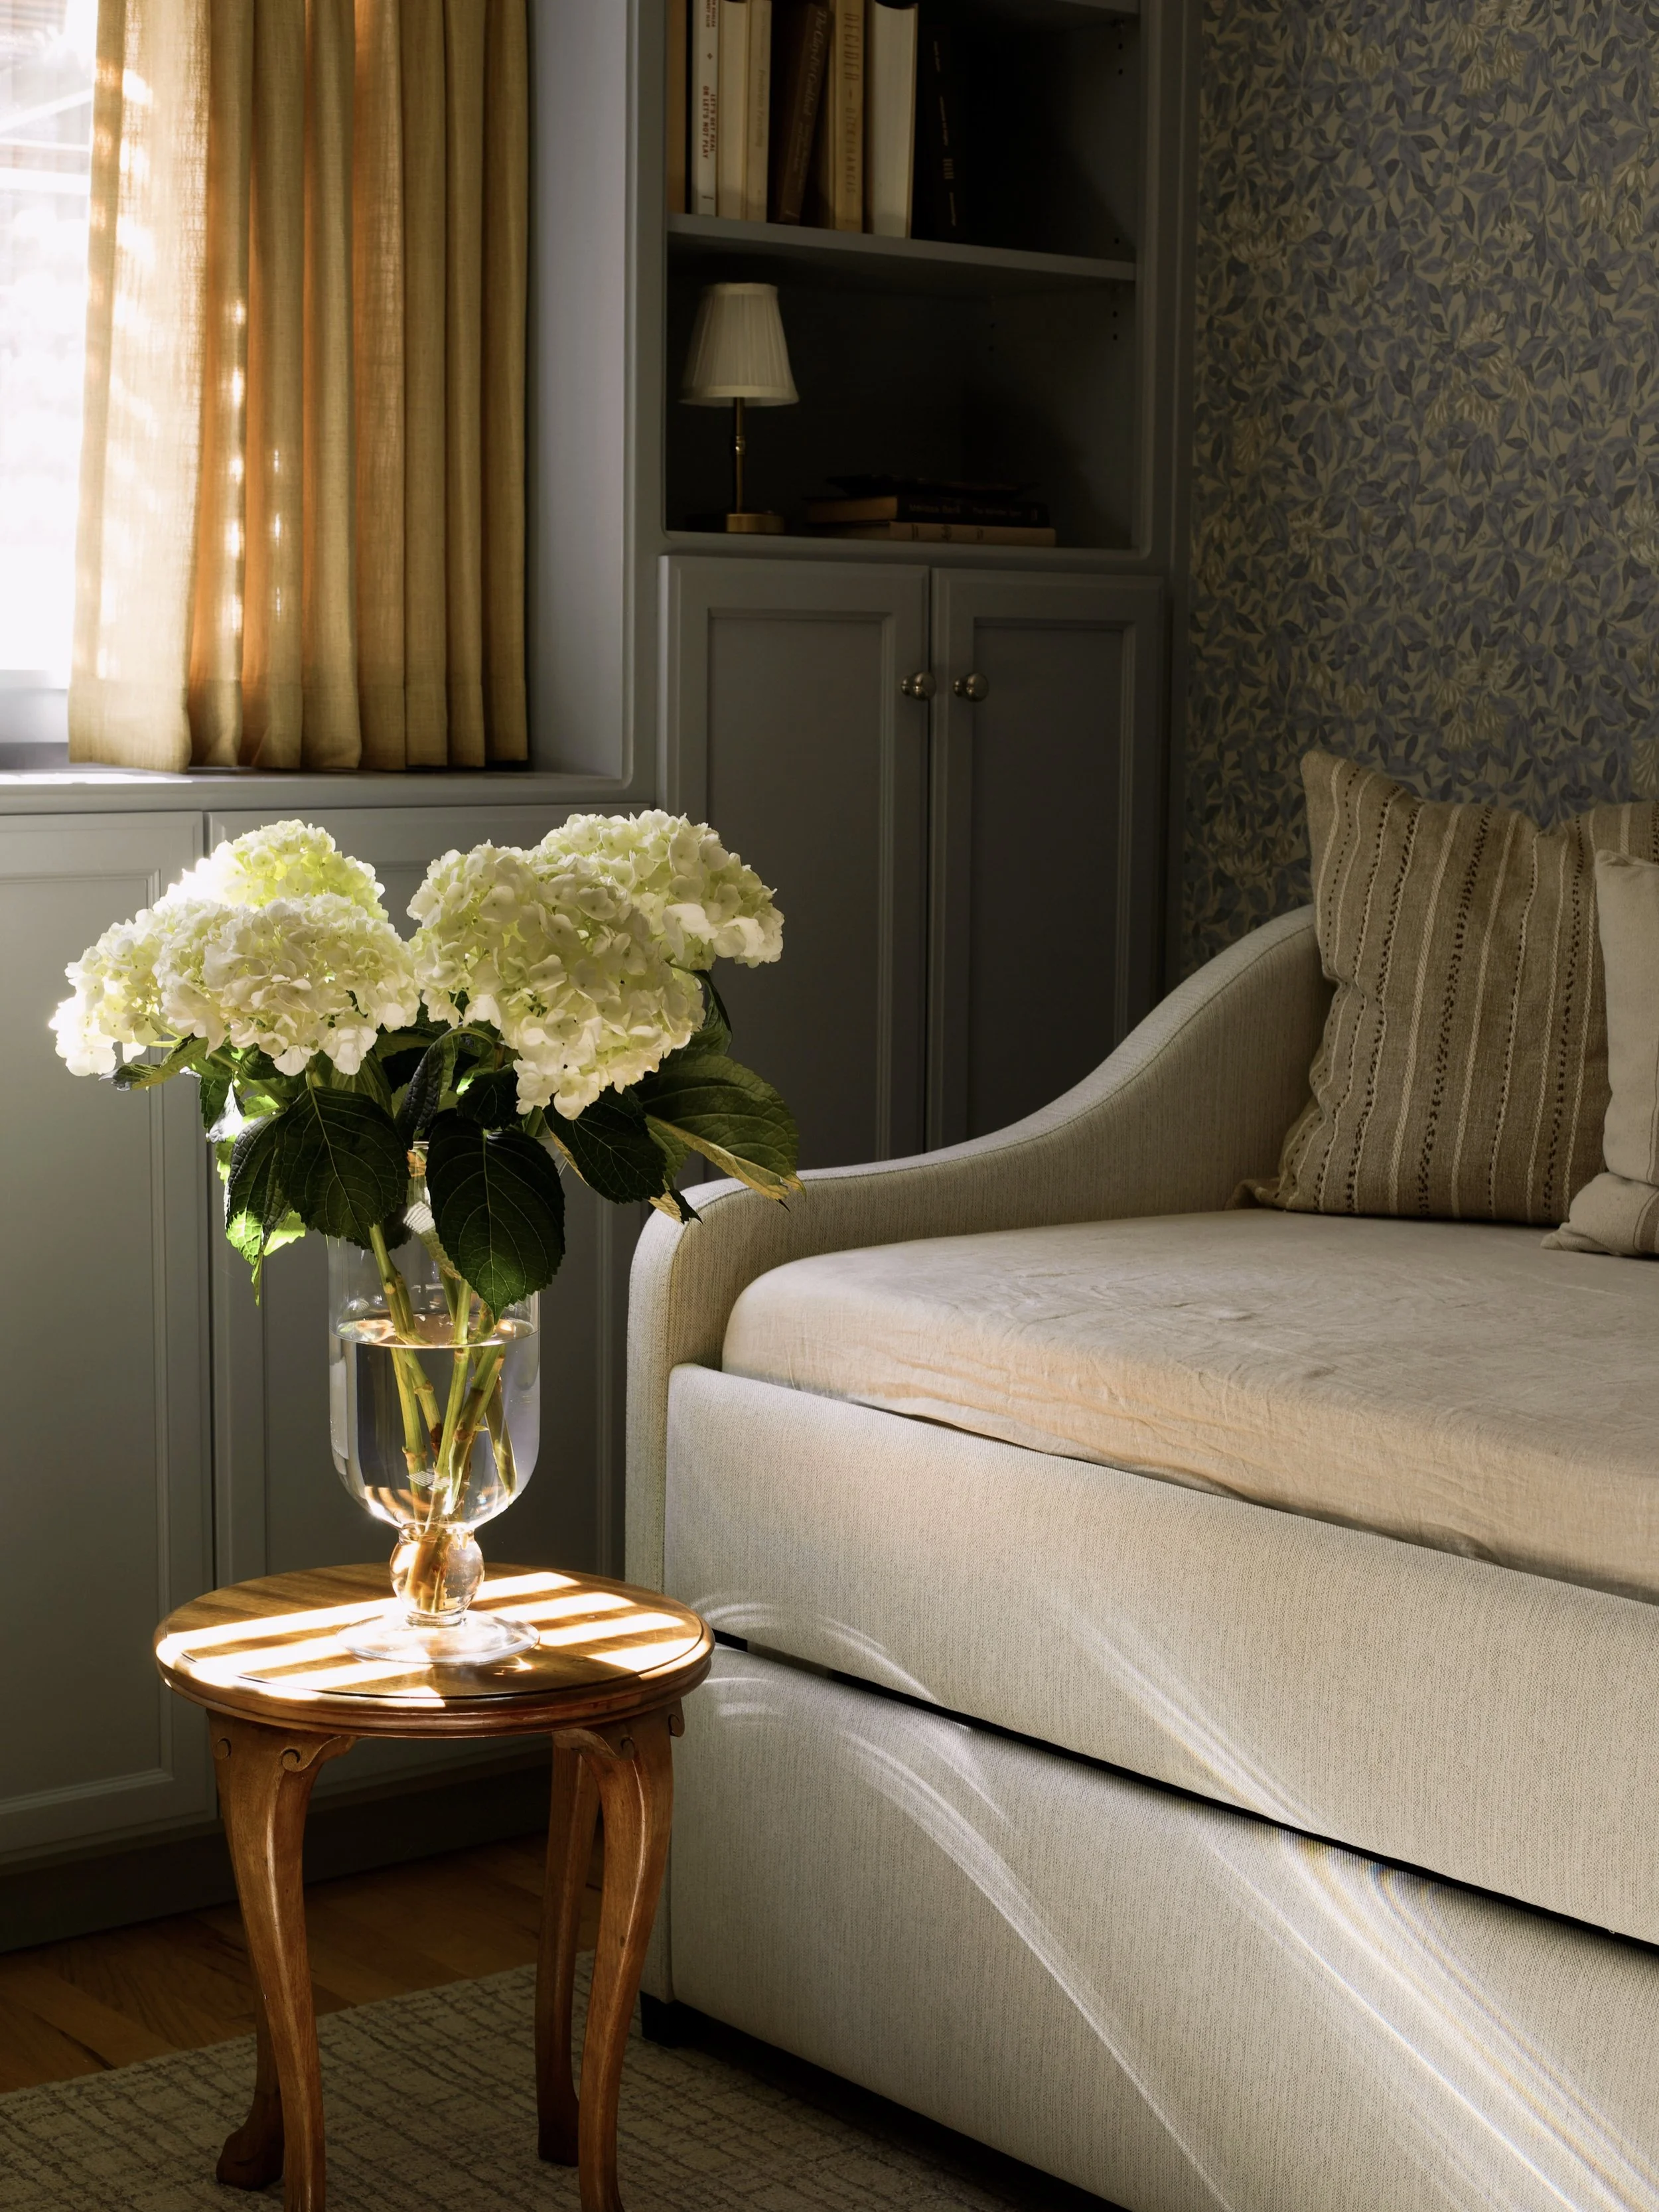
Source: @reserve_home
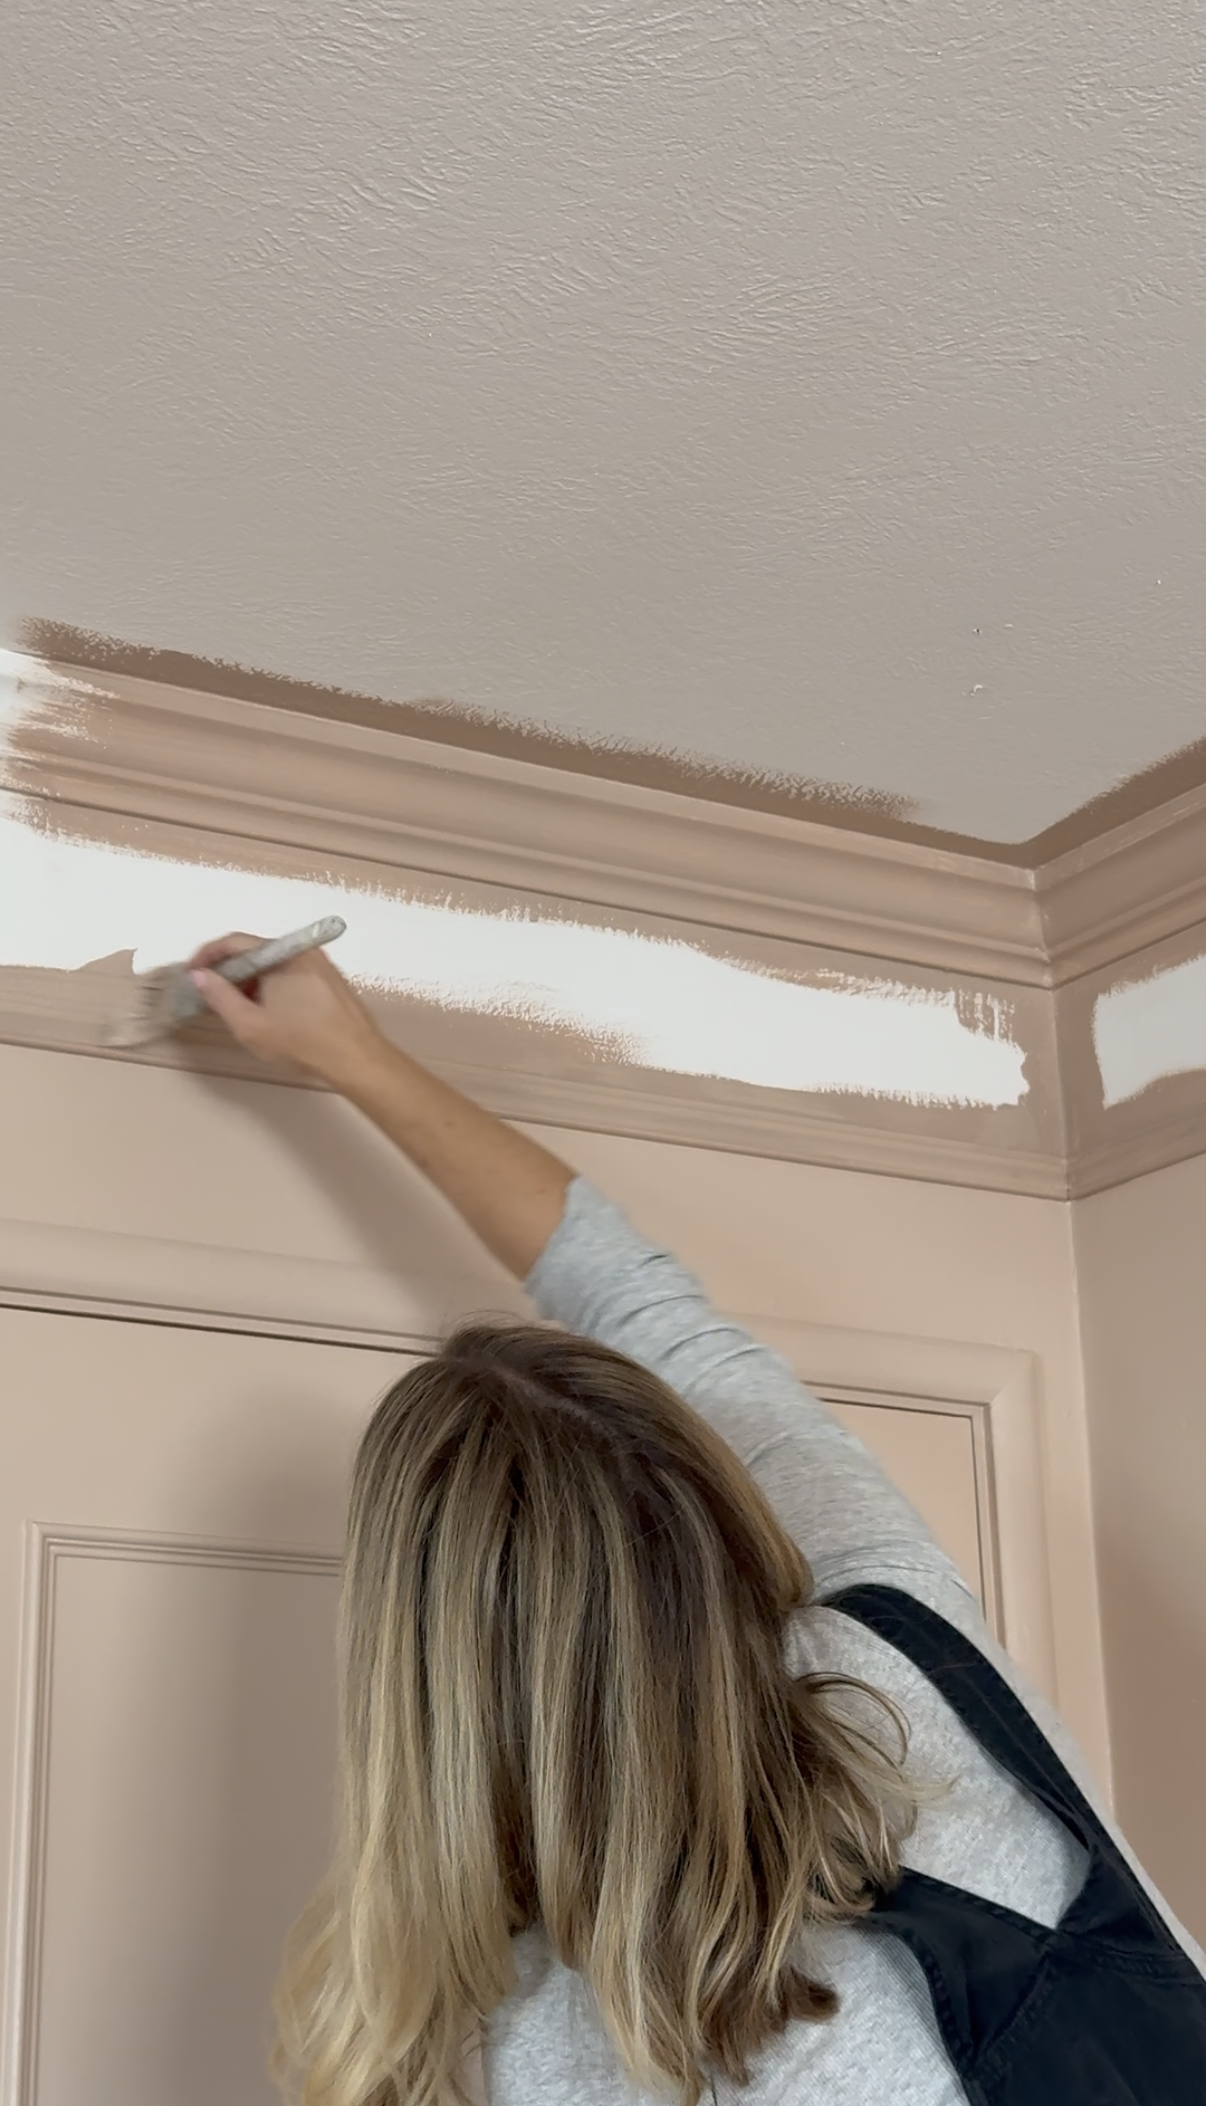
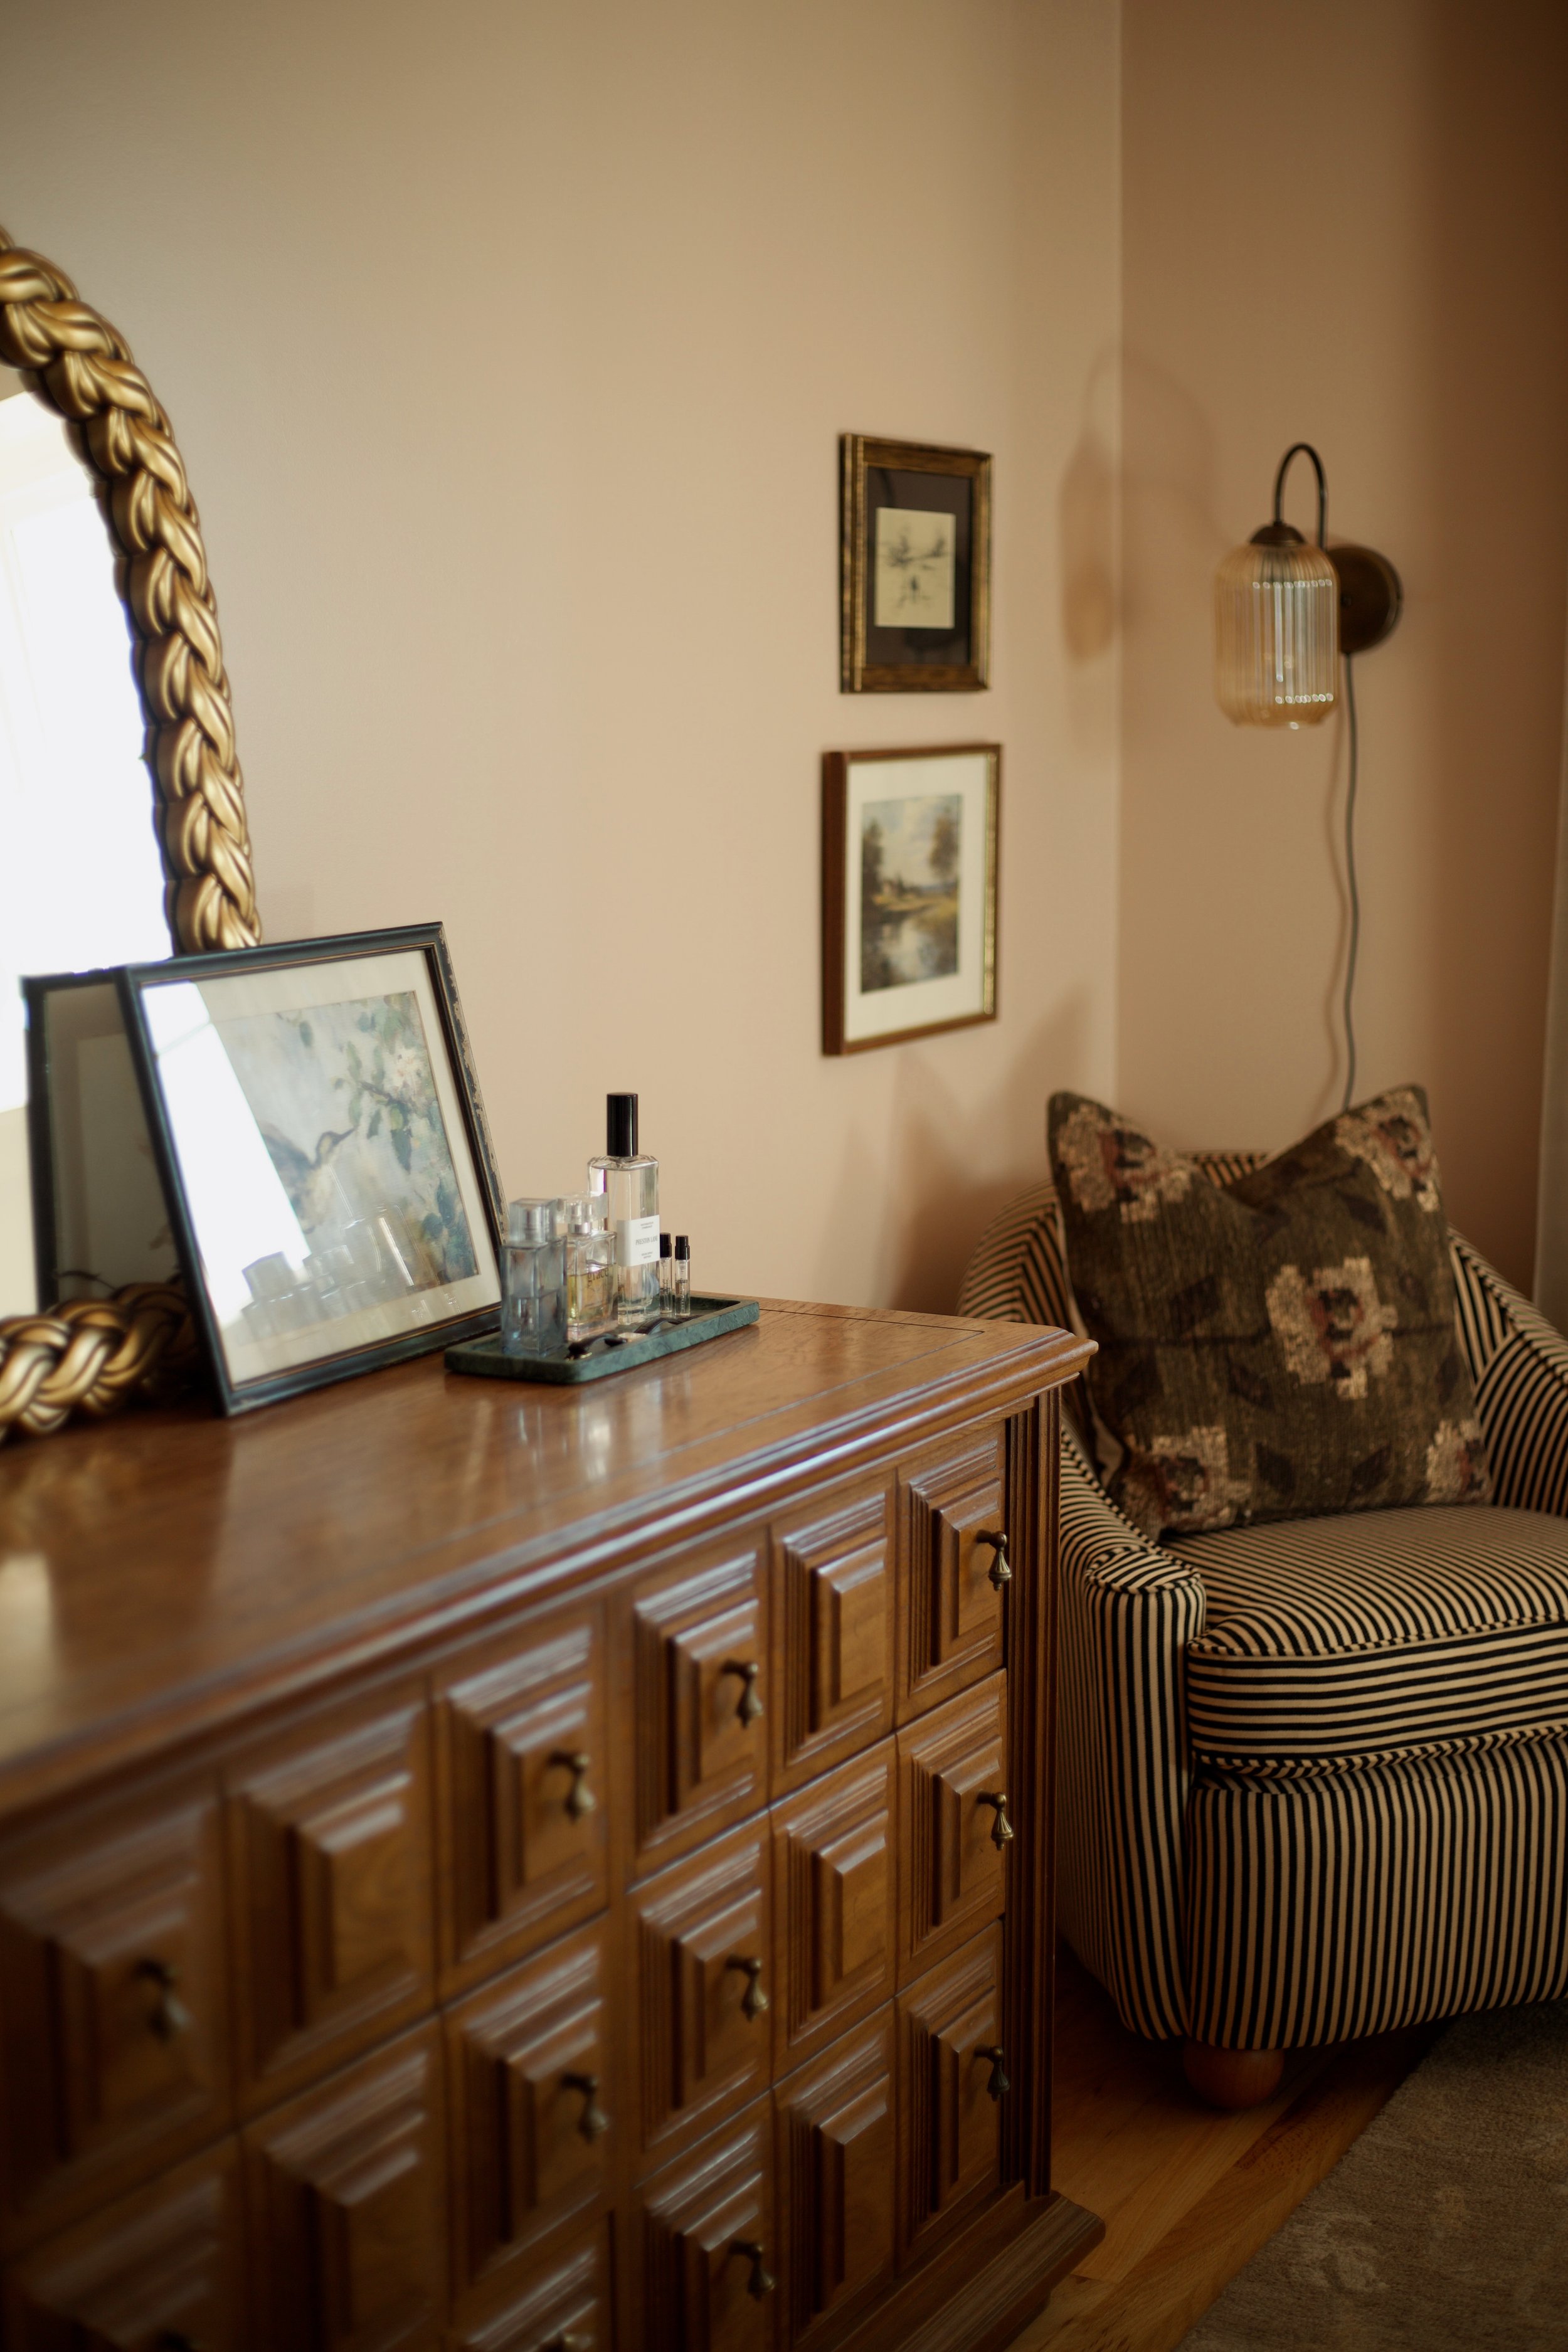
Color capping has also been glued to my brain recently; painting the ceiling a different shade along with the trim below the crown molding. I knew adding visual interest like this would not break the bank therefore I had to go for it.
Minor Demo
As you can see we had a board & batten wall treatment. We installed it in 2020 when modern wall treatments were a hot trend. We thought we nailed the design back then, LOL. Turns out six years later, we wanted our primary room to be more elegant. It started with moving everything out. By everything, I mean EVERYTHING. We had to change our sleeping arrangement for nearly two months.
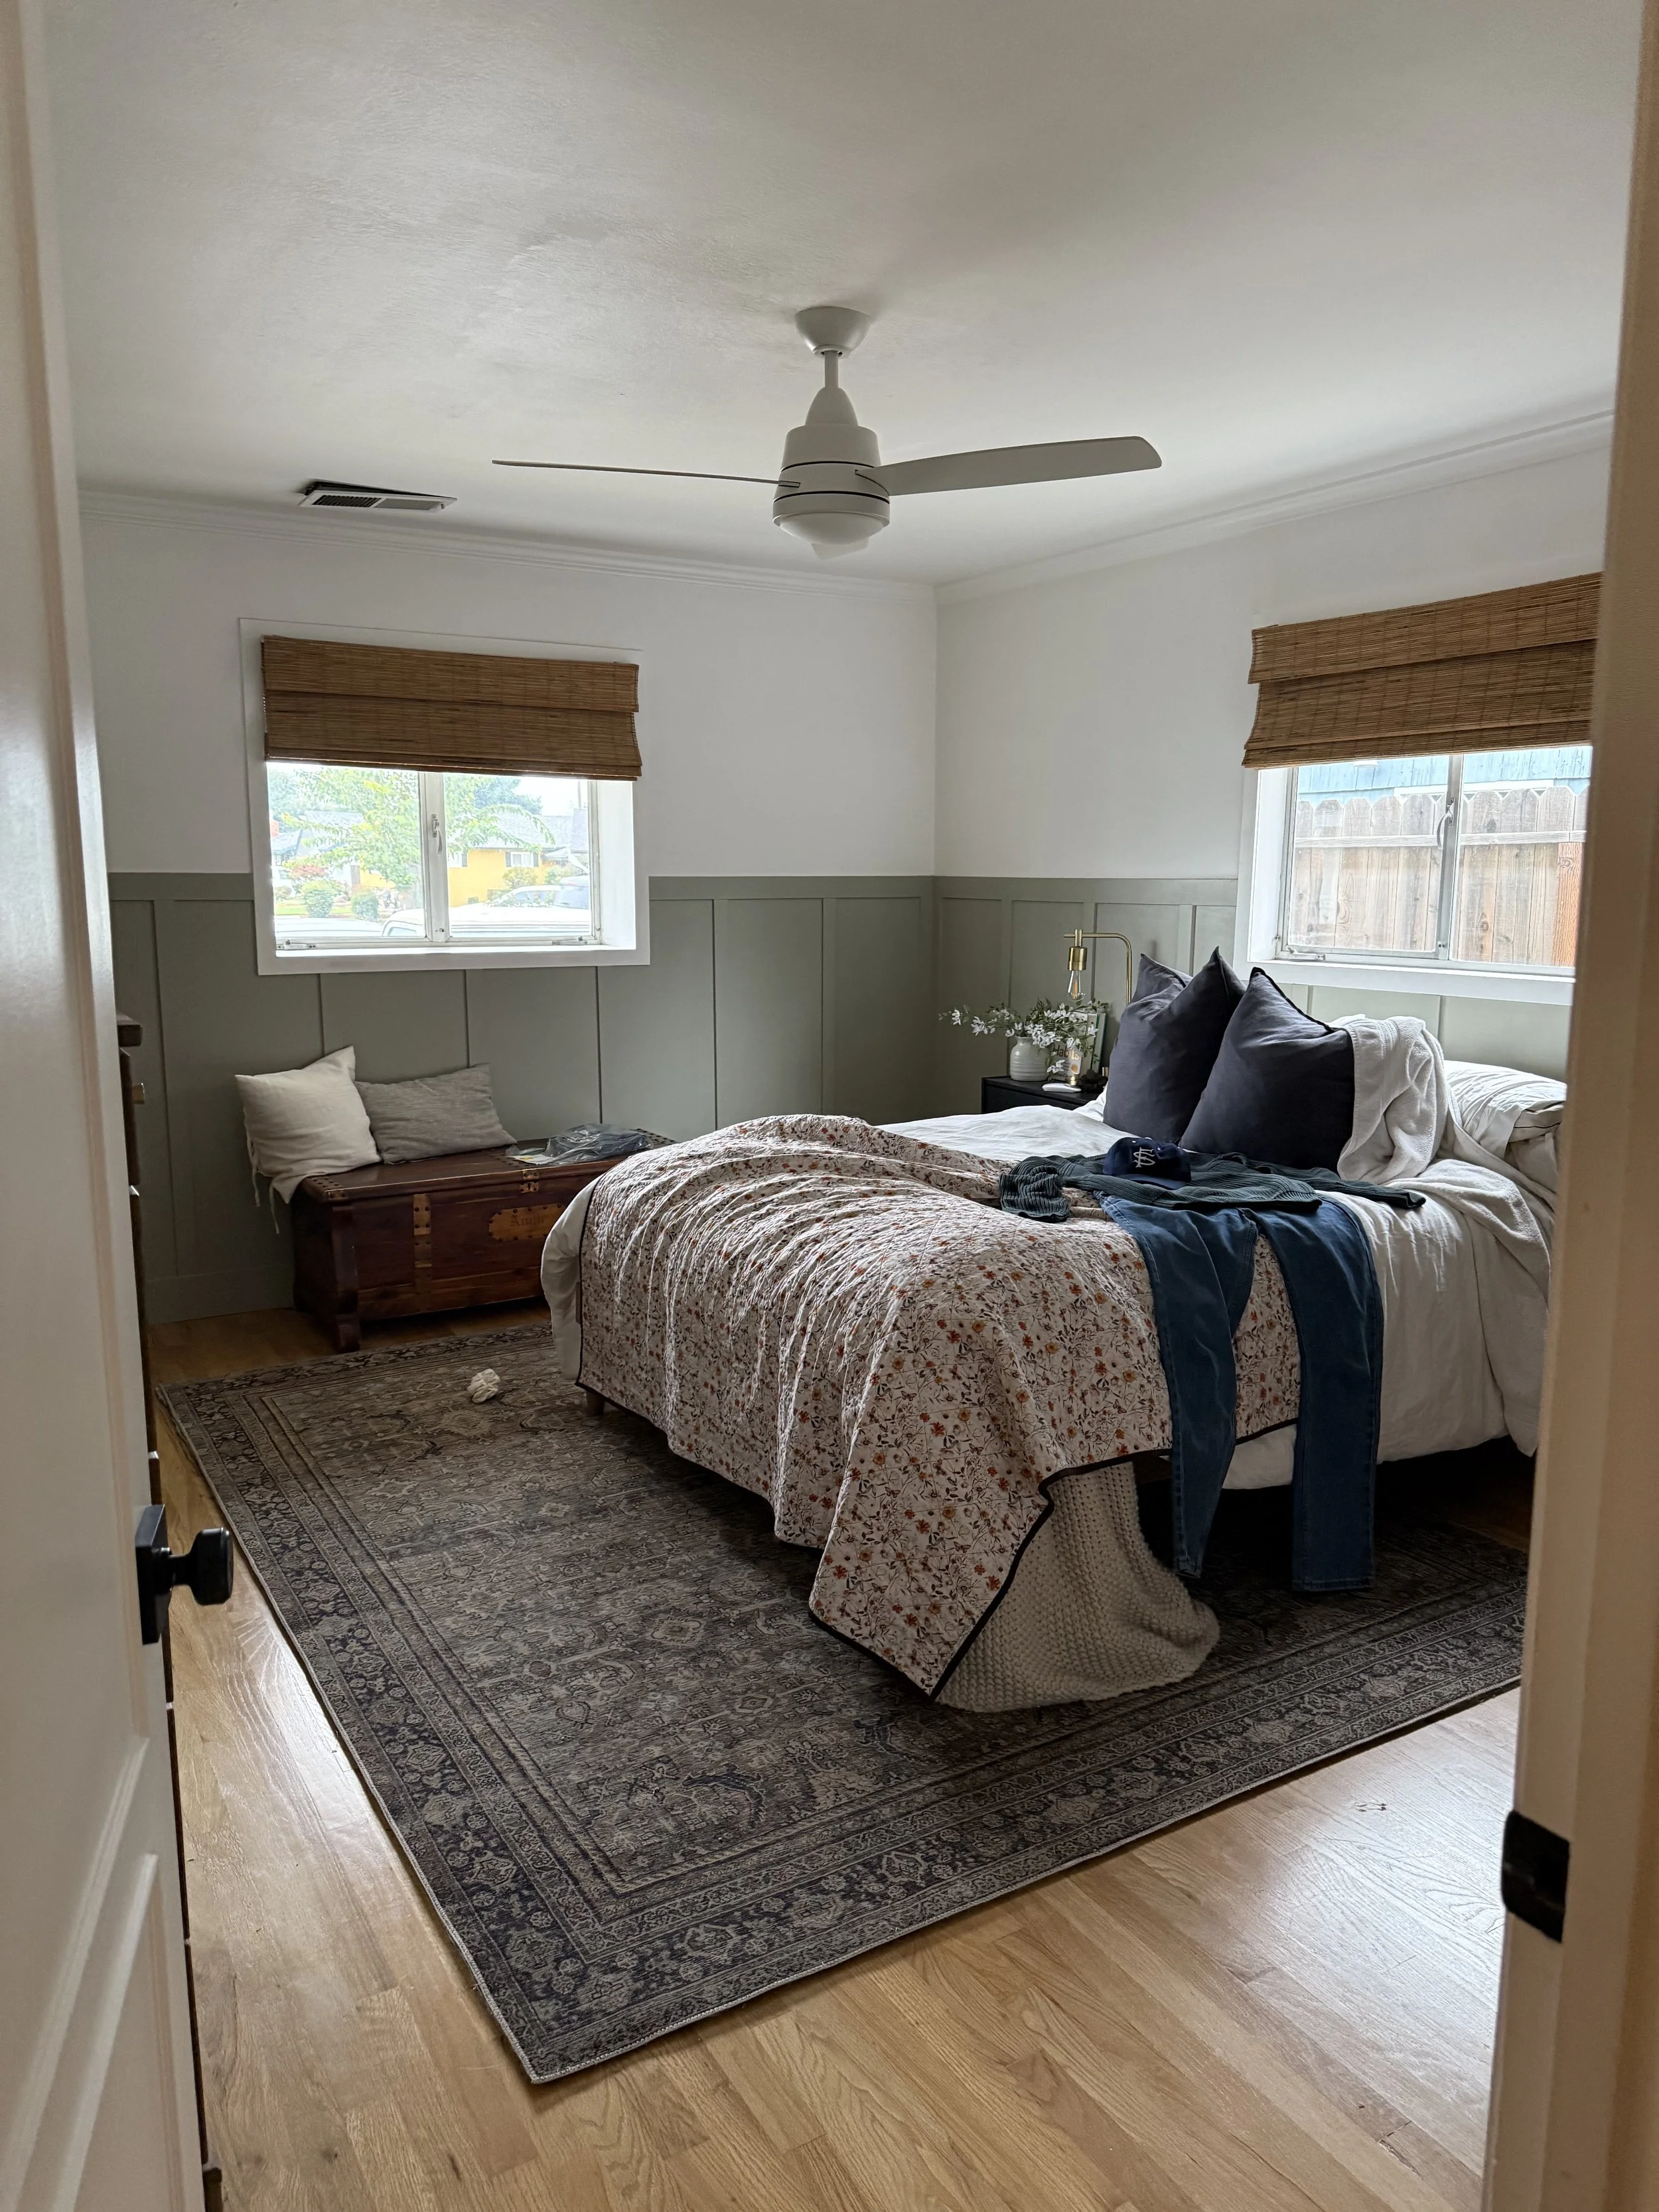
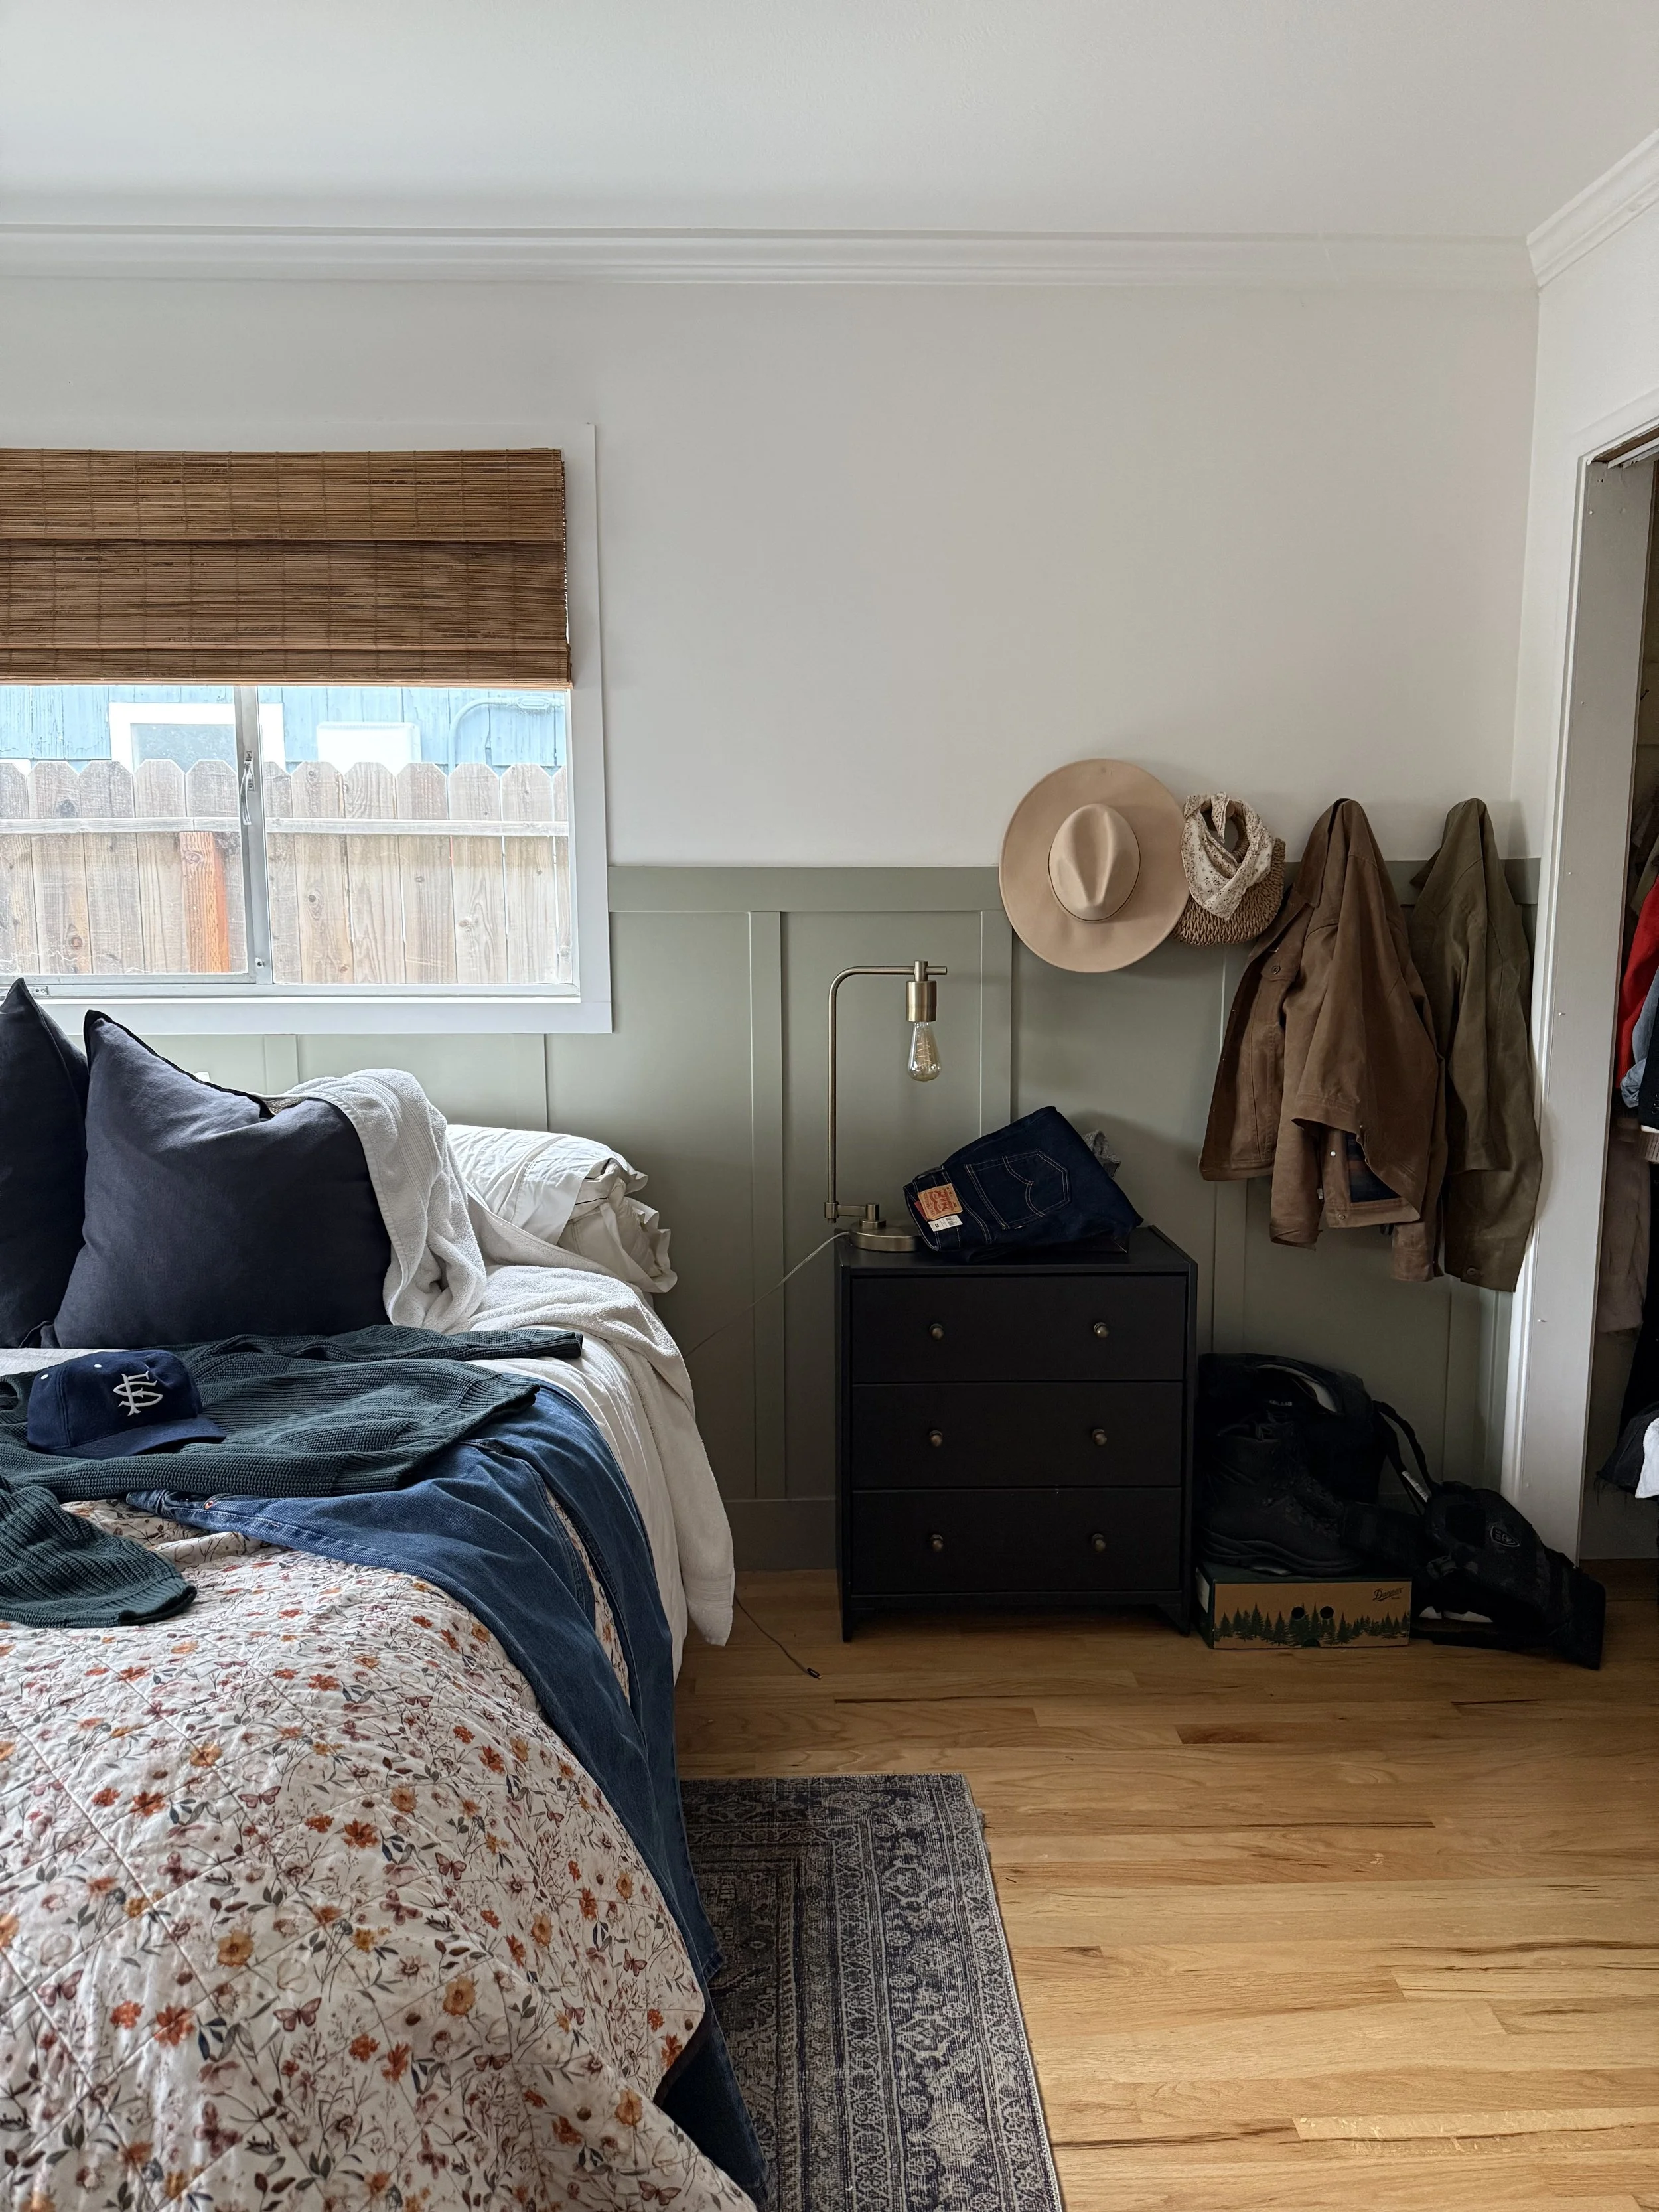
Once everything was moved out, we got to work. We were hoping after removing all the boards, the walls would only need some patch work. Unfortunately, that was not the case. Because of the caulk and paint, we removed layers off the wall. This was going to require a bigger job: skim coating.
Prep Work
We’re not pros when it comes to skim coating but we’re also not beginners. We’ve finished four rooms total now in our house. This took around a week to complete because of the drying time. We applied two coats and let them dry at least 24 hours in between. Then we sanded, which took a generous amount of time and patience.


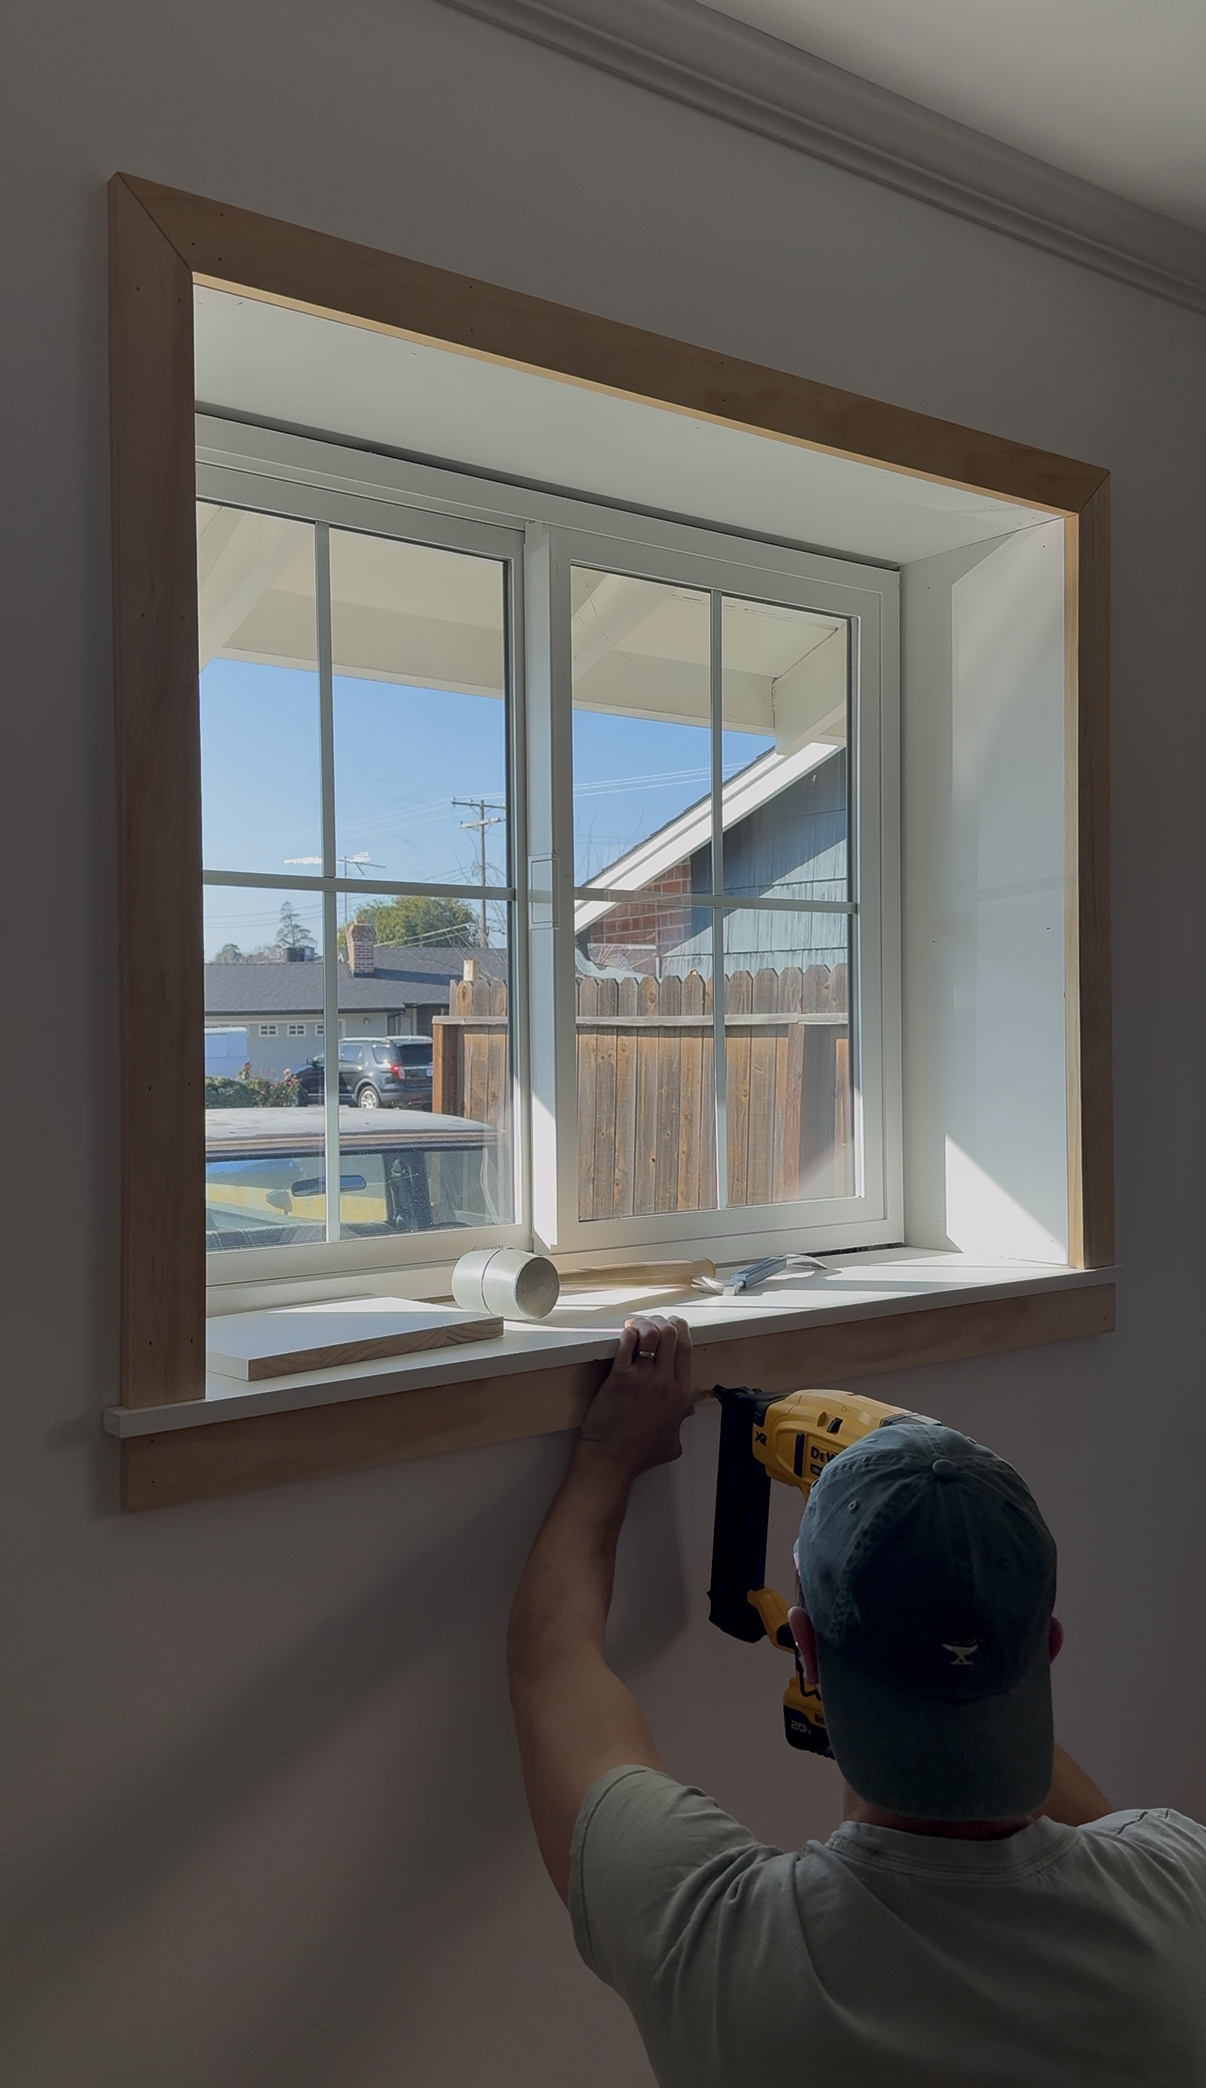
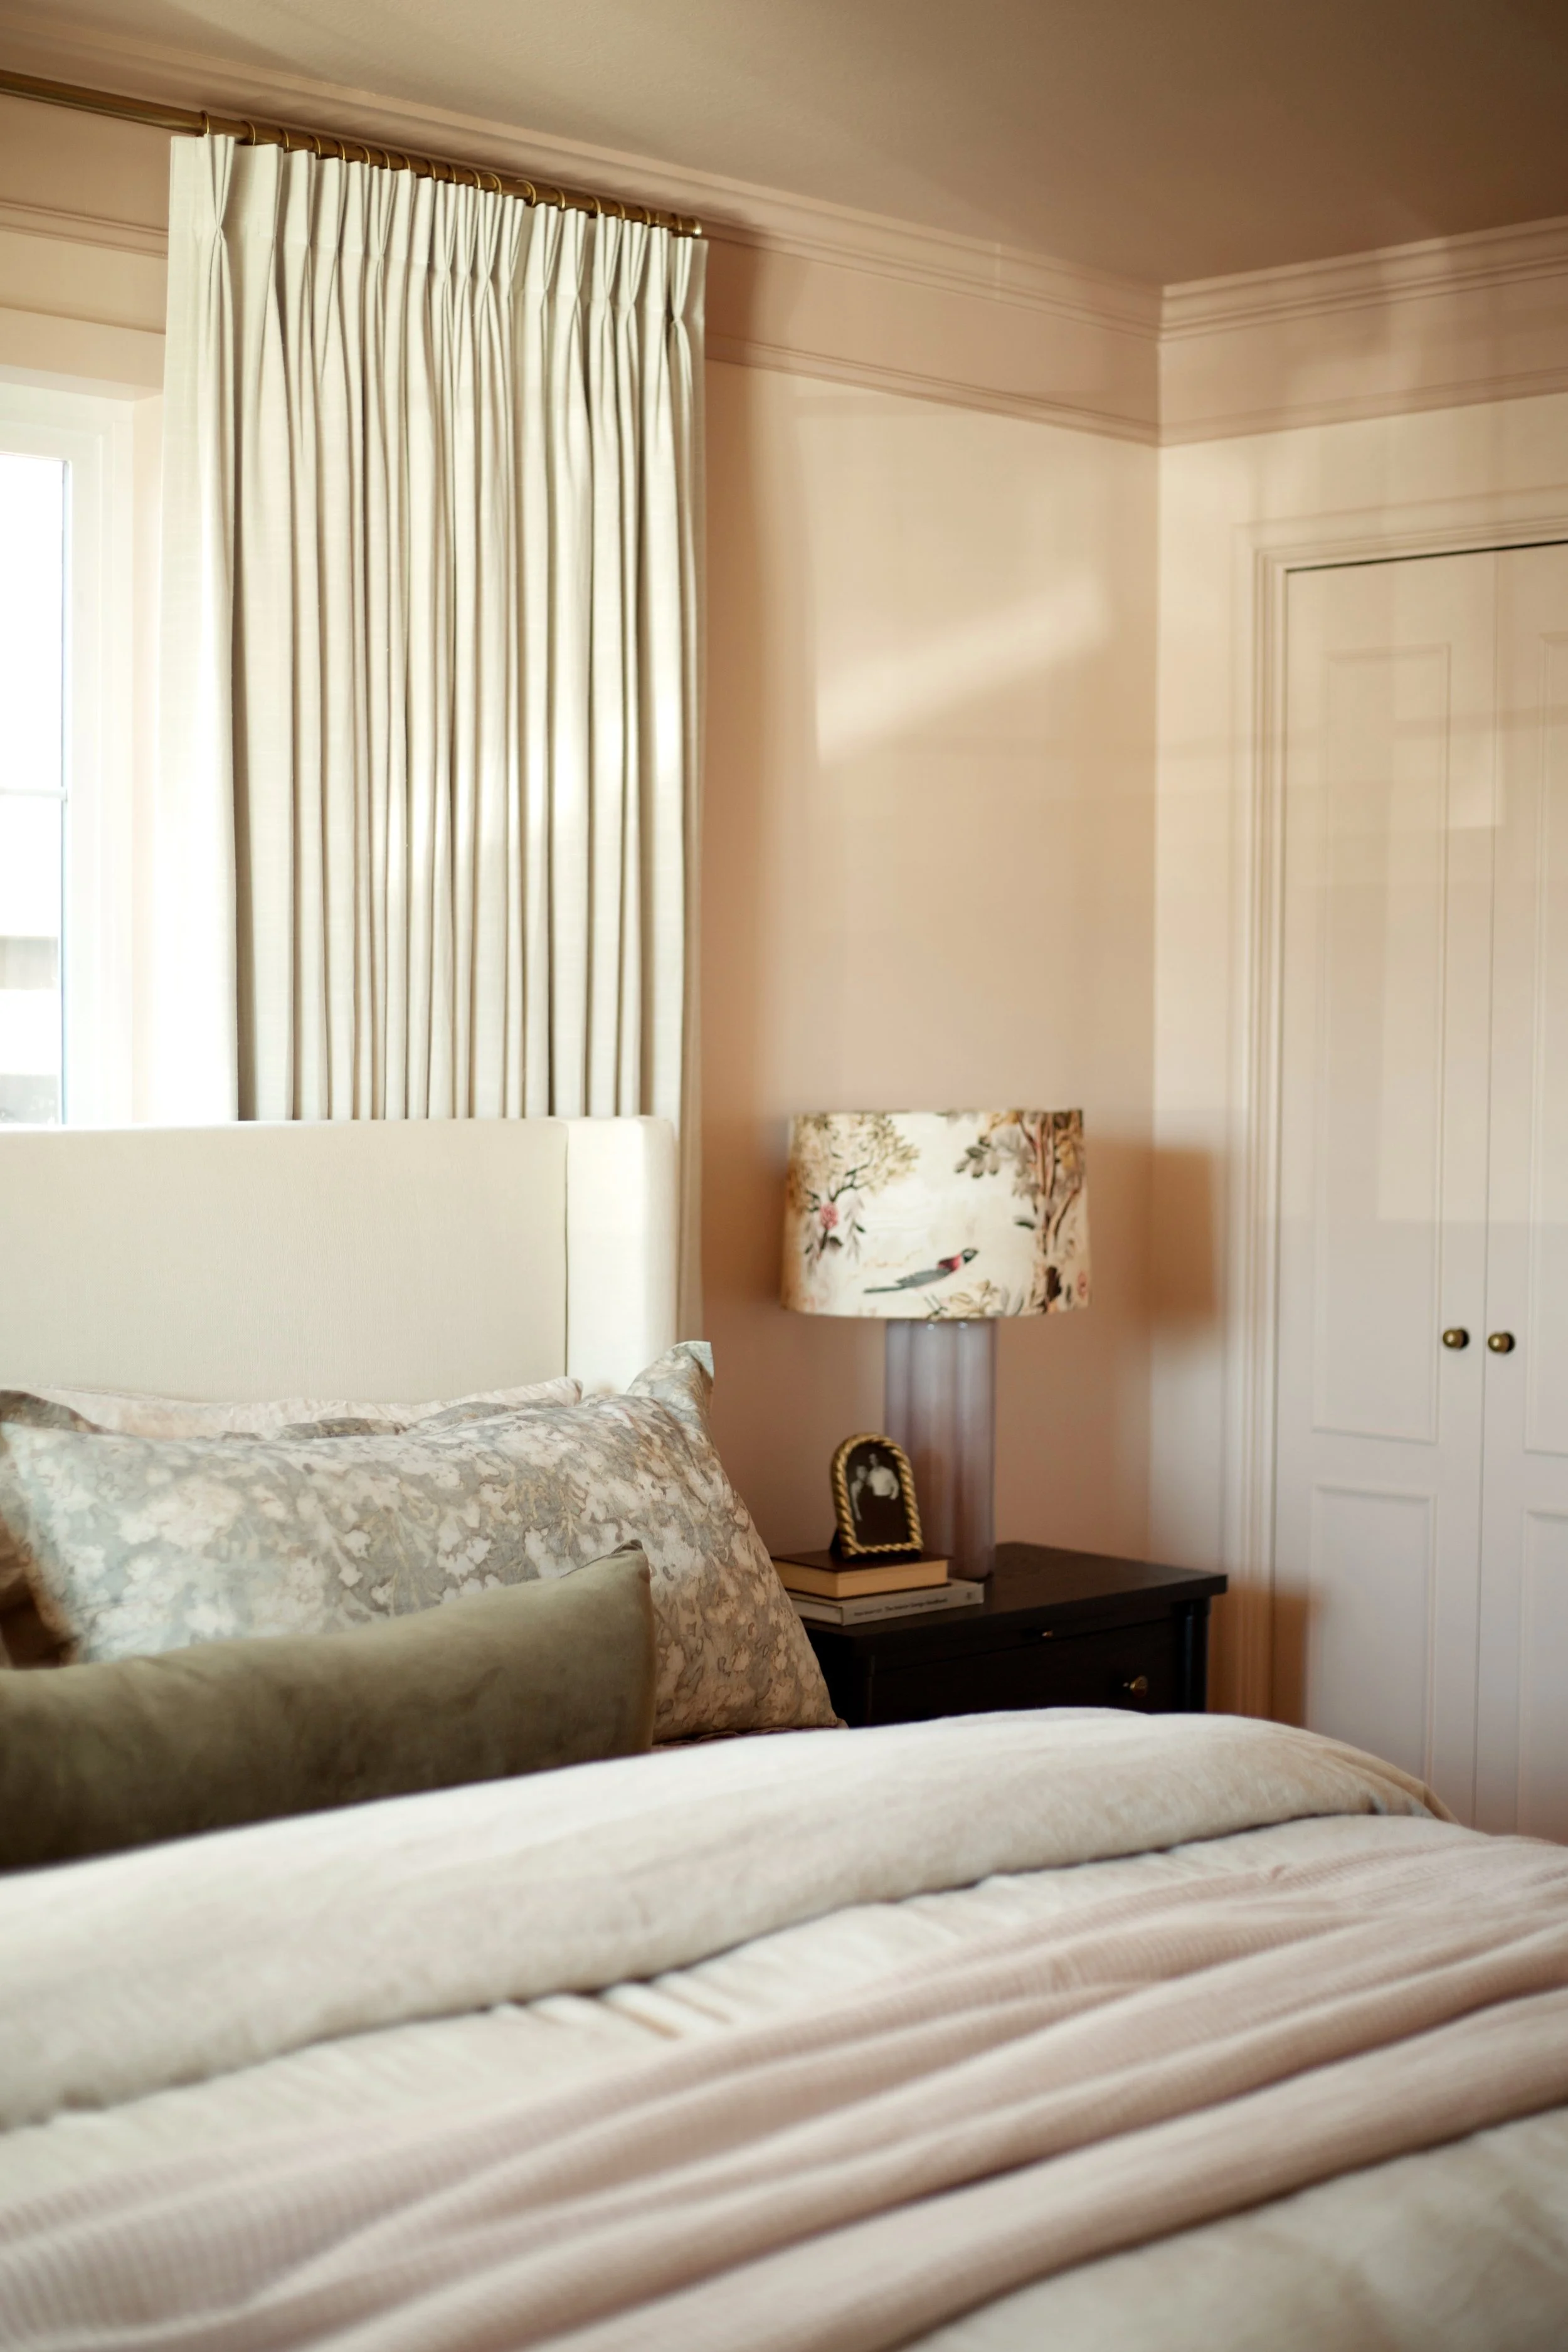
For this project we replaced our windows as well. That meant we needed to reframe our windows. We added the same trim as the other windows we replaced in our home. We also added closet doors by installing plain, bifold doors and added trim to the faces. Lastly, I added this trim five inches below the existing crown molding. This created the color cap look I wanted. The prep work probably doesn’t seem like much but let me tell ya, it made a world of a difference.

Paint
I tested quite a few paint samples. Of course, I went back and forth many times stressing about the perfect combination. After a week of trying to make a decision , I settled on two colors that compliment each other so well.
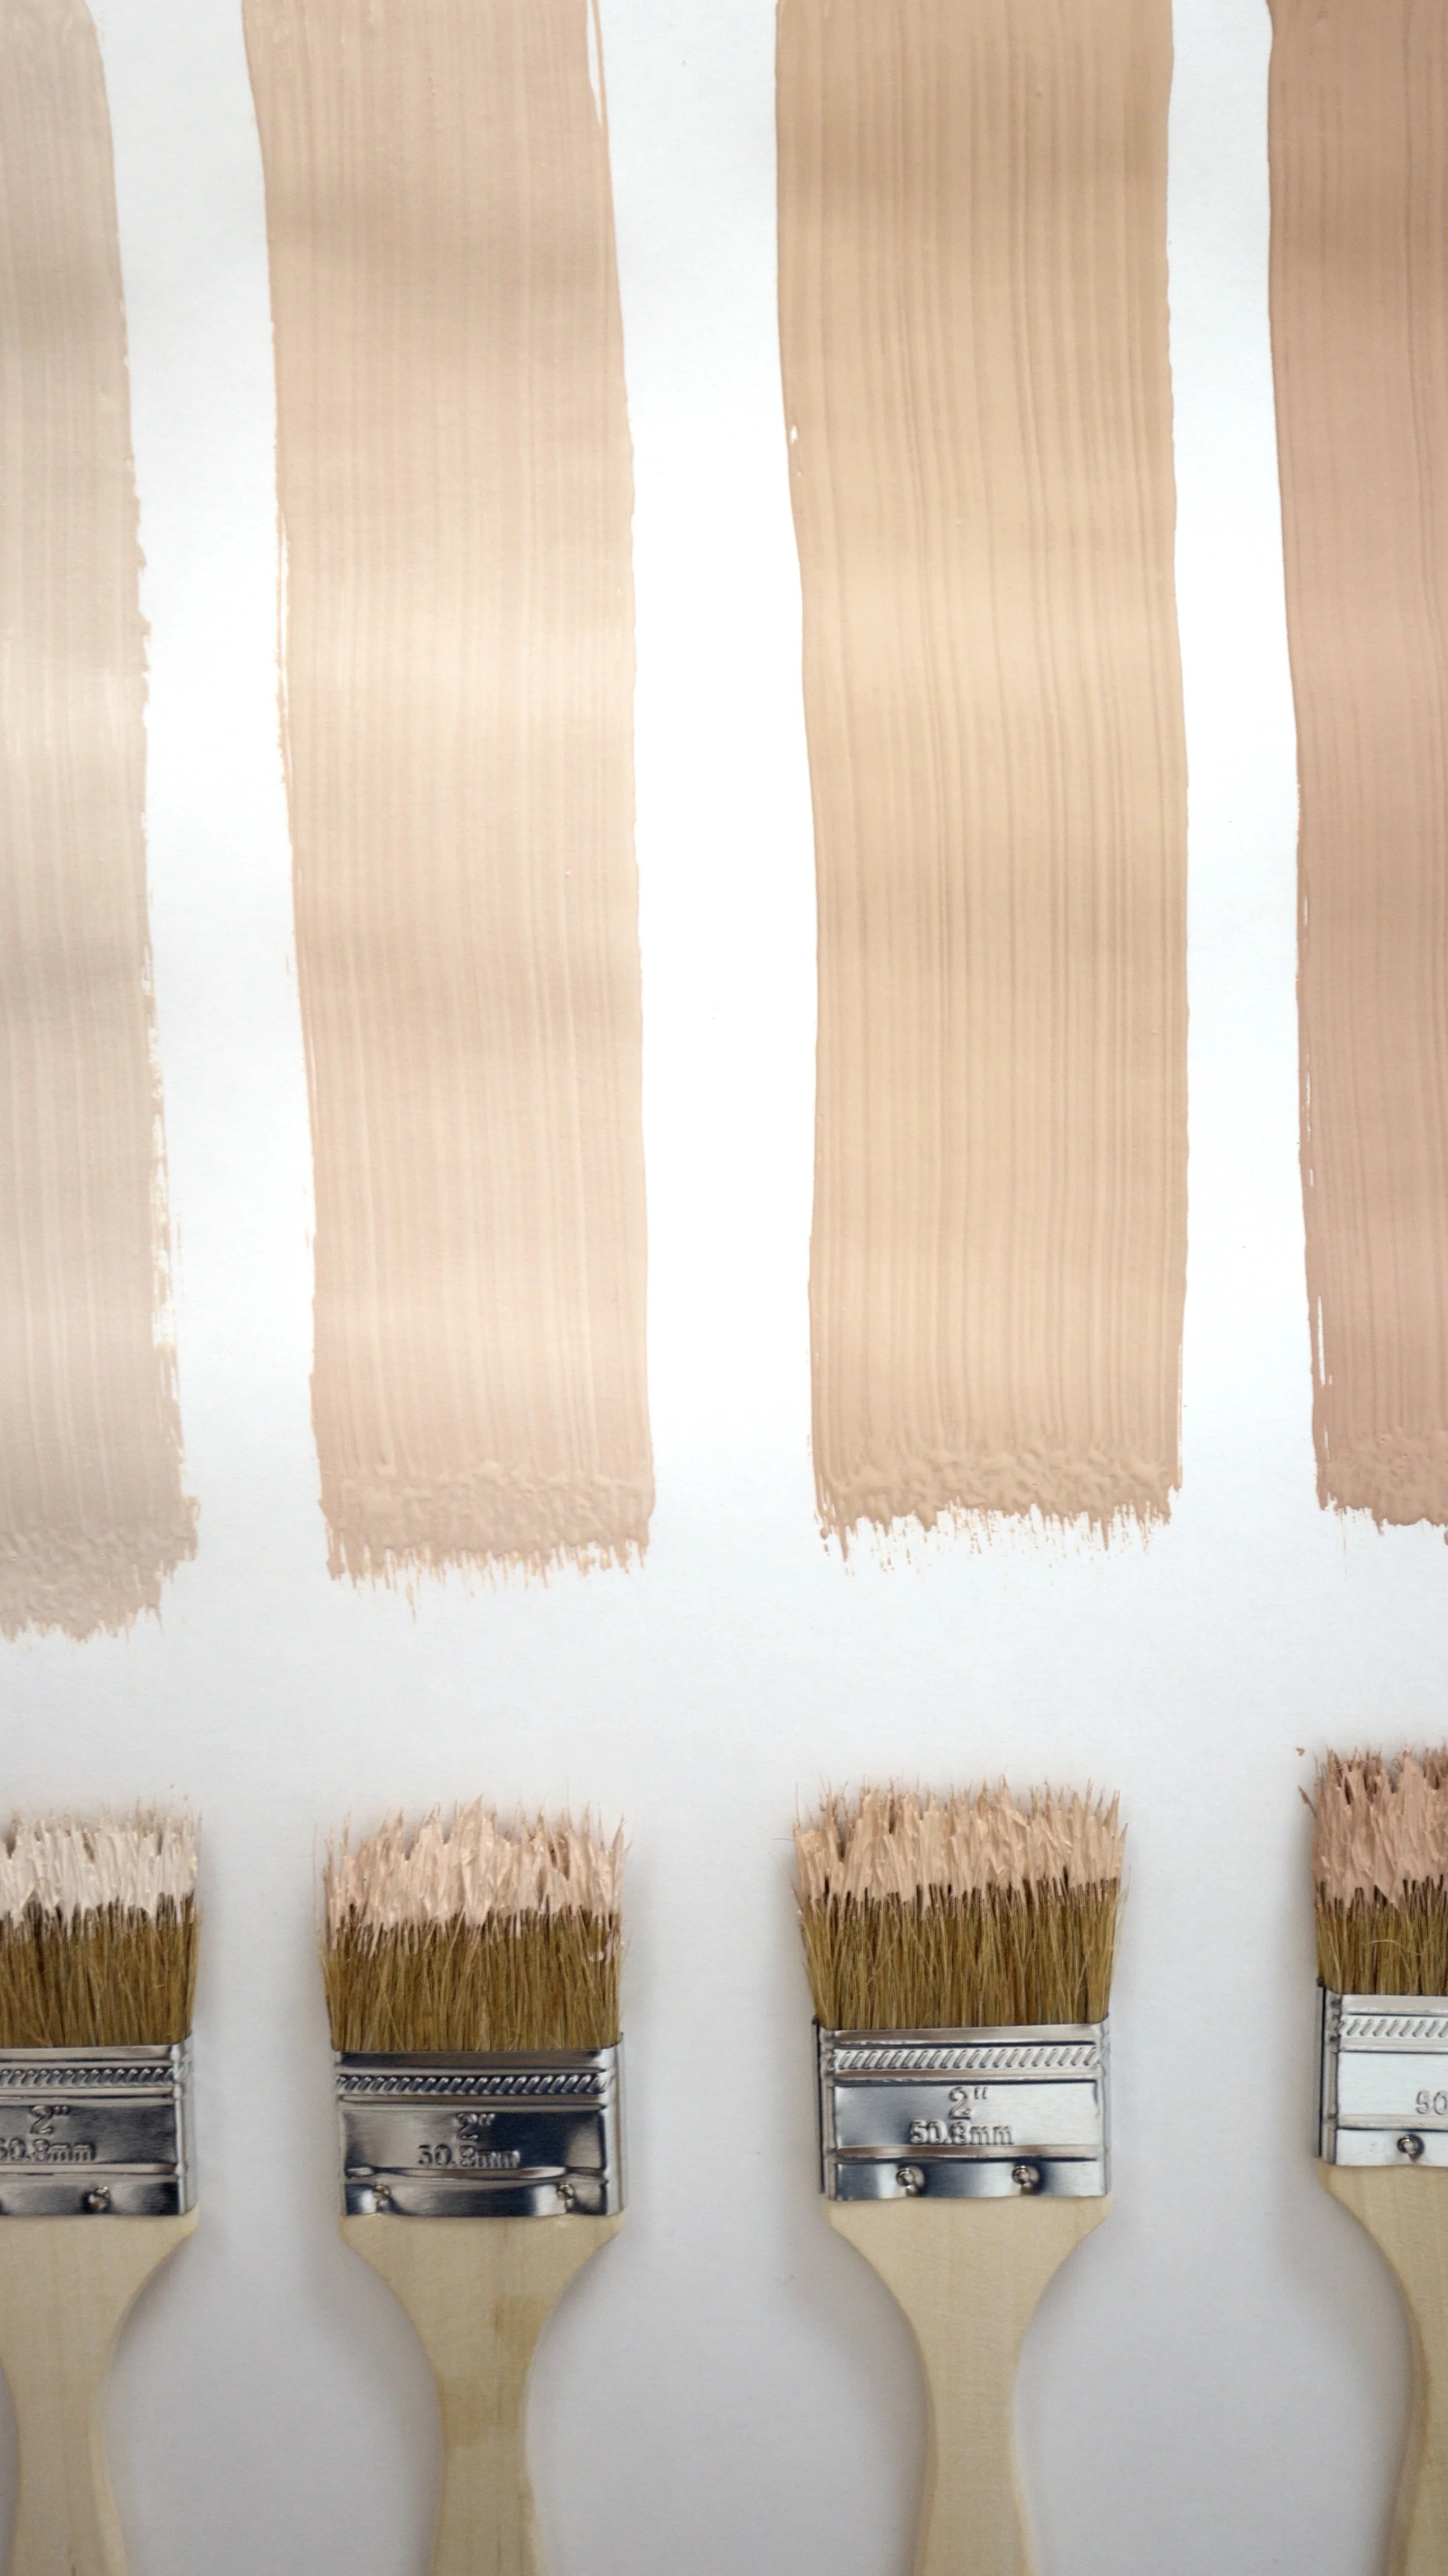
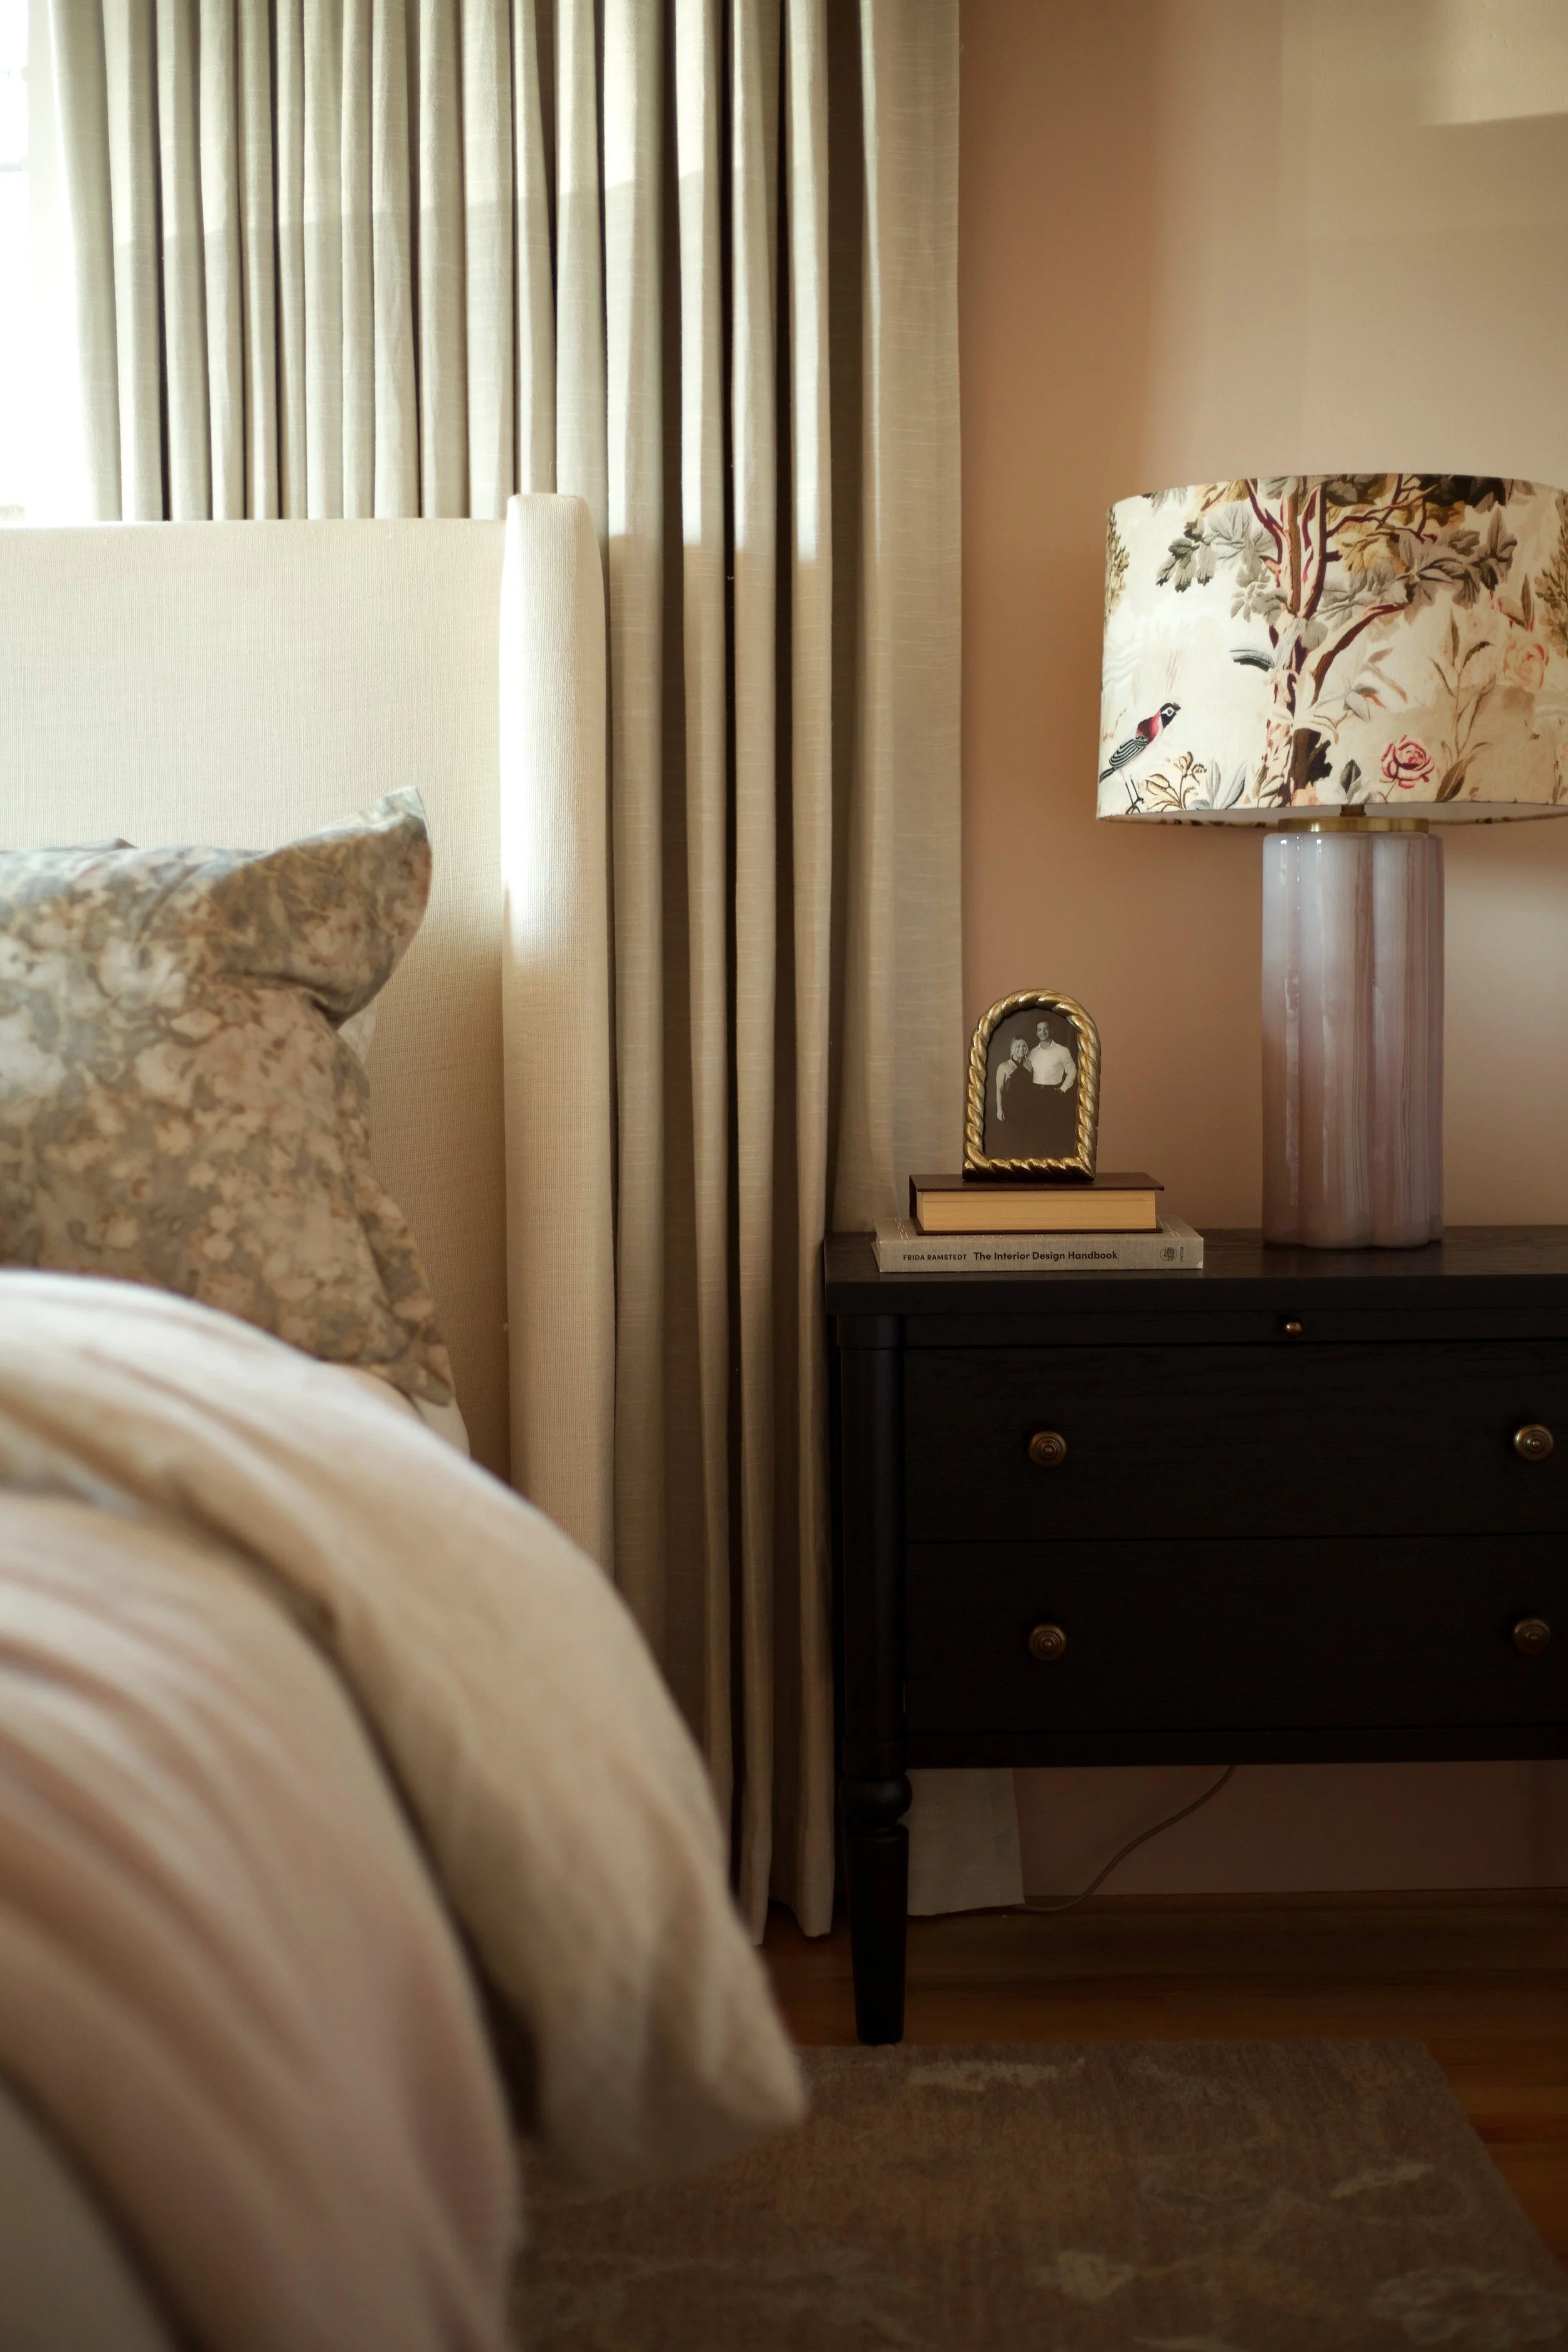
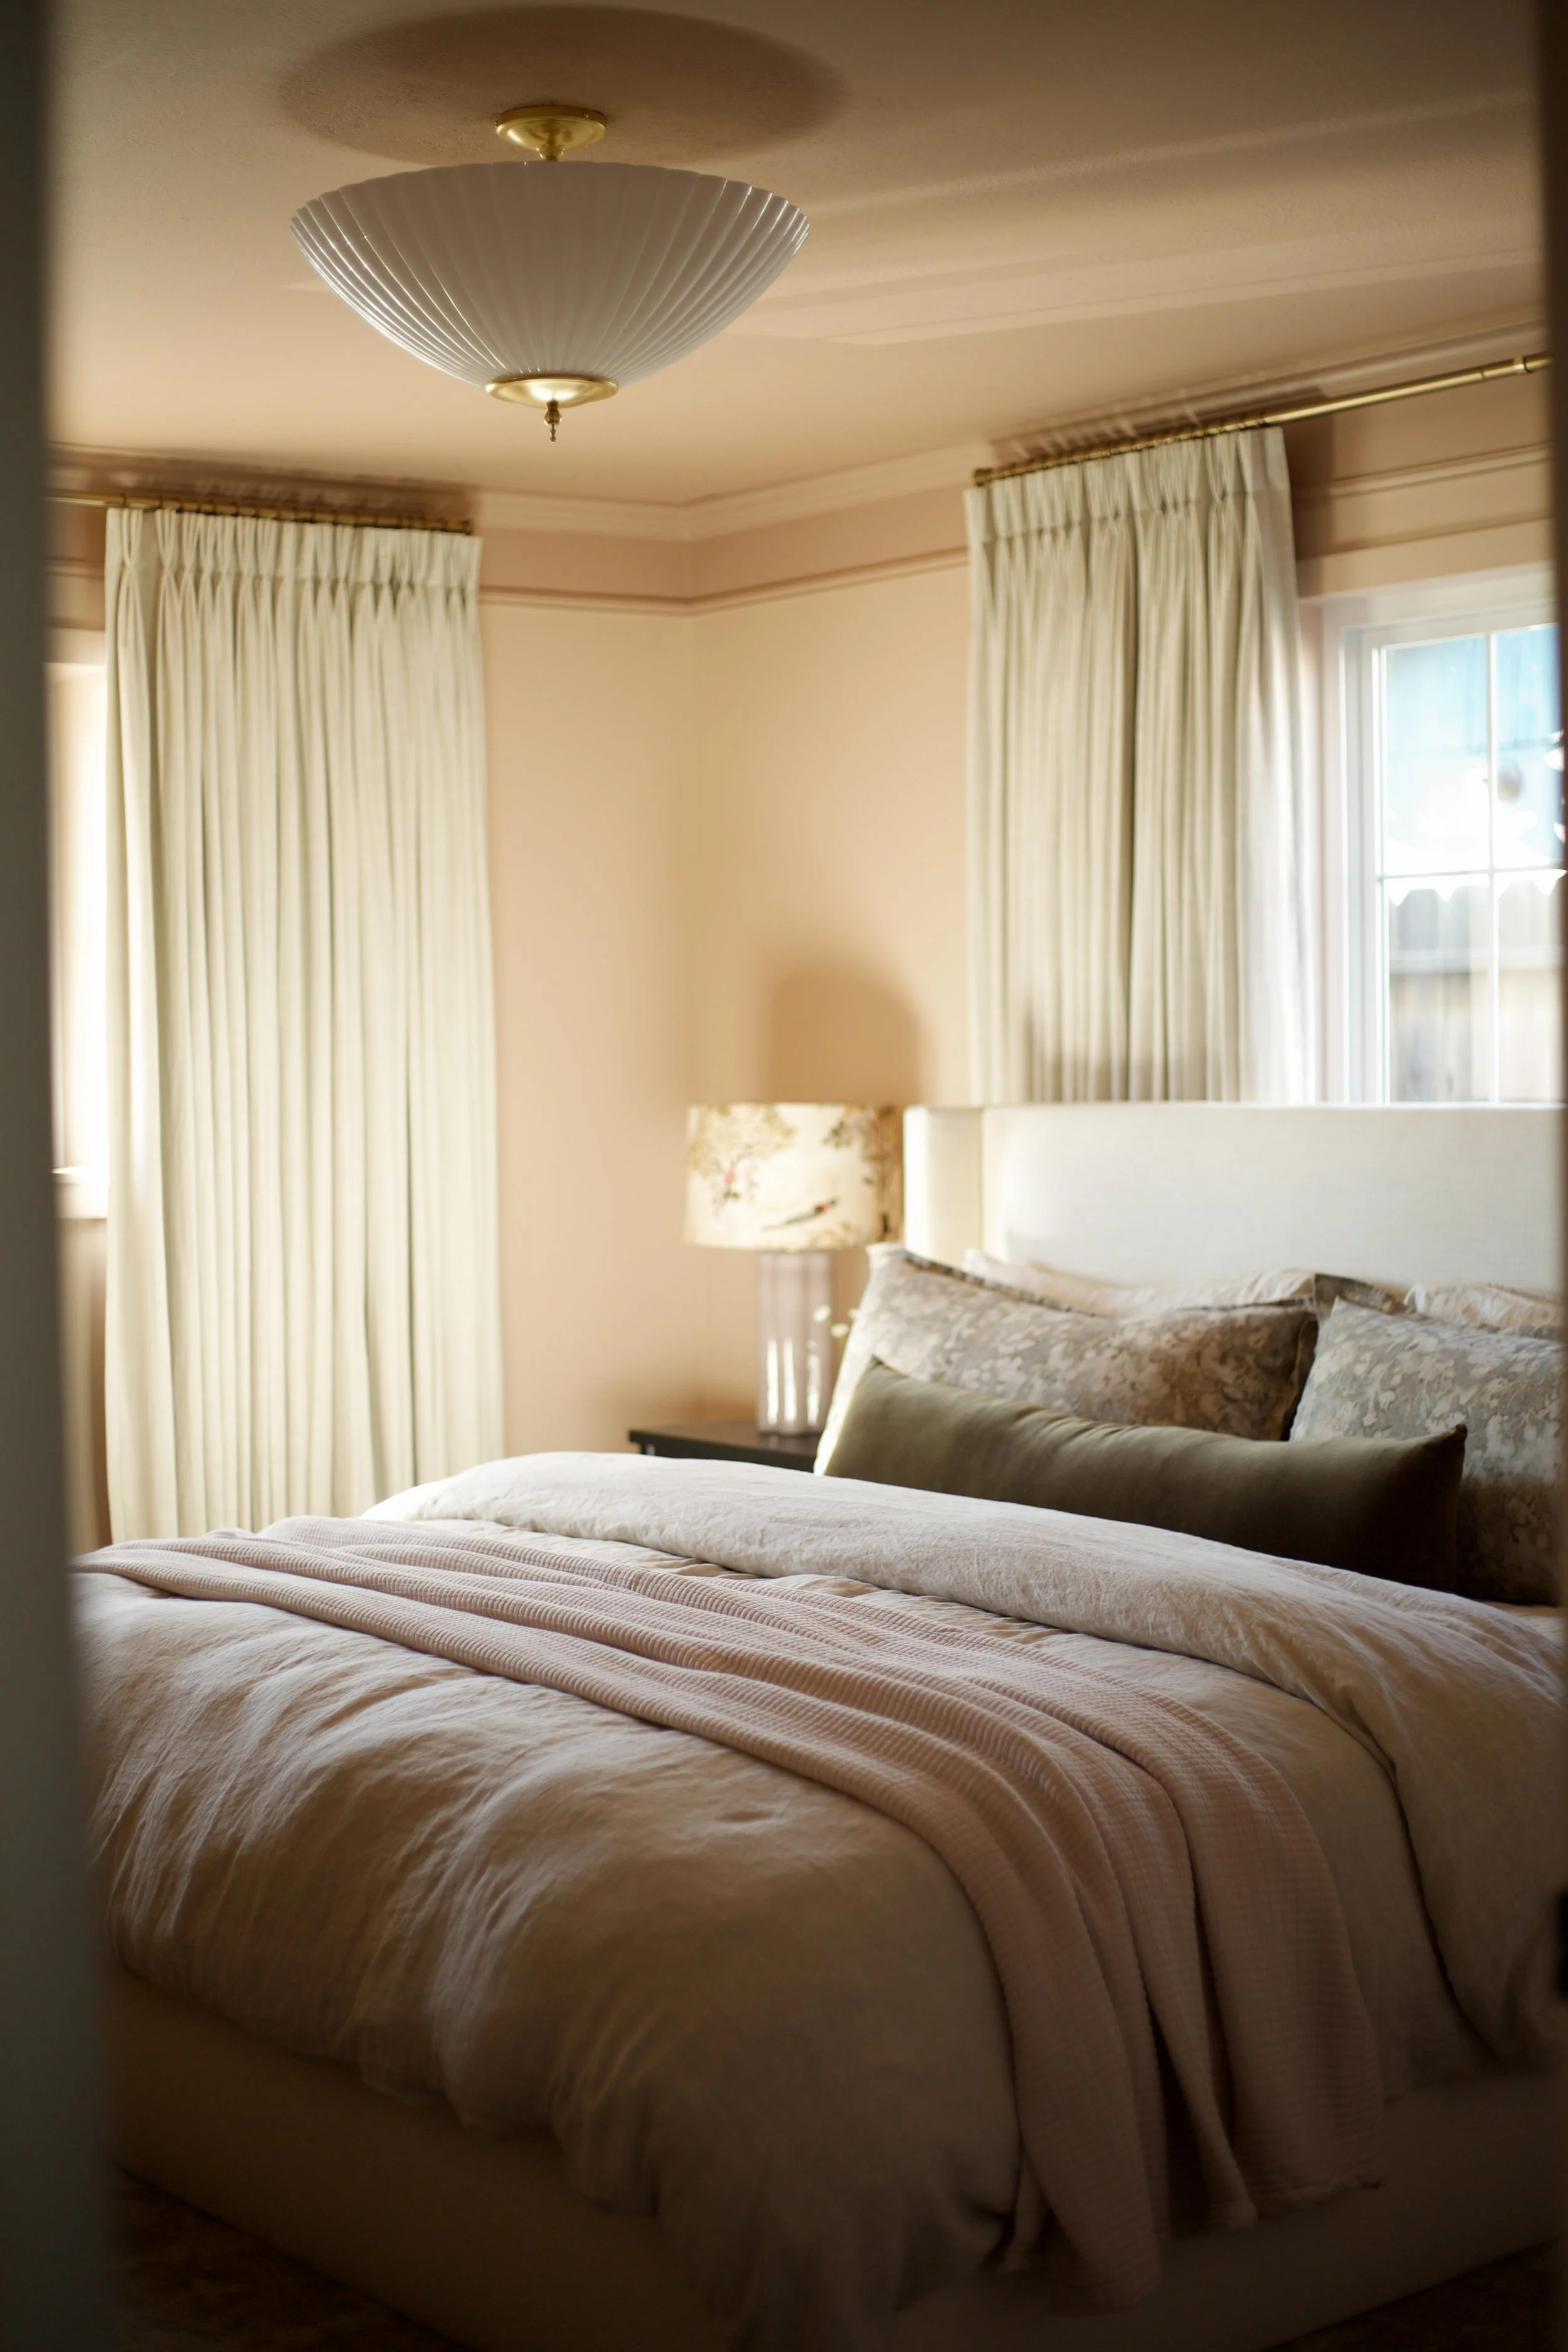
Walls: Setting Plaster by Farrow & Ball
Ceiling + Crown: Interface Tan by Sherwin Williams
Painting this room anything other than white made it feel dark. It felt a little unsettling soon after I was done. But then I quickly realized it was because of the dark, gloomy days we were experiencing this winter. It was probably a terrible time to paint a room a darker shade! Never again, haha. But when the dark days disappeared and the sun came out, I was very happy with the decision I made! I am obsessed.
Final Touches
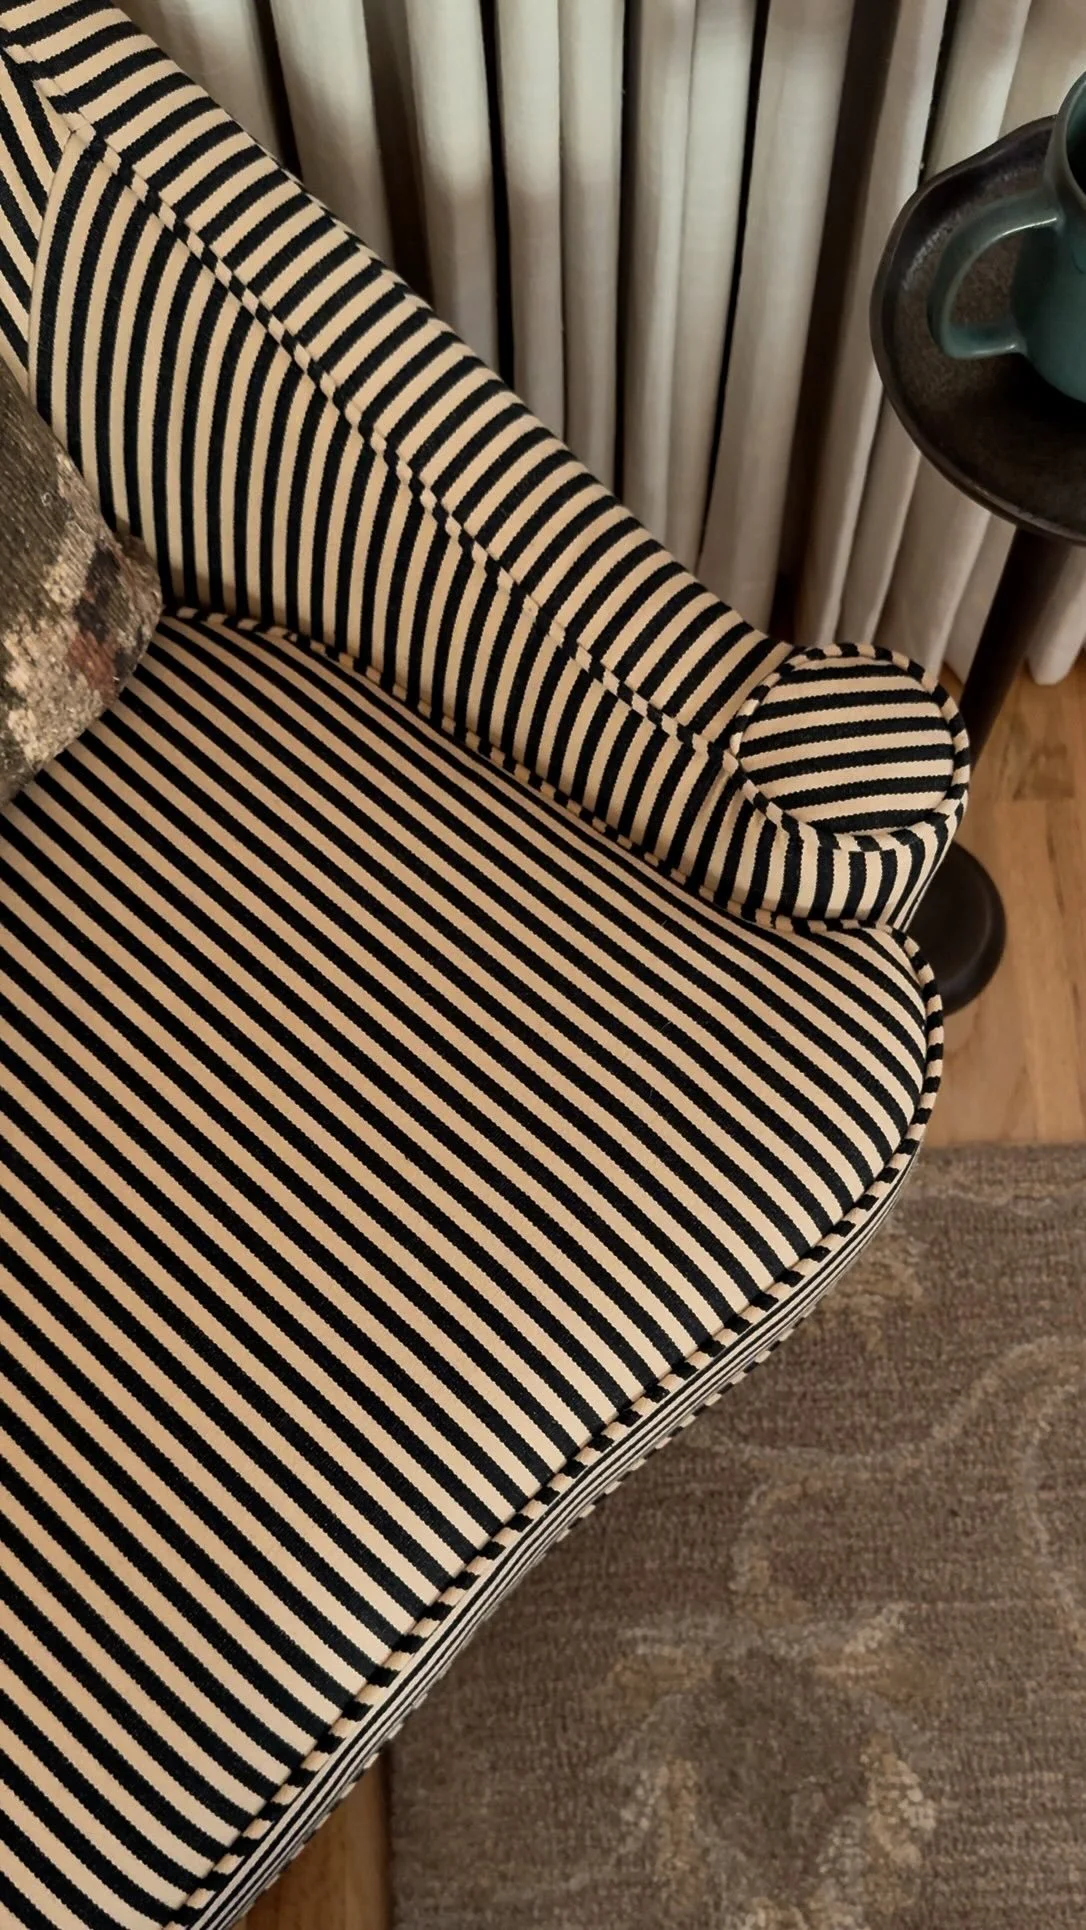
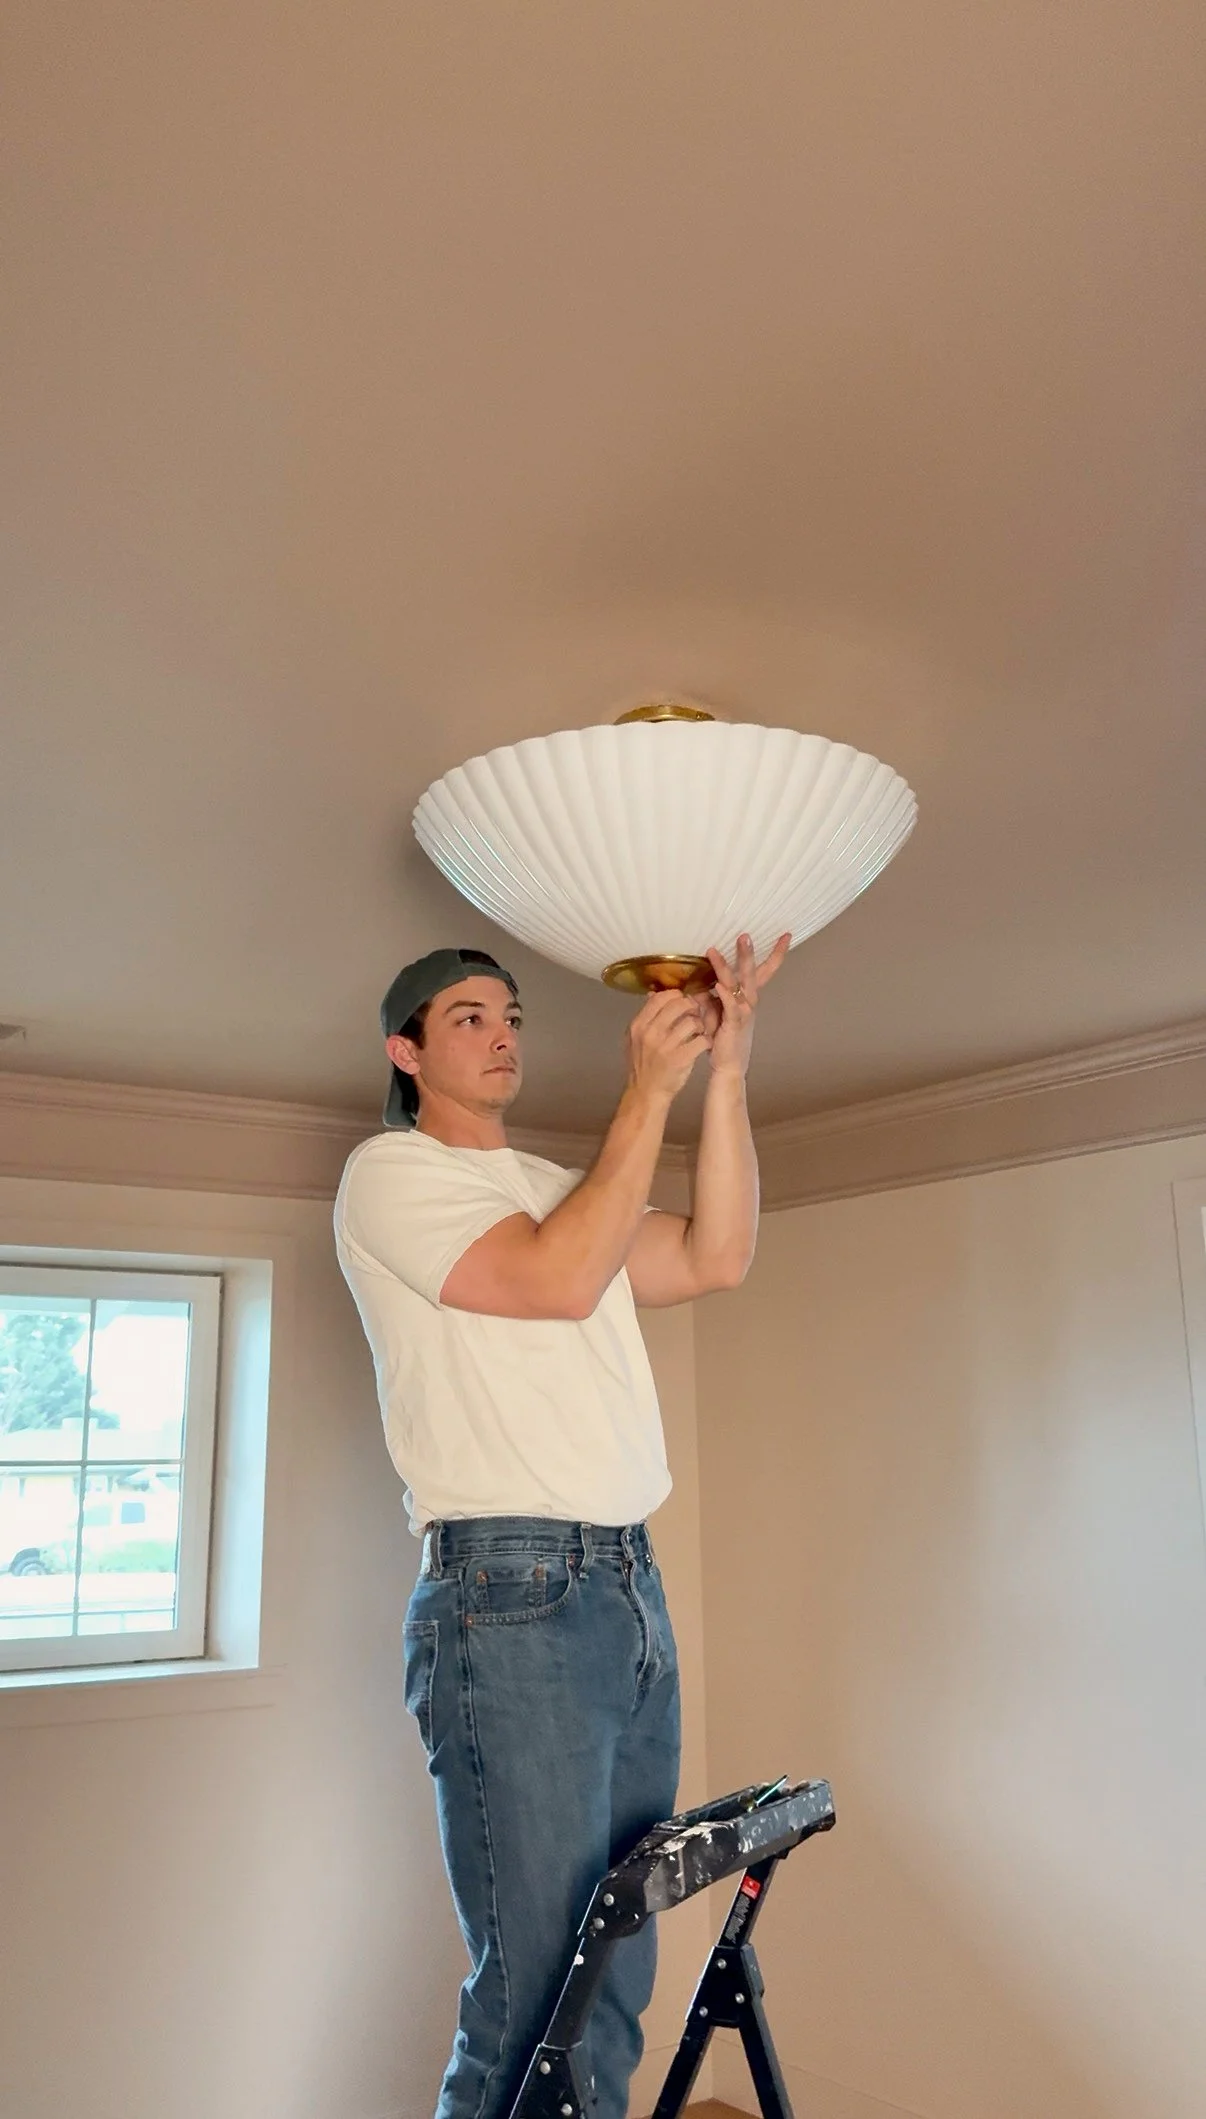
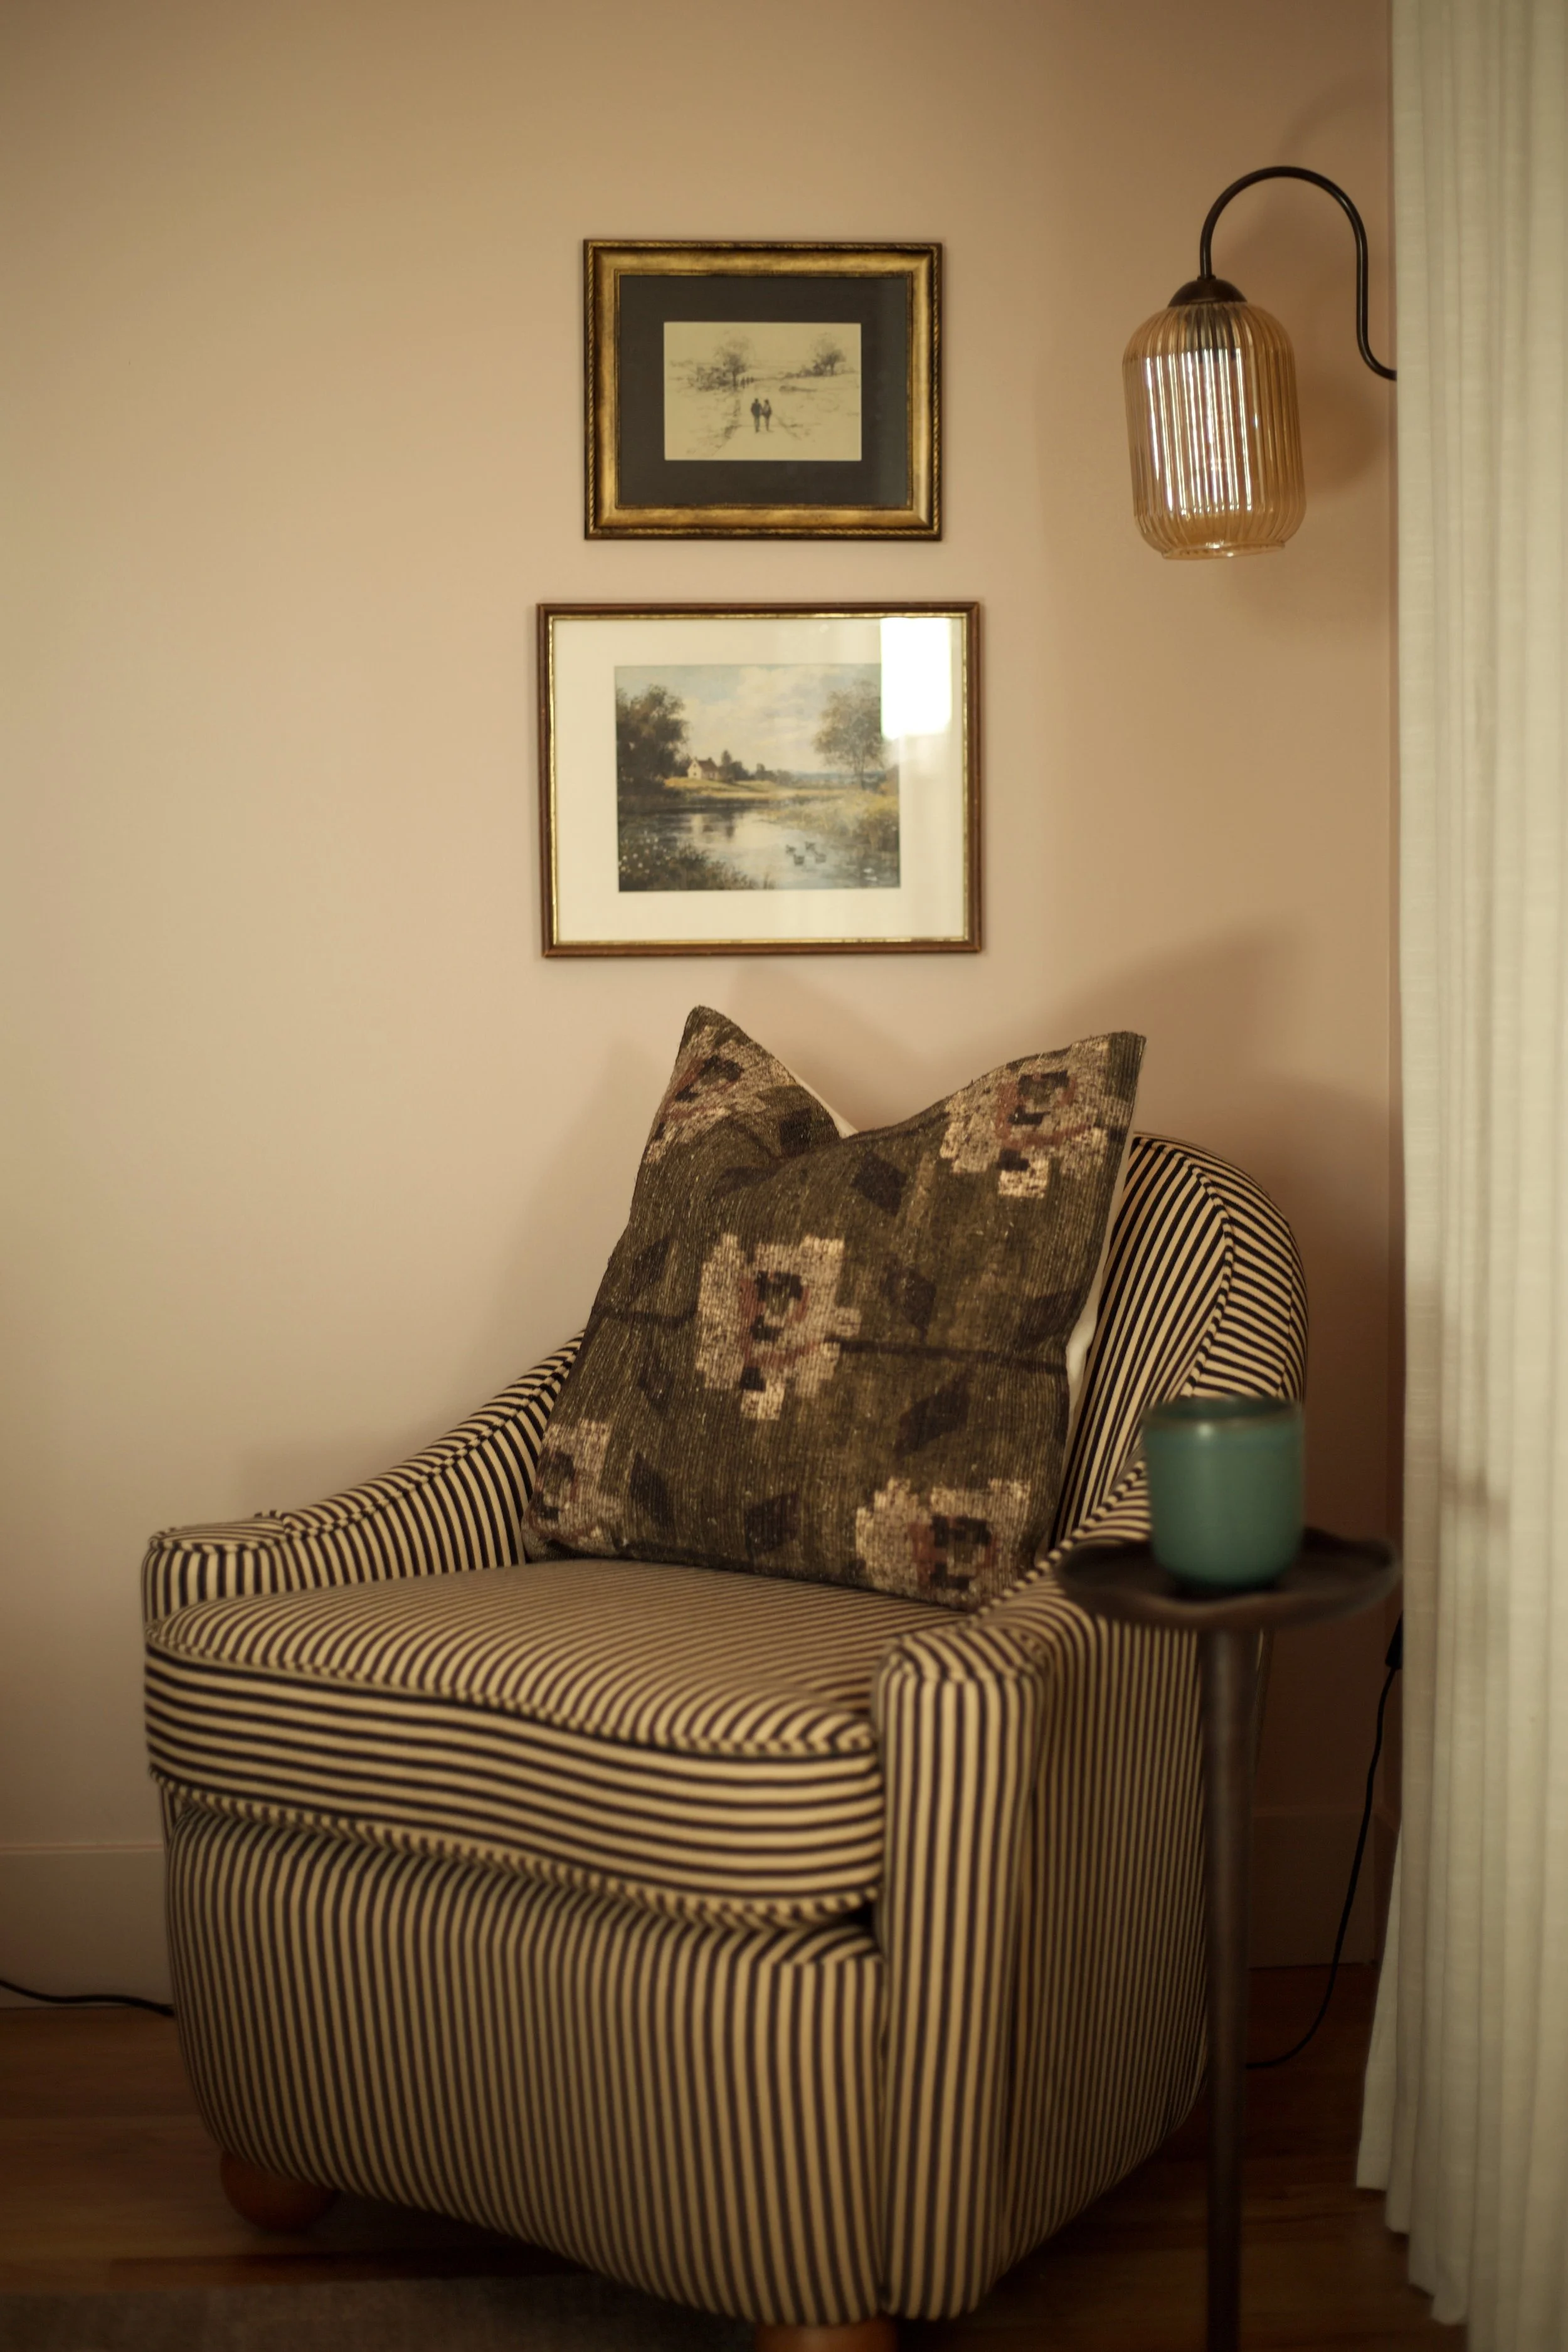
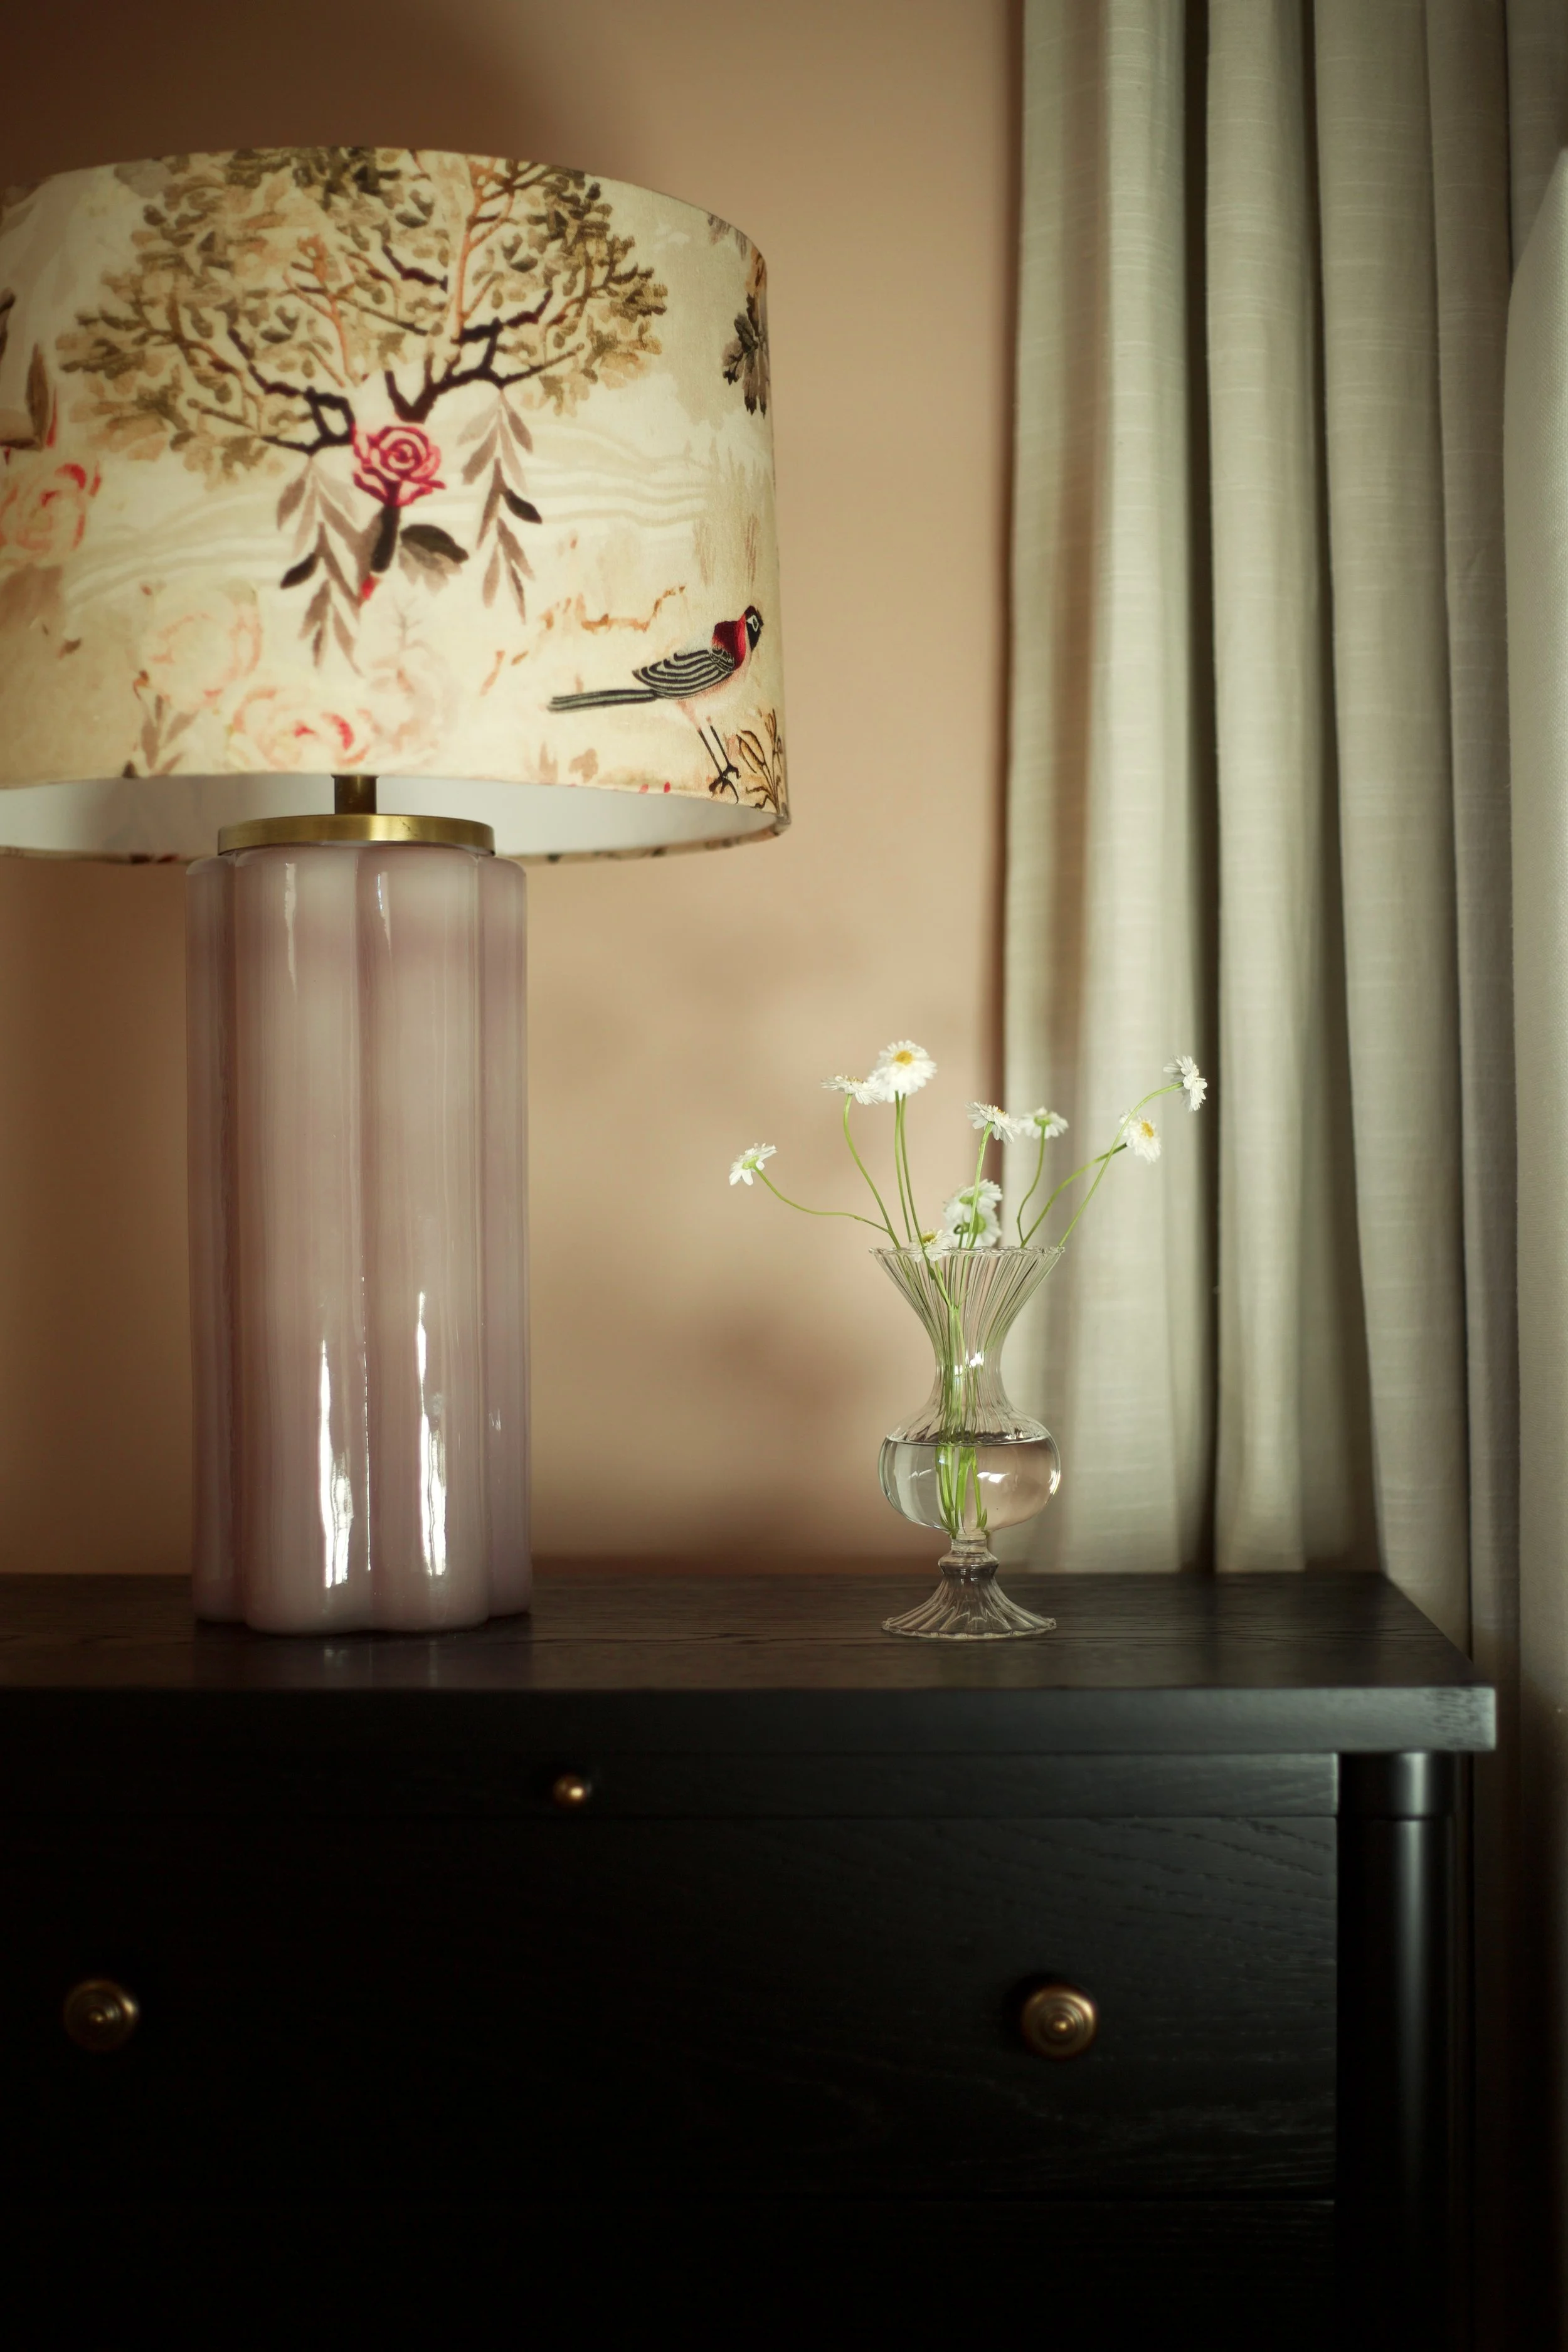
My favorite part to any project: decorating. You can really express yourself through thoughtful pieces, whether they’re thrifted or bought from a store. I mixed old & new for this room. I can’t even decide on a favorite piece because I love every part of the room. But if I had to, I’d choose the flush mount light, the striped accent chair, the dresser, and the braided mirror.
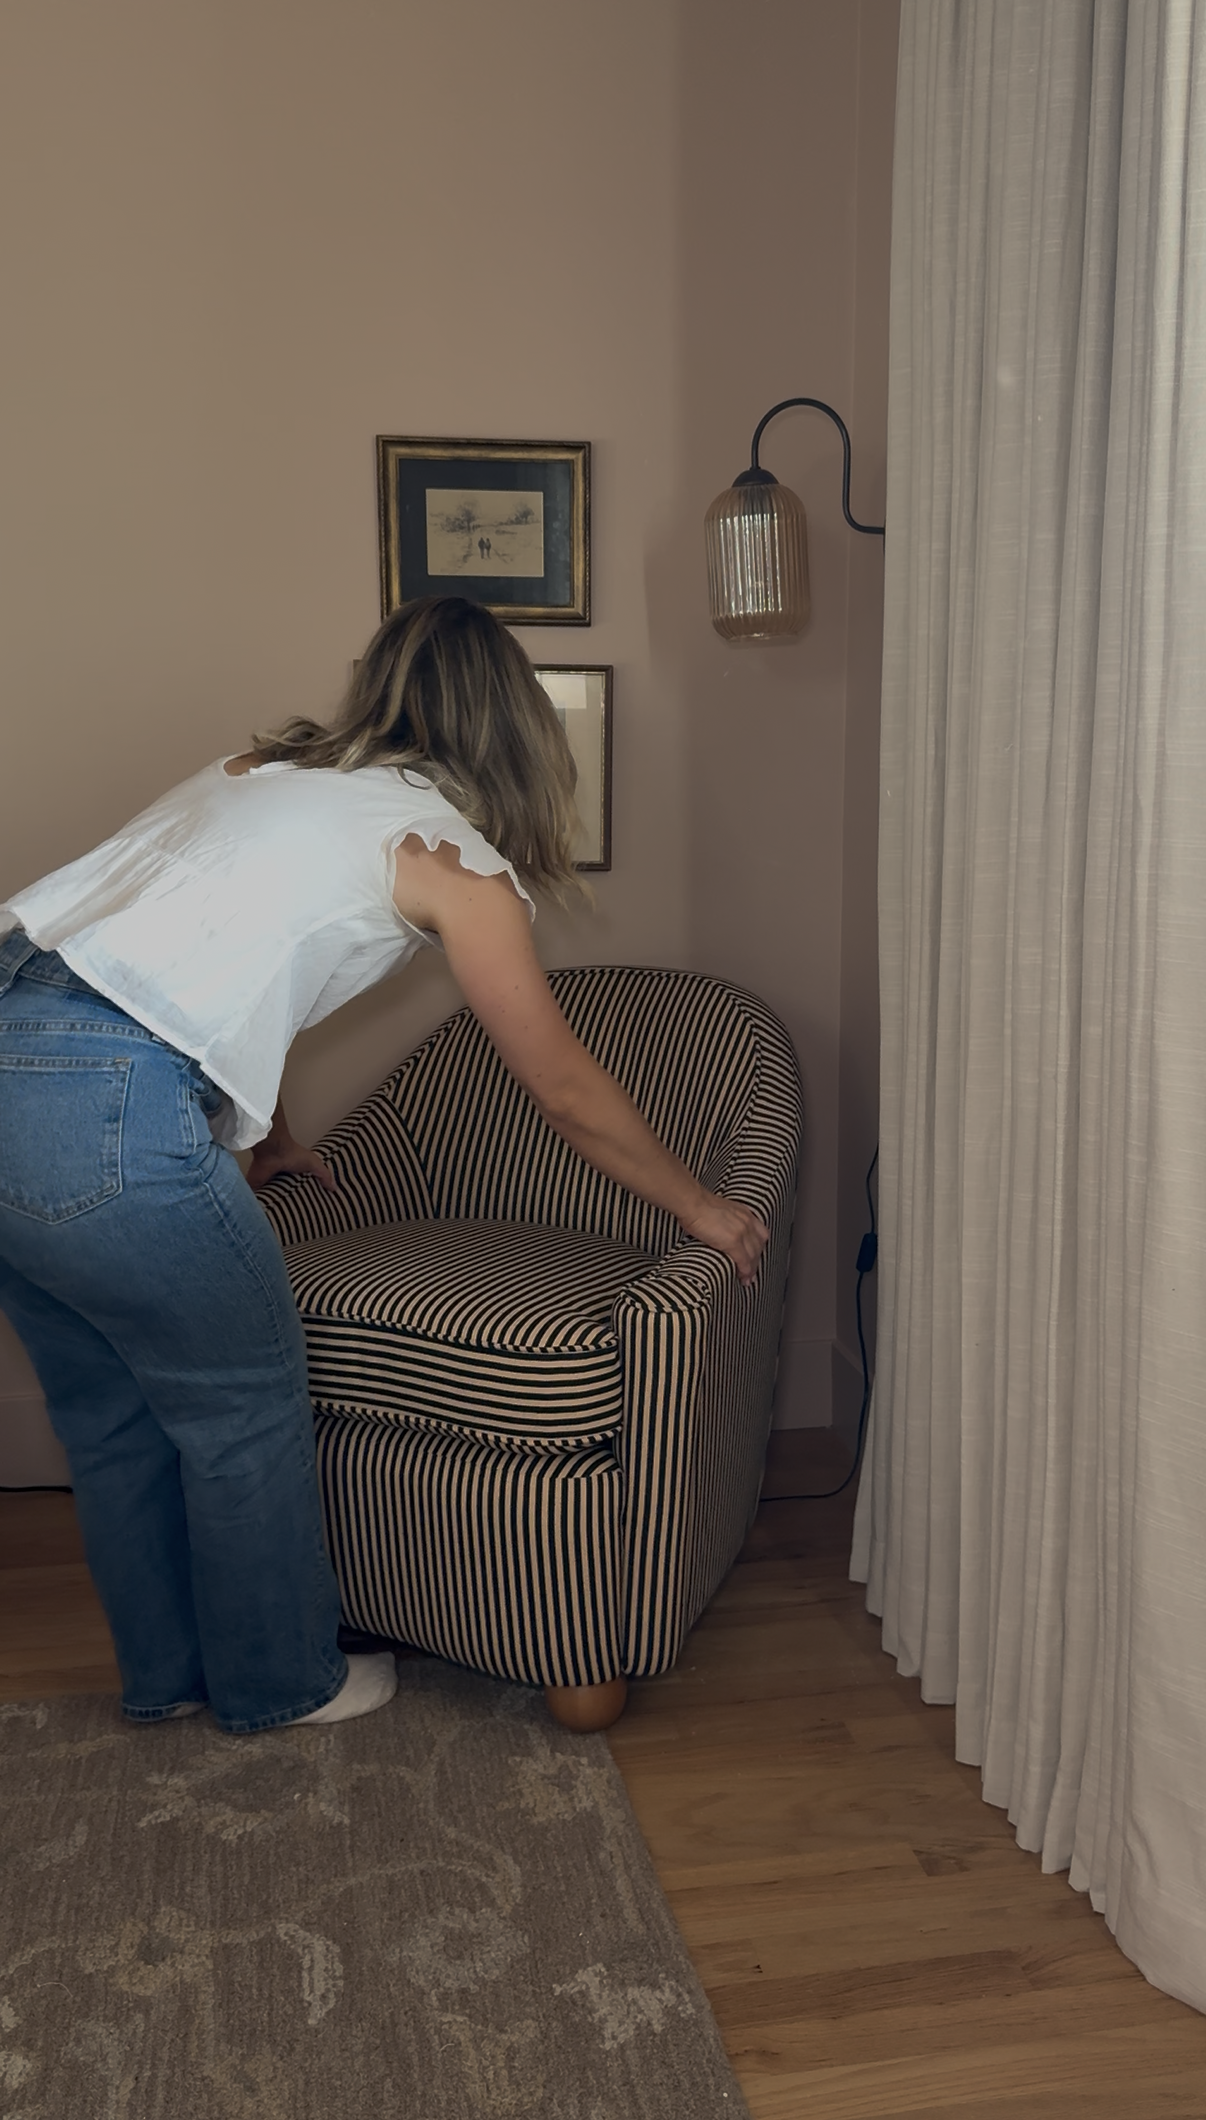
I think this room came together so beautifully and gets me excited for future design projects!


Sources
Curtains (Jawara- Ivory Beige)
Follow @meetthemosers on Instagram for more inspiration!