How We Built a Desk with No Furniture Making Experience
We’ve DIYed many projects in our home but never built a complex piece of furniture. Desks similar in style were upward of $2k but we didn’t want to spend that kind of money. We challenged ourselves again and took on the task of building a desk with advanced joinery. Was it hard? Not per say, but it did take a lot of patience and time. I’ll do my best to explain the entire process of building a desk like ours and review how it’s holding up to this day. My goal is to be completely transparent and encourage the next DIYer to build a desk too.
Building the Desk
Step 1 - Planning
The first step of a successful DIY project is planning. I originally saw this desk style from but it was way out of our budget for this space.

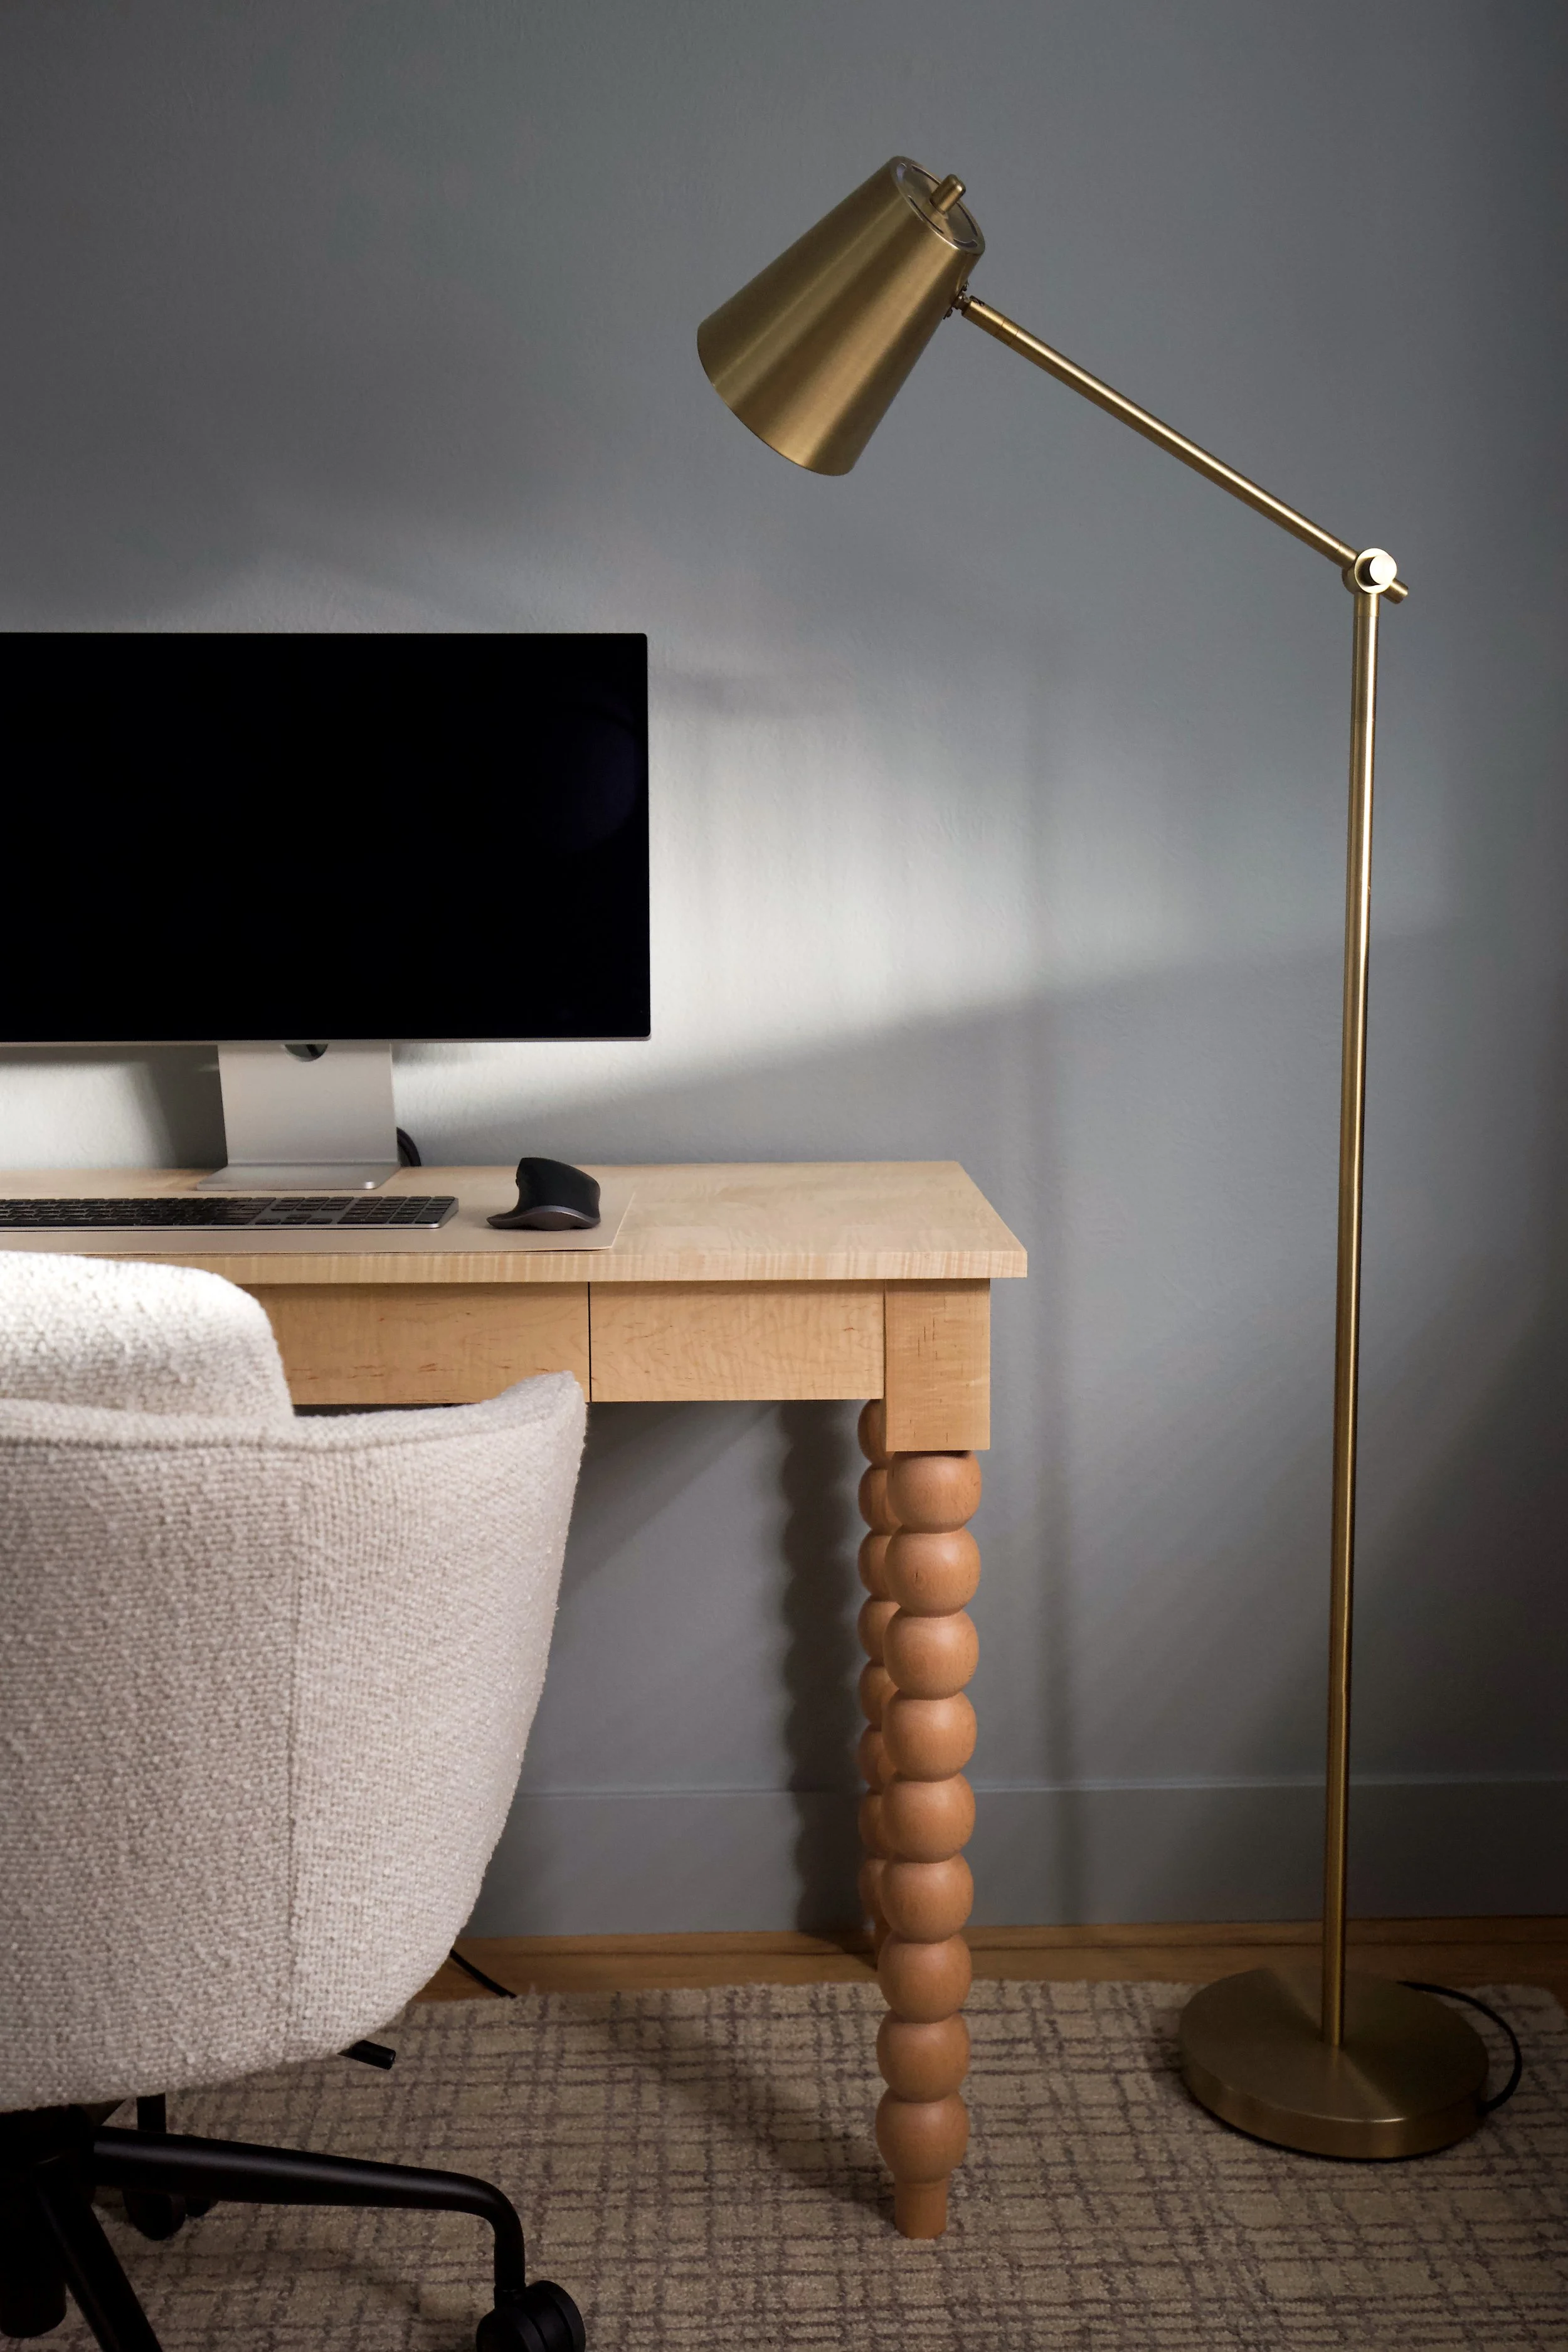
So instead of impulsively dropping a mortgage payment on a piece of office furniture, I decided we would build it. I sourced a set of turned, bobbin style legs from Etsy and we decided on Maple for the top and apron. We ordered the other tools and materials we needed including a doweling jig, threaded inserts and hanger bolts.
Step 2 - Building the Desk Top
After planning and sourcing materials it was time to get to work on the desk top. Travis started by selecting the board layout for the top and cutting the boards to length.
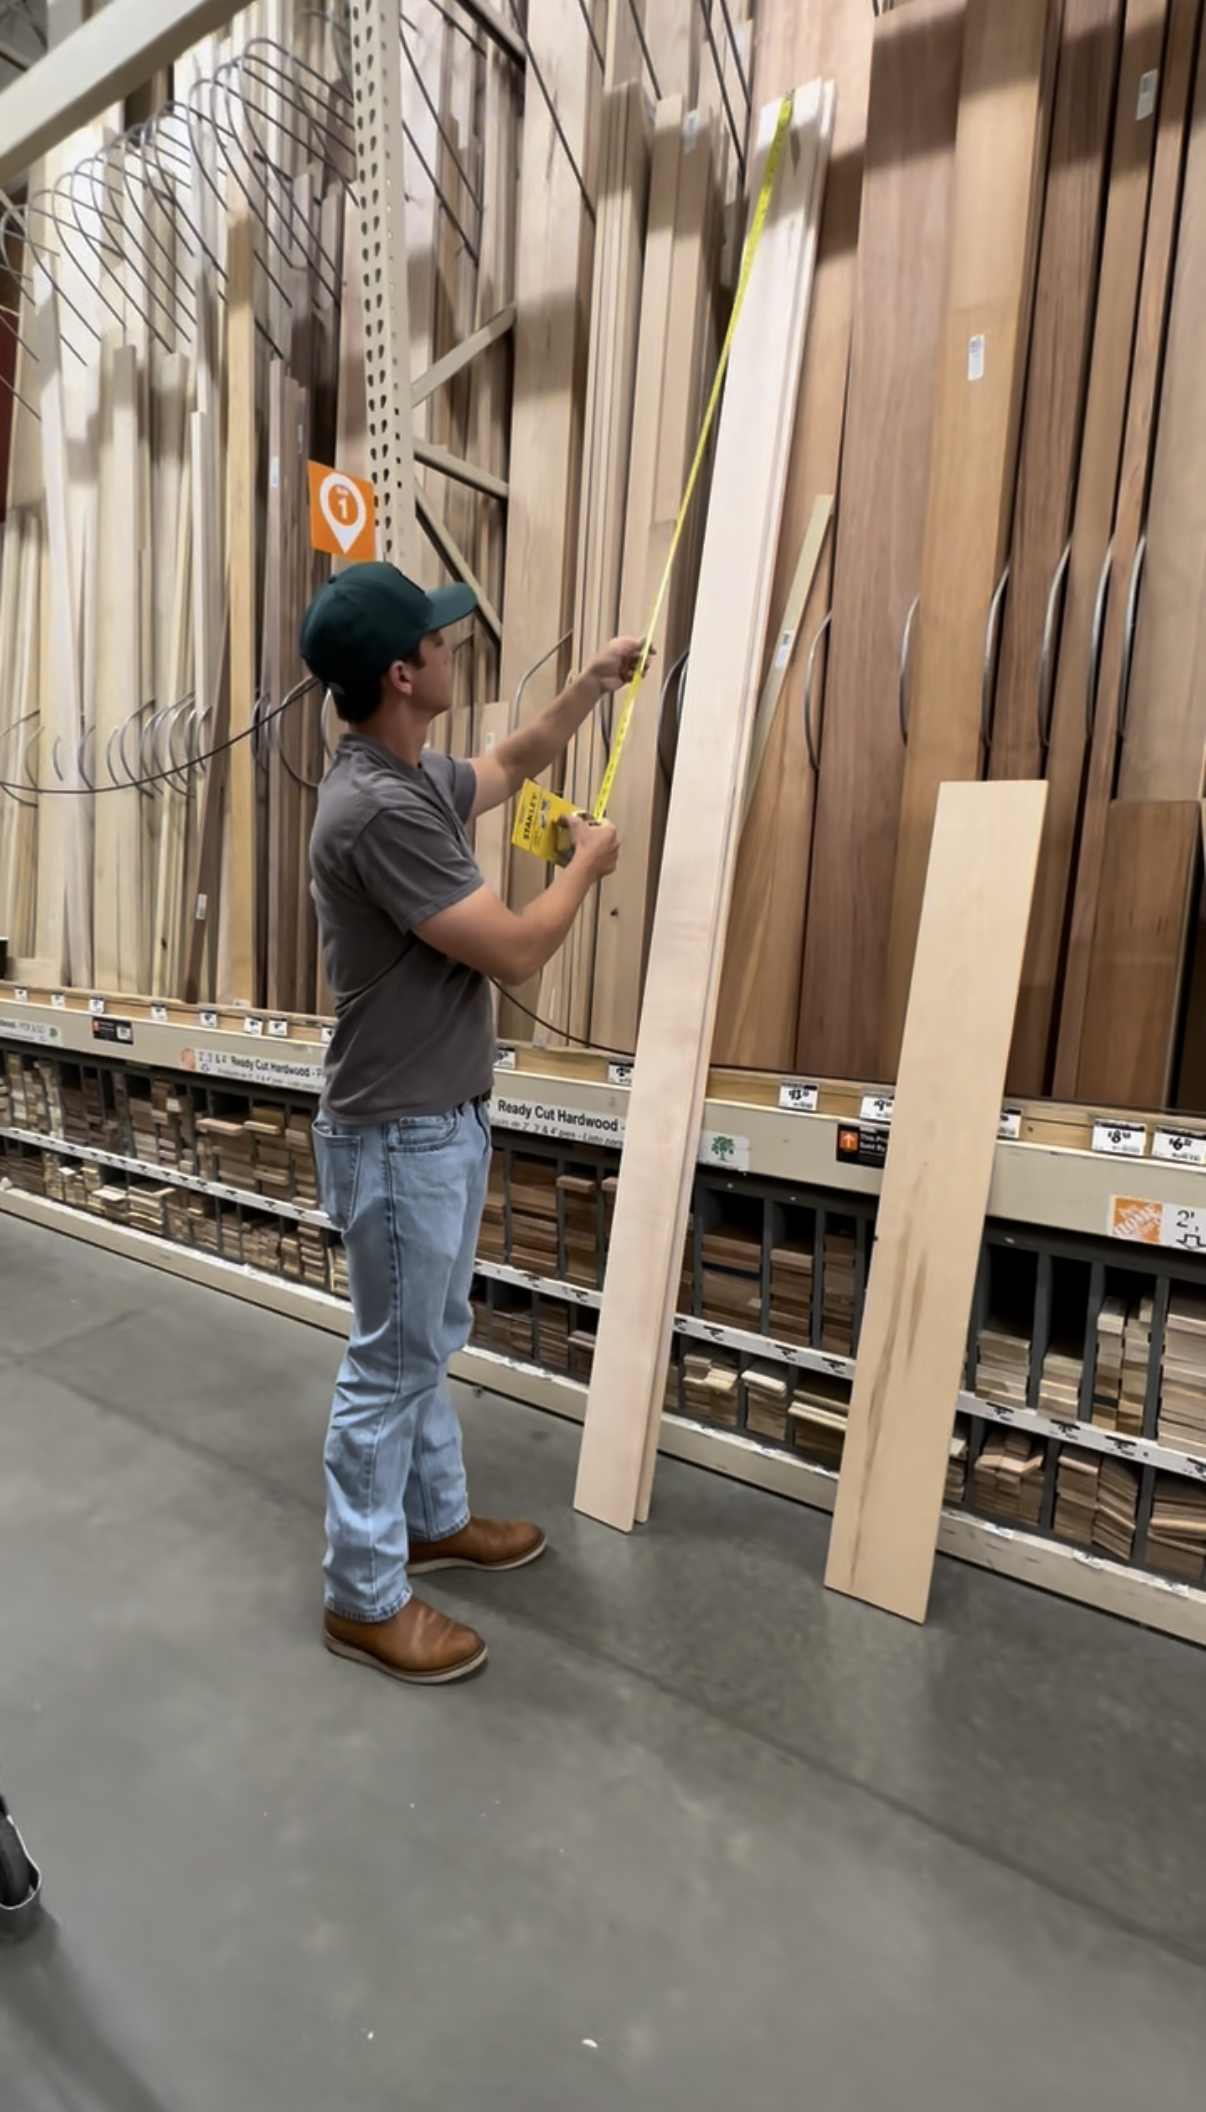
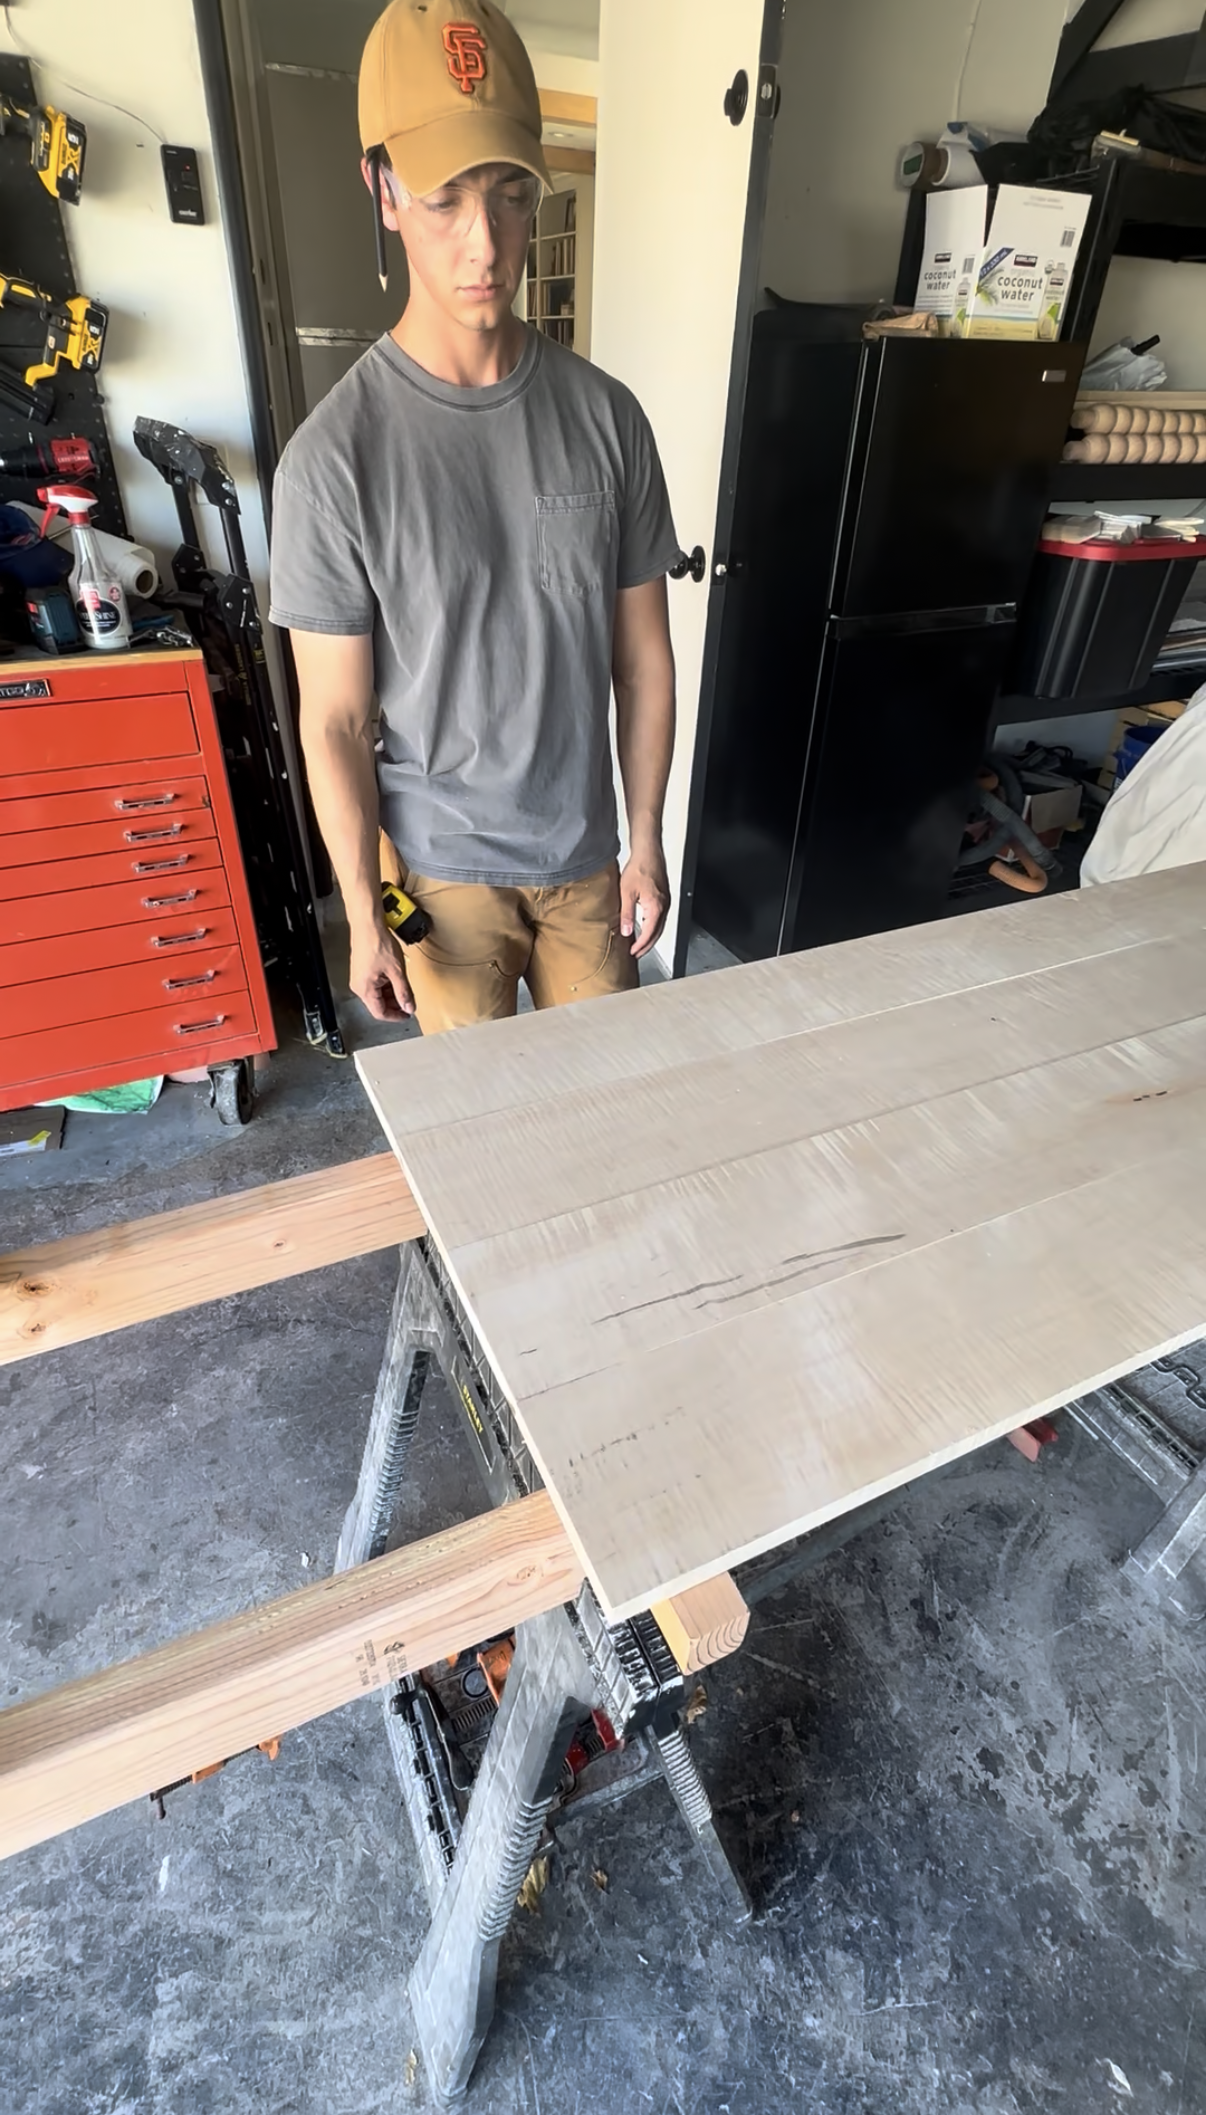
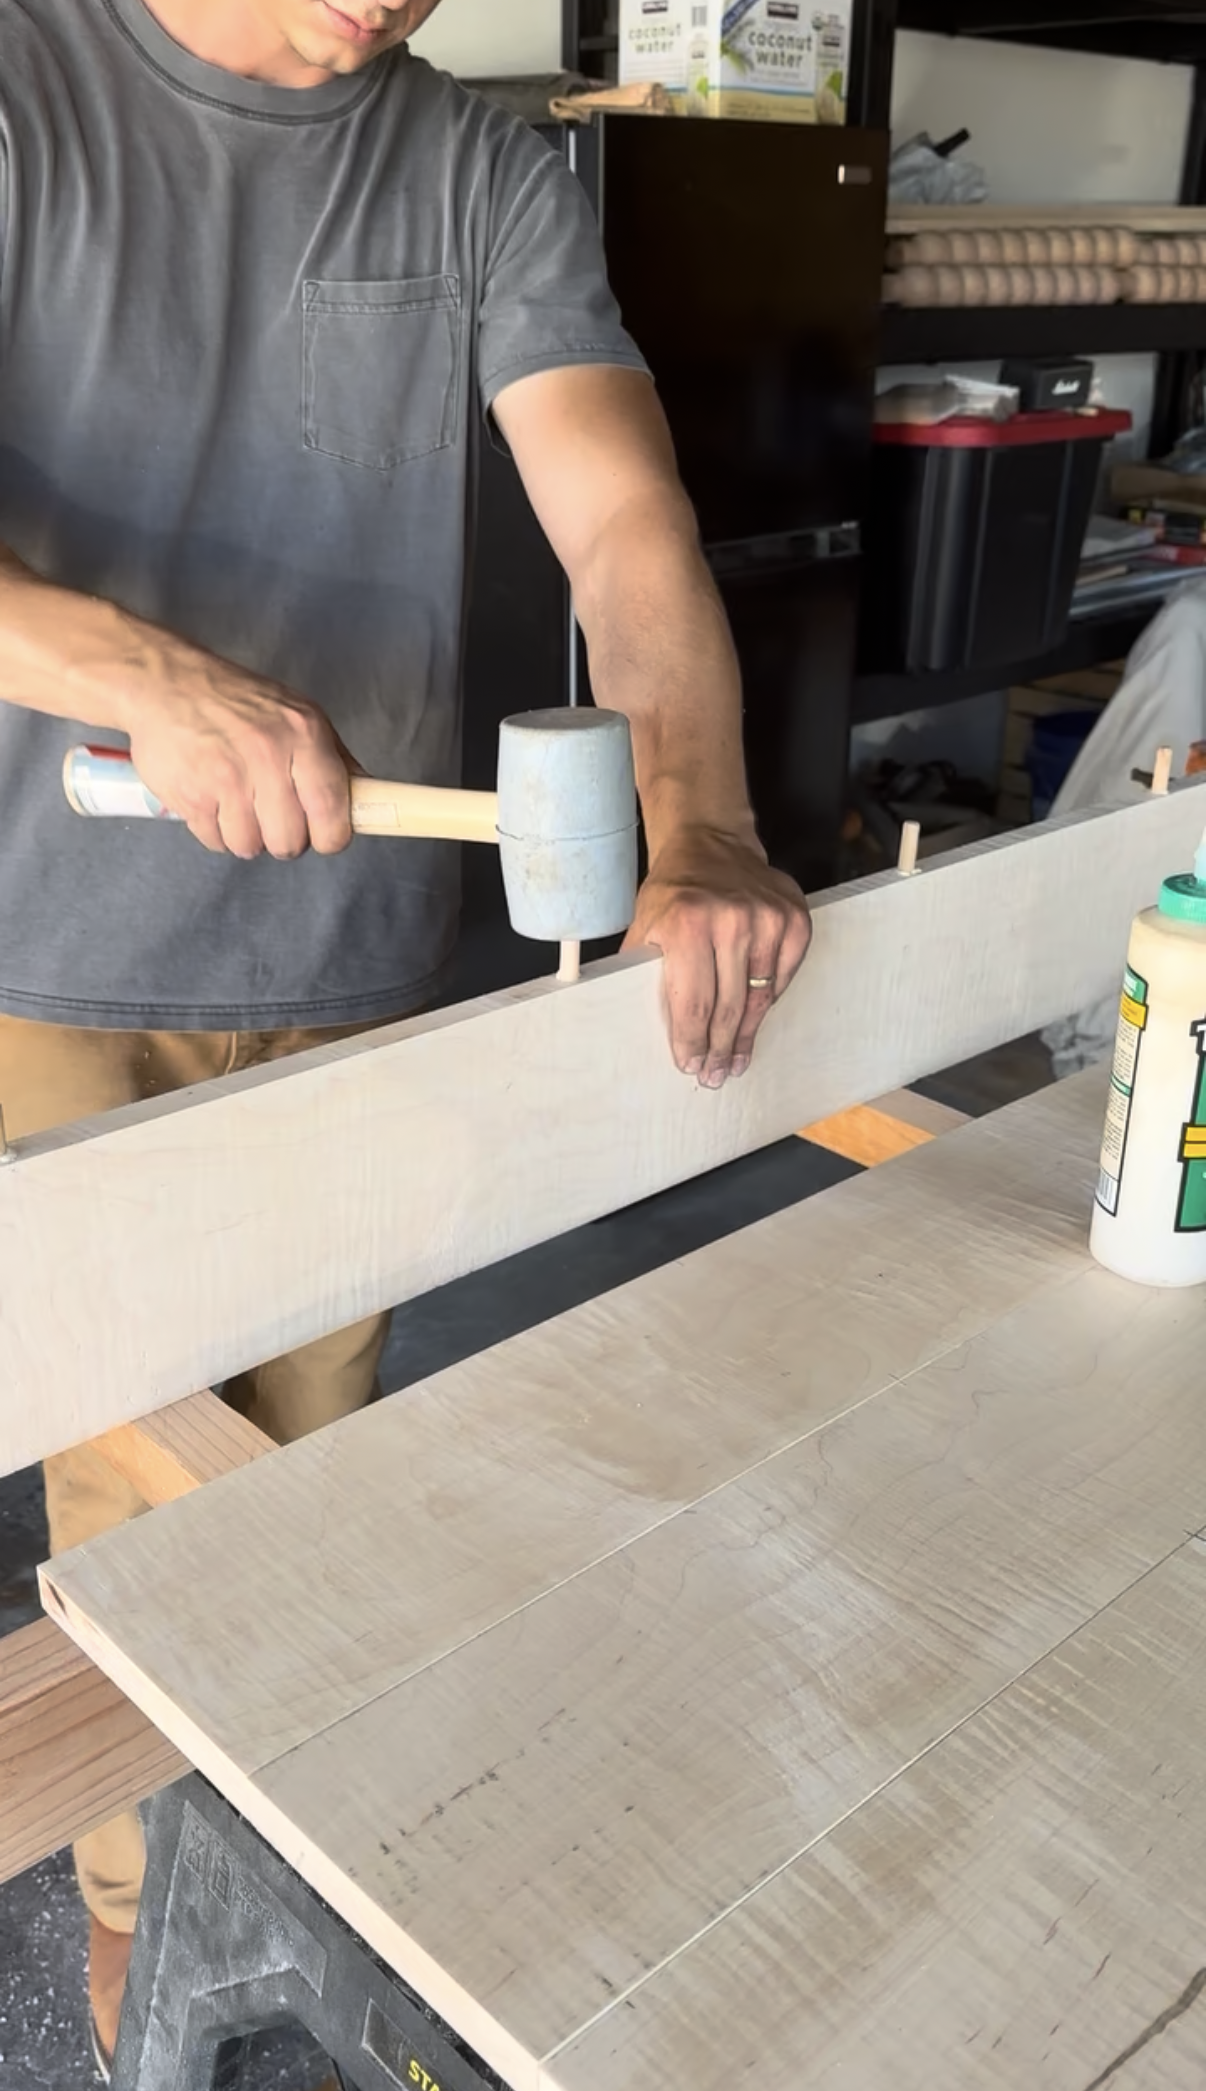
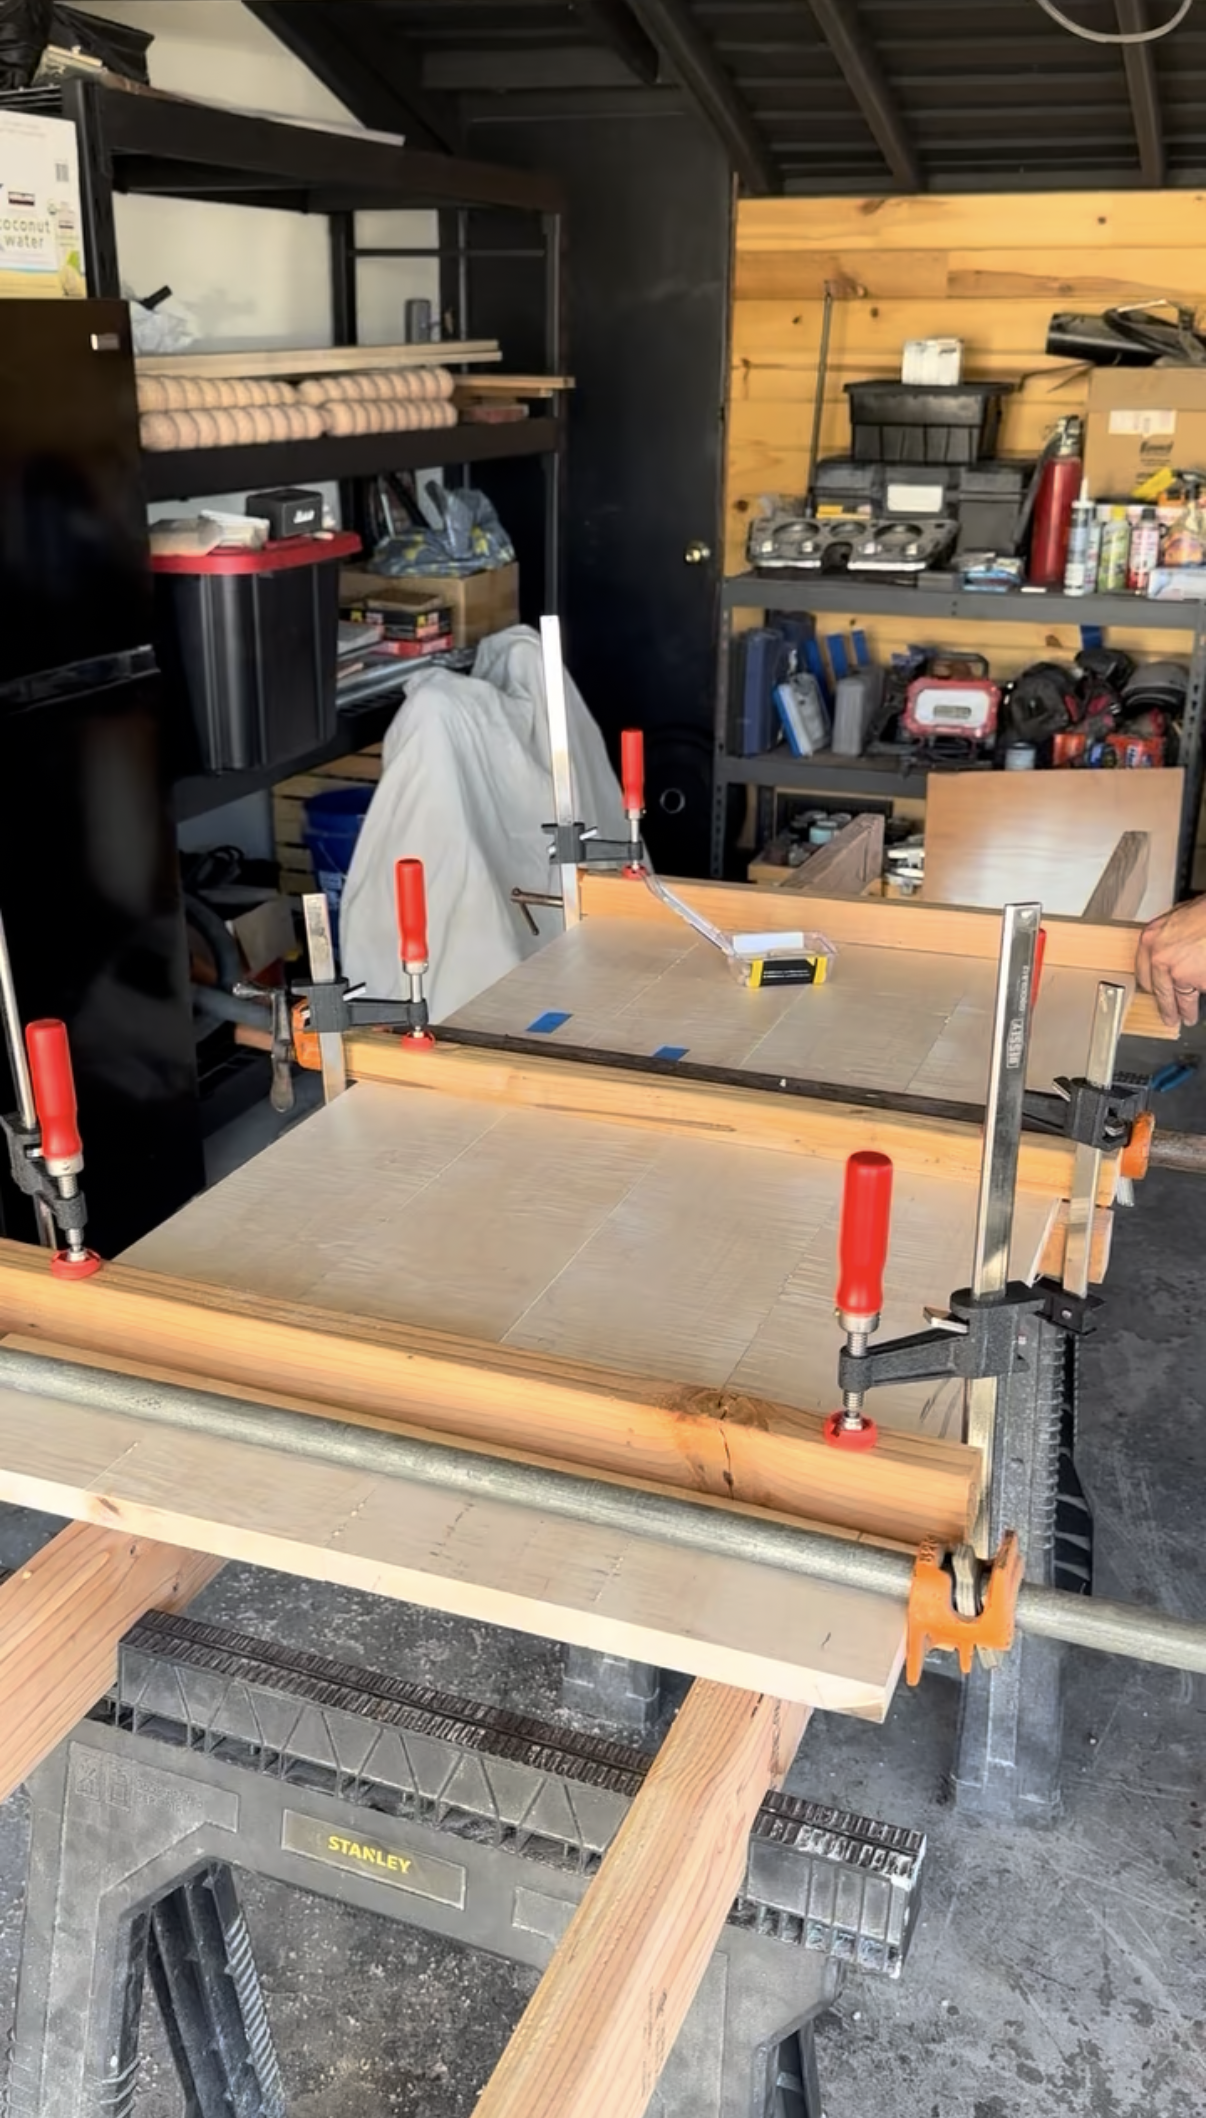
We used four 1x6” S4S maple boards to give us final dimensions of approximately 22” W x 48” L. Travis utilized the dowel jig to drill dowel holes and began the glue-up process. The top was assembled with 3/8” wood dowels and wood glue. Travis clamped the desk top boards together using a set of cauls and clamps. We allowed ample time for the glue to dry, then Travis sanded the top with an orbital sander for a smooth, even finish.
Step 3 - Building the Apron
Travis measured for the apron, allowing approximately 1” overhang on all sides and began to cut pieces of maple to size. After cutting all the required pieces, Travis cut a dado in the apron pieces to allow tabletop fasteners to fit in to. This style of fastener allows the top and apron to expand and contract with the seasons independently of each other, reducing the risk of splitting and warping. Travis then drilled dowel holes in the apron pieces and glued them together, creating two separate apron pieces.
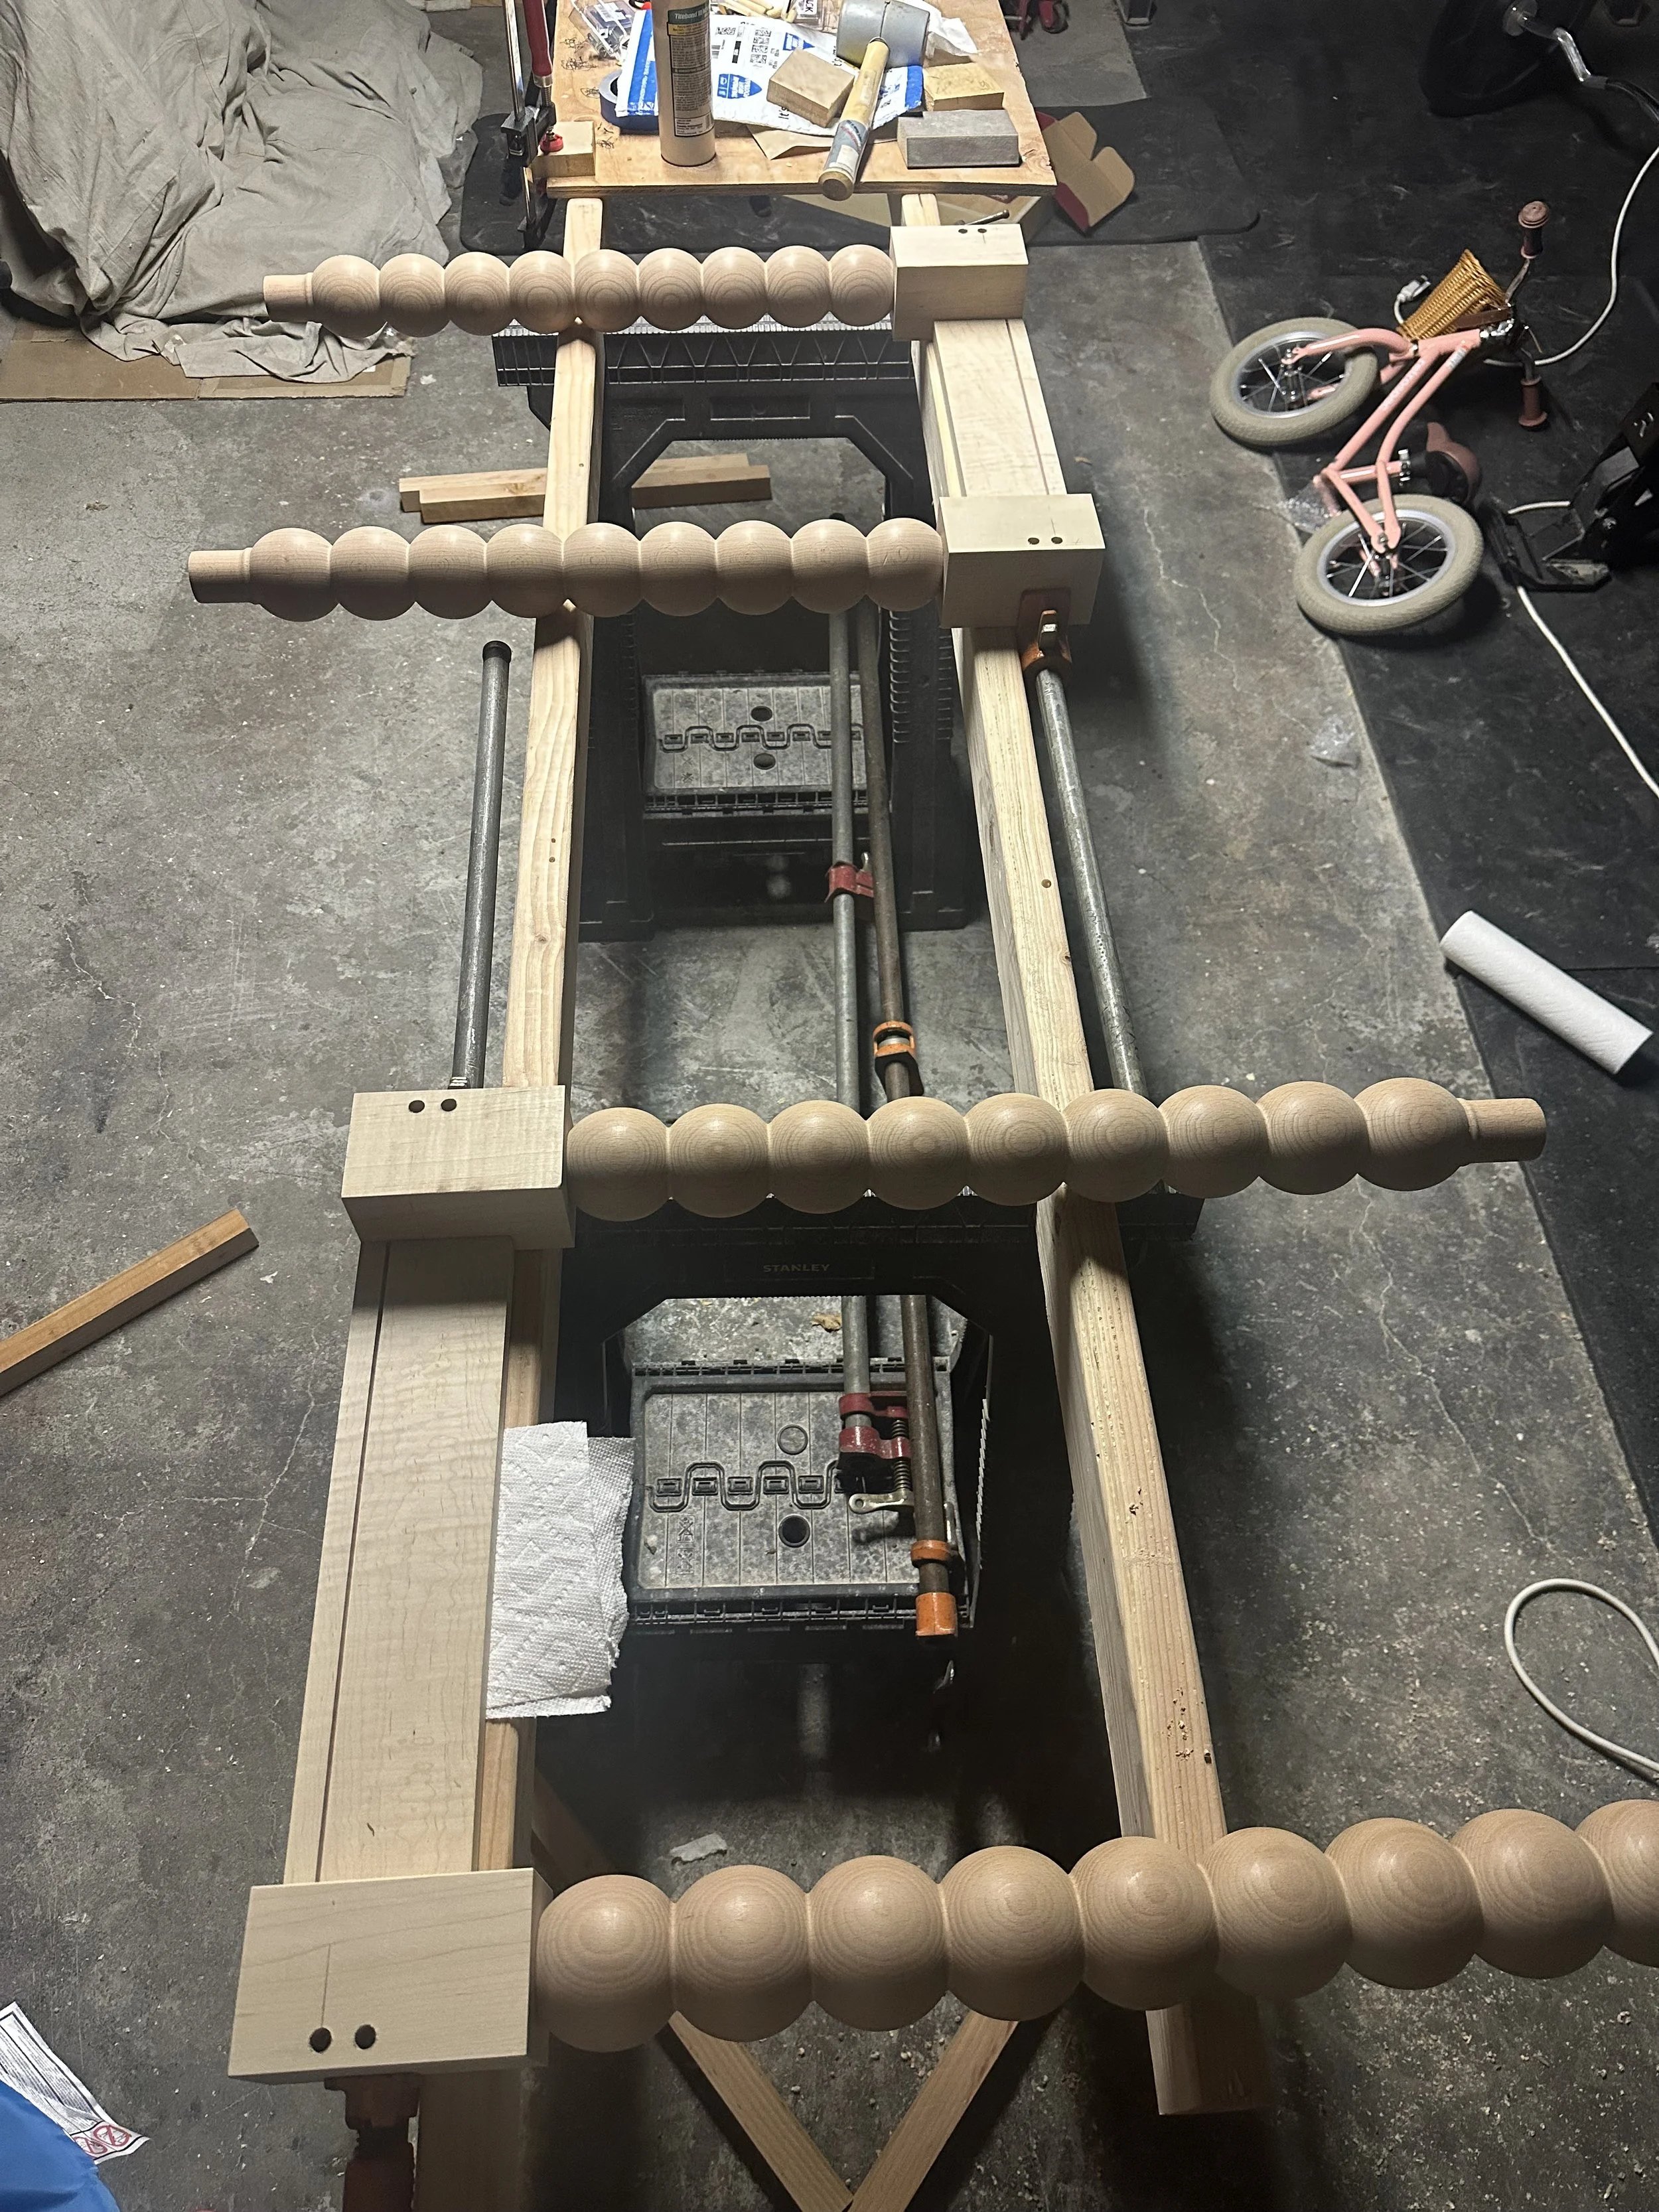
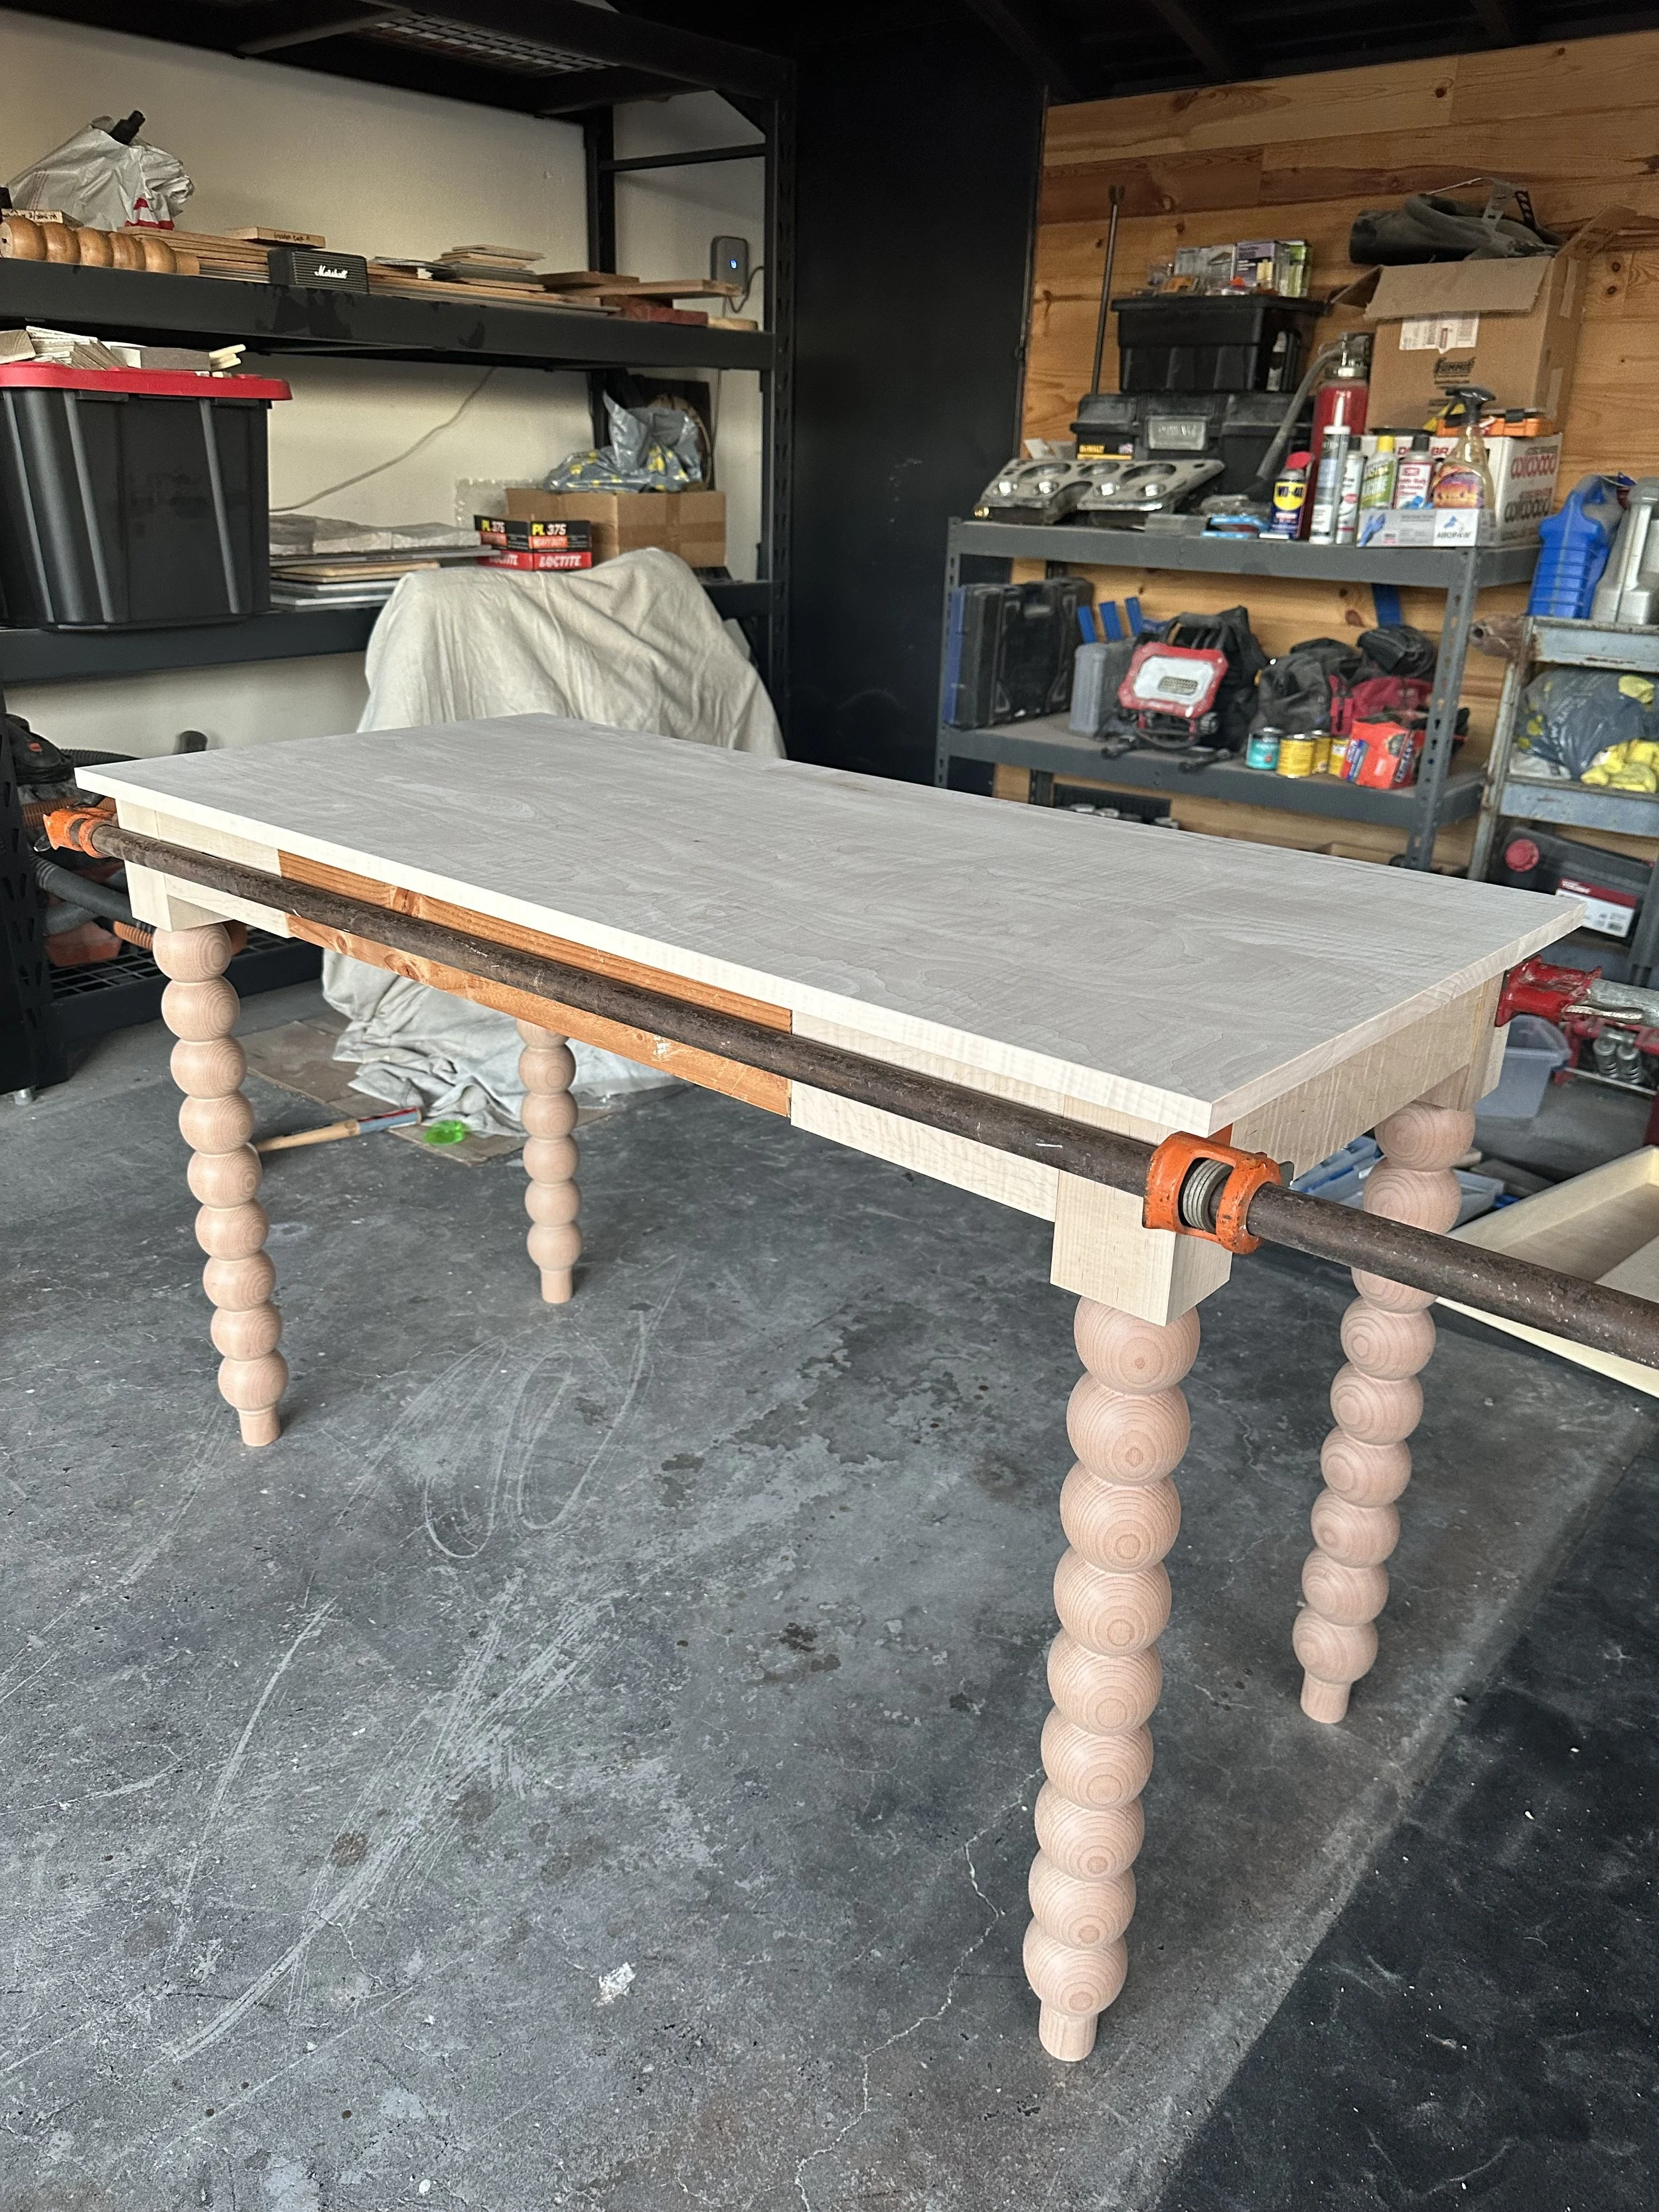
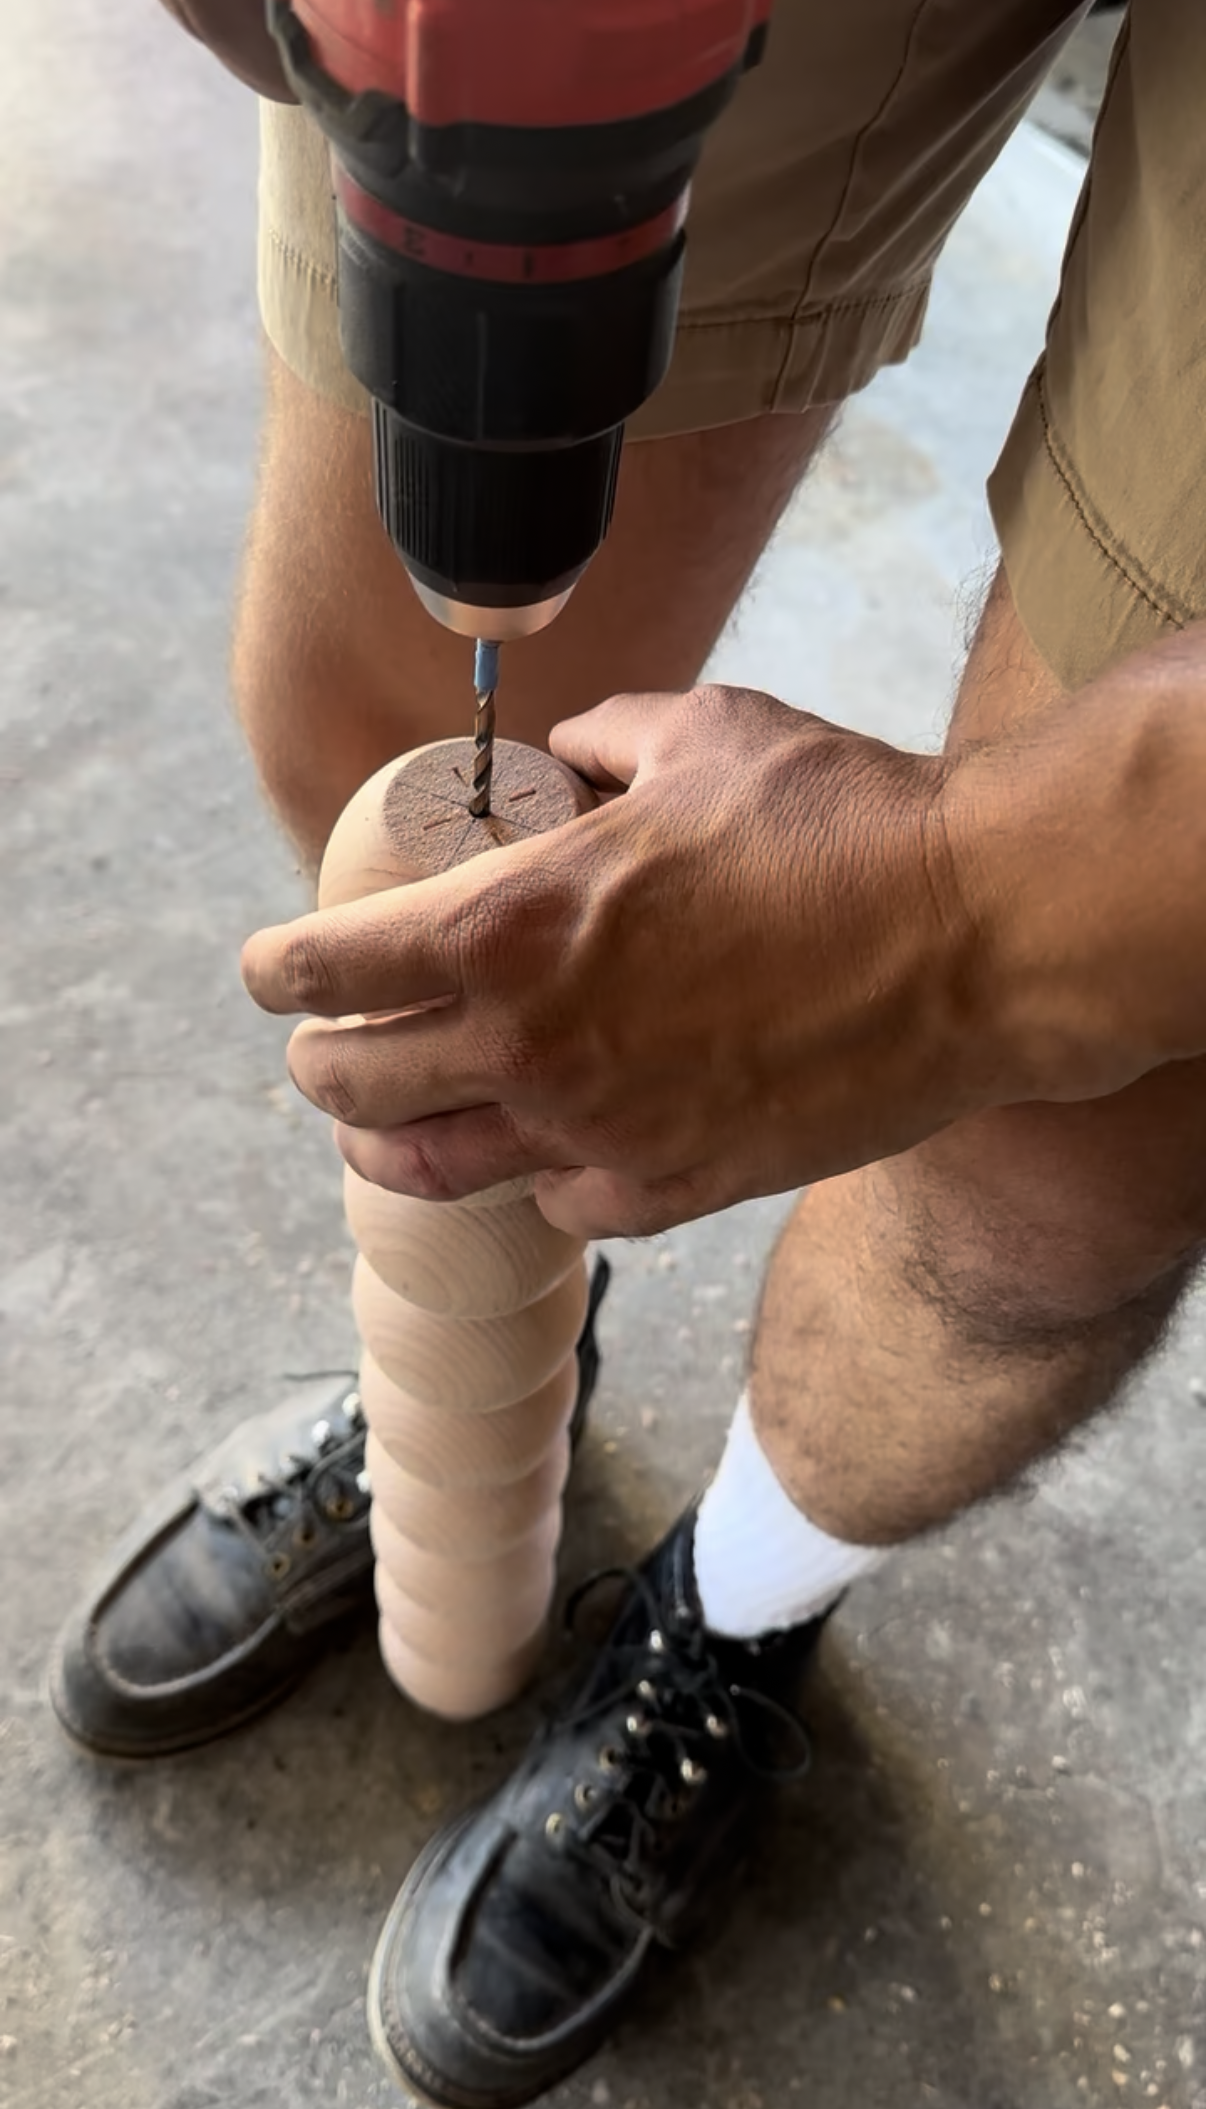
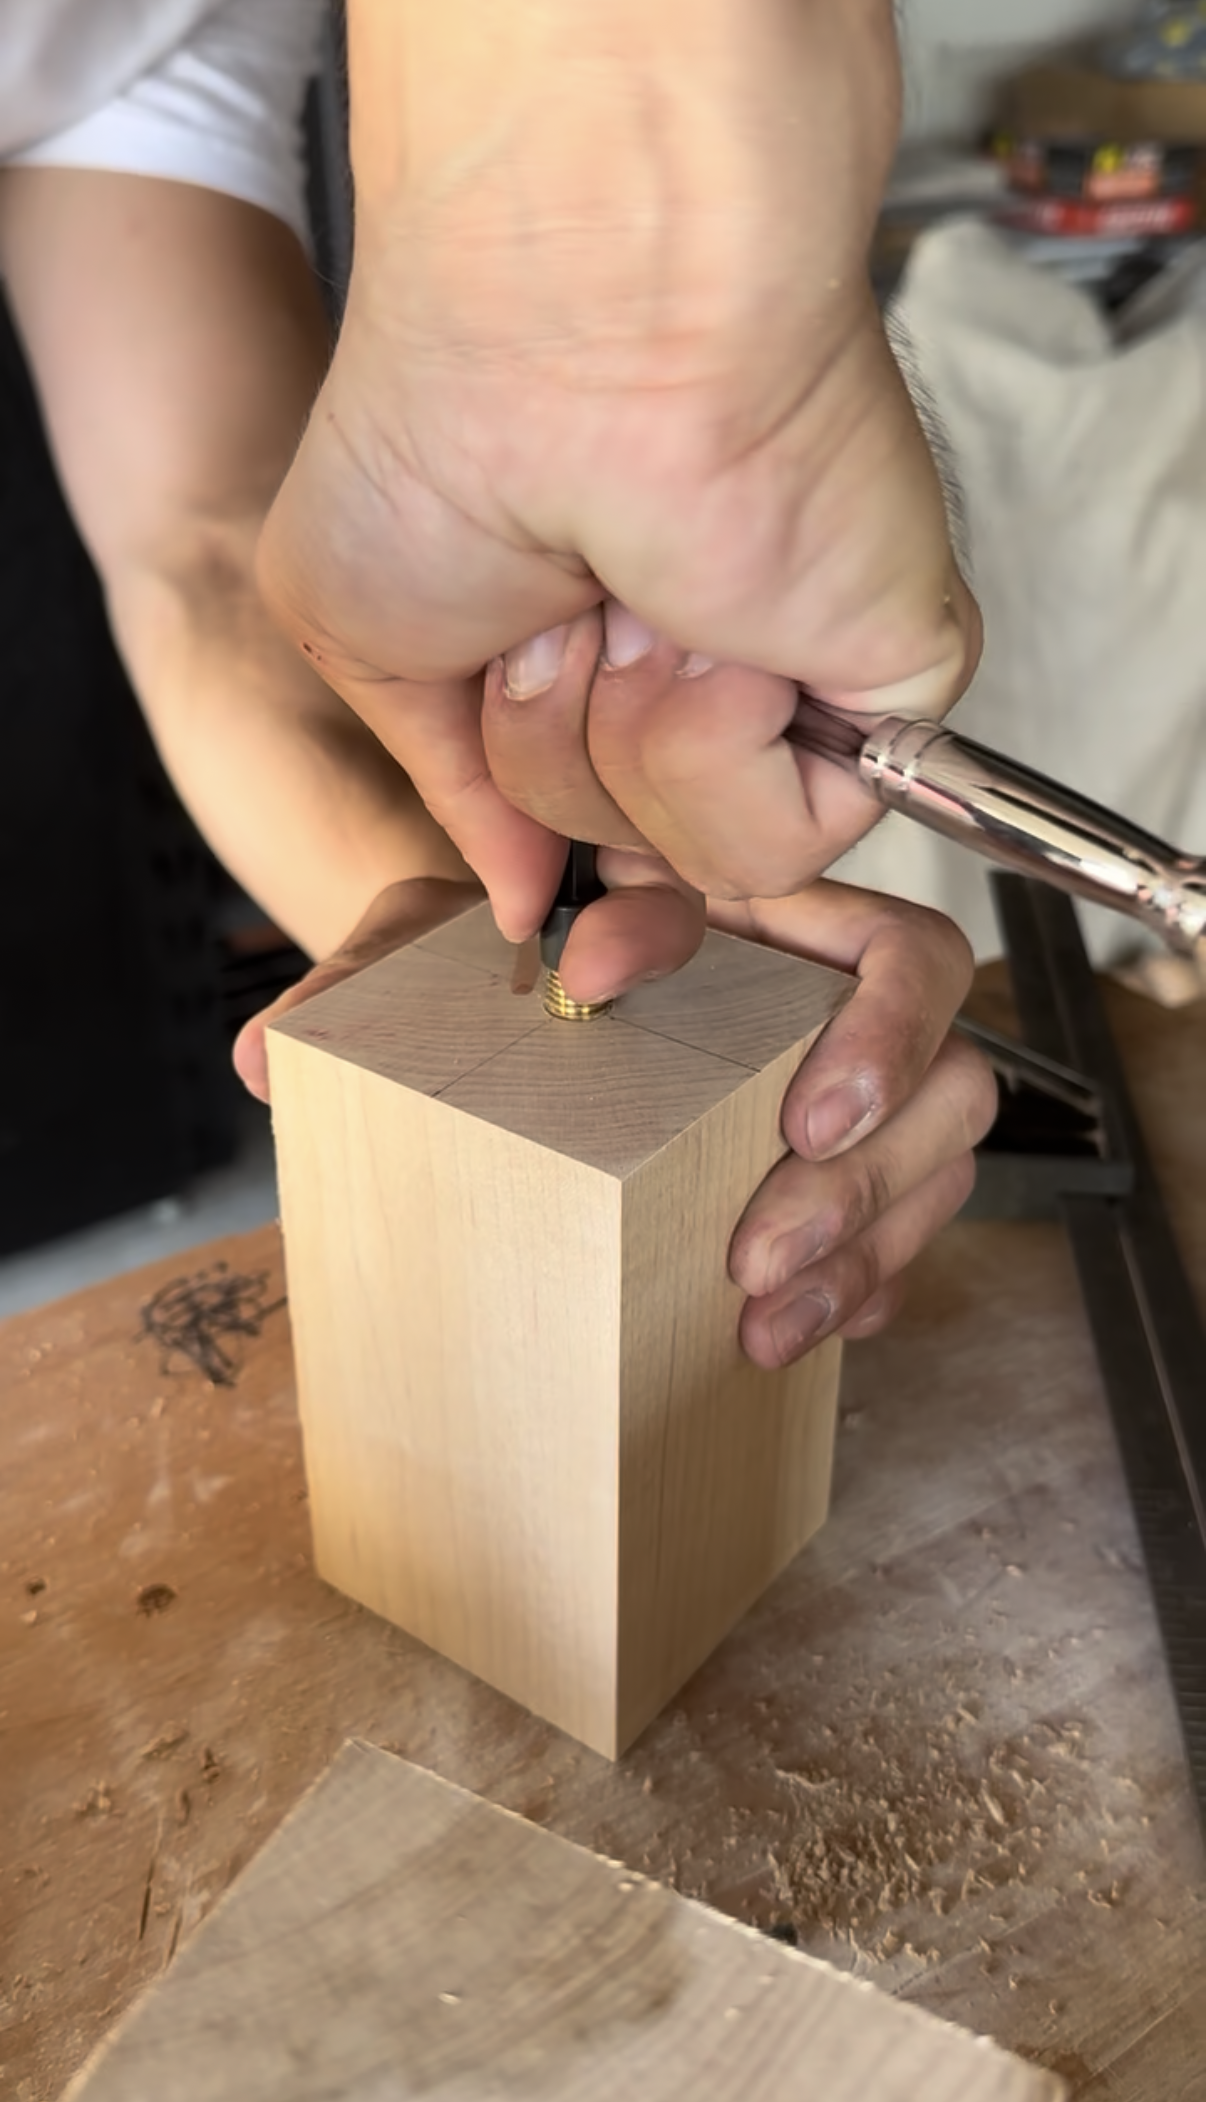
Then installed threaded inserts into the apron, hanger bolts into the legs, and threaded the legs into the apron. After that, he connected the two apron pieces together and installed a couple of cross braces to keep the apron square.
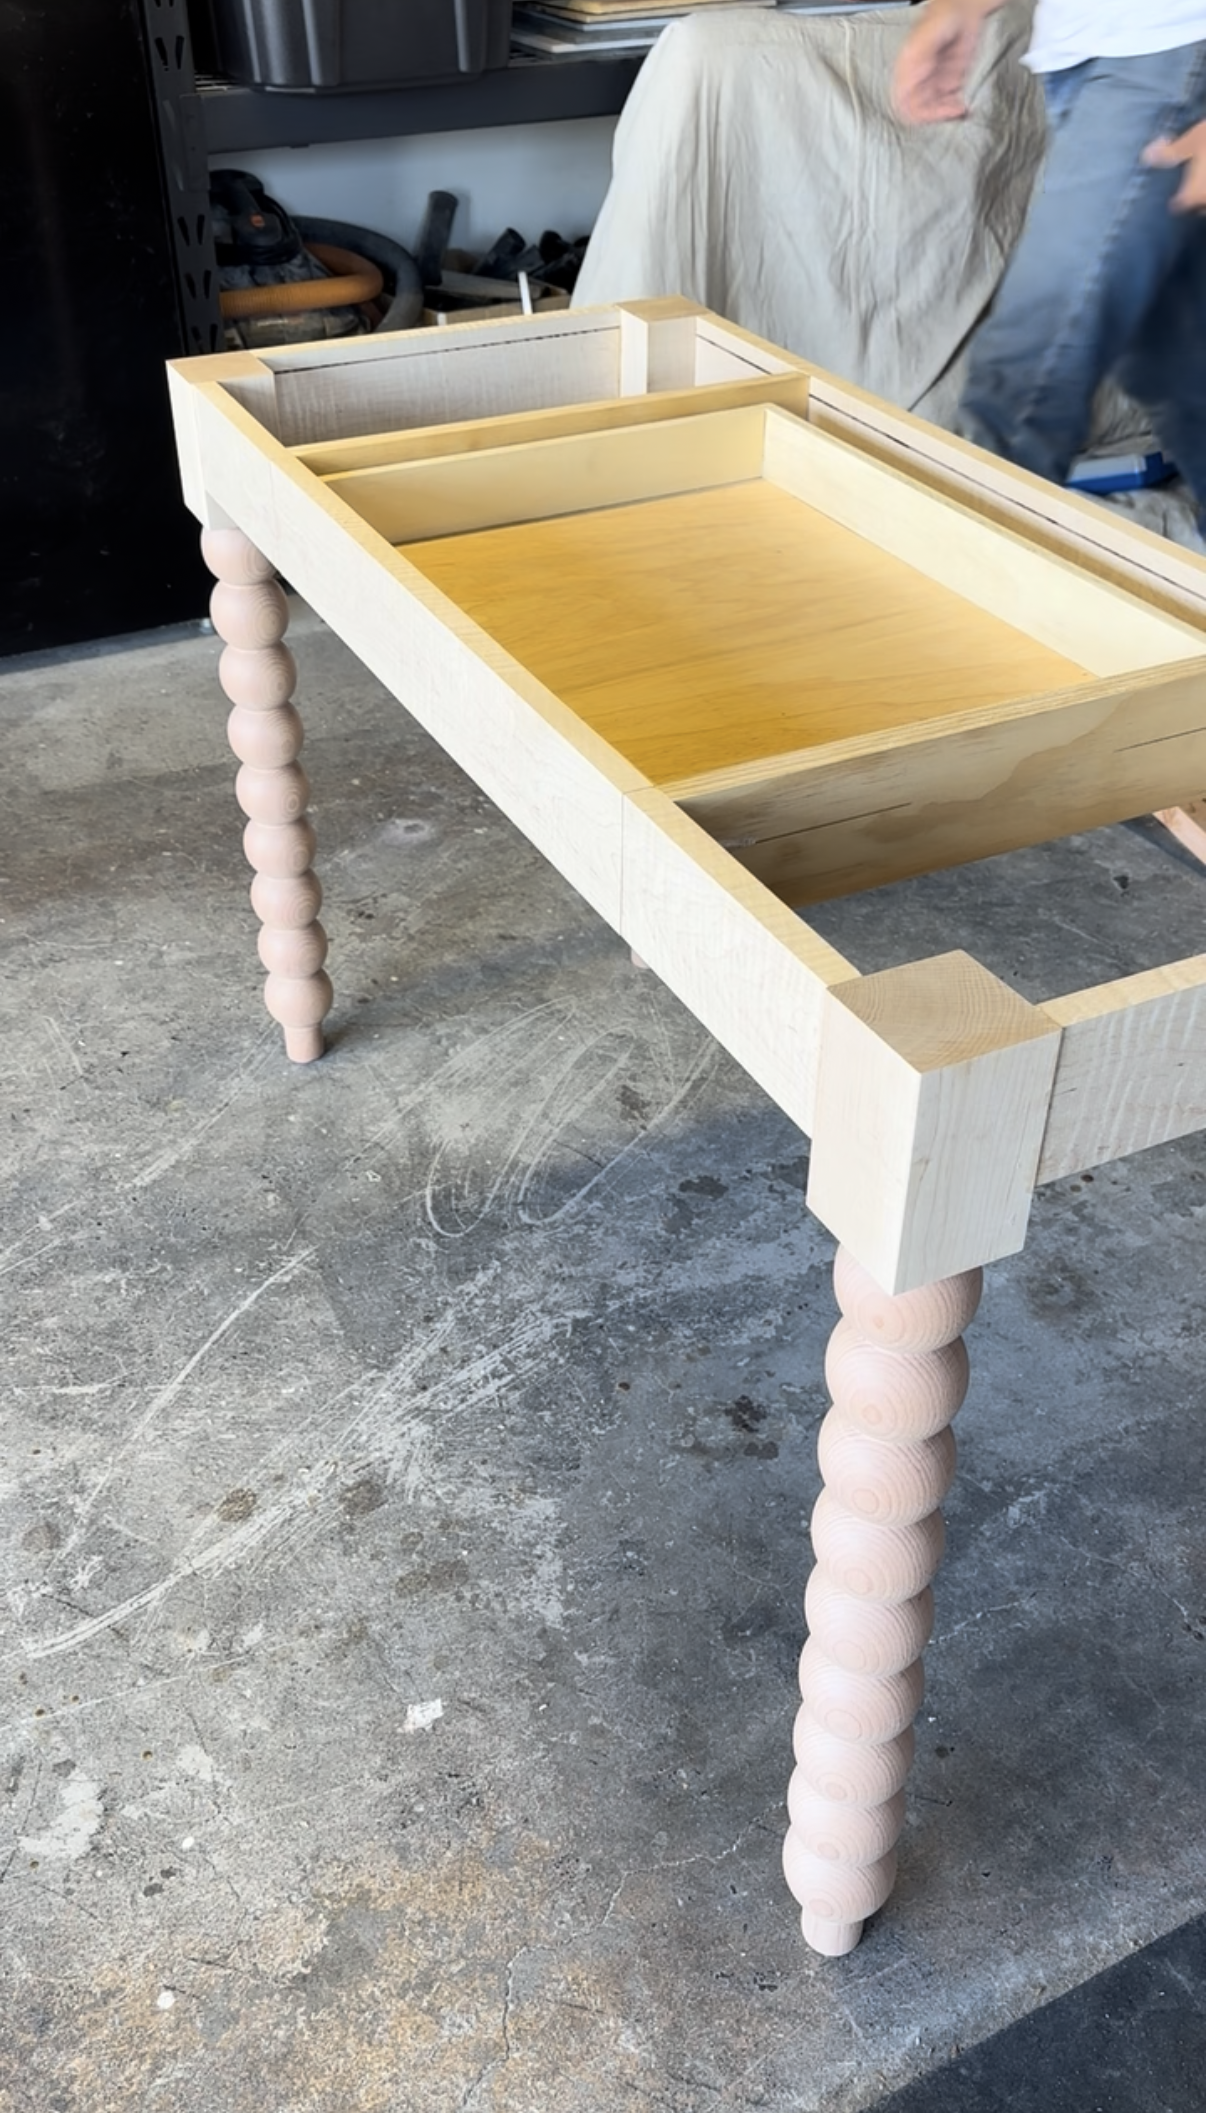
Step 4 - Building and Installing the Drawer Box
Travis measured for the drawer box and cut pieces of 1/2” plywood to size. Travis then cut a dado in the drawer box sides to allow for a captured drawer bottom to be installed. Travis assembled the drawer box together and mounted the drawer slides to the box and apron cross braces.
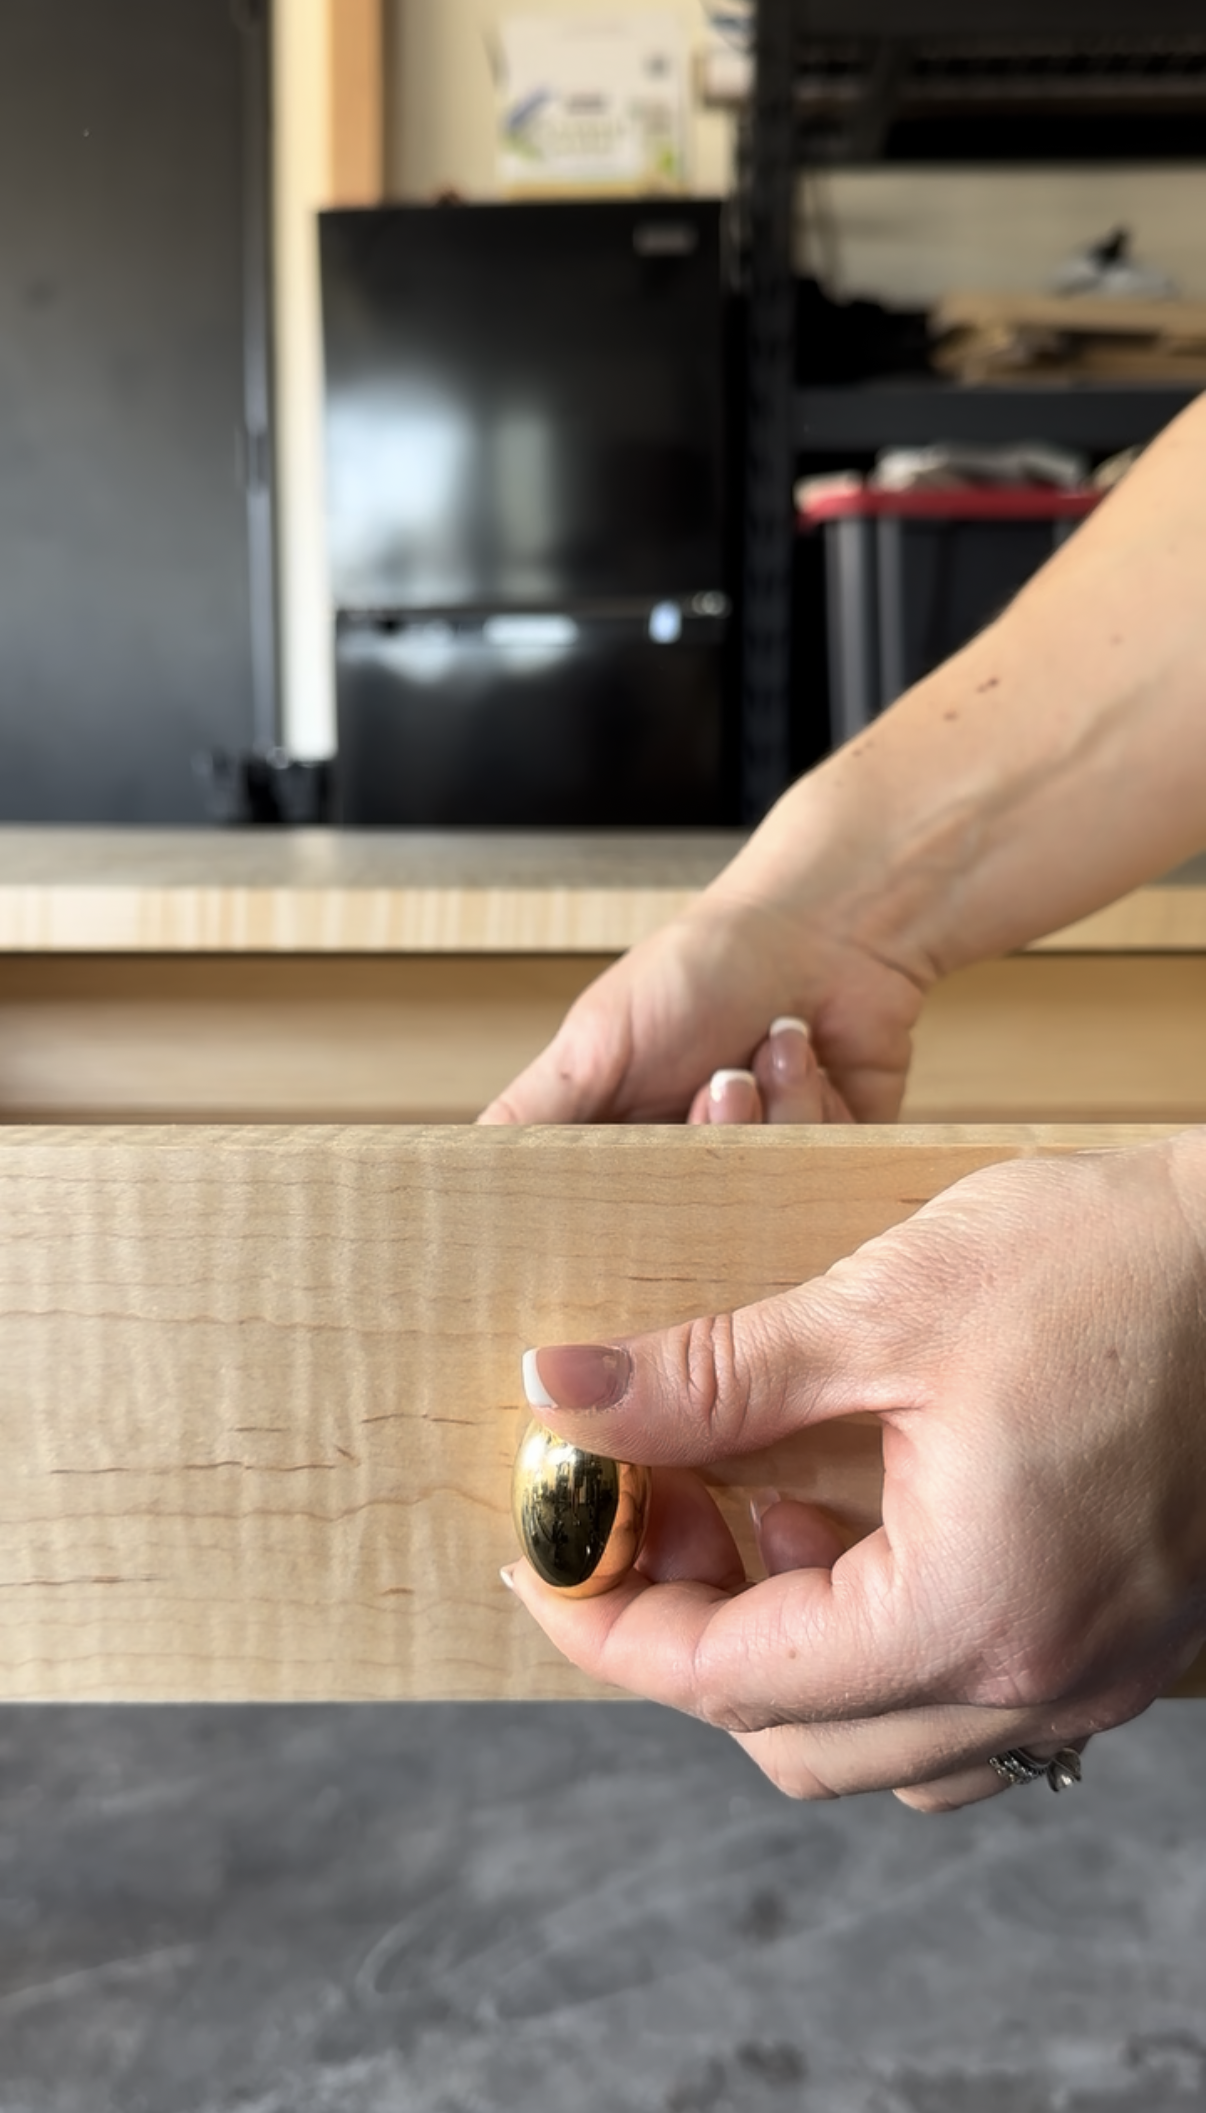
After installing the drawer box, Travis cut the drawer front to size and installed it onto the front of the box. Lastly, he drilled the front for the knob and installed it.
Step 5 - Putting it All Together and Applying the Finish
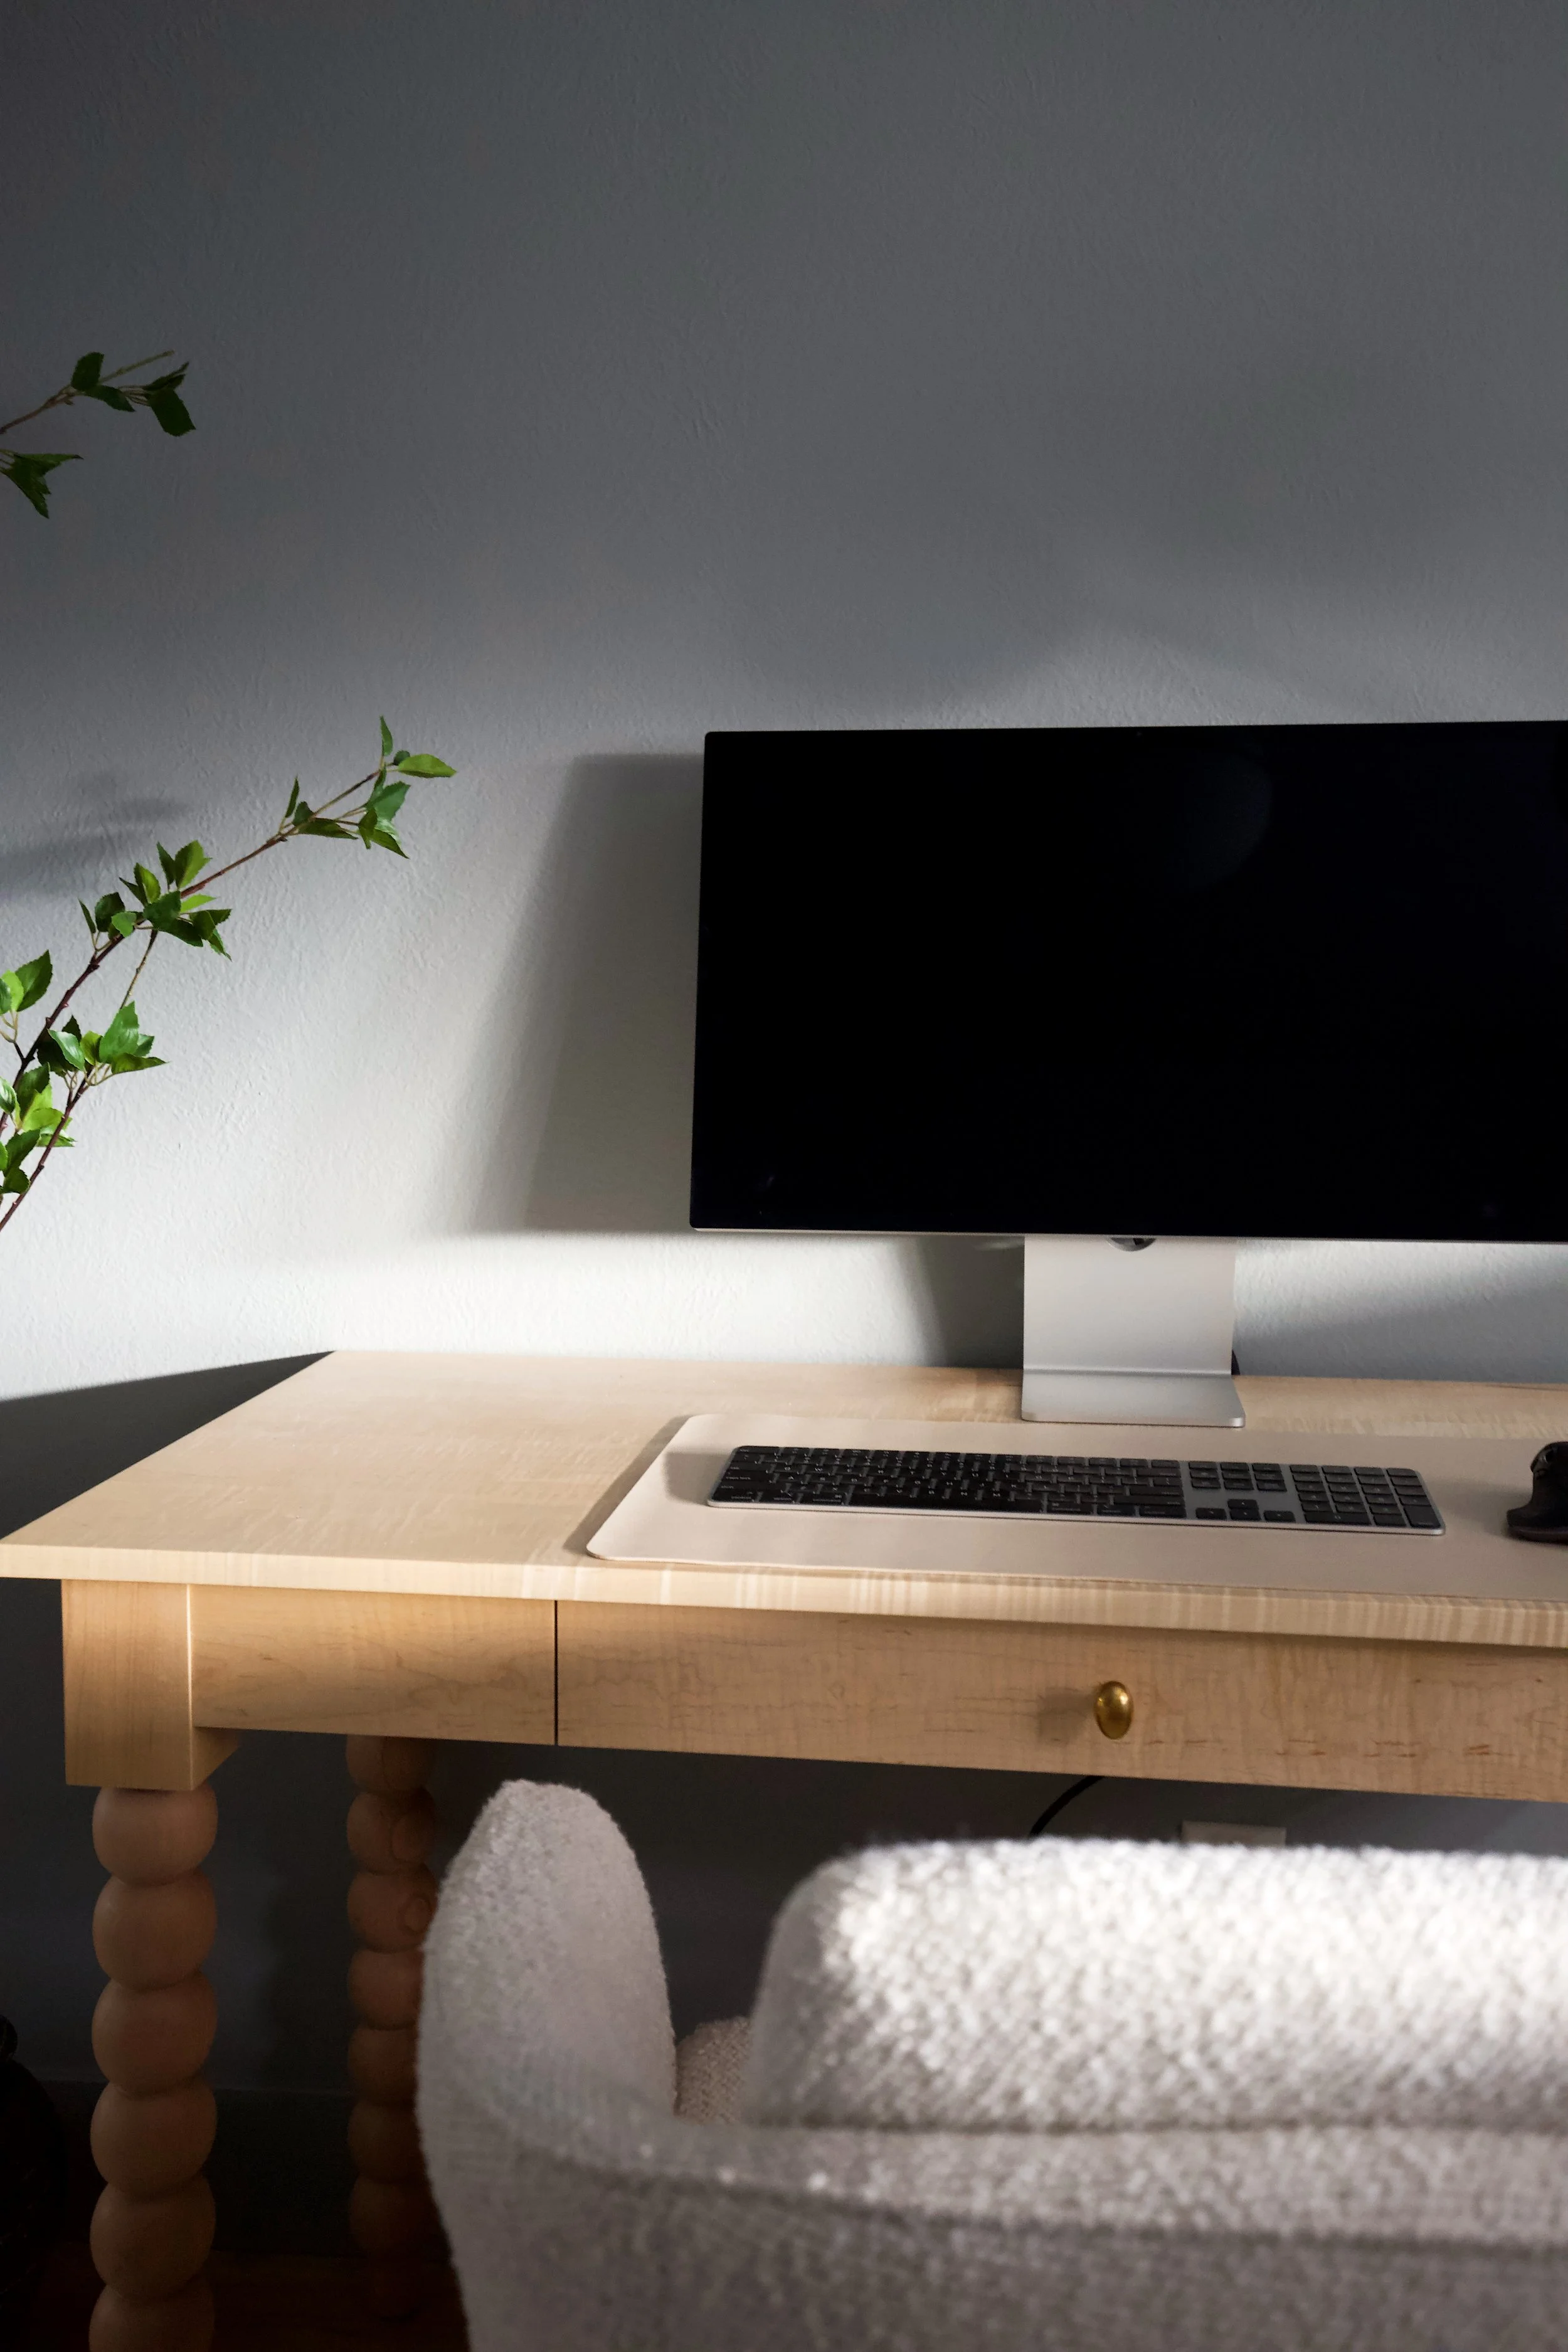
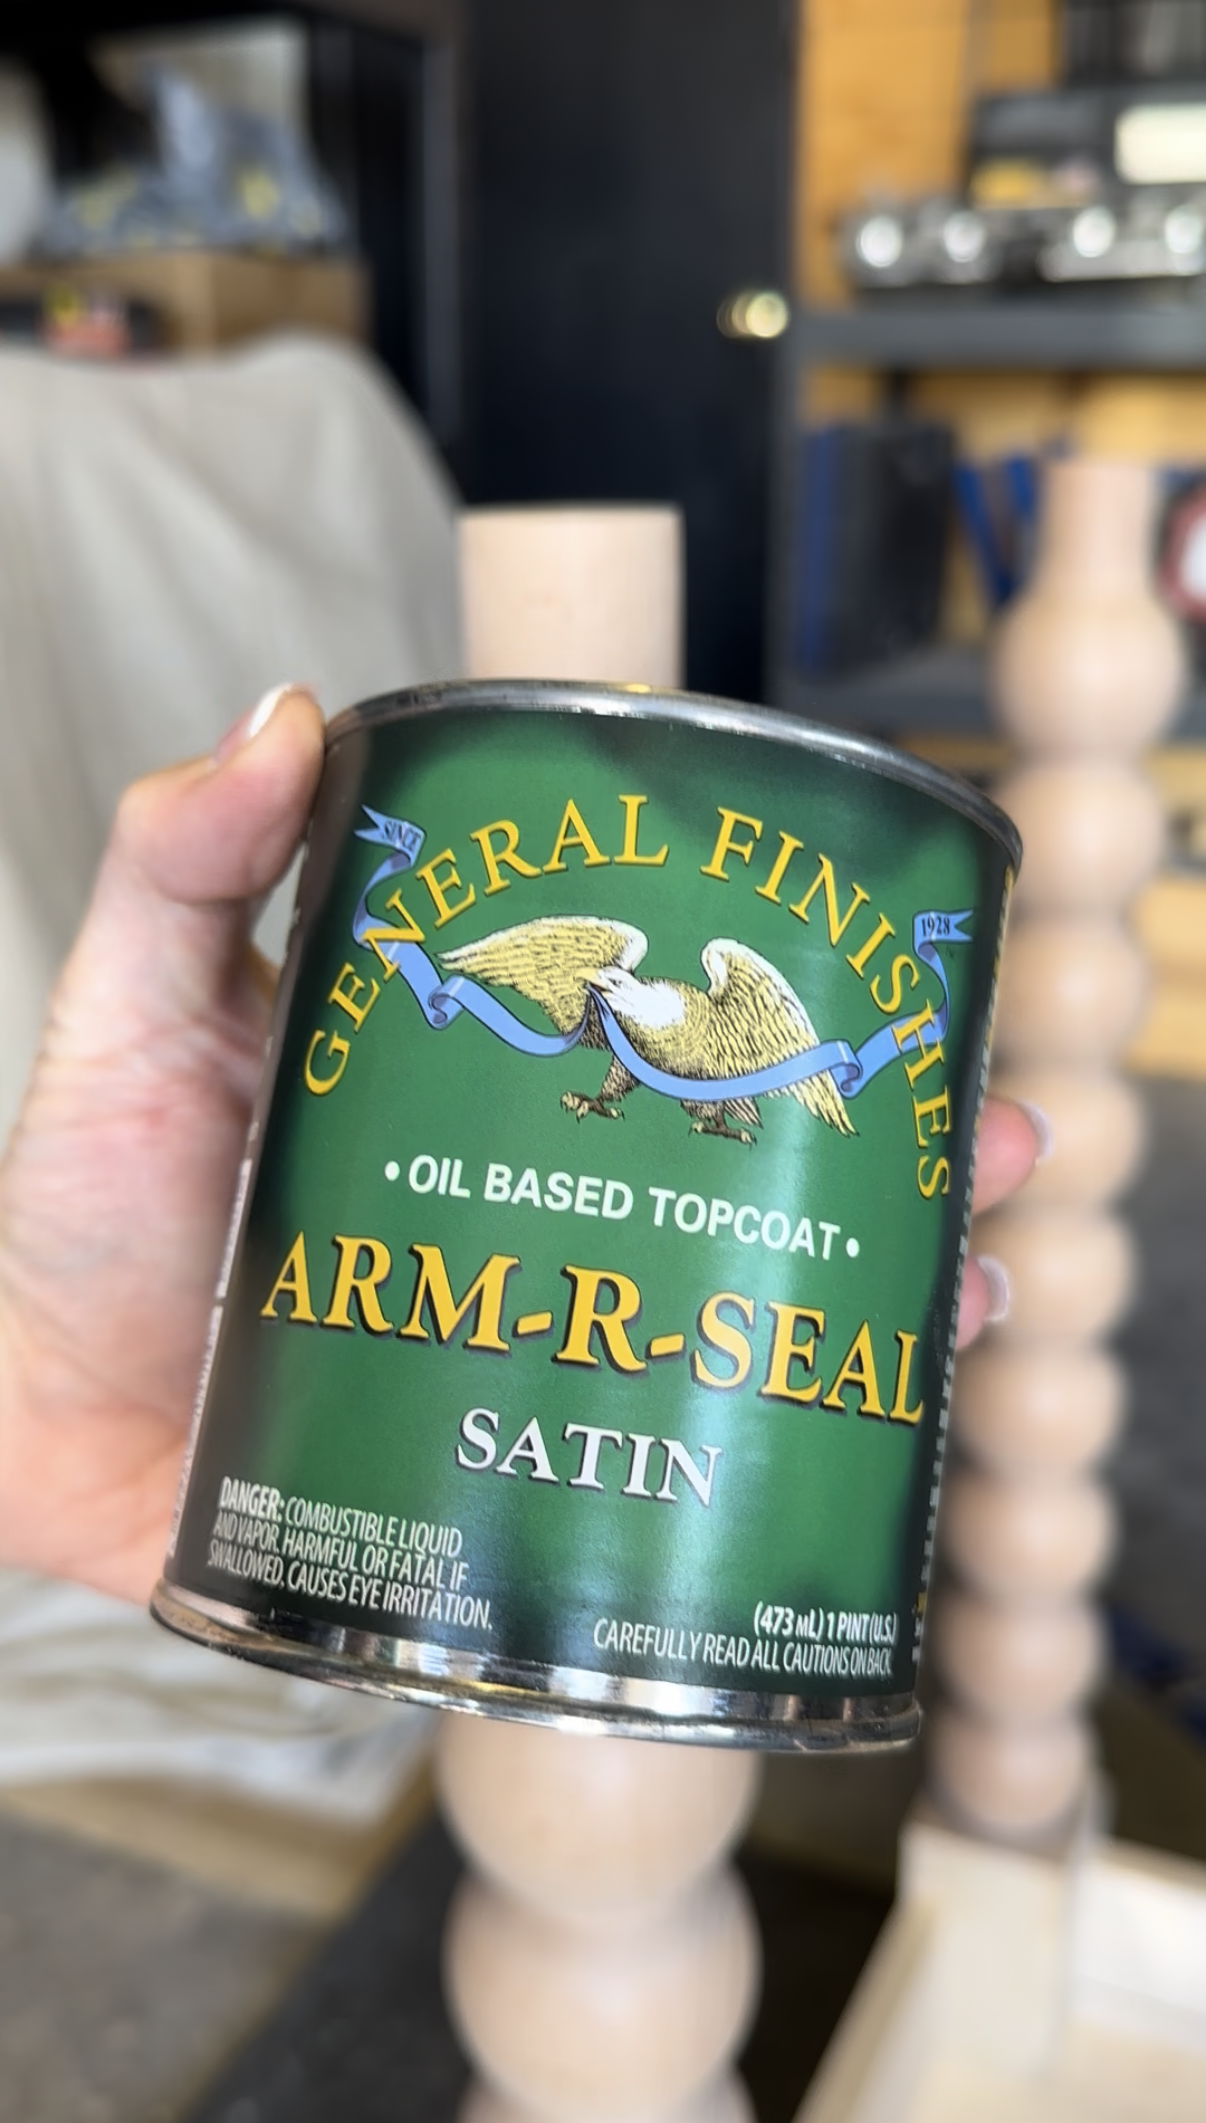
Travis placed the desk top on the apron and carefully measured around all four sides, ensuring a consistent overhang. Then he installed table top fasteners to the apron dado and underside of the desk top. Next he sanded the desktop and apron with fine grit sandpaper and applied General Finishes Arm-R-Seal as instructed by the manufacturer. Since the legs were made with beech wood, instead we used a water-based polycrylic to avoid a red color. With this method, the legs ended up being a very close match! We let the finish dry and followed up with the appropriate amount of coats in succession.
Setbacks
With no formal experience, you pretty much always have to expect even a minor setback. When we thought the desk was complete, issues arose. Unfortunately after two weeks of using the desk, we started to notice the front legs became loose. Travis investigated and concluded that the inserts stripped the wood. We essentially lost grip and they were spinning around in the turning blanks. After thorough research, we decided it would be best to use wood epoxy in addition to bigger inserts.
We disassembled the table by removing the legs and the inserts. Once prepped, Travis installed the new inserts with the epoxy. We left the table alone for at least 24 hours to allow the epoxy to cure. Thankfully, this method was successful!
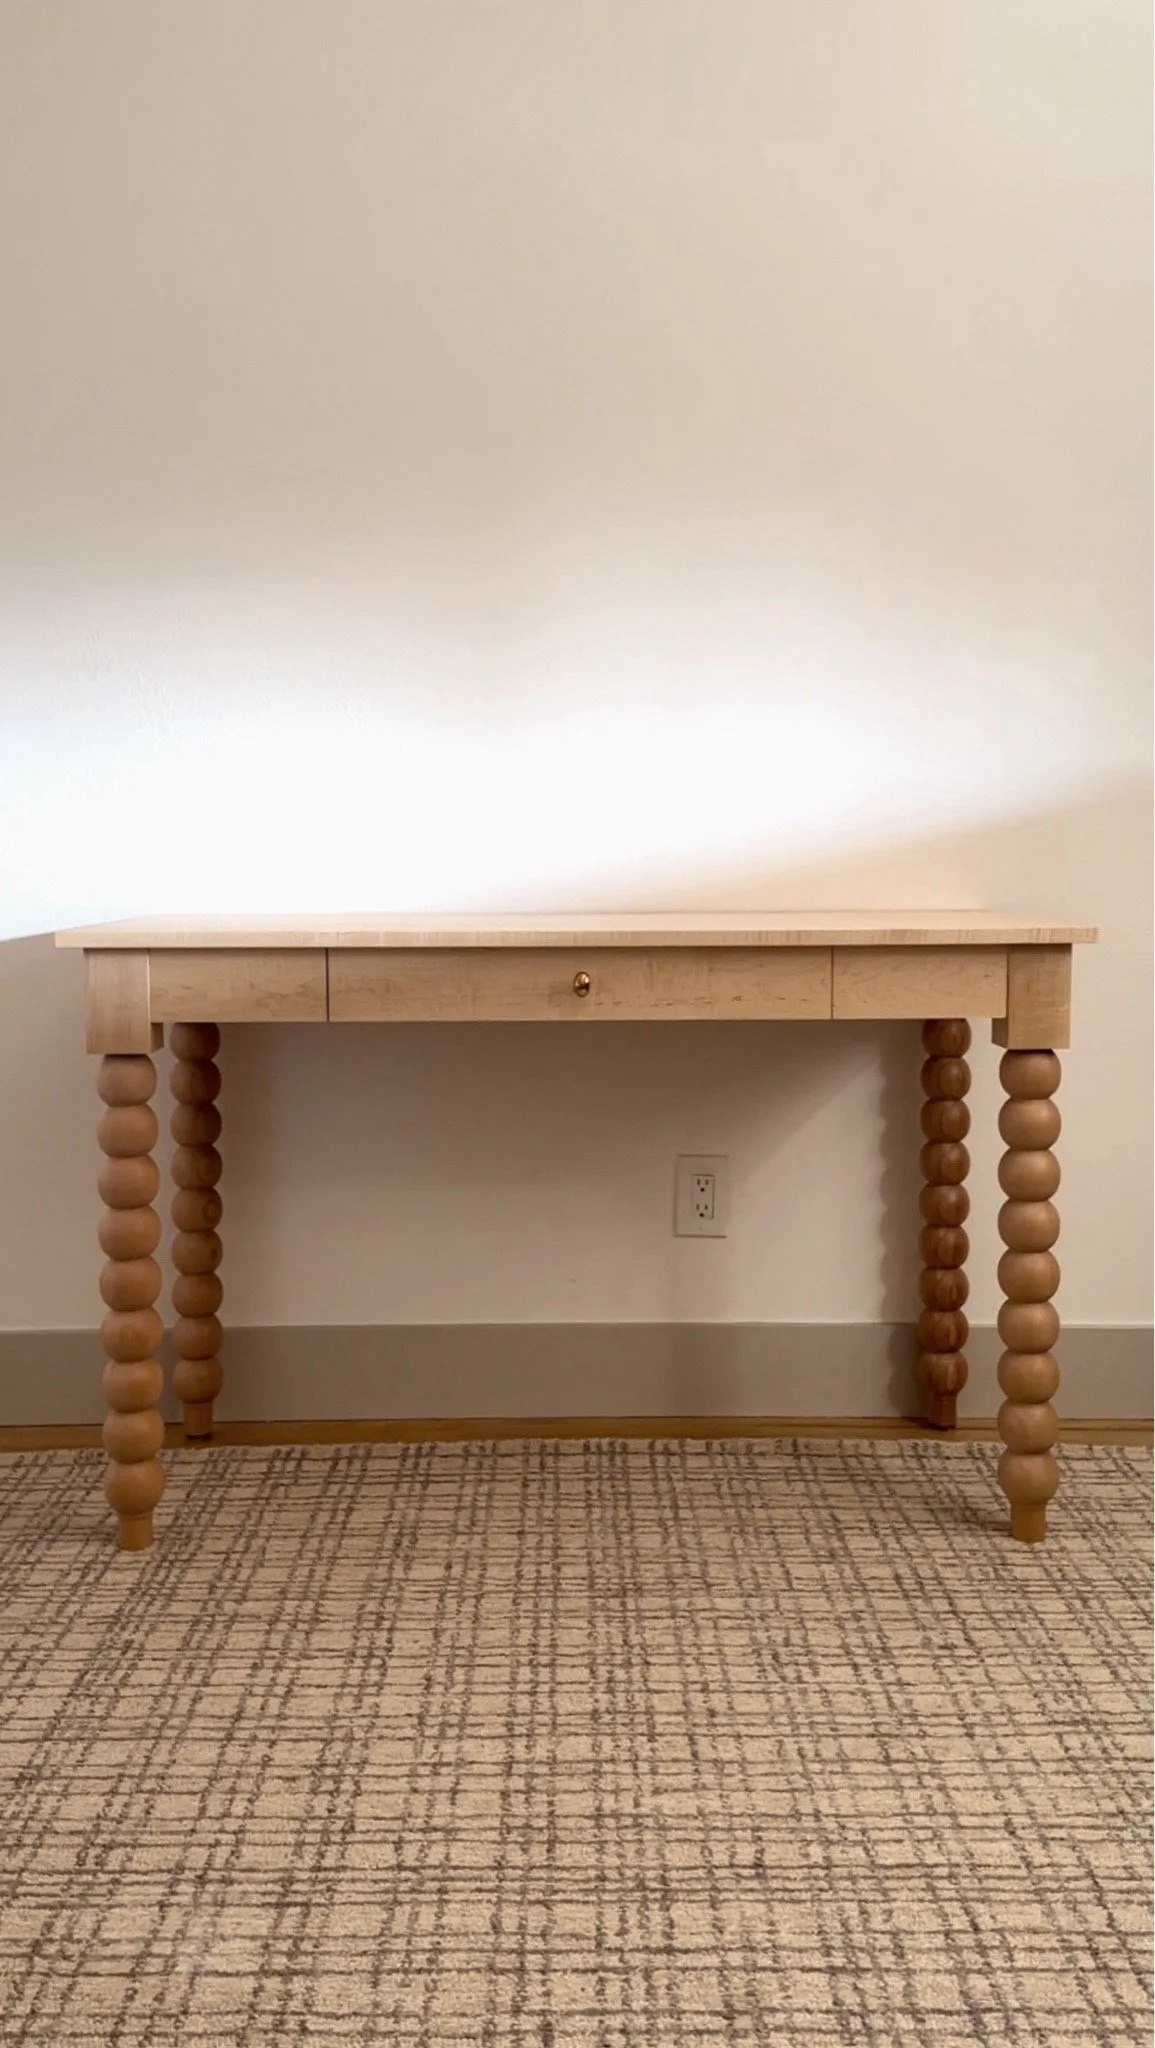
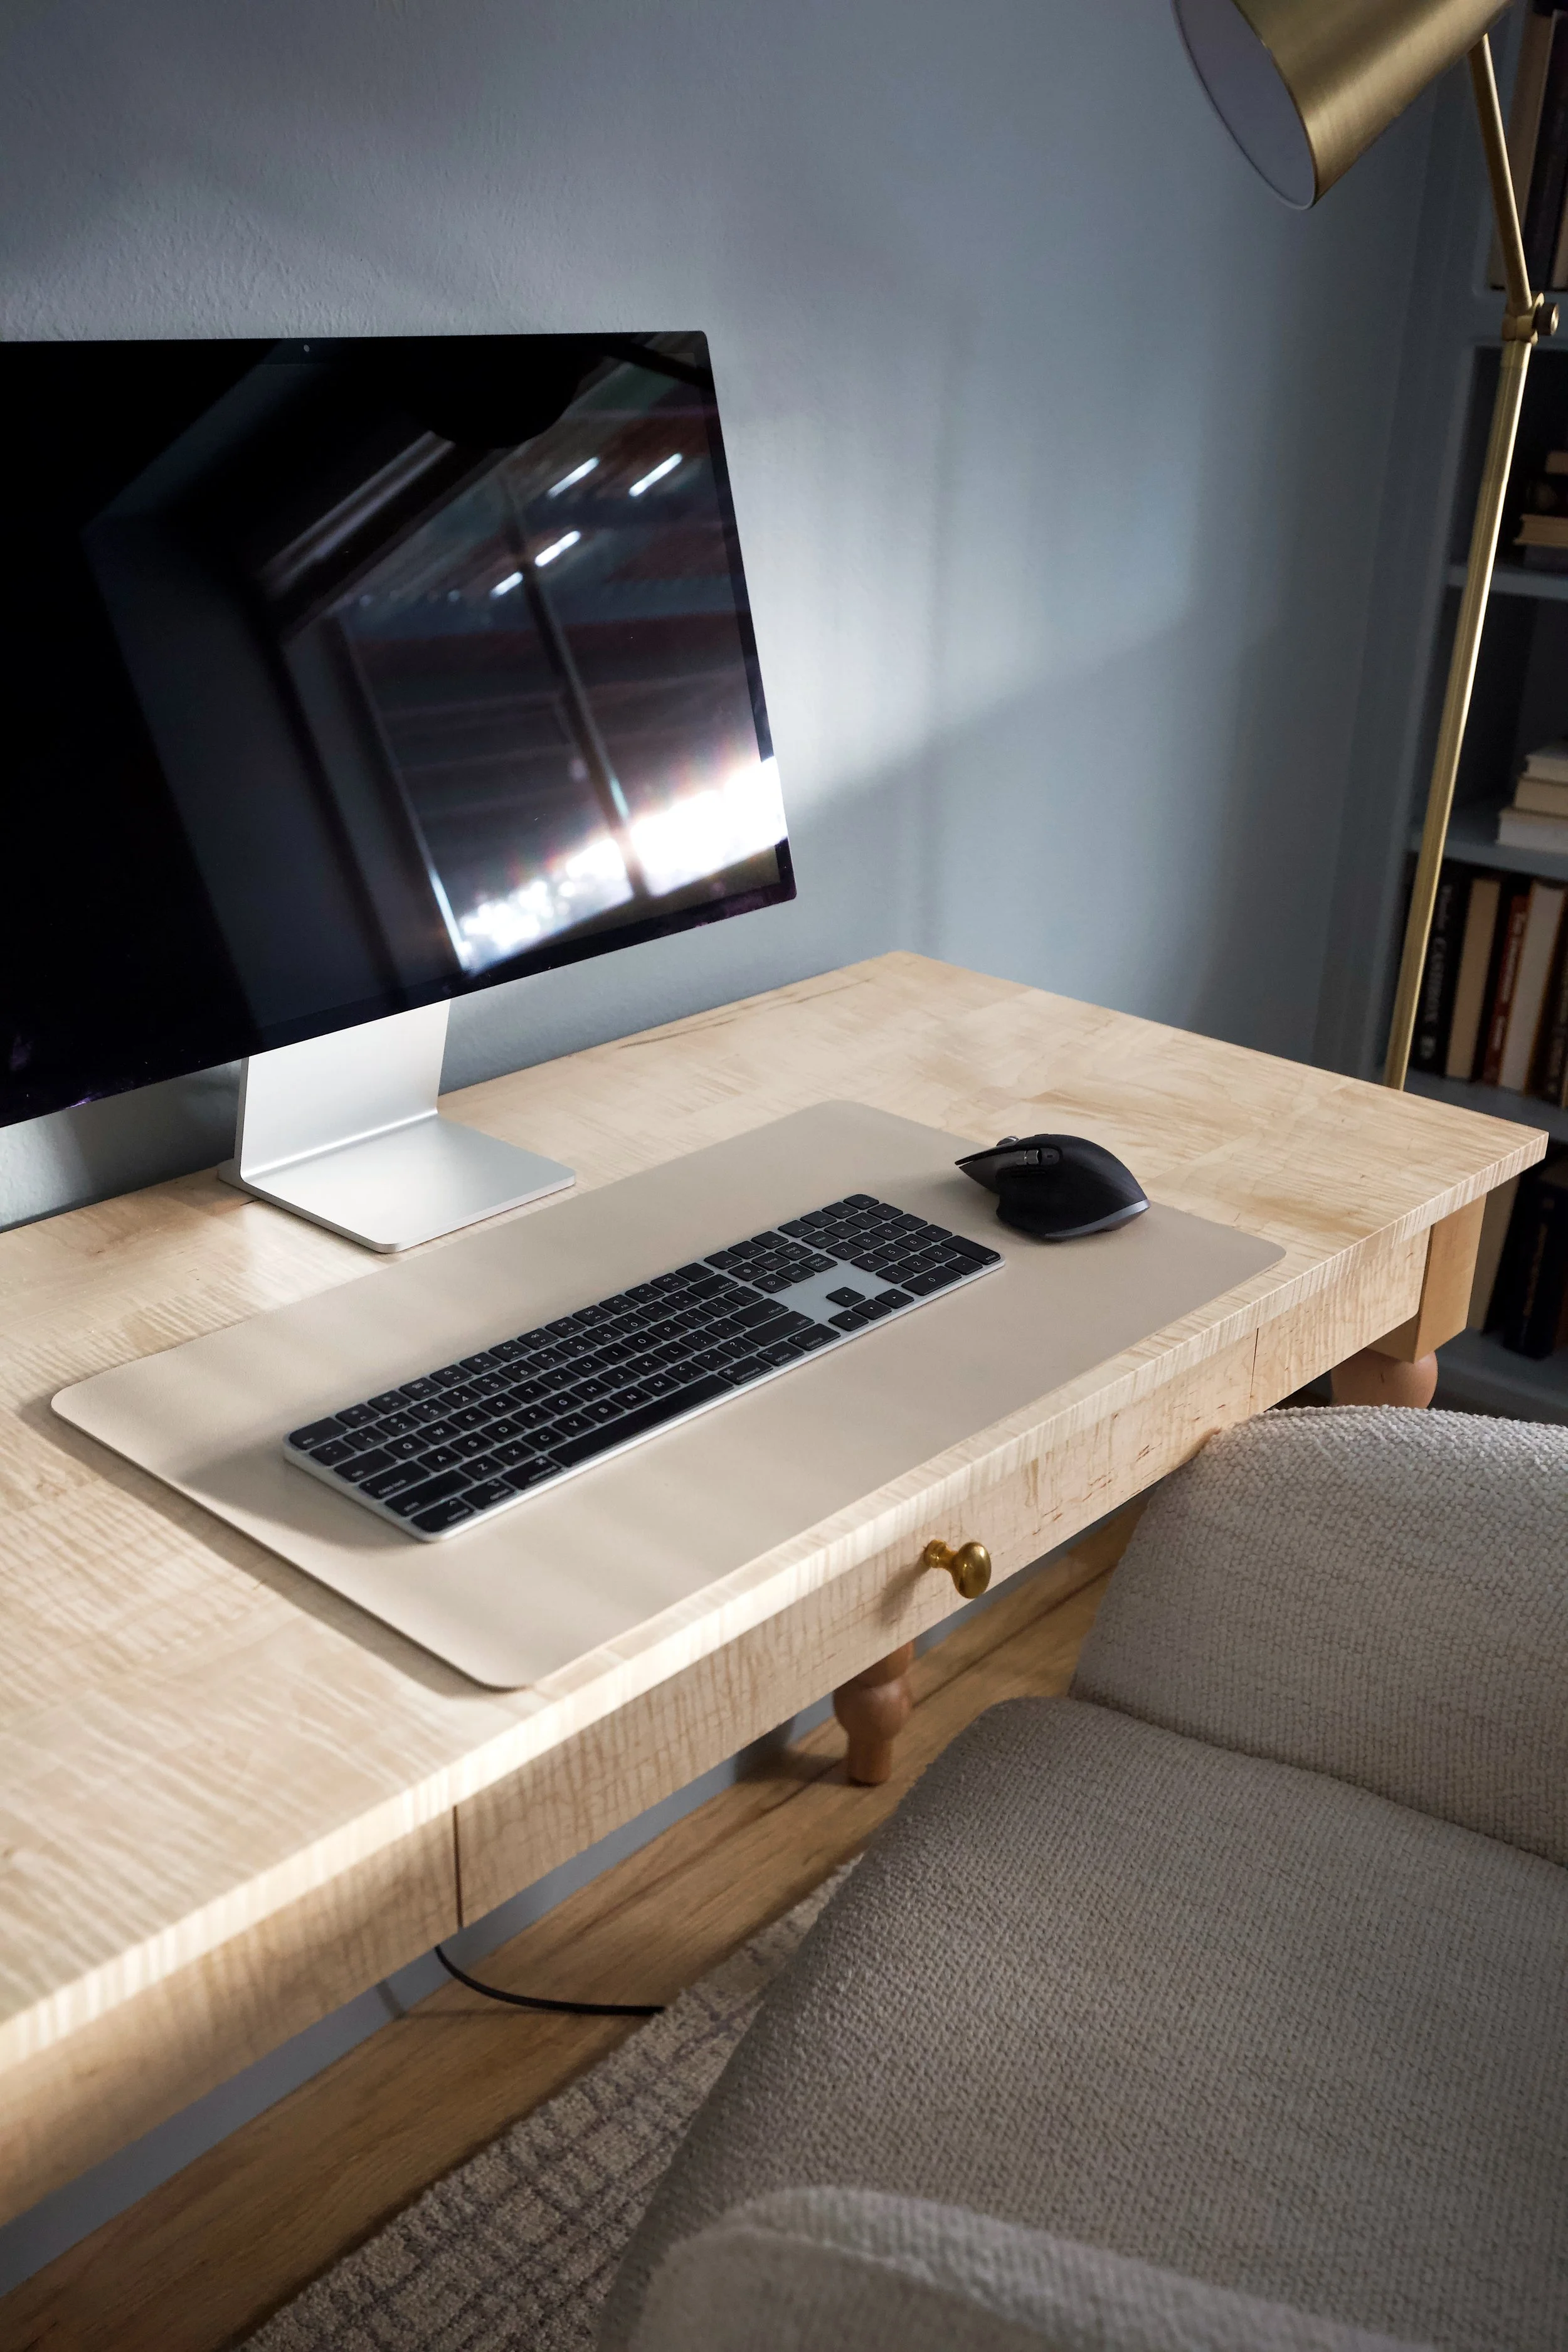
One Year Review
After a year and a half of using the desk daily, I’m happy to report our fix was a success! We are incredibly happy with how the desk has held up. Maple is a common wood used for furniture due to its durability. We haven’t noticed any flaws on either the desk top or legs (hopefully I didn’t jinx it). There’s something so rewarding about building a piece of furniture yourself- it was cheaper and you know exactly how it was made. That’s a win-win if you ask me!